
Are you looking to share your wireless connection with a wired computer? Whether you want to connect a desktop computer in a room without Wi-Fi coverage or share your internet connection with a device that only has an Ethernet port, this article will guide you through the process. Sharing a wireless connection with a wired computer can be quite useful in various situations, such as when you need a stable and reliable internet connection for gaming or need to access certain network resources that are only available through Ethernet. In this article, we will walk you through the steps to connect your wired computer to a wireless network using different methods, including using a wireless adapter or creating a network bridge. So, let’s dive in and explore how you can easily share a wireless connection with a wired computer!
Inside This Article
- Setting Up a Wireless Connection
- Connect the Wireless Router to Your Modem
- Connect the Wired Computer to the Wireless Router
- Sharing the Wireless Connection with the Wired Computer
- Conclusion
- FAQs
Setting Up a Wireless Connection
Setting up a wireless connection is a straightforward process that allows you to enjoy the convenience of accessing the internet without the need for physical cables. Whether you’re connecting a laptop, smartphone, or tablet, the steps involved are relatively similar.
The first step in setting up a wireless connection is to ensure that you have a wireless router. This device acts as the central hub for your wireless network, allowing multiple devices to connect to the internet simultaneously. Most internet service providers offer wireless routers as part of their packages, or you can purchase one separately.
Once you have your wireless router, the next step is to connect it to your modem. The modem is the device that connects to your internet service provider and allows you to access the internet. To connect the wireless router to your modem, simply use an Ethernet cable to plug one end into the modem’s LAN port and the other end into the wireless router’s WAN or internet port.
After connecting the wireless router to your modem, you will need to configure the router’s settings. This typically involves accessing the router’s web interface using a web browser. The specific steps may vary depending on the router model, but usually, you can find instructions in the router’s documentation or on the manufacturer’s website.
Once you’ve accessed the router’s web interface, you can set up a wireless network name (SSID) and password. The SSID is the name that appears when you search for available wireless networks on your devices, while the password is required to connect to your network securely. Be sure to choose a strong password to protect your network from unauthorized access.
Once you’ve configured the wireless network settings, you can start connecting your devices. On your laptop, smartphone, or tablet, open the Wi-Fi settings and search for available networks. Look for the SSID you set up earlier and select it. You will be prompted to enter the password you created. Once entered, your device should connect to the wireless network.
Congratulations! You have successfully set up a wireless connection. Now you can enjoy the freedom of wireless internet access throughout your home or office. Remember, if you encounter any issues during the setup process, consult the router’s documentation or contact the manufacturer’s support for assistance.
Connect the Wireless Router to Your Modem
When it comes to sharing a wireless connection with a wired computer, the first step is to connect the wireless router to your modem. This is crucial, as the modem acts as the gateway for your internet connection. By connecting the router to the modem, you can effectively share the internet connection with multiple devices, including wired computers.
To connect the wireless router to your modem, follow these steps:
- First, ensure that your modem is properly connected to the internet service provider’s network. This typically involves connecting the modem to a coaxial cable or DSL line provided by your ISP.
- Next, locate the WAN port on the back of the wireless router. This port is usually labeled as “WAN” or “Internet.” Connect an Ethernet cable from the modem to this WAN port.
- Now, power on your modem and wait for it to establish a connection with your ISP. This process may take a few minutes.
- Once the modem has established a connection, power on your wireless router. Wait for the router to fully boot up and establish a connection with the modem.
- After the router has established a connection with the modem, you can proceed with configuring the wireless settings and securing your network. This step is important to ensure that your network is protected and only accessible to authorized users.
By following these steps, you can successfully connect your wireless router to your modem and establish a wireless connection in your home or office. This allows you to share the internet connection with wired computers, providing them with reliable and fast connectivity.
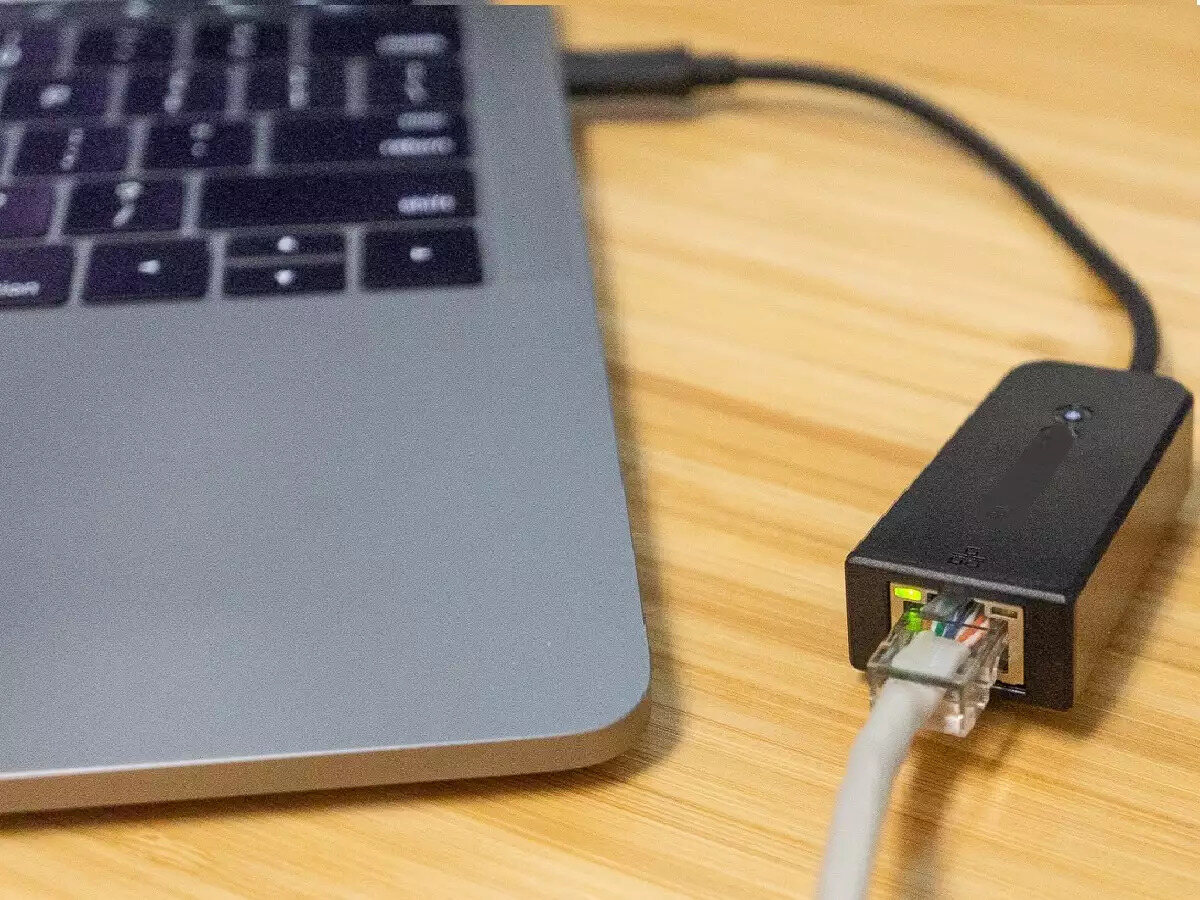
Connect the Wired Computer to the Wireless Router
Once you have set up your wireless router and established a connection, the next step is to connect your wired computer to the router. This will allow your computer to access the internet using the wireless connection provided by the router.
To connect the wired computer to the wireless router, you will need an Ethernet cable. This cable has a connector that looks similar to a phone cable connector but slightly larger. One end of the cable will be connected to the Ethernet port on your computer, while the other end will be connected to one of the LAN ports on the back of the wireless router.
Start by locating the Ethernet port on your computer. It is typically located on the back of the computer and is labeled with the word “Ethernet” or represented by a symbol that looks like a rectangular box with two smaller boxes connected by a vertical line. Once you find the Ethernet port, insert one end of the Ethernet cable into it until it clicks into place.
Next, locate the LAN ports on the back of the wireless router. These ports are also rectangular and are usually labeled with the numbers 1, 2, 3, and 4. Take the other end of the Ethernet cable and insert it into any of these LAN ports. You should feel it click into place securely.
Once the wired computer is connected to the wireless router, it should automatically detect the connection and establish a network connection. If the connection does not establish automatically, you may need to restart your computer or check your network settings to ensure that the wired connection is enabled.
Now that your wired computer is connected to the wireless router, you can begin accessing the internet using the wireless connection. This means you can move freely around your home or office, as long as you stay within the range of the wireless signal.
Remember, if you have multiple wired computers that you want to connect to the wireless router, you can repeat the process described above for each computer. Connect one end of the Ethernet cable to the computer’s Ethernet port and the other end to an available LAN port on the router.
By connecting your wired computer to the wireless router, you can enjoy the flexibility and convenience of wireless internet access without having to rely solely on Wi-Fi enabled devices.
Sharing the Wireless Connection with the Wired Computer
Once you have set up your wireless router and connected it to your modem, it’s time to share the wireless connection with your wired computer. Here are the steps to do so:
1. Connect an Ethernet cable from one of the LAN ports on your wireless router to the Ethernet port on your wired computer. Make sure the cable is securely plugged in on both ends.
2. On your wired computer, open the network settings and check if the Ethernet connection is enabled. If not, enable it by right-clicking on the Ethernet icon and selecting “Enable”.
3. Once the Ethernet connection is enabled, your wired computer should automatically obtain an IP address from the wireless router. You can check this by opening Command Prompt and typing “ipconfig” followed by Enter. Look for the “IPv4 Address” under the Ethernet adapter section.
4. In some cases, you may need to manually configure the IP address settings for your wired computer. To do this, open the network settings and go to the Ethernet adapter properties. Choose the “Internet Protocol Version 4 (TCP/IPv4)” and click on “Properties”. Select the option to “Use the following IP address” and enter the IP address, subnet mask, default gateway, and DNS server information provided by your wireless router.
5. After configuring the IP address settings, click “OK” to save the changes. Your wired computer should now be connected to the wireless network and able to access the internet.
6. Test the connection by opening a web browser on your wired computer and visiting a website. If you can successfully access the website, congratulations! You have successfully shared the wireless connection with your wired computer.
Remember, if you encounter any issues during the setup process or while connecting to the internet, consult the user manual or contact the manufacturer’s support for assistance. They will be able to provide specific instructions based on your wireless router model.
By following these steps, you can easily share your wireless connection with a wired computer. This allows you to enjoy the convenience and flexibility of a wireless network while still being able to connect devices that require a wired connection.
Conclusion
Sharing a wireless connection with a wired computer can provide a convenient and reliable internet connection without the need for additional hardware. By following the steps outlined in this guide, you can easily set up a wireless connection to your computer using a wireless adapter or a mobile hotspot. This allows for seamless browsing, streaming, and downloading on your wired computer.
Remember to choose a suitable method based on your specific needs and available resources. Whether you opt for a USB wireless adapter, a wireless network card, or a mobile hotspot, make sure to follow the instructions provided by the manufacturer for proper setup and configuration.
With a shared wireless connection, you can enjoy the benefits of portable internet access while still using your reliable wired computer for work, gaming, or any other online activity. Stay connected and explore the vast opportunities that the digital world has to offer.
FAQs
FAQ 1: Can I share a wireless connection with a wired computer?
Yes, you can share a wireless connection with a wired computer. This can be done by setting up a wireless router and connecting your wired computer to it using an Ethernet cable.
FAQ 2: Do I need any additional equipment to share a wireless connection with a wired computer?
To share a wireless connection with a wired computer, you will need a wireless router and an Ethernet cable to connect your computer to the router. Most wireless routers have multiple Ethernet ports, allowing you to connect both wired and wireless devices.
FAQ 3: How do I set up a wireless router to share the internet connection?
To set up a wireless router, you will need to connect it to your modem using an Ethernet cable. Once connected, you can access the router’s settings by typing its IP address into a web browser. From there, you can configure the wireless network and set up a password for security. Once the router is set up, you can connect your wired computer to one of its Ethernet ports to share the wireless connection.
FAQ 4: Can I share files between my wired computer and wireless devices?
Yes, you can share files between your wired computer and wireless devices. If all devices are connected to the same network (either wired or wireless), you can enable file sharing on your computer and access shared folders or files from other devices on the network.
FAQ 5: Are there any limitations when sharing a wireless connection with a wired computer?
There are generally no limitations when sharing a wireless connection with a wired computer. However, the speed of the wired connection may be limited by the capabilities of the router and the Ethernet cable used. For optimal performance, it is recommended to use a high-quality Ethernet cable and ensure that the router you are using supports fast Ethernet connections.