
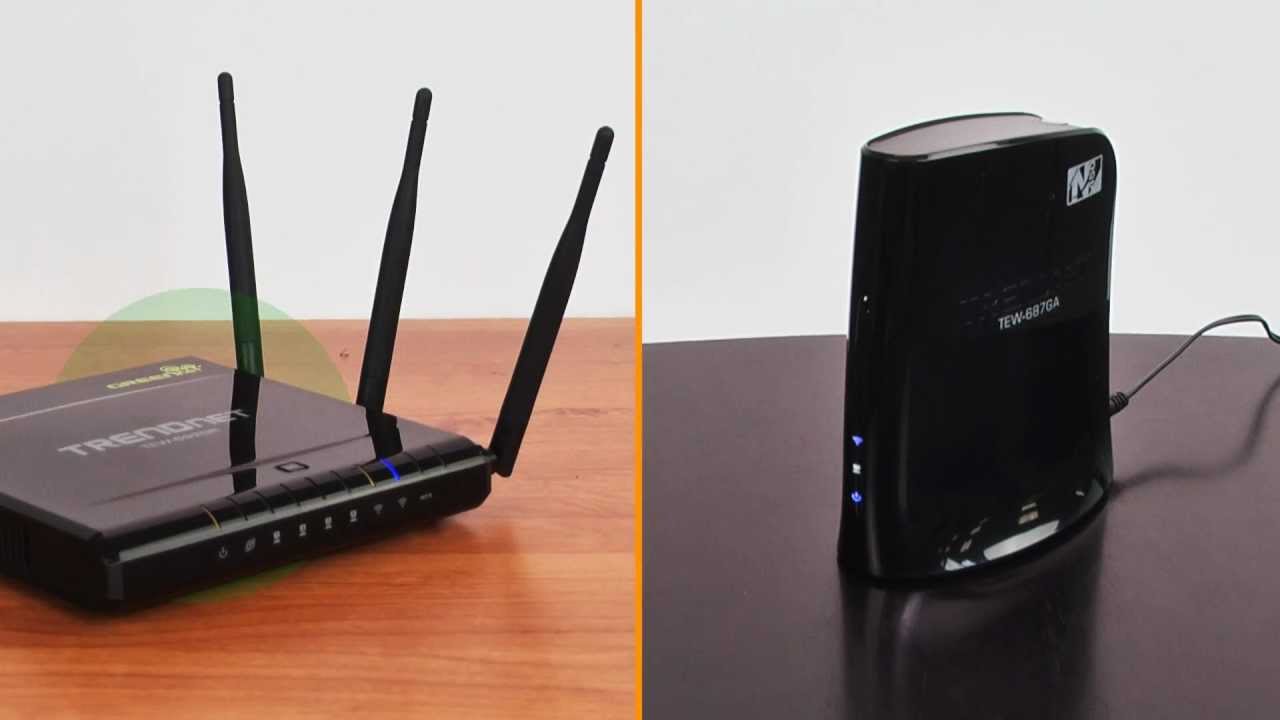
Welcome to this guide on how to connect your Trendnet wireless router! Whether you’re setting up a new router or troubleshooting an existing one, we’re here to help you get connected. Trendnet routers are known for their reliable performance and advanced features, making them a popular choice for both homes and businesses.
In this article, we will walk you through the steps to connect your Trendnet wireless router to your internet service provider and establish a secure and stable network connection. We’ll cover everything from accessing the router’s settings, configuring the wireless network, and troubleshooting common issues that may arise along the way.
So, let’s dive in and get your Trendnet wireless router up and running! Whether you’re a tech-savvy user or a beginner, this guide will provide you with the necessary knowledge to connect your router and enjoy seamless internet connectivity throughout your home or office.
Inside This Article
- Prerequisites for connecting Trendnet wireless router
- Step 1: Setting up the hardware
- Step 2: Accessing the router’s web-based interface
- Step 3: Configuring the wireless settings
- Step 4: Connecting devices to the wireless network
- Troubleshooting common issues
- Conclusion
- FAQs
Prerequisites for connecting Trendnet wireless router
Before you begin the process of connecting your Trendnet wireless router, there are a few prerequisites that you need to ensure are in place. By meeting these prerequisites, you will be able to set up your router smoothly and enjoy a stable and efficient wireless network. Let’s take a look at what you need:
- A working Internet connection: Before setting up the Trendnet wireless router, make sure you have a functional Internet connection. This can be a broadband, DSL, or cable connection provided by your Internet service provider.
- A computer or a device with a web browser: You will need a computer or a device with a web browser to access the router’s web-based interface and configure its settings. Make sure the device has a wired or wireless connection capability.
- An Ethernet cable: To connect your computer or device to the router initially, you will need an Ethernet cable. This cable will establish a wired connection between the two devices during the setup process.
- The default credentials for the Trendnet router: The Trendnet router comes with default login credentials, including a username and password. These credentials will be needed to access the router’s web-based interface.
- The Trendnet router’s manual: It is always a good idea to have the router’s manual handy. The manual contains detailed instructions specific to your router model, which can assist you during the setup process or troubleshooting any issues.
- A power source: Ensure that the router is connected to a power source. This can be an electrical outlet, power strip, or UPS (Uninterruptible Power Supply) to provide uninterrupted power to the router.
- Basic knowledge of networking concepts: While not mandatory, having a basic understanding of networking concepts can be beneficial during the setup process. Familiarity with terms like IP addresses, SSID, and security protocols will help you configure the router more efficiently.
By meeting these prerequisites, you will be well-prepared to connect your Trendnet wireless router and embark on a seamless and secure wireless networking experience. Once you have gathered all the necessary prerequisites, you can move on to the next steps of setting up your Trendnet wireless router and configuring its settings.
Step 1: Setting up the hardware
Before you can connect your Trendnet wireless router, you need to set up the hardware properly. Follow these steps to get started:
1. First, gather all the necessary components: the Trendnet wireless router, power adapter, Ethernet cable, and any other accessories that came with your router. Make sure you have a stable internet connection from your ISP (Internet Service Provider).
2. Next, find a suitable location for your router. It should be placed in a central area of your home or office, away from obstructions such as walls or furniture. This will ensure optimal signal strength and range for your wireless network.
3. Connect the power adapter to your Trendnet wireless router and plug it into a power outlet. Ensure that the router’s power LED indicator lights up. Take note of the reset button located on the back of the router, as you may need to use it later for troubleshooting purposes.
4. Locate the WAN (Wide Area Network) port on the back of your router. Connect one end of the Ethernet cable to the WAN port and the other end to the modem provided by your ISP. This will establish the connection between your router and the internet.
5. Now, locate the LAN (Local Area Network) ports on the back of the router. These ports allow you to connect wired devices to your network. Use additional Ethernet cables to connect your computer, gaming console, or other devices to the LAN ports if needed.
6. Once all the connections are made, power on your modem and wait for it to establish a stable internet connection. Then, power on your Trendnet wireless router and give it a few moments to boot up.
7. Confirm that the router’s LED indicators for power, internet connectivity, and LAN ports are lit up and stable. This indicates that the hardware setup is complete and ready for further configuration.
Congratulations! You have successfully set up the hardware for your Trendnet wireless router. Now, you can move on to accessing the router’s web-based interface to configure your wireless settings.
Step 2: Accessing the router’s web-based interface
Once you have set up the hardware of your Trendnet wireless router, the next step is to access its web-based interface. This interface allows you to configure various settings and customize your router according to your specific needs. Here’s how you can access the router’s web-based interface:
1. Make sure your computer or device is connected to the router either through a wired or wireless connection. For a wired connection, use an Ethernet cable to connect your computer to one of the LAN ports on the router. If using a wireless connection, ensure that you are connected to the router’s Wi-Fi network.
2. Open your preferred web browser, such as Chrome, Firefox, or Safari.
3. In the address bar of your web browser, enter the default IP address of your Trendnet router. The default IP address is usually 192.168.10.1, but it may vary depending on the model of your router. If you are unsure about the IP address, you can refer to the manual that came with your router or check the manufacturer’s website.
4. Press Enter or click on the Go button to proceed.
5. The web browser will now attempt to connect to the router’s web-based interface using the specified IP address. This process may take a few seconds.
6. Once the connection is established, you will be prompted to enter the username and password. By default, the username is usually “admin” and the password is either “admin” or “password.” However, it’s recommended to change the default login credentials for security purposes. If you have already changed the login credentials, enter the updated username and password.
7. Click on the Login or Sign In button to proceed.
8. Congratulations! You have successfully accessed the web-based interface of your Trendnet wireless router. From here, you can explore the various settings and options available to configure and optimize your router’s performance.
It’s important to note that accessing the web-based interface requires you to have the necessary login credentials. If you have forgotten your username or password, you may need to perform a factory reset on the router to restore the default settings. However, be aware that a factory reset will erase all your customized settings, so it should be used as a last resort.
Always remember to secure your router by changing the default login credentials, enabling encryption, and setting up a strong Wi-Fi password. This will help protect your network from unauthorized access and ensure a secure and reliable wireless connection.
Step 3: Configuring the wireless settings
After setting up the hardware and accessing the router’s web-based interface, the next step is to configure the wireless settings for your Trendnet wireless router. This will allow you to customize the network name (SSID), security settings, and other parameters to ensure a secure and reliable wireless connection.
To begin, access the router’s web-based interface by typing the default IP address (usually 192.168.0.1 or 192.168.1.1) into your web browser’s address bar. Enter the administrator username and password when prompted to log in.
Once logged in, find the wireless settings page. This may be labeled as “Wireless Settings” or “Wireless Setup” in the router’s interface. Click on it to proceed.
One of the first settings you need to configure is the network name or SSID. This is the name that will be displayed when devices search for available wireless networks. Choose a unique and easily identifiable name that is easy to remember.
Next, you need to select the appropriate wireless security mode. Choose WPA2-PSK (AES) as it provides the highest level of security for your wireless network. Create a strong and unique password to prevent unauthorized access to your network.
Additionally, you may have options to configure other advanced wireless settings like channel width, channel number, and transmission rate. Unless you have specific requirements, it’s usually recommended to leave these settings at their default values.
Once you have configured all the necessary wireless settings, don’t forget to click the “Apply” or “Save” button to save the changes. The router may take a few moments to apply the new settings.
Finally, it’s a good practice to restart the router after applying the changes to ensure everything is working properly. Simply power off the router, wait for a few seconds, and then power it back on.
Congratulations! You have successfully configured the wireless settings for your Trendnet wireless router. Now, your wireless network is ready for devices to connect securely and enjoy a fast and reliable internet connection!
Step 4: Connecting devices to the wireless network
Once you have successfully configured your Trendnet wireless router, it’s time to connect your devices to the wireless network. Whether it’s a laptop, tablet, smartphone, or any other Wi-Fi enabled device, the process is quite straightforward. Follow the steps below to connect your devices:
1. On your device, navigate to the Wi-Fi settings. This can usually be found in the settings menu, often represented by a gear icon.
2. Look for the list of available Wi-Fi networks and select the one that matches the name of your Trendnet wireless network. It should be listed among the other available networks.
3. If prompted, enter the Wi-Fi password. This is the same password you set up during the router configuration process. Make sure to enter it correctly, as passwords are case-sensitive.
4. Once you have entered the correct password, click on the “Connect” or “Join” button. Your device will now attempt to connect to the wireless network.
5. After a few moments, your device should successfully connect to the Trendnet wireless network. You will now be able to access the internet and enjoy the benefits of a wireless connection.
6. Repeat the above steps for each device you want to connect to the network. Keep in mind that the number of devices that can connect to your wireless network may be limited by the router’s capabilities. Consult the user manual or manufacturer’s website for more information on your specific model.
7. Once all your devices are connected, you can test the internet connection by opening a web browser or using any other internet-based application. If you can access websites and perform online tasks, congratulations! You have successfully connected your devices to the Trendnet wireless network.
Remember, whenever you want to connect a new device to the network, you will need to repeat these steps. If you ever change your Wi-Fi password, you will also need to update it on all your connected devices.
Now that you have connected your devices to the Trendnet wireless network, you can enjoy the freedom of wireless internet access throughout your home or office.
Troubleshooting common issues
Even with the most reliable wireless routers, there can be occasional hiccups. Here are some common issues you may encounter while setting up or using your Trendnet wireless router, along with troubleshooting tips to help you resolve them:
1. Slow or unstable internet connection: If you are experiencing slow or unstable internet connection, try these steps:
- Ensure that your router is placed in a central location, away from walls or obstructions that can interfere with the signal.
- Check if there are any other devices in your home or office that might be causing interference, such as cordless phones or microwave ovens. If possible, move these devices farther away from the router.
- Restart your router by unplugging the power cord, waiting for a few seconds, and then plugging it back in.
- Update the firmware of your router by visiting the Trendnet website and downloading the latest version.
2. Forgotten or lost wireless network password: If you cannot remember the password for your wireless network, you can reset it by following these steps:
- On the back of your Trendnet router, locate the reset button.
- Using a paperclip or a similar tool, press and hold the reset button for about 10 seconds.
- Release the reset button and wait for the router to restart.
- After the router has restarted, connect to it using a wired connection.
- Access the router’s web-based interface and navigate to the wireless settings to set up a new wireless network password.
3. Limited wireless range: If you are experiencing limited wireless range, try these solutions:
- Make sure that the antennas on your router are properly oriented and fully extended.
- Upgrade the firmware of your router to the latest version.
- Consider using Wi-Fi range extenders or mesh Wi-Fi systems to extend the coverage area of your wireless network.
- Reduce the number of devices connected to the router, as each connected device can decrease the overall performance and range.
4. Unable to connect to the router’s web-based interface: If you are having trouble accessing the router’s web-based interface, try these troubleshooting steps:
- Ensure that you are connected to the router’s network either via Ethernet cable or wirelessly.
- Double-check the router’s IP address. By default, Trendnet routers use 192.168.10.1, but it may vary depending on the model.
- Clear your browser’s cache and cookies, or try using a different browser.
- If all else fails, perform a factory reset on the router by following the instructions provided by Trendnet.
5. Random disconnections: If your devices keep getting disconnected from the wireless network, try these troubleshooting steps:
- Check if the disconnections occur when specific devices are connected. If so, the issue might be with those devices rather than the router.
- Update the Wi-Fi drivers on your devices.
- Adjust the wireless channel on your router, as interference from neighboring networks can cause disconnections.
- If possible, try changing the wireless mode to a different option like 802.11n or 802.11ac.
Remember, if you need further assistance with troubleshooting or resolving any issues with your Trendnet wireless router, it is always recommended to consult the user manual or contact the Trendnet customer support for more specific guidance.
Conclusion
In conclusion, connecting a Trendnet wireless router is a relatively simple process that can greatly enhance your home or office network. By following the steps outlined in this article, you can easily set up and configure your wireless router to provide a fast and secure internet connection to all of your devices. Remember to choose a suitable location for your router, connect it to your modem, and use the provided login information to access the router’s settings.
Once you have successfully connected your Trendnet wireless router, you will be able to enjoy seamless internet connectivity, faster data transfer speeds, and enhanced network security. Whether you are streaming high-definition videos, playing online games, or working from home, a reliable and robust wireless connection is essential. So, take the time to follow the instructions provided and get your Trendnet wireless router up and running in no time!
FAQs
1. How do I connect my Trendnet wireless router?
To connect your Trendnet wireless router, follow these steps:
– Power on the router and connect it to your modem using an Ethernet cable.
– Connect your computer to the router using either an Ethernet cable or by connecting to the router’s Wi-Fi network.
– Open a web browser and enter the router’s default IP address (usually 192.168.10.1 or 192.168.1.1) into the address bar.
– Enter the default login credentials for your router (usually admin for both username and password).
– Once logged in, follow the on-screen instructions to configure your wireless network settings and secure your connection.
2. What should I do if I forget my Trendnet router’s password?
If you forget your Trendnet router’s password, you can reset it to factory defaults by pressing and holding the reset button on the back of the router for 10 seconds. This will erase all custom settings and restore the router’s default username and password. After resetting, you can log in with the default credentials and reconfigure the router as needed.
3. How can I change the Wi-Fi password on my Trendnet router?
To change the Wi-Fi password on your Trendnet router, follow these steps:
– Log in to the router’s web interface using the default login credentials or your custom username and password.
– Navigate to the Wi-Fi settings or wireless security section.
– Locate the password field and enter your desired new Wi-Fi password.
– Save the changes, and your router will apply the new password to your Wi-Fi network.
4. Why is my Trendnet router not connecting to the internet?
If your Trendnet router is not connecting to the internet, try the following troubleshooting steps:
– Make sure that the router is properly connected to the modem and that both devices are powered on.
– Restart both the router and the modem to refresh the network connections.
– Double-check your internet service provider’s settings in the router’s web interface.
– Ensure that the router’s firmware is up to date by visiting the manufacturer’s website and downloading any available updates.
– If the issue persists, contact your internet service provider for further assistance.
5. How can I improve the Wi-Fi signal strength of my Trendnet router?
To improve the Wi-Fi signal strength of your Trendnet router, you can try the following:
– Position the router in a central location, away from obstructions and interference sources.
– Adjust the router’s antennas, orienting them to maximize signal coverage.
– Reduce interference from other devices by avoiding placing the router near electronics or appliances that can cause signal interference.
– Upgrade to a higher-gain or external antenna for better signal range, if supported by your router.
– Consider using Wi-Fi range extenders or mesh systems to extend coverage in larger or multi-story homes.