
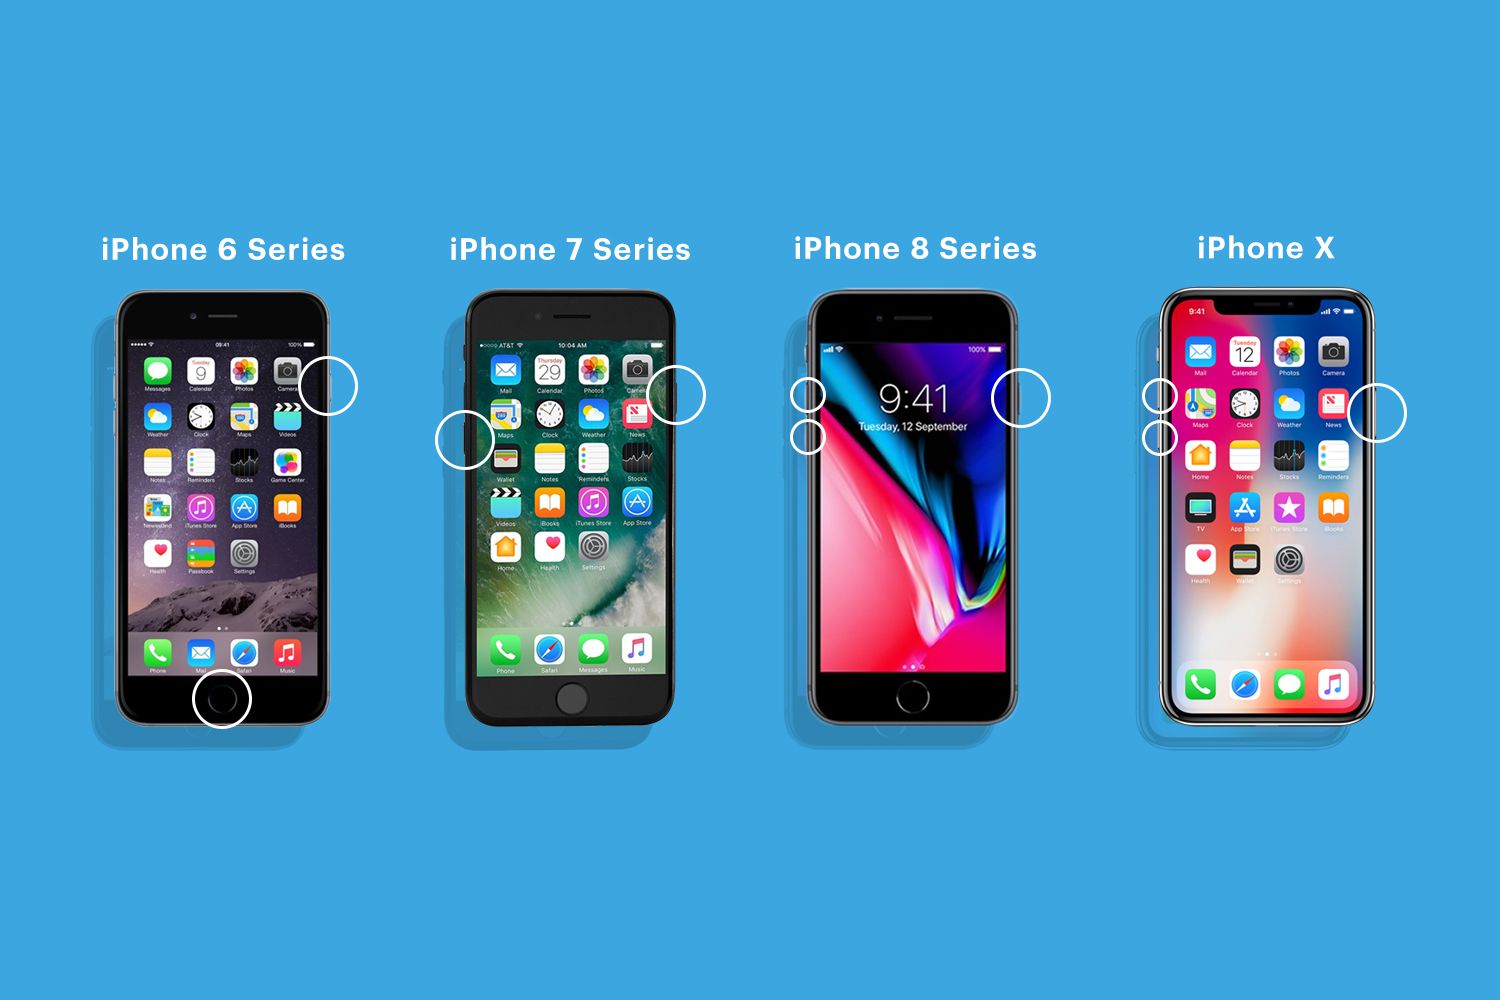
Are you excited about upgrading from your iPhone 6 to the iPhone 7? One of the biggest concerns when migrating to a new device is transferring all your data. Luckily, with the right steps and tools, moving your data from your iPhone 6 to your iPhone 7 is a breeze. In this article, we will walk you through the process of transferring your data, including contacts, messages, photos, apps, and more. Whether you’re doing it manually or using a backup and restore method, we’ve got you covered. So, let’s dive in and make sure you have a smooth transition as you upgrade to the amazing iPhone 7!
Inside This Article
- How To Move Data From iPhone 6 To iPhone 7
- Overview
- Method 1: Transfer data using iCloud
- Method 2: Transfer data using iTunes
- Method 3: Transfer data using Quick Start
- Method 4: Transfer data using third-party apps
- Conclusion
- FAQs
How To Move Data From iPhone 6 To iPhone 7
Upgrading to a new iPhone is always an exciting experience. However, one crucial aspect of the upgrade process is transferring your data from your old iPhone to the new one. If you’re wondering how to move data from iPhone 6 to iPhone 7, you’re in the right place. In this article, we will explore different methods that you can use to seamlessly transfer your data.
Method 1: Transfer data using iCloud
One of the easiest and most convenient ways to transfer data from iPhone 6 to iPhone 7 is by using iCloud. iCloud allows you to backup all your data, including contacts, photos, videos, and more, and restore it to your new device. Here are the steps to do it:
- Connect your iPhone 6 to a Wi-Fi network.
- Go to “Settings” and tap on your Apple ID.
- Select “iCloud” and turn on the required toggles for data you want to transfer.
- Tap on “Backup” and then “Back Up Now” to initiate the backup process.
- Once the backup is complete, turn on your new iPhone 7 and follow the on-screen setup instructions.
- When prompted, choose to restore from an iCloud backup and sign in with your Apple ID.
- Select the most recent backup of your iPhone 6 and wait for the restore process to finish.
Method 2: Transfer data using iTunes
If you prefer to transfer your data using a computer, you can use iTunes. Here’s how to do it:
- Connect your iPhone 6 to your computer using a USB cable.
- Open iTunes and select your iPhone 6.
- Click on the “Summary” tab and choose “Back Up Now” to create a backup of your iPhone 6.
- Once the backup is complete, disconnect your iPhone 6 and connect your iPhone 7.
- Follow the on-screen instructions to set up your iPhone 7, and when prompted, select “Restore from iTunes backup.”
- Select the most recent backup of your iPhone 6 and wait for the restore process to finish.
Method 3: Transfer data using Quick Start
If you have both your old iPhone 6 and new iPhone 7 running on iOS 11 or later, you can use the Quick Start feature to transfer data wirelessly. Here’s how:
- Turn on your new iPhone 7 and place it near your iPhone 6 with Bluetooth and Wi-Fi enabled.
- Follow the on-screen instructions on your new iPhone 7 and scan the animation that appears on your old iPhone 6.
- Enter your old iPhone’s passcode on your new iPhone 7.
- Choose to transfer settings, preferences, and data from your iPhone 6 to your iPhone 7.
- Wait for the transfer process to complete, and your data will be transferred to your new iPhone 7.
Method 4: Transfer data using third-party apps
There are also third-party apps available on the App Store that can help you transfer data between iPhones. Some popular options include iMobie AnyTrans, Syncios, and Dr.Fone – Phone Transfer. These apps provide a simple and user-friendly interface to transfer various types of data, such as contacts, messages, photos, and more, from your old iPhone 6 to your new iPhone 7.
So, there you have it – four different methods to move data from iPhone 6 to iPhone 7. Choose the method that suits you best based on your preferences and requirements. Whether you prefer the simplicity of iCloud, the familiarity of iTunes, the convenience of Quick Start, or the versatility of third-party apps, you can rest assured that your data will be safely transferred to your new iPhone 7.
Remember to keep your old iPhone 6 and new iPhone 7 charged during the transfer process and ensure that you have enough storage space available on both devices. Now, go ahead and enjoy your new iPhone 7 with all your cherished data seamlessly transferred!
Overview
When upgrading to a new iPhone, one of the most important tasks is transferring your data from the old device to the new one. This ensures that you don’t lose any essential files, contacts, or settings. If you’re moving from an iPhone 6 to an iPhone 7, there are several methods you can use to seamlessly transfer your data. In this article, we’ll explore four different methods that you can follow to move your data from your iPhone 6 to your new iPhone 7.
Whether you prefer to use iCloud, iTunes, Quick Start, or third-party apps, these methods will enable you to transfer your contacts, photos, videos, messages, and more from your old iPhone to your new one effortlessly. Each method has its advantages, so you can choose the one that suits your preferences and requirements the best. Let’s dive into each method in detail and learn how to move your data from iPhone 6 to iPhone 7.
Method 1: Transfer data using iCloud
Transferring data from your iPhone 6 to iPhone 7 can be done effortlessly using iCloud. iCloud is a cloud storage and backup service provided by Apple that enables you to sync and transfer your data across multiple devices. Here’s a step-by-step guide on how to transfer your data using iCloud:
- Begin by ensuring that both your iPhone 6 and iPhone 7 are connected to Wi-Fi and have enough available storage on iCloud.
- On your iPhone 6, go to “Settings” and tap on your Apple ID at the top of the screen.
- Select “iCloud” and then choose “iCloud Backup”.
- Tap on “Back Up Now” to initiate a backup of your iPhone 6 data to iCloud. This process may take some time depending on the size of your data and the speed of your internet connection.
- Once the backup is completed, turn on your iPhone 7 and follow the setup process until you reach the “Apps & Data” screen.
- On the “Apps & Data” screen, select “Restore from iCloud Backup”.
- Sign in to your Apple ID using the same credentials as your iPhone 6.
- Choose the most recent backup from the list of available backups. It should be the one you just created from your iPhone 6.
- Wait for the restore process to complete. Your iPhone 7 will restart once the restore is finished.
- After the restart, your iPhone 7 should contain all the data from your iPhone 6, including apps, photos, contacts, messages, and more.
Please note that transferring data using iCloud requires a stable internet connection and adequate iCloud storage space. Additionally, make sure that your iPhone 7 is running on a compatible iOS version. It’s always a good idea to double-check that your data has been successfully transferred before removing it from your iPhone 6.
Method 2: Transfer data using iTunes
Another convenient method to transfer data from iPhone 6 to iPhone 7 is by using iTunes. iTunes is a versatile media player and management software developed by Apple. Here’s a step-by-step guide on how to use iTunes to transfer your data:
1. Start by connecting your iPhone 6 to your computer using the USB cable. Launch iTunes if it doesn’t open automatically.
2. Once connected, click on the device icon that appears in the upper left corner of the iTunes window to access the iPhone 6 settings.
3. In the Summary tab, click on the “Back Up Now” button to create a backup of your iPhone 6. This will ensure that all your data and settings are safely stored.
4. Wait for the backup process to complete. The duration may vary depending on the amount of data you have on your iPhone 6.
5. After the backup is finished, disconnect your iPhone 6 from your computer and connect your iPhone 7 using the same USB cable.
6. In the iTunes window, click on the device icon again to access the iPhone 7 settings.
7. In the Summary tab, click on the “Restore Backup” button. Select the backup you created in step 3 from the list of available backups.
8. Click on the “Restore” button and wait for the restore process to complete. This will transfer all your data, including apps, settings, photos, and more, from your iPhone 6 to your iPhone 7.
9. Once the restore process is finished, disconnect your iPhone 7 from your computer and you’re ready to start using your new device with all your data intact.
This method is a reliable way to transfer all your data from your old iPhone 6 to your new iPhone 7. However, keep in mind that iTunes is primarily designed for managing media files, so it may not transfer some app-specific data or settings. In such cases, you might need to use alternative methods or third-party apps to transfer those specific data.
Now that you know how to transfer data from iPhone 6 to iPhone 7 using iTunes, you can confidently switch to your new device without losing any valuable information.
Method 3: Transfer data using Quick Start
When it comes to transferring data from your old iPhone 6 to the new iPhone 7, one of the quickest and easiest methods is using Quick Start. This feature allows you to effortlessly set up your new iPhone by transferring all your data wirelessly from your old device. Here’s how to do it:
1. Start by ensuring that both your old iPhone 6 and the new iPhone 7 have the latest version of iOS installed. This ensures compatibility and a smooth data transfer process.
2. Turn on your new iPhone 7. A “Hello” screen will appear. Place your old iPhone 6 near the new device.
3. On your old iPhone 6, a prompt will appear, asking if you want to use your Apple ID to set up your new iPhone. Tap “Continue” and follow the on-screen instructions.
4. Use your old iPhone to scan the animation that appears on your new iPhone 7. You may be required to enter your old device’s passcode on the new device.
5. Follow the prompts to set up Face ID or Touch ID on your new iPhone 7, if applicable.
6. Choose your preferred settings, such as language, region, and privacy options.
7. On your old iPhone 6, you’ll be prompted to enter your new device’s passcode. After entering the passcode, your new iPhone 7 will start transferring your data.
8. Wait for the transfer to complete. The time it takes depends on the amount of data you’re transferring.
9. Once the transfer is finished, you’ll be prompted to set up Face ID or Touch ID on your new iPhone 7, if you haven’t already done so.
10. Follow the remaining on-screen instructions to complete the setup process, including signing in to your Apple ID and iCloud account.
That’s it! Using Quick Start, you can effortlessly transfer all your data, including apps, photos, contacts, messages, and more, from your old iPhone 6 to your new iPhone 7.
Method 4: Transfer data using third-party apps
Transferring data from your old iPhone 6 to your new iPhone 7 can be made even easier with the help of third-party apps. These apps provide a user-friendly interface and offer additional features that can streamline the data transfer process. Here are a few popular apps that you can use to transfer your data:
1. AnyTrans: AnyTrans is a comprehensive data transfer tool that allows you to transfer all types of data from your old iPhone to your new iPhone 7. With this app, you can easily transfer your contacts, messages, photos, videos, music, and more. Simply download and install AnyTrans on both devices, connect them to the same Wi-Fi network, and follow the on-screen instructions to transfer the data.
2. iMazing: iMazing is another reliable app for transferring data between iPhones. It offers a straightforward and intuitive interface that makes the transfer process quick and easy. You can transfer your photos, videos, contacts, messages, notes, and more with just a few clicks. iMazing also allows you to manage your iPhone’s data, create backups, and restore them whenever needed.
3. Syncios: Syncios is a versatile app that not only allows you to transfer data from your old iPhone to your new iPhone 7 but also lets you manage your iOS devices effectively. You can transfer photos, videos, music, contacts, messages, and even apps with ease. Syncios also includes additional features like a ringtone maker, file manager, and video downloader, making it a valuable tool for iPhone users.
4. Dr.Fone – Phone Transfer: Dr.Fone – Phone Transfer is another popular choice for transferring data between iPhones. It supports the transfer of various data types, including contacts, messages, photos, videos, and more. The app ensures a secure and efficient transfer process, allowing you to move your data quickly without any hassle.
These third-party apps provide reliable and efficient ways to transfer data from your old iPhone 6 to your new iPhone 7. Choose the app that suits your needs best, follow the instructions provided by the app, and enjoy a seamless transition to your new device without losing any important data.
Conclusion
Transferring data from an iPhone 6 to an iPhone 7 can be done smoothly and efficiently with the right steps. By following the methods discussed in this article, you can ensure a seamless transition of your valuable data, including contacts, photos, videos, and more.
Whether you choose to use iCloud, iTunes, or third-party software like Now You Know, the process is straightforward and can be completed in just a few simple steps. With these methods, you can quickly set up your new iPhone 7 without losing any important information.
Remember to back up your data regularly to avoid any potential data loss and keep your information secure. By taking advantage of the various methods available, you can easily move your data from iPhone 6 to iPhone 7 and enjoy all the new features and advancements of the latest model.
FAQs
1. Can I transfer data from my iPhone 6 to iPhone 7?
Yes, you can easily transfer data from your iPhone 6 to iPhone 7. There are several methods you can use, including iCloud, iTunes, or using a third-party tool.
2. How can I transfer data using iCloud?
To transfer data using iCloud, you need to make sure both your iPhone 6 and iPhone 7 are connected to Wi-Fi and have enough storage space on iCloud. On your iPhone 6, go to “Settings” > [your name] > “iCloud” > “Backup” and tap on “Back Up Now.” Once the backup is complete, sign in to the same iCloud account on your iPhone 7, and during the initial setup, choose “Restore from iCloud Backup” and select the backup you just created.
3. What if I don’t have enough iCloud storage?
If you don’t have enough storage on iCloud, you can upgrade your iCloud storage plan or use iTunes to transfer the data. With iTunes, you need to connect your iPhone 6 to your computer, open iTunes, select your device, and click on “Back Up Now.” After the backup is complete, disconnect your iPhone 6, connect your iPhone 7, and during the initial setup on your iPhone 7, choose “Restore from iTunes Backup” and select the backup you just created.
4. Are there any third-party tools to transfer data?
Yes, there are several third-party tools available that can help you transfer data from your iPhone 6 to iPhone 7. Some popular options include iMobie AnyTrans, Syncios, and dr.fone. These tools offer more flexibility and options for transferring specific types of data, and they can be a good alternative if you prefer not to use iCloud or iTunes.
5. Will all my apps and settings transfer to the new iPhone?
When you transfer data using iCloud or iTunes, your apps and settings should transfer to the new iPhone 7. However, it’s always a good idea to double-check your settings and re-download any missing apps from the App Store. Also, note that some app data may not transfer if the apps are no longer available or if they don’t support data transfer between devices.