
Are you looking to give your sluggish old computer a new lease on life? One of the most effective ways to boost its performance is by transferring the operating system (OS) to a solid-state drive (SSD). Not only will this significantly improve the speed and responsiveness of your system, but it will also enhance overall efficiency and productivity.
In this step-by-step guide, we will walk you through the process of transferring the OS to an SSD in a Windows operating system. Whether you are a tech-savvy individual or a beginner, our comprehensive instructions will help you get it done easily and without any hassle. So, get ready to turbocharge your computer and enjoy the benefits of faster boot times, quicker application launches, and smoother multitasking by transferring your OS to an SSD.
Inside This Article
- Preparing for OS Transfer
- Creating a Backup of Your Data
- Cloning Your OS to the SSD
- Setting the SSD as the Boot Drive
- Conclusion
- FAQs
Preparing for OS Transfer
Before diving into the process of transferring your operating system (OS) to an SSD, there are a few important steps you need to take to ensure a smooth and successful transfer. Follow these preparatory steps to minimize any potential issues and maximize the efficiency of the OS transfer:
1. Check SSD Compatibility: The first step is to verify that your SSD is compatible with your computer’s hardware and that it meets the necessary requirements. Check the manufacturer’s documentation or website for compatibility information.
2. Calculate Required Space: Next, assess the amount of space needed on the SSD to accommodate your OS and other necessary files. Make sure the SSD has sufficient capacity to store everything, including your software programs and personal files.
3. Gather the Necessary Tools: To perform the OS transfer, you will need a few essential tools. Ensure you have a USB-to-SATA adapter or enclosure to connect the SSD to your computer during the cloning process. Additionally, acquire reliable cloning software that supports OS transfer.
4. Backup Your Data: It is crucial to create a backup of all your important files and documents before starting the OS transfer. This backup serves as a safety net in case anything goes wrong during the transfer process. Save the backup on an external storage device or cloud storage for easy retrieval.
5. Update System Drivers: Check for any pending updates to your computer’s drivers, especially the storage controller driver. Keeping your drivers up-to-date will help ensure compatibility and smooth functioning during the OS transfer.
6. Disable Hibernation and Fast Startup: Disable the hibernation and fast startup features on your computer. These features can interfere with the cloning process and cause issues when transferring the OS to the SSD.
7. Clean Up Your System: Take some time to clean up your computer by removing any unnecessary files, programs, or applications. This will not only free up storage space but also optimize your system’s performance.
8. Disconnect External Devices: Disconnect any external devices, such as printers, scanners, or USB drives, from your computer before starting the OS transfer. This reduces the risk of any interruptions or conflicts during the process.
9. Restart Your Computer: Restart your computer to close any open processes or applications that may interfere with the OS transfer. This step ensures a fresh start before initiating the cloning process.
By following these steps to prepare for the OS transfer, you can minimize any potential complications and ensure a successful transition to your new SSD. Once you have completed these preparations, you can proceed to the next step of creating a backup of your data.
Creating a Backup of Your Data
Before you proceed with transferring your operating system (OS) to your new solid-state drive (SSD), it is crucial to create a backup of all your important data. This step ensures that you don’t lose any files or documents during the OS transfer process.
Creating a backup is essential because the process of transferring an OS to a new drive involves formatting the old drive. This means that all the data on the old drive will be erased. By creating a backup, you can safeguard your files and easily restore them to the new SSD once the OS transfer is complete.
There are several methods you can use to create a backup of your data. One popular option is to use a cloud storage service, such as Google Drive or Dropbox. These services allow you to upload and store your files securely in the cloud, making it easy to access and restore them later.
Another option is to use an external hard drive or a USB flash drive to back up your data. Simply connect the external storage device to your computer and copy all the important files and folders onto it. Once the OS transfer is complete, you can plug in the external device and copy the files back to your new SSD.
If you prefer a more comprehensive backup solution, you can use specialized backup software, such as Acronis True Image or Macrium Reflect. These programs offer advanced features like automatic backups, incremental backups, and the ability to create disk images. With these tools, you can ensure that all your files, settings, and even your entire OS are safely backed up.
Regardless of the method you choose, it is crucial to double-check that all your important files are properly backed up before proceeding with the OS transfer. This step will provide you with peace of mind and ensure that you can easily restore your data if anything goes wrong during the transfer process.
Once your data is safely backed up, you can proceed to the next step: cloning your OS to the SSD.
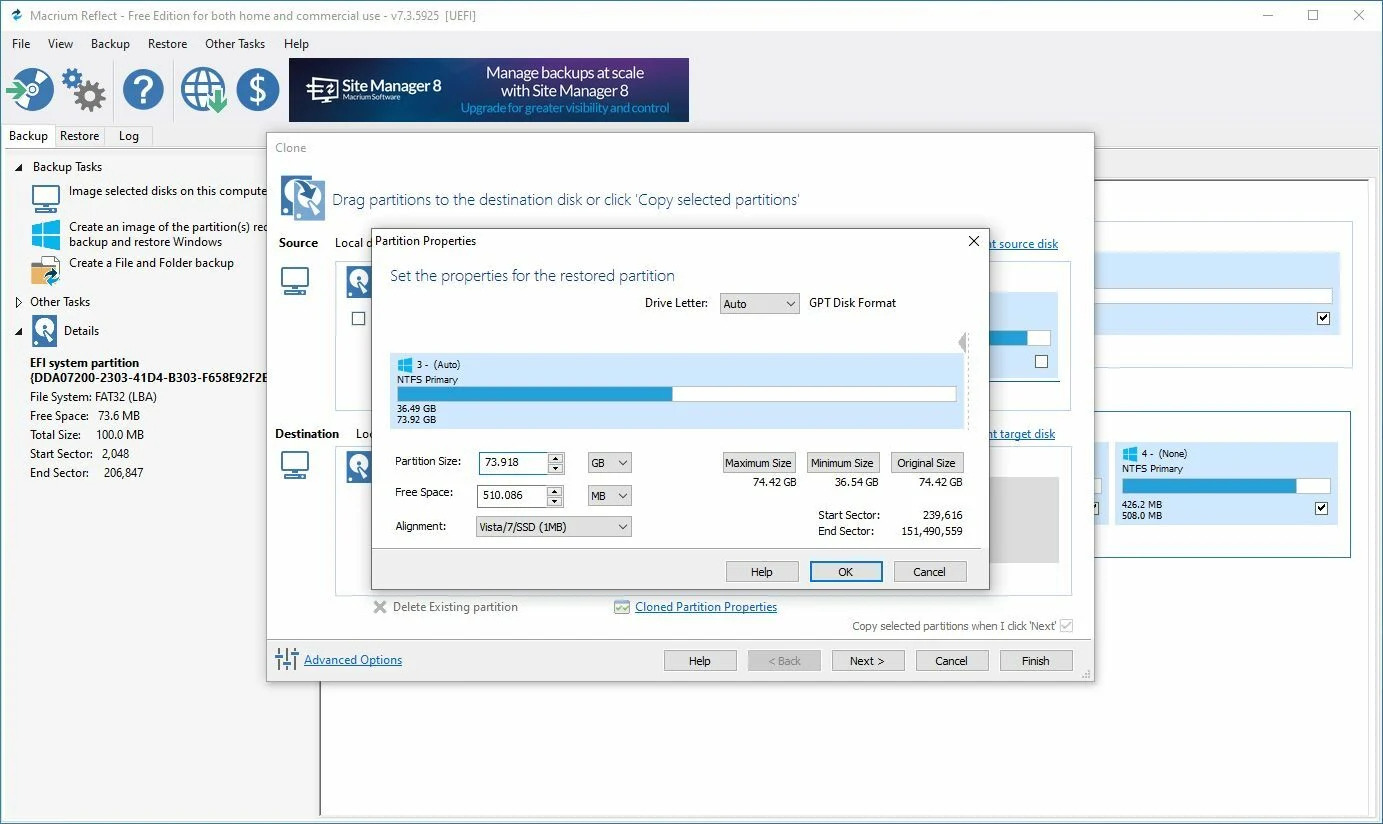
Cloning Your OS to the SSD
Cloning your operating system (OS) to the SSD is a crucial step in transferring your OS from the old hard drive to the new SSD. By cloning, you create an exact replica of your OS, including all the files, settings, and configurations, onto the SSD. This ensures that your system remains intact and functional on the new drive.

To begin the process, you will need cloning software. There are several options available, such as Clonezilla, Macrium Reflect, and EaseUS Todo Backup. Choose one that suits your preferences and download it onto your computer.

Before you proceed with the cloning, make sure the SSD is connected to your computer. You can connect it using an external enclosure or by directly installing it into your computer's SSD slot, depending on the type of SSD and your computer's architecture.

Once the SSD is connected, launch the cloning software. Follow the software's instructions to select the source drive (your old hard drive) and the target drive (the SSD). Double-check the selections to ensure that you are cloning the OS from the old drive to the SSD.

Once you confirm the drive selections, you may have the option to resize the partitions on the SSD. This allows you to utilize the full capacity of the new drive effectively. You can choose to allocate more or less space for specific partitions depending on your needs. Make any necessary adjustments and proceed with the cloning process.

The cloning process will take some time, depending on the size of your OS and the speed of your computer. It's important not to interrupt the process to avoid any data corruption. You can monitor the progress on the cloning software's interface.

After the cloning is complete, you will need to set the SSD as the boot drive in your computer's BIOS settings. Restart your computer and access the BIOS by pressing the appropriate key (such as F2, Del, or Esc) during the booting process. Locate the boot order settings and modify them to prioritize the SSD as the first boot device.

Save the changes and exit the BIOS. Your computer will now boot from the SSD, and you'll be able to enjoy the benefits of faster boot times and improved performance that the SSD offers.

Remember to keep the old hard drive connected to your computer until you are confident that the cloned OS is working perfectly on the SSD. You can then safely remove the old hard drive, format it, and use it for additional storage.
Setting the SSD as the Boot Drive
After successfully cloning your OS to the SSD, the next step is to set it as the boot drive. This ensures that your computer starts up from the SSD and takes advantage of its faster performance. Follow the steps below to set the SSD as the boot drive:
- Restart your computer and enter the BIOS or UEFI settings. The specific key to access the BIOS or UEFI may vary depending on your computer manufacturer, but it is often the Delete or F2 key.
- Navigate to the “Boot” or “Boot Options” section in the BIOS/UEFI settings.
- Locate the option to select the boot device order or boot priority. This is where you can specify the order in which your computer looks for a bootable device.
- Move the SSD to the top of the boot device order or set it as the first boot priority. This will ensure that the computer boots from the SSD first.
- Save the changes and exit the BIOS/UEFI settings. The specific key to save and exit may vary, but it is commonly the F10 or F10 key.
- Restart your computer to verify that it boots from the SSD. If everything is set up correctly, you should notice a significant improvement in the boot time and overall performance of your system.
It is important to note that if your computer has an existing operating system on the old hard drive, you may need to remove or disconnect the old drive to ensure that the computer boots from the SSD. This step is necessary to avoid conflicts between the two drives.
By setting the SSD as the boot drive, you maximize the benefits of having a faster and more responsive operating system. Your applications will load quicker, and you’ll experience improved overall system performance.
Conclusion
Transferring your operating system to an SSD can greatly enhance the performance and speed of your Windows computer. By following the step-by-step guide provided in this article, you can ensure a smooth and successful OS transfer process.
The benefits of transferring your OS to an SSD are numerous. Not only will you experience faster boot times and improved overall system responsiveness, but you’ll also enjoy shorter application loading times and faster file transfers. With an SSD, your computer will feel like a brand new machine, allowing you to work more efficiently and effortlessly.
Remember, before attempting any OS transfer, it’s vital to back up your important data to avoid any potential data loss. Additionally, make sure to choose a quality SSD with sufficient capacity to accommodate your operating system and other essential files.
By upgrading to an SSD and transferring your OS, you’ll take full advantage of the advanced technology and revel in the enhanced performance, speed, and reliability it brings to your Windows computer.
FAQs
1. Can I transfer the operating system to an SSD without reinstalling Windows?
Yes, you can transfer the operating system to an SSD without reinstalling Windows by using specialized software that clones the entire system partition to the SSD. This process ensures that all your files, settings, and programs remain intact while benefiting from the improved performance of an SSD.
2. What software do I need to transfer the operating system to an SSD?
There is a range of software available that can help you transfer the operating system to an SSD. Some popular options include EaseUS Todo Backup, Acronis True Image, and Macrium Reflect. These tools offer user-friendly interfaces and step-by-step instructions to make the process as simple as possible.
3. Are there any precautions I should take before transferring the operating system to an SSD?
Before transferring the operating system to an SSD, it is important to back up all your important files and data in case anything goes wrong during the transfer process. Additionally, ensure that your SSD has enough capacity to accommodate the operating system along with any other files and programs you wish to transfer.
4. Can I transfer the operating system to an SSD on a laptop?
Yes, you can transfer the operating system to an SSD on a laptop. The process is generally the same as transferring the operating system on a desktop computer. However, it’s important to make sure the laptop’s SSD is compatible with your specific model before proceeding with the transfer.
5. Will transferring the operating system to an SSD improve my computer’s performance?
Yes, transferring the operating system to an SSD can significantly improve your computer’s performance. SSDs are faster and more efficient than traditional hard drives, resulting in faster boot times, quicker application launches, and improved overall system responsiveness. You’ll notice a significant difference in speed and performance after transferring the operating system to an SSD.