
Welcome to the ultimate guide on how to trim a video on Mac! Whether you’re a videographer, content creator, or simply someone who enjoys capturing memories on your Mac, knowing how to trim videos is an essential skill. Video trimming allows you to remove unwanted sections, create highlight reels, or shorten long videos for easy sharing. As technology evolves, so do the methods and tools available for video editing on Mac. In this article, we’ll explore the latest methods and techniques for trimming videos on your Mac, so you can effortlessly create professional-looking videos that captivate your audience. From using built-in software to third-party applications, we’ll cover it all, ensuring you’re equipped with the knowledge to make your videos shine. So, let’s dive in and discover how to trim a video on your Mac!
Inside This Article
- How to Trim a Video on Mac (2023 Update)
- Getting Started
- Using the built-in QuickTime Player
- Trimming videos with iMovie
- Advanced video trimming with third-party applications
- Conclusion
- FAQs
How to Trim a Video on Mac (2023 Update)
Trimming a video is a common task when it comes to editing videos on a Mac. Whether you want to remove unnecessary footage, create shorter clips, or simply polish your video before sharing it with others, knowing how to trim a video is essential. In this article, we’ll explore various methods to trim videos on a Mac, including using the built-in QuickTime Player, iMovie, and third-party applications.
If you’re looking for a quick and easy way to trim videos on your Mac, you can start by using the built-in QuickTime Player. This versatile media player not only allows you to play videos but also offers basic video editing features, including trimming. Simply open the video file in QuickTime Player, go to the “Edit” tab, and select “Trim” from the dropdown menu. Drag the yellow handles on the timeline to adjust the start and end points of your video. Once you’re satisfied with the selection, click “Trim” to save the trimmed video.
For more advanced video editing capabilities, you can turn to iMovie, Apple’s powerful video editing software. iMovie provides a user-friendly interface and a wide range of tools to trim, split, and edit videos on Mac. To trim a video in iMovie, import the video into your project, and then select it in the timeline. Next, click on the “Trim to Selection” button and drag the yellow handles to adjust the start and end points of the video. Once you’ve made the desired changes, click “Apply” to save the trimmed video.
If you require more advanced video editing features or want to explore additional options, you can consider using third-party applications. There are several reputable video editing software available for Mac, such as Adobe Premiere Pro, Final Cut Pro, and DaVinci Resolve. These applications offer advanced video editing capabilities, including precise trimming, transitions, effects, and more. They are ideal for professionals or users who require more control and flexibility when editing videos.
Getting Started
Before we dive into the different methods of trimming a video on Mac, let’s start with the basics. To begin the process, you will need a Mac computer and the video file you want to work with.
The first thing you need to do is locate the video file on your Mac. It could be stored in your Downloads folder, Documents folder, or any other location where you save your videos. Take note of the file’s location, as you will need it during the trimming process.
Next, ensure that you have the necessary software installed on your Mac to trim videos. While Mac computers come with a built-in video player called QuickTime Player, it may not provide the advanced trimming options you desire. In that case, you may need to explore other applications such as iMovie or third-party video editing software. We will cover these options in the following sections.
It’s also important to create a backup copy of the original video file before you start trimming it. This ensures that you have a backup in case anything goes wrong during the trimming process. Simply make a duplicate copy of the video file and store it in a separate folder.
Lastly, make sure your Mac has sufficient storage space to accommodate the trimmed video file. Trimming a video involves removing certain portions, which can result in a smaller file size. However, if you plan on making significant edits or adjustments, you may need to consider freeing up some space on your Mac to avoid any storage-related issues.
Once you have gathered the necessary equipment and taken the precautionary measures, you are ready to move on to the actual video trimming process. In the next sections, we will explore various methods, including using the built-in QuickTime Player, utilizing iMovie, and exploring more advanced options with third-party applications.
Using the built-in QuickTime Player
When it comes to trimming videos on a Mac, one of the simplest and most accessible options is using the built-in QuickTime Player. This powerful media player, which is already installed on your Mac, offers basic video editing features that allow you to easily trim your videos.
To get started, follow these steps:
- Open the video you want to trim in QuickTime Player. You can do this by double-clicking the video file or by right-clicking the file and selecting “Open With” and then choosing QuickTime Player.
- Once the video is open, go to the “Edit” menu at the top of the screen and choose the “Trim” option. Alternatively, you can use the keyboard shortcut Command + T.
- A new window will appear, displaying a timeline of your video. Use the yellow handles on either side of the timeline to select the portion of the video you want to keep.
- After selecting the desired portion, click on the “Trim” button.
- To save the trimmed video, go to the “File” menu and select “Save” or “Export.” Choose your desired format and location to save the trimmed video file.
Using the built-in QuickTime Player to trim videos on your Mac is a quick and convenient solution. However, it’s important to note that QuickTime Player only offers basic trimming capabilities. If you require more advanced video editing features, you may need to explore other options such as iMovie or third-party applications.
Now that you know how to trim a video using QuickTime Player, you can easily remove any unwanted footage from your videos and create concise and visually appealing content.
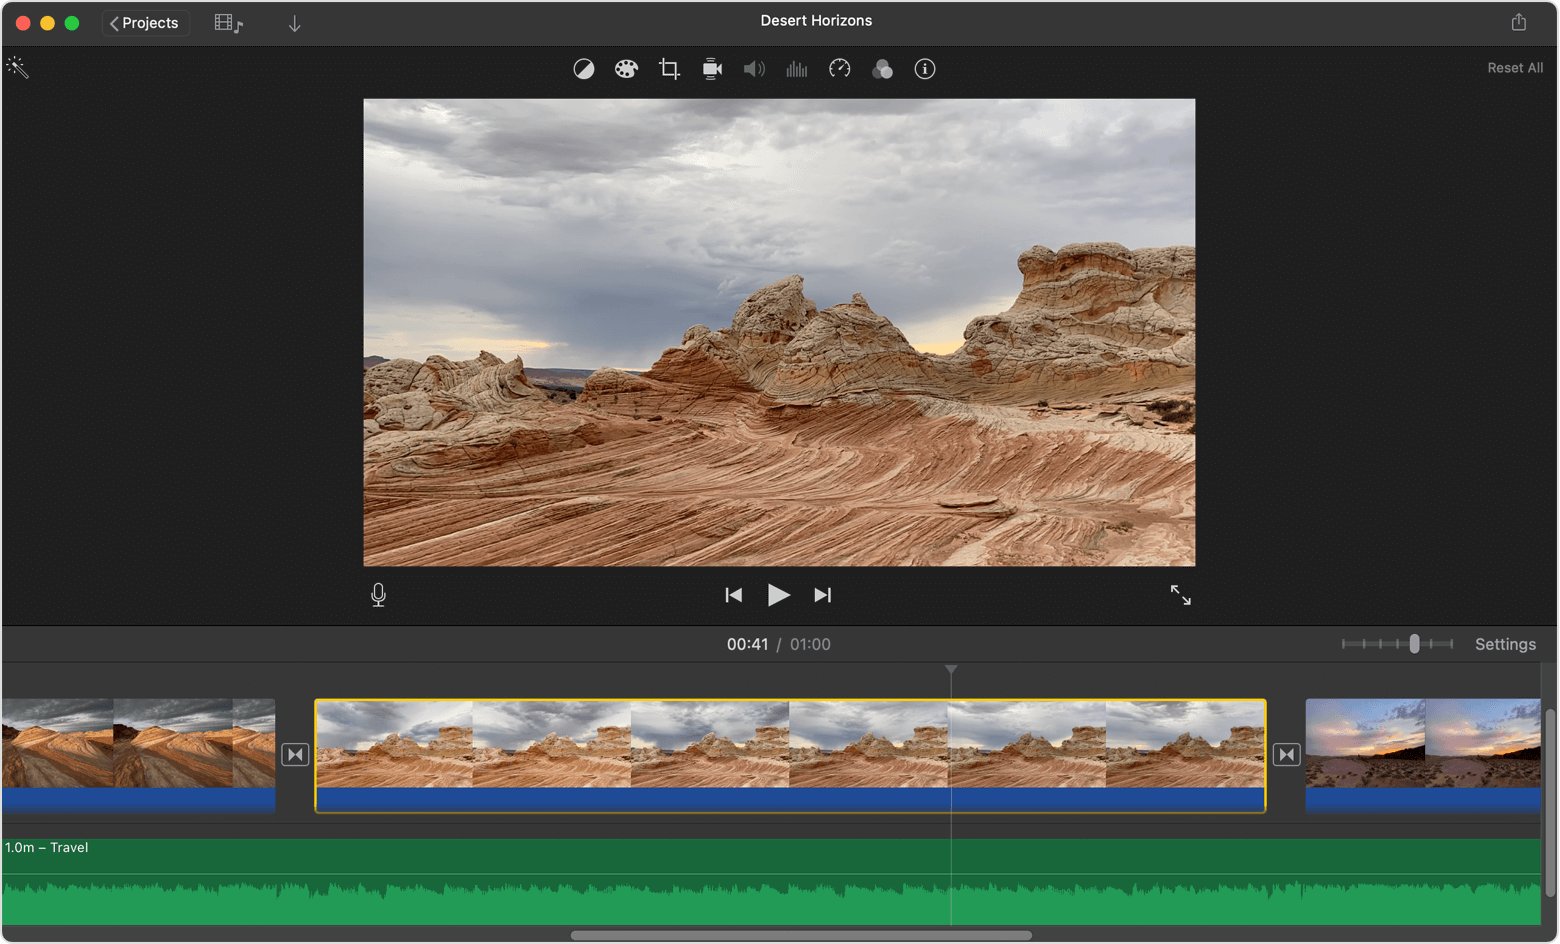
Trimming videos with iMovie
If you’re a Mac user, chances are you’re already familiar with iMovie, Apple’s popular video editing software. Not only does iMovie offer a wide range of editing features, but it also provides a user-friendly interface that makes video trimming a breeze.
To trim a video using iMovie, follow these simple steps:
- Launch iMovie on your Mac.
- Create a new project by clicking on “Create New” and selecting “Movie.”
- Import the video you want to trim by clicking on the “Import Media” button and selecting the desired video file from your computer.
- Drag and drop the imported video onto the timeline at the bottom of the iMovie window.
- Select the video clip on the timeline by clicking on it.
- Click on the “Crop to Fill” button at the top of the iMovie window.
- A yellow highlight will appear around the video clip, indicating that it is selected for trimming.
- Move your mouse cursor to the beginning or end of the video clip until the trim icon appears.
- Drag the trim icon towards the center of the video clip to shorten it or towards the edges to lengthen it.
- Preview the trimmed video by playing it back in the iMovie preview window.
- Once you’re satisfied with the trimmed video, click on the “Done” button to apply the changes.
- Save your trimmed video by going to “File” and selecting “Share” > “File.”
- Choose the desired video format and quality settings, then click on “Next” to save the trimmed video to your preferred location.
With iMovie, you have the flexibility to adjust the start and end points of your video clips with precision. Whether you’re trimming unwanted sections, creating highlight reels, or making quick edits, iMovie is a versatile and reliable tool for video trimming on your Mac.
Advanced video trimming with third-party applications
While the built-in applications on Mac, such as QuickTime Player and iMovie, offer basic video trimming features, you may require more advanced options for precision editing or additional functionality. In such cases, using third-party applications can be a great solution.
There are numerous third-party video editing applications available for Mac that offer robust video trimming capabilities. These applications come with a wide range of features and tools to enhance your video editing experience.
One popular option for advanced video trimming on Mac is Adobe Premiere Pro. This professional-grade software is widely used in the film and television industry and provides powerful trimming tools. With its intuitive interface and advanced editing features, you can trim videos with precision and have complete control over the editing process.
Another excellent choice is Final Cut Pro, Apple’s professional video editing software. It offers advanced trimming options, including frame accurate trimming and the ability to create multiple edit points within a single clip. Final Cut Pro also provides additional features like color grading, audio editing, and special effects to further enhance your videos.
If you prefer a user-friendly and affordable option, you can consider using Filmora. This video editing software is known for its simplicity and ease of use. It offers a range of editing tools, including video trimming, cropping, and adding transitions. Filmora also provides a wide selection of free effects and templates to take your video editing to the next level.
For those looking for a free option, Shotcut is a powerful open-source video editor that supports trimming and editing videos on Mac. It has a clean and intuitive interface and provides essential video editing features, including trimming, merging, and applying filters. Shotcut also supports a wide range of video formats, making it a versatile option for video editing.
Before choosing a third-party application for advanced video trimming on Mac, consider your specific editing needs and budget. Many applications offer free trials, allowing you to test them out before making a purchase.
With these advanced third-party applications, you can take your video trimming skills to the next level and create professional-looking videos with ease.
Trimming a video on Mac has never been easier thanks to the various software options and tools available. Whether you’re a professional video editor or a casual user, being able to trim videos is a valuable skill that can enhance your content and make it more engaging.
In this article, we’ve explored some of the best methods for trimming videos on Mac, including using built-in software like iMovie and QuickTime Player, as well as third-party applications like Filmora and Adobe Premiere Pro. Each option offers its own unique features and functionalities, allowing you to choose the one that suits your needs and preferences.
Remember, when trimming a video, it’s important to have a clear vision of what you want to achieve and select the appropriate software accordingly. By following the step-by-step instructions and utilizing the tools available, you’ll be able to trim and edit your videos effortlessly.
Now that you have the knowledge and resources, go ahead and start trimming your videos on Mac. Unleash your creativity and captivate your audience with polished and well-edited videos!
FAQs
1. Can I trim a video on Mac without using any third-party software?
Yes, you can trim a video on Mac using the built-in video editing tool called iMovie. It comes pre-installed on all Mac computers and offers a wide range of editing features, including the ability to trim videos. Simply launch iMovie, import your video, and use the trimming tools to cut and remove unwanted parts.
2. Is it possible to trim a specific section of a video on Mac?
Absolutely! When using iMovie or other third-party video editing software on Mac, you have the option to trim a specific section of a video. Simply place the playhead at the starting point of the section you want to trim, and set the start marker. Then, move the playhead to the end point of the section and set the end marker. Finally, use the trimming tools to cut out the selected portion.
3. What formats are supported for video trimming on Mac?
Mac supports a wide range of video formats, so you shouldn’t have any issues trimming videos regardless of their format. Popular formats such as MP4, MOV, AVI, and WMV are all compatible with macOS. However, if you encounter any problems with a specific format, you can convert it to a compatible format using a video converter before trimming it on your Mac.
4. Can I undo a video trim on Mac?
Unfortunately, once you have made changes to a video, including trimming it, you cannot undo the modifications using iMovie or most other video editing software. It is recommended to create a backup of the original video file before making any edits, so you can always revert to the untrimmed version if needed.
5. Will trimming a video on Mac affect its quality?
When you trim a video on Mac using iMovie or other reputable video editing tools, the quality of the video should not be affected significantly. These software applications are designed to maintain the original video quality during editing. However, keep in mind that if you repeatedly trim and export a video, there may be a slight loss in quality due to the compression process.