
Sending a phone number via email may seem straightforward, but it's essential to ensure that the recipient can easily access and utilize the information. In this article, we'll explore the best practices for emailing a phone number via Gmail. Whether you're sharing a contact's number, a business line, or a personal mobile number, it's crucial to convey the details clearly and effectively. We'll delve into the most efficient methods for formatting the phone number, addressing potential issues, and optimizing the email for seamless communication. By following these guidelines, you can streamline the process of sharing phone numbers via Gmail, ensuring that the recipient can effortlessly retrieve and utilize the information. Let's dive into the intricacies of emailing phone numbers and discover how to do so with precision and clarity.
Inside This Article
- Step 1: Open Gmail
- Step 2: Compose a New Email
- Step 3: Enter the Recipient's Email Address
- Step 4: Type the Phone Number in the Email Body
- Step 5: Send the Email
- Conclusion
- FAQs
Step 1: Open Gmail
Gmail, the popular email service provided by Google, offers a user-friendly platform for sending and receiving emails, including the ability to send phone numbers. To begin the process of emailing a phone number via Gmail, the first step is to open the Gmail website or launch the Gmail app on your device.
Accessing Gmail on a Web Browser
If you prefer using a web browser to access Gmail, simply open your preferred browser and enter "www.gmail.com" in the address bar. Once the Gmail homepage loads, you will be prompted to enter your email address and password to sign in to your account. After successfully signing in, you will be directed to the Gmail inbox, where you can proceed to compose a new email.
Accessing Gmail via the Mobile App
For those who opt to use the Gmail mobile app, locate the Gmail app icon on your device and tap to open it. Upon opening the app, you will be prompted to enter your email address and password to sign in. After signing in, you will be directed to the Gmail interface, where you can initiate the process of composing a new email.
Familiarizing Yourself with the Gmail Interface
Once you have successfully accessed Gmail, take a moment to familiarize yourself with the interface. The Gmail interface typically consists of a navigation panel on the left, displaying various folders such as Inbox, Sent, Drafts, and more. In the center, you will find the main email content area, where your emails are displayed. At the top of the interface, you will see the navigation bar, which includes options such as "Compose," "Search mail," and "Settings."
By following these simple steps to open Gmail, you are now ready to proceed to the next step of composing a new email and sending a phone number to your desired recipient. Whether you are using the web browser version or the mobile app, Gmail provides a seamless and intuitive platform for managing your email communications.
Step 2: Compose a New Email
Composing a new email in Gmail is a straightforward process that allows you to craft personalized messages and include various types of content, including phone numbers. Once you have accessed your Gmail account, whether through the web browser or the mobile app, you can initiate the process of composing a new email by following these simple steps.
Web Browser:
-
After signing in to your Gmail account, locate and click on the "Compose" button, typically situated in the upper left corner of the interface. This action will prompt a new email window to appear, providing a blank canvas for you to create your message.
-
In the new email window, you will find fields to enter the recipient's email address, the email subject, and the email body. These fields allow you to customize the email according to your specific communication needs.
-
Take advantage of the formatting options available in the email body section to enhance the visual appeal of your message. You can utilize features such as bold text, italics, bullet points, and numbered lists to structure your content effectively.
-
When including a phone number in the email body, consider using a clear and easily readable format. For instance, you can separate the digits with hyphens or periods to improve the phone number's visual clarity.
Mobile App:
-
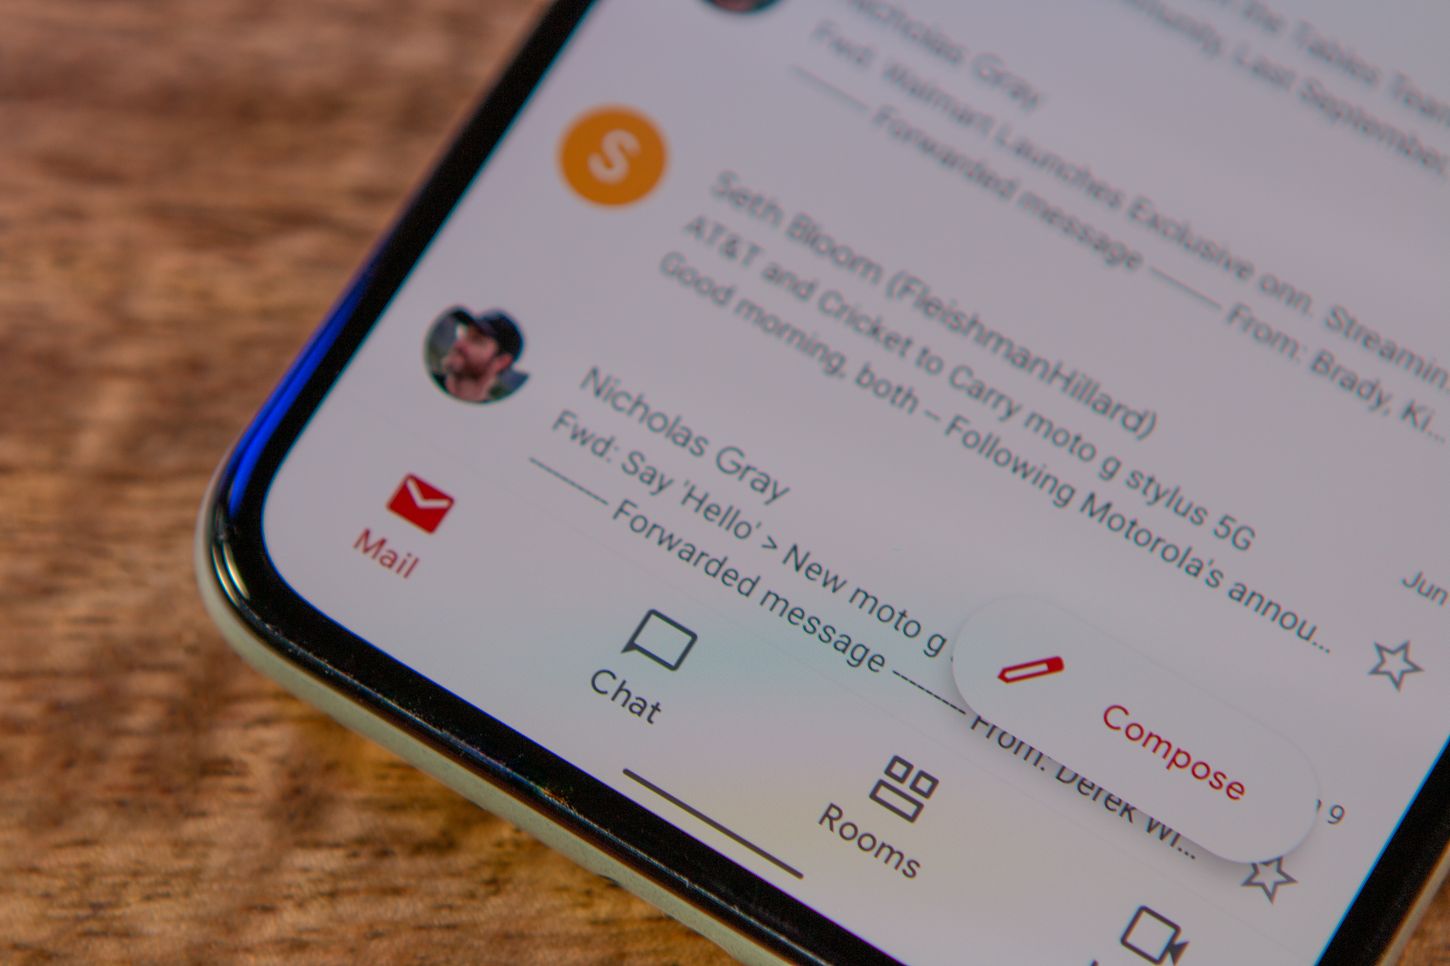
Upon accessing the Gmail app, tap on the "Compose" icon, typically represented by a pencil or a "+" sign, located at the bottom right corner of the interface. This action will open a new email composition window, allowing you to begin drafting your message.
-
Similar to the web browser version, the mobile app provides fields to enter the recipient's email address, the email subject, and the email body. You can input the recipient's email address and proceed to the next step of including the phone number in the email body.
-
Utilize the formatting options available in the mobile app to customize the appearance of your email content. These options enable you to create visually appealing and well-structured messages that effectively convey the included phone number.
By following these steps to compose a new email in Gmail, you can seamlessly incorporate a phone number into your message, ensuring that the recipient receives the information in a clear and organized manner. The ability to compose personalized emails with diverse content types makes Gmail a versatile platform for various communication needs.
Step 3: Enter the Recipient's Email Address
When it comes to sending an email via Gmail, entering the recipient's email address is a crucial step in ensuring that your message reaches the intended individual or group. Whether you are using the web browser version of Gmail or the mobile app, the process of entering the recipient's email address follows a consistent and user-friendly approach.
Web Browser:
After clicking on the "Compose" button to initiate a new email, you will encounter a designated field where you can enter the recipient's email address. It is essential to input the correct email address to avoid any delivery issues. Gmail provides helpful features such as auto-complete suggestions based on your contacts, which can streamline the process of entering the recipient's email address. This feature can be particularly beneficial if you frequently communicate with the recipient, as it minimizes the likelihood of typographical errors.
Mobile App:
In the Gmail mobile app, tapping on the "Compose" icon opens a new email composition window, where you can proceed to enter the recipient's email address. Similar to the web browser version, the mobile app also offers auto-complete suggestions based on your contacts, facilitating the entry of the recipient's email address. This intuitive feature enhances the efficiency of addressing your emails, especially when communicating with individuals or groups from your existing contacts.
Best Practices:
When entering the recipient's email address, it is advisable to double-check the accuracy of the input to prevent any miscommunication. Additionally, if you are sending the email to multiple recipients, Gmail allows you to enter multiple email addresses in the designated field, separated by commas. This capability simplifies the process of addressing group emails, enabling you to reach multiple recipients within a single email.
By adhering to these best practices and leveraging the user-friendly interface of Gmail, you can seamlessly enter the recipient's email address, ensuring that your email communication is directed to the intended individuals or groups. The intuitive features provided by Gmail contribute to a streamlined and efficient email addressing process, enhancing the overall user experience.
Step 4: Type the Phone Number in the Email Body
Once you have initiated the process of composing a new email in Gmail and entered the recipient's email address, the next step involves typing the phone number in the email body. This step is essential when you need to communicate a phone number to the recipient, whether it pertains to personal contacts, business inquiries, or any other relevant information. Typing the phone number in the email body requires attention to detail and clarity to ensure that the recipient can easily access and utilize the provided information.
When including a phone number in the email body, it is important to consider the formatting and presentation to enhance readability and comprehension. Here are some best practices to effectively type the phone number in the email body:
-
Clear Formatting: Begin by typing the phone number in a clear and easily readable format. For instance, you can use standard conventions such as separating the digits with hyphens or periods. This formatting approach improves the visual clarity of the phone number, making it easier for the recipient to identify and interpret the digits.
-
Include Country Code: If the phone number pertains to an international contact, it is advisable to include the relevant country code at the beginning of the number. This practice ensures that the recipient can readily identify the country of origin for the provided phone number, facilitating seamless communication across borders.
-
Accompany with Context: Depending on the nature of the communication, consider accompanying the phone number with relevant context or instructions. For instance, if you are sharing a business contact's phone number, you can include a brief note specifying the individual's name and their role within the organization. This contextual information adds value to the phone number, providing the recipient with a comprehensive understanding of its significance.
-
Utilize Text Styling: Leverage the text styling options available in Gmail's email composition interface to emphasize the phone number within the email body. You can use bold or italic formatting to make the phone number stand out, drawing the recipient's attention to this specific piece of information.
-
Avoid Ambiguity: When typing the phone number, ensure that there are no ambiguities or typographical errors that could potentially confuse the recipient. Double-check the accuracy of the digits and formatting to guarantee that the phone number is presented with precision and clarity.
By adhering to these best practices and approaching the task of typing the phone number in the email body with attention to detail, you can effectively convey this essential information to the recipient. The clear and well-structured presentation of the phone number enhances the overall communication experience, enabling seamless access and utilization by the recipient.
Step 5: Send the Email
After composing the email and including the phone number in the email body, the final step is to send the email to the intended recipient. Sending an email via Gmail is a straightforward process that ensures efficient delivery of your message, along with the included phone number. Whether you are using the web browser version of Gmail or the mobile app, the steps to send the email follow a consistent and user-friendly approach.
Web Browser:
Once you have finalized the email content and ensured that the phone number is accurately included, you can proceed to send the email by following these simple steps:
-
Review the Email: Before sending the email, take a moment to review the entire message, including the email subject, body content, and the included phone number. This review allows you to confirm the accuracy and completeness of the information before it is dispatched to the recipient.
-
Click "Send": After reviewing the email, locate the "Send" button, typically situated at the bottom of the email composition window. Clicking this button initiates the sending process, transmitting your email and the enclosed phone number to the recipient's email address.
-
Confirmation: Upon clicking "Send," Gmail may display a brief confirmation message to indicate that the email has been successfully sent. This confirmation provides reassurance that your communication, along with the shared phone number, has been dispatched to the intended recipient.
Mobile App:
In the Gmail mobile app, the process of sending the email is equally seamless and can be accomplished using the following steps:
-
Final Check: Similar to the web browser version, perform a final check of the email content to ensure that the phone number is accurately presented and that the overall message meets your communication objectives.
-
Tap "Send": Once you are satisfied with the email content, tap the "Send" icon, typically represented by a paper airplane symbol, located within the email composition interface. This action triggers the sending process, delivering your email and the included phone number to the designated recipient.
-
Sent Confirmation: Upon successful transmission, the Gmail app may display a confirmation notification, indicating that the email, along with the shared phone number, has been sent. This confirmation serves as a confirmation of the successful delivery of your communication.
By following these steps to send the email via Gmail, you can ensure that your message, along with the included phone number, is promptly delivered to the recipient. The intuitive interface and streamlined sending process offered by Gmail contribute to a seamless and efficient email communication experience, facilitating effective sharing of essential contact information.
In conclusion, knowing how to email a phone number via Gmail can greatly enhance communication and streamline information sharing. By following the simple steps outlined in this article, users can effortlessly include phone numbers in their emails, facilitating seamless connections and interactions. This capability is particularly valuable for professionals, businesses, and individuals seeking to efficiently exchange contact details. With Gmail's user-friendly interface and versatile features, sharing phone numbers via email becomes a straightforward and convenient process. Embracing these techniques empowers users to harness the full potential of email communication, fostering stronger connections and facilitating effective information exchange. Mastering this skill can significantly enhance productivity and communication efficiency in both personal and professional contexts.
FAQs
-
Can I email a phone number via Gmail?
- Yes, you can email a phone number via Gmail. Simply type the phone number into the body of the email or add it as a signature. However, it's important to consider privacy and security when sharing personal contact information via email.
-
Is it safe to email a phone number?
- While it is generally safe to email a phone number, it's crucial to be mindful of the recipient's privacy and security. Avoid sending sensitive information via email and ensure that you have the recipient's consent before sharing their contact details.
-
Can I send a phone number as a clickable link in Gmail?
-
What are the best practices for emailing a phone number?
- When emailing a phone number, it's best to ensure that the recipient is expecting the information and has consented to receiving it. Additionally, consider using secure methods of communication for sensitive information and always respect the recipient's privacy preferences.
-
Are there any limitations to emailing phone numbers via Gmail?
- Gmail does not impose specific limitations on emailing phone numbers. However, it's important to adhere to Gmail's policies and guidelines regarding the sharing of personal information and to use discretion when sending contact details via email.