
Are you the proud owner of the new iPhone 13 and wondering how to capture screenshots on your device? Look no further! In this comprehensive guide, we will walk you through the simple steps to take screenshots with your iPhone 13. Whether you want to capture a funny text conversation, save a memorable moment from a video, or share an exciting achievement in a game, learning how to take a screenshot is a fundamental skill every iPhone user should have. With the improved display, powerful cameras, and innovative features of the iPhone 13, capturing and sharing those special moments has never been easier. So, grab your new iPhone 13 and let’s dive in to discover how you can take stunning screenshots in just a few simple taps!
Inside This Article
- Method 1: Using the Physical Buttons
- Method 2: Using AssistiveTouch
- Method 3: Using the Control Center
- Method 4: Using Siri
- Conclusion
- FAQs
Method 1: Using the Physical Buttons
Using the physical buttons on your iPhone is the quickest and most straightforward method to capture a screenshot. All you need to do is follow these simple steps:
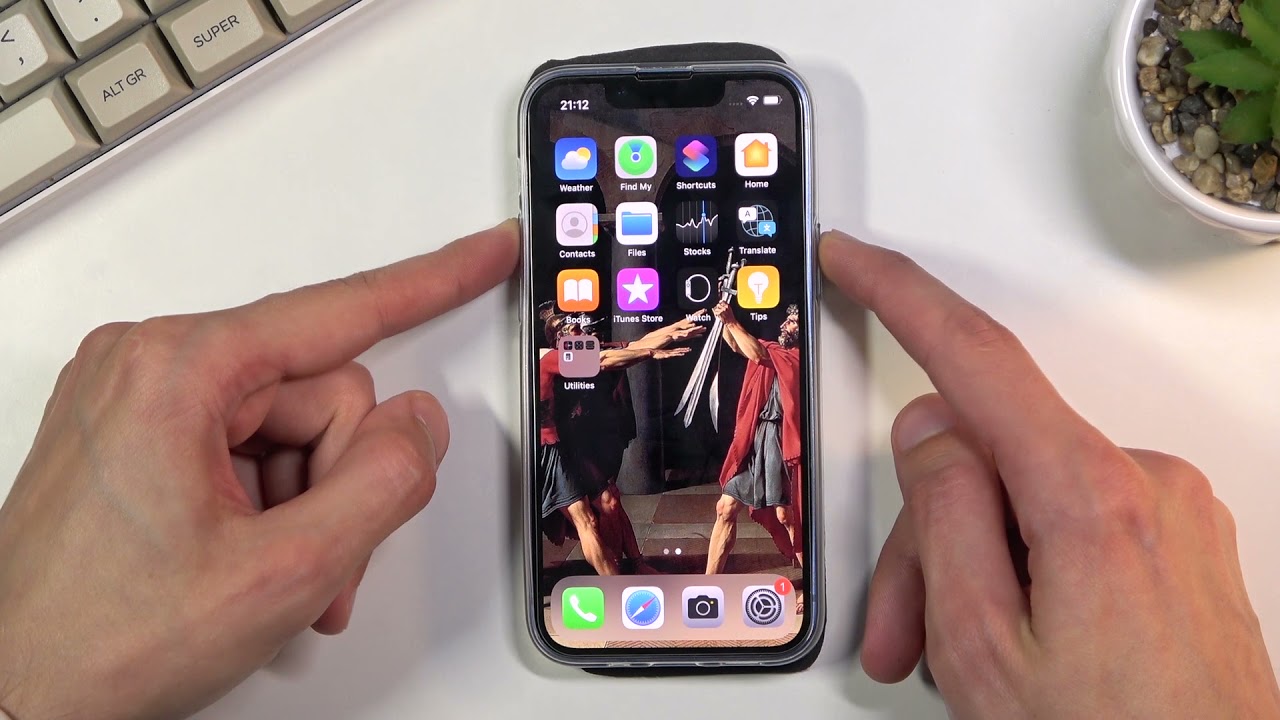
Step 1: Locate the buttons – The two physical buttons involved in this method are the Volume Up button and the Side button. The Volume Up button is usually found on the left side of the iPhone, while the Side button (also known as the Power button) is usually situated on the right side.
Step 2: Prepare the screen – Navigate to the screen that you wish to capture. Make sure that everything you want to include in the screenshot is visible on the display.
Step 3: Press the buttons – Once you have positioned everything correctly, simultaneously press and release the Volume Up button and the Side button. You will hear a camera shutter sound, and the screen will flash briefly to indicate that the screenshot has been taken.
Step 4: Locate the screenshot – Your iPhone automatically saves the captured screenshot in the Photos app. To access it, go to your Home screen and open the Photos app. Navigate to the “Screenshots” album, where you will find the latest screenshot at the top.
Using the physical buttons on your iPhone to take a screenshot is a convenient and reliable method. It can be performed quickly and is easily accessible, making it a popular choice among iPhone users.
Method 2: Using AssistiveTouch
If you prefer a more convenient way to take screenshots on your iPhone 13, you can use the AssistiveTouch feature. AssistiveTouch is a built-in accessibility feature that allows you to navigate and control your device using virtual buttons. Here’s how you can use AssistiveTouch to capture screenshots:
1. Start by enabling AssistiveTouch on your iPhone 13. Go to “Settings”, select “Accessibility”, and then tap on “Touch”. From there, find the “AssistiveTouch” option and toggle it on.
2. Once AssistiveTouch is enabled, a small floating button will appear on your screen. You can drag it to any corner of the screen that is convenient for you.
3. To take a screenshot, tap on the AssistiveTouch button to open the menu. You will see various virtual buttons, including a “Screenshot” button. Tap on the “Screenshot” button, and your iPhone 13 will capture the current screen.
4. After taking the screenshot, you can find it in your Photos app. Simply open the Photos app and navigate to the “Screenshots” album to access the captured image.
Using AssistiveTouch to take screenshots on your iPhone 13 can be especially helpful for individuals with motor skills or physical impairments. It provides an alternative way to perform actions that might be challenging using the physical buttons on the device.
Keep in mind that AssistiveTouch offers more than just the ability to take screenshots. You can explore its other features and customize the virtual buttons to suit your needs and preferences. Take some time to familiarize yourself with this powerful accessibility tool.
Method 3: Using the Control Center
If you want a quick and convenient way to take screenshots on your iPhone 13, using the Control Center is the way to go. The Control Center gives you easy access to various settings and features of your device, including the screenshot function.
To access the Control Center, simply swipe down from the top-right corner of the screen. On older iPhone models, you may need to swipe up from the bottom of the screen. Once the Control Center is open, you will see a variety of icons and shortcuts.
Look for the icon that represents the screenshot function, which looks like a square with a circle inside. Tap on this icon to instantly capture a screenshot of your current screen.
After taking the screenshot, a preview will appear in the bottom left corner of the screen. From here, you can edit, annotate, or share the screenshot directly. To edit the screenshot, tap on the preview, and you will be taken to the Markup screen where you can crop, draw, add text, and more.
If you want to share the screenshot immediately, tap on the share icon in the bottom left corner of the Markup screen. This will give you options to share the screenshot via messaging apps, email, social media, and more.
If you prefer not to edit or share the screenshot right away, you can simply dismiss the preview by swiping it to the left or tapping on the X button. The screenshot will be saved in your Photos app for you to access later.
Using the Control Center to take screenshots on your iPhone 13 is incredibly convenient and efficient. It allows you to capture important moments or information with just a few taps, giving you the flexibility to edit and share at your convenience.
Method 4: Using Siri
Siri, the virtual assistant on the iPhone, can also be used to take screenshots effortlessly. Here’s how:
1. Activate Siri by either holding down the side button or saying “Hey Siri” if enabled.
2. Once Siri is activated, simply say, “Take a screenshot.”
3. Siri will instantly capture a screenshot of your current screen, and you will hear a shutter sound indicating the success of the action.
4. The screenshot will be automatically saved in your Photos app under the Screenshots album.
Using Siri to take screenshots is particularly useful if you have accessibility needs or prefer a hands-free experience. It allows you to capture your screen without needing to touch any physical buttons or navigate through settings menus.
Please note that Siri must be enabled on your device for this method to work. You can enable Siri by going to Settings > Siri & Search and toggling the “Listen for ‘Hey Siri'” and “Press Side Button for Siri” options.
Conclusion
The iPhone 13 offers users a seamless and convenient way to capture screenshots with its advanced features and intuitive interface. Whether you need to save an important message, capture a funny moment, or document crucial information, the screenshot functionality of the iPhone 13 is there to assist you. Simply follow the easy steps outlined in this article, and you’ll be able to capture and save screenshots effortlessly. With its powerful processor, stunning display, and innovative camera system, the iPhone 13 is a versatile device that caters to the needs of both professionals and casual users. So, go ahead and explore the incredible world of screenshotting with your iPhone 13!
FAQs
Q: How do I take a screenshot with iPhone 13?
To take a screenshot with iPhone 13, simply press and hold the Side button on the right side of the device simultaneously with the Volume Up button. Release the buttons when you see a thumbnail of the screenshot appear in the corner of the screen.
Q: Where can I find my screenshots on iPhone 13?
After taking a screenshot, it will appear as a thumbnail in the bottom left corner of the screen. Tap on the thumbnail to open it immediately, or swipe it off the screen to save it to your Photos app.
Q: Can I edit my screenshots on iPhone 13?
Yes, you can easily edit your screenshots on iPhone 13. After taking a screenshot, tap on the thumbnail that appears in the bottom left corner of the screen. This will open the screenshot in Markup, where you can add text, drawings, shapes, and more before saving or sharing it.
Q: How do I share my screenshots on iPhone 13?
To share your screenshots on iPhone 13, open the screenshot by tapping on the thumbnail that appears in the bottom left corner of the screen. From there, tap on the Share button, which looks like a square with an upward arrow. You can then choose to share the screenshot via messages, email, social media, or any other compatible apps.
Q: Is there a way to take a screenshot of a specific portion of the screen on iPhone 13?
Yes, you can take a screenshot of a specific portion of the screen on iPhone 13 using a feature called “Quick markup.” After taking a screenshot, immediately tap on the thumbnail that appears in the bottom left corner of the screen. This will open the screenshot in Markup, where you can make adjustments or use the cropping tool to select the desired portion before saving or sharing it.