
Sure, here's the introduction wrapped in a
tag:
Do Not Disturb mode on the iPhone 14 is a useful feature that allows you to silence calls, alerts, and notifications when you need some peace and quiet. However, there are times when you may want to turn off Do Not Disturb and return to receiving notifications and calls as usual. If you’re wondering how to shut off Do Not Disturb on your iPhone 14, you’ve come to the right place. In this article, we’ll guide you through the steps to disable Do Not Disturb mode on your iPhone 14, ensuring that you stay connected and accessible whenever you need to be.
Inside This Article
- Turning Off Do Not Disturb Manually
- Scheduling Do Not Disturb
- Using Control Center to Disable Do Not Disturb
- Adjusting Do Not Disturb Settings
- Conclusion
- FAQs
Turning Off Do Not Disturb Manually
Do Not Disturb mode is a handy feature on the iPhone 14 that silences calls, alerts, and notifications when activated. However, there are times when you need to turn it off manually to ensure you don’t miss important calls or messages. Here’s how to do it:
To turn off Do Not Disturb manually, start by unlocking your iPhone 14 and opening the Control Center. You can access the Control Center by swiping down from the top-right corner of the screen on models with Face ID, or by swiping up from the bottom of the screen on models with a Home button.
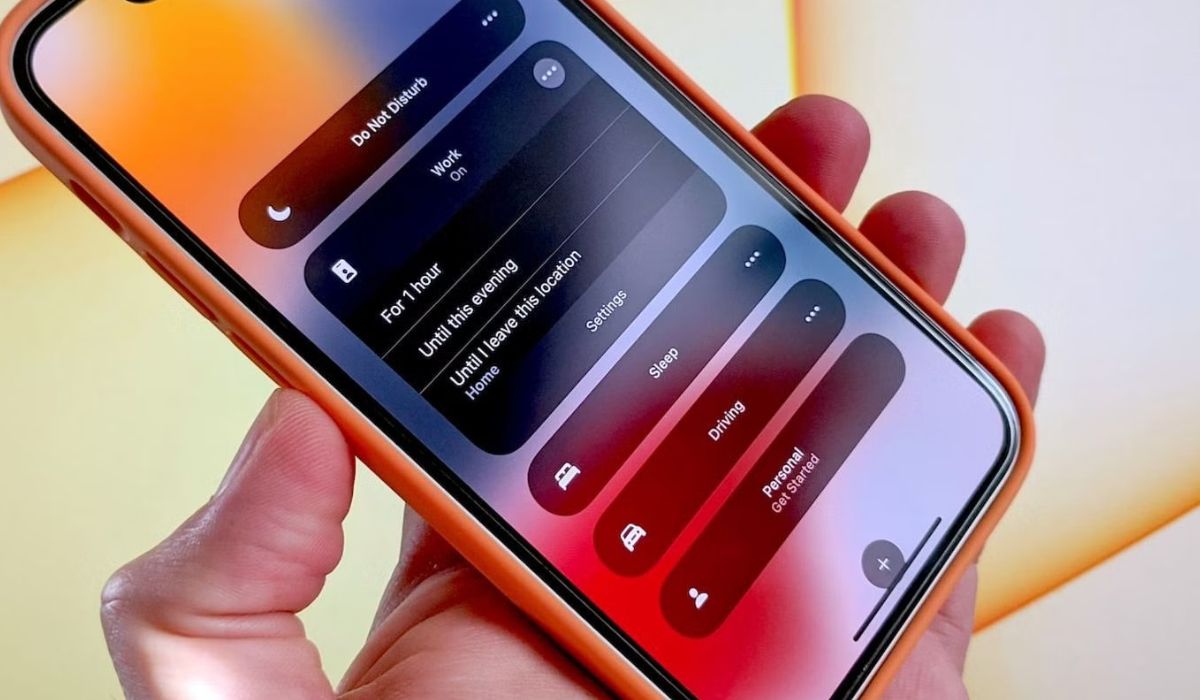
Next, look for the crescent moon icon in the Control Center. This icon represents the Do Not Disturb mode. If the crescent moon icon is highlighted in blue, it means that Do Not Disturb is currently active. To turn it off, simply tap the crescent moon icon to deactivate Do Not Disturb mode.
Once you’ve tapped the crescent moon icon, it should no longer be highlighted, indicating that Do Not Disturb mode has been turned off. You’ll now start receiving calls, alerts, and notifications as usual. It’s a quick and straightforward process that ensures you stay connected when you need to be.
Scheduling Do Not Disturb
Do Not Disturb is a handy feature on the iPhone 14 that allows you to schedule a specific time for it to automatically activate. This feature is perfect for ensuring uninterrupted sleep or focused work time without the hassle of manually enabling it every day.
To schedule Do Not Disturb on your iPhone 14, start by opening the Settings app and tapping on “Do Not Disturb.” Next, toggle the “Scheduled” switch to enable this feature. You can then set the start and end times for Do Not Disturb to activate automatically each day.
Once scheduled, your iPhone 14 will enter Do Not Disturb mode at the specified time, silencing calls, notifications, and alerts, allowing you to enjoy uninterrupted time without any disruptions.
By utilizing the scheduling feature, you can customize the times when you need peace and quiet, ensuring that your iPhone 14 respects your designated quiet hours.
Using Control Center to Disable Do Not Disturb
Another quick and convenient way to turn off Do Not Disturb mode on your iPhone 14 is by using the Control Center. The Control Center is a centralized hub for accessing various settings and features on your device, including Do Not Disturb.
To access the Control Center, simply swipe down from the top-right corner of the screen on your iPhone 14. This action will reveal the Control Center, where you can find the Do Not Disturb button represented by a crescent moon icon. If the icon is highlighted in purple, it means that Do Not Disturb is currently active.
To disable Do Not Disturb using the Control Center, tap the crescent moon icon once. This action will turn off Do Not Disturb mode, allowing calls, messages, and notifications to come through as usual. The icon will no longer be highlighted, indicating that Do Not Disturb is no longer active.
Using the Control Center to disable Do Not Disturb provides a quick and straightforward method to manage your device’s notification settings on the go. It’s especially useful when you need to swiftly transition from a silent mode back to regular notification alerts without navigating through multiple menus.
Adjusting Do Not Disturb Settings
Adjusting Do Not Disturb settings on your iPhone 14 allows you to customize your experience and ensure that important calls and messages are not missed while maintaining uninterrupted focus. To access these settings, navigate to the “Settings” app on your iPhone and select “Do Not Disturb.”
Within the Do Not Disturb settings, you can fine-tune various options to suit your preferences. For instance, you can choose to allow calls from specific contacts to bypass Do Not Disturb, ensuring that important calls are always received, even when this feature is active.
Additionally, you can opt to enable repeated calls to break through Do Not Disturb. This helpful feature ensures that if someone calls you twice within three minutes, the second call will not be silenced, recognizing it as an urgent matter.
Furthermore, you have the flexibility to schedule Do Not Disturb to activate automatically during specific times, such as during meetings, bedtime, or any other period when uninterrupted focus is desired. By customizing these settings, you can tailor the Do Not Disturb feature to complement your lifestyle and priorities.
**
Conclusion
**
Turning off Do Not Disturb on your iPhone 14 is a simple yet crucial task that ensures you stay connected and accessible. By following the steps outlined in this guide, you can easily manage your Do Not Disturb settings and customize them to suit your preferences. Whether it’s for work, leisure, or personal reasons, having full control over your notifications enhances your iPhone experience. Remember, striking a balance between staying informed and enjoying uninterrupted moments is key. With the flexibility and convenience offered by the Do Not Disturb feature, you can optimize your iPhone usage without missing out on important alerts. Embrace the power to tailor your notifications, and let your iPhone 14 adapt to your lifestyle seamlessly.
FAQs
Q: How do I turn off Do Not Disturb on iPhone 14?
A: To turn off Do Not Disturb on your iPhone 14, simply swipe down from the top right corner of the screen to access the Control Center. Then, tap the crescent moon icon to deactivate Do Not Disturb.
Q: Can I schedule Do Not Disturb to turn off automatically on my iPhone 14?
A: Yes, you can schedule Do Not Disturb to turn off automatically on your iPhone 14. Simply go to Settings > Do Not Disturb, and then set the desired schedule under the "Scheduled" option.
Q: Will turning off Do Not Disturb affect my alarms on iPhone 14?
A: No, turning off Do Not Disturb will not affect your alarms on iPhone 14. Alarms will still sound even if Do Not Disturb is turned on.
Q: Is there a way to quickly disable Do Not Disturb for a specific contact on iPhone 14?
A: Yes, you can allow calls and notifications from specific contacts to bypass Do Not Disturb on your iPhone 14. Simply go to the contact's details, tap Edit, and then enable "Emergency Bypass" for calls and/or texts.
Q: Can I customize the Do Not Disturb settings on my iPhone 14?
A: Yes, you can customize the Do Not Disturb settings on your iPhone 14 to fit your preferences. This includes allowing calls from certain contacts, scheduling Do Not Disturb, and enabling repeated calls to bypass Do Not Disturb.