
Are you concerned about your privacy and want to know how to turn off face recognition on your brand new iPhone 13? Look no further – we have you covered! The iPhone 13 comes with advanced face recognition technology that allows you to unlock your device and authenticate purchases with just a glance. While this feature offers convenience and security, some users may prefer to disable it for various reasons.
In this article, we will guide you step-by-step on how to turn off face recognition on your iPhone 13. We will also discuss the implications of disabling this feature and provide alternative security options to consider. So, let’s dive in and get your iPhone 13 set up just the way you want it!
Inside This Article
- Why Disable Face Recognition on iPhone 13
- Step 1: Access the Settings Menu
- Step 2: Navigate to Face ID & Passcode
- Step 3: Enter Your Passcode
- Step 4: Disable Face ID for Unlocking
- Step 5: Turn Off Face ID for App Store Purchases
- Step 6: Disable Face ID for iTunes & App Store
- Step 7: Disable Face ID for Safari Autofill
- Conclusion
- FAQs
Why Disable Face Recognition on iPhone 13
While the Face Recognition feature on the iPhone 13 is incredibly convenient and secure, there might be instances where you may want to disable it. Here are a few reasons why you might consider turning off Face Recognition on your iPhone 13:
- Privacy concerns: Some users may have concerns about the storage and use of their facial data. Disabling Face Recognition ensures that your facial biometrics are not being used or stored on your device.
- Security preferences: If you prefer using a passcode instead of Face Recognition to unlock your iPhone 13, disabling this feature allows you to rely solely on your passcode for device access.
- Accessibility: In certain situations, you may find it more convenient to use a passcode instead of Face Recognition. For example, if you are wearing a mask, Face Recognition might not work properly, making it difficult to unlock your device.
By disabling Face Recognition on your iPhone 13, you regain control over your device’s privacy, security, and accessibility settings. The following steps will guide you through the process of turning off Face Recognition on your iPhone 13.
Step 1: Access the Settings Menu
Disabling face recognition on your iPhone 13 involves accessing the settings menu. Here’s how you can do it:
1. Unlock your iPhone 13 by using your passcode, Face ID, or Touch ID.
2. Look for the Settings app on your home screen. It is represented by a gray gear icon and is usually located on the first page of your apps.
3. Tap on the Settings app to open it.
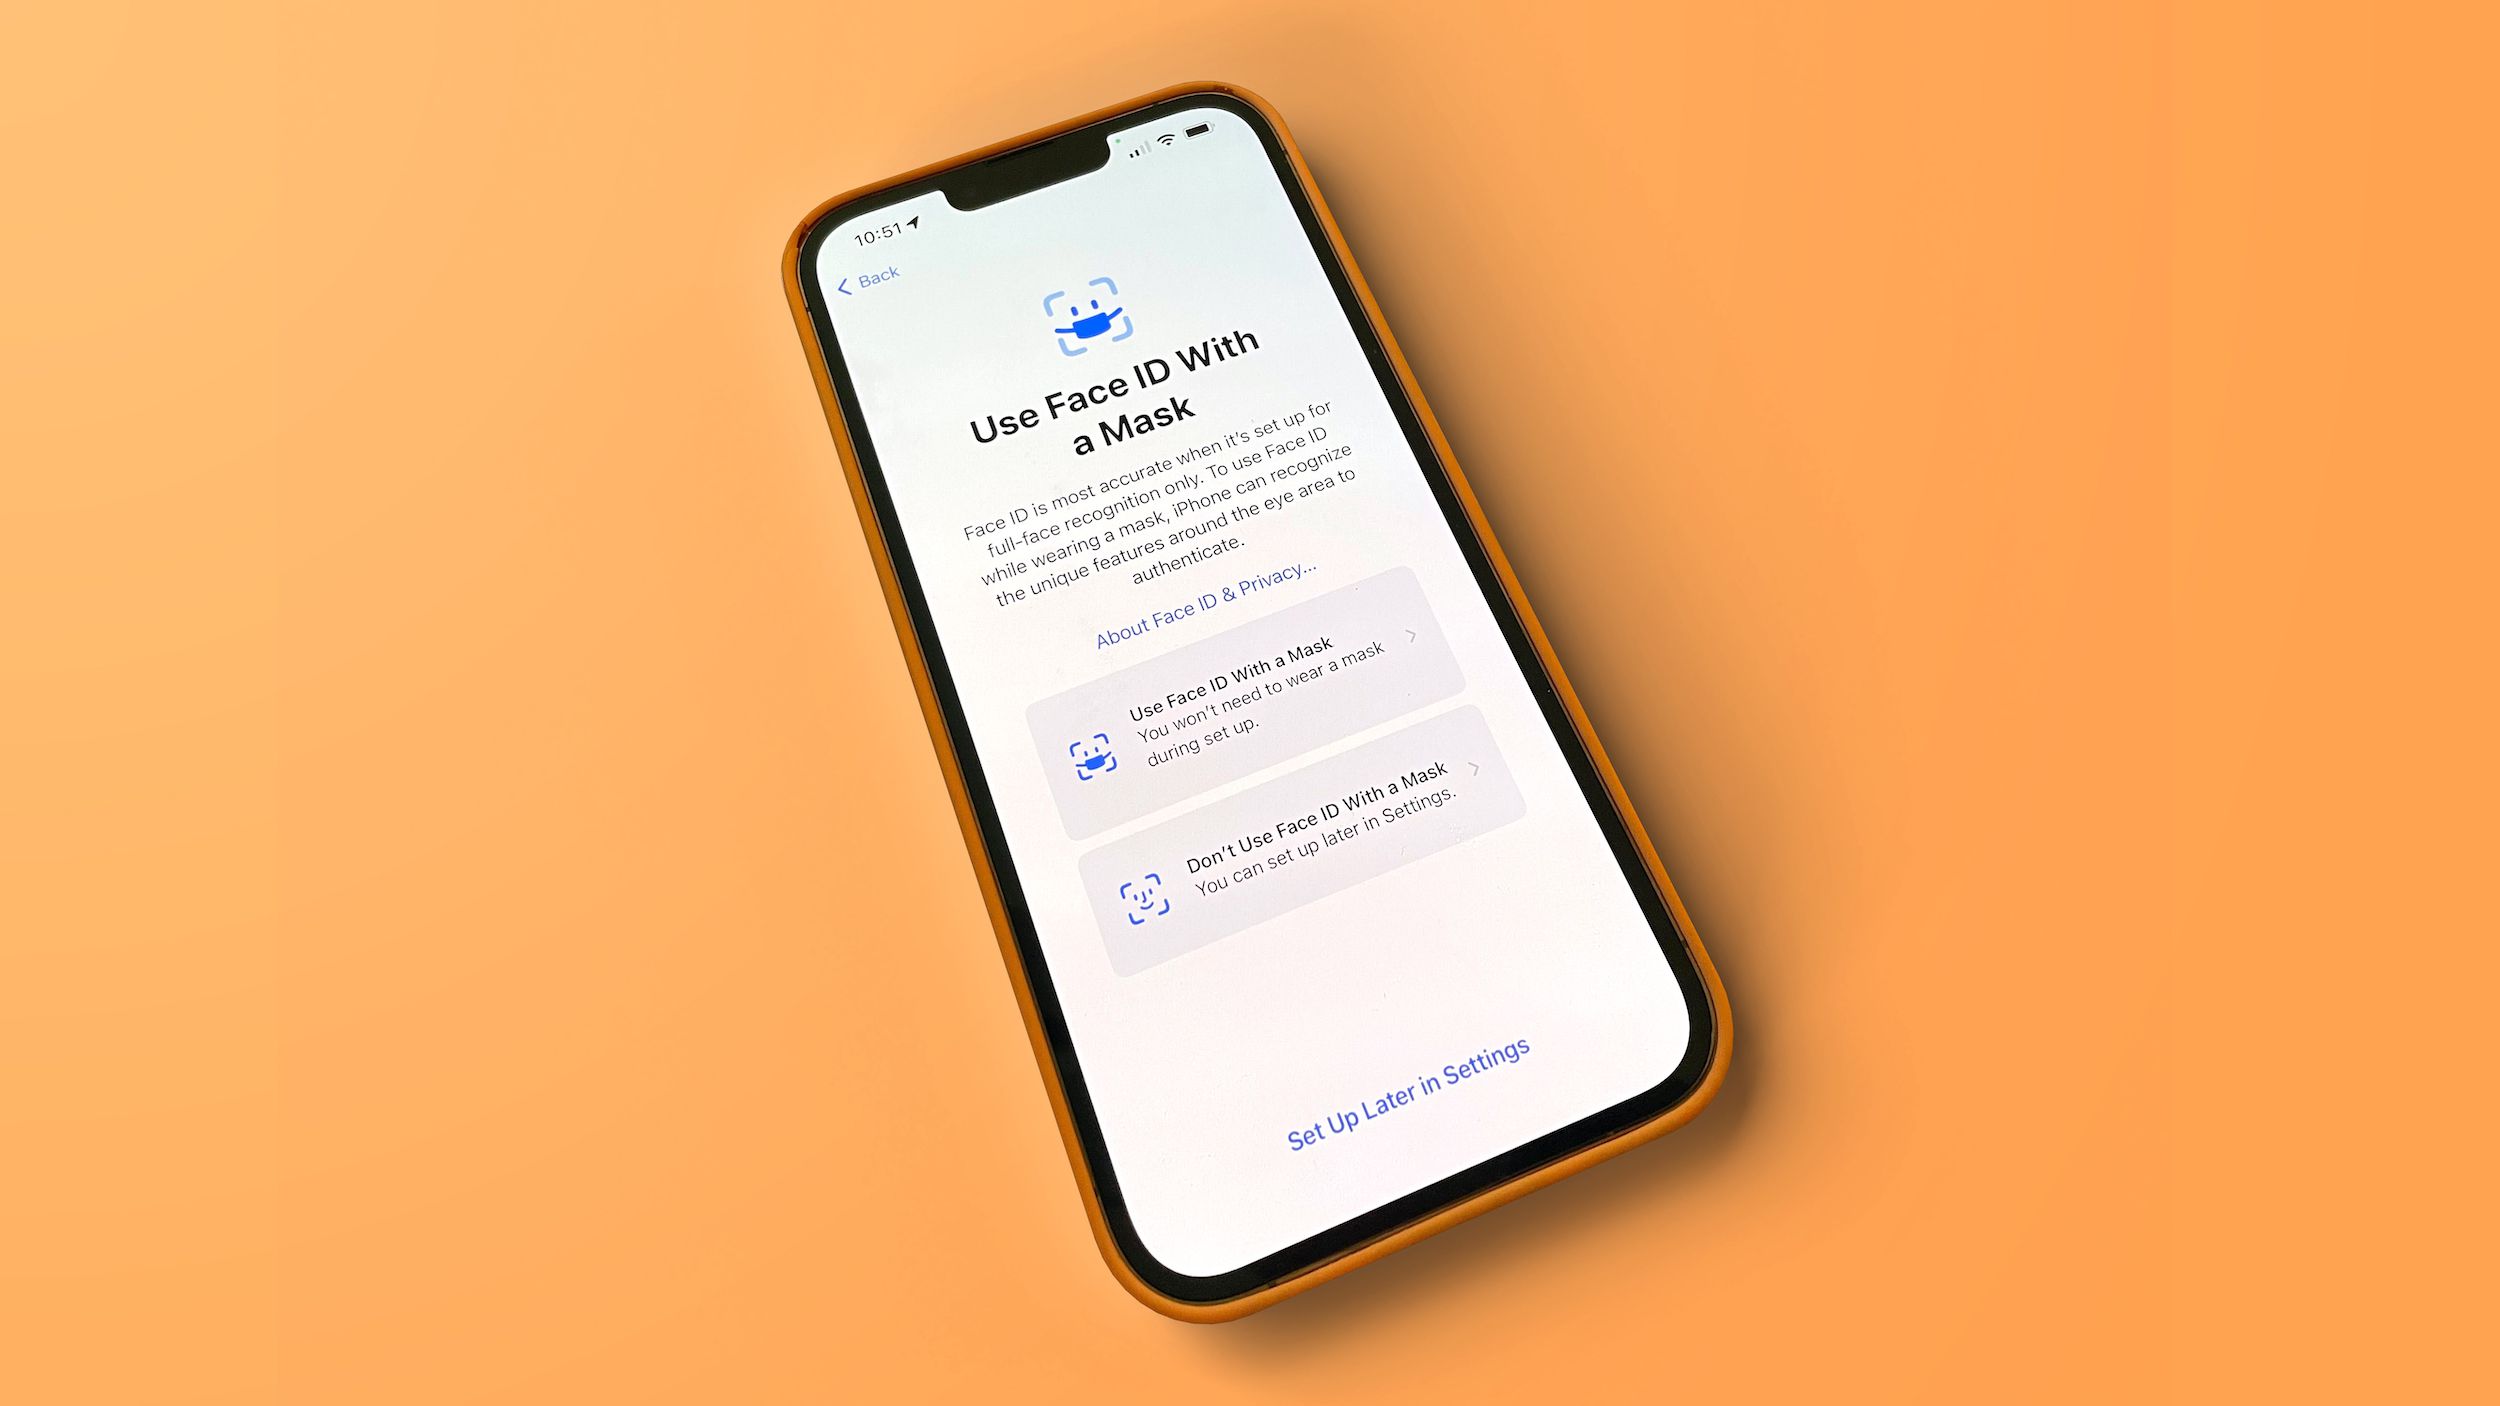
4. Once inside the Settings menu, scroll down until you find the option labeled “Face ID & Passcode.” This option manages the settings related to your facial recognition technology.
5. Tap on “Face ID & Passcode” to access the settings for your iPhone’s face recognition feature.
By following these steps, you will have successfully accessed the settings menu necessary to disable face recognition on your iPhone 13.
Step 2: Navigate to Face ID & Passcode
After accessing the Settings menu, the next step to disable Face Recognition on your iPhone 13 is to navigate to the Face ID & Passcode settings. This is where you can make changes to the Face ID functionality and manage your passcode settings.
To find the Face ID & Passcode settings, scroll down the Settings menu until you see it. It is usually located near the top of the menu, below the general settings options. Tap on it to access the Face ID & Passcode settings.
Once you enter the Face ID & Passcode settings, you will see a list of options related to face recognition and passcode settings. This is where you can control the Face ID functionality on your iPhone 13 and make changes according to your preferences.
Keep in mind that to make any changes to the Face ID settings, you will need to enter your passcode. This is an added security measure to ensure that only authorized users can make changes to the Face ID settings.
Once you have successfully entered your passcode, you will be able to disable the Face ID functionality and make other modifications to the settings. You can also change your passcode if needed, or update your face data used for Face ID recognition.
By navigating to the Face ID & Passcode settings, you have taken the crucial step towards disabling Face Recognition on your iPhone 13. The next steps will guide you through the process of disabling Face ID for unlocking, App Store purchases, iTunes & App Store, and Safari autofill.
Step 3: Enter Your Passcode
Entering your passcode is an important step in disabling Face Recognition on your iPhone 13. The passcode acts as an alternate method of unlocking your device and ensures that you can still access it even if Face ID is turned off. Here’s how you can enter your passcode:
1. When prompted, locate the passcode field on your iPhone’s screen. It is usually denoted by a series of dots or numbers.
2. Tap on the passcode field to activate the on-screen keyboard.
3. Using your finger or thumb, enter the passcode by tapping on the corresponding numbers or characters on the keyboard. Make sure to enter the passcode accurately to avoid any issues with unlocking your device in the future.
4. Once you have entered the passcode, your iPhone 13 will verify it to ensure it matches the one you previously set up. If the passcode is correct, your device will unlock and grant you access to its features and functionalities.
Note: It is essential to choose a unique and secure passcode for your iPhone to protect your personal information. Avoid using easily guessable passcodes such as birthdays or repetitive numbers. Instead, opt for longer, complex passcodes that include a mix of letters, numbers, and special characters.
Step 4: Disable Face ID for Unlocking
Face ID offers a convenient way to unlock your iPhone 13 with just a glance, but there may be times when you want to disable this feature. Whether it’s due to privacy concerns or simply a personal preference, turning off Face ID for unlocking your device is a straightforward process. Follow the steps below to disable Face ID for unlocking on your iPhone 13:
1. Start by accessing the Settings menu on your iPhone 13. This can be done by tapping on the “Settings” app icon, which is typically located on the home screen.
2. In the Settings menu, scroll down and tap on “Face ID & Passcode”. This option is usually located near the top of the list.
3. You will be prompted to enter your passcode. This is an important security step to ensure that only authorized users can make changes to the Face ID settings.
4. After entering your passcode, you will see various options related to Face ID. Look for the “Use Face ID for Unlocking” toggle switch and tap on it to disable the feature.
5. Once the toggle switch turns gray, it indicates that Face ID is no longer being used to unlock your iPhone 13. From now on, you will need to enter your passcode manually to unlock your device.
Disabling Face ID for unlocking provides an extra layer of security as it requires the use of a passcode instead. This can be particularly useful in situations where you may not want someone else to be able to unlock your device, even if they have physical access to it.
If you ever wish to re-enable Face ID for unlocking, simply follow the same steps outlined above and toggle the “Use Face ID for Unlocking” switch back on. Remember to set a strong and secure passcode to enhance the overall security of your iPhone 13.
Step 5: Turn Off Face ID for App Store Purchases
Face ID on the iPhone 13 provides a convenient way to authenticate your identity and authorize various actions. However, some users may prefer to disable Face ID for App Store purchases for security or privacy reasons. If you want to turn off Face ID for App Store purchases on your iPhone 13, follow the simple steps below.
1. Open the “Settings” app on your iPhone 13.
2. Scroll down and tap on “Face ID & Passcode”.
3. Enter your passcode to proceed.
4. Scroll down to the section labeled “Use Face ID For”.
5. Toggle off the switch next to “iTunes & App Store”.
Once you have completed these steps, Face ID will no longer be used to authenticate your identity for App Store purchases. You will now need to use your password or passcode instead.
This additional layer of security ensures that only you have access to your Apple ID and can authorize transactions in the App Store.
If you ever change your mind and want to enable Face ID for App Store purchases again, simply follow the same steps and toggle on the switch next to “iTunes & App Store”.
By customizing your Face ID settings on your iPhone 13, you can enhance your privacy and security according to your preferences.
Step 6: Disable Face ID for iTunes & App Store
iTunes and the App Store are popular platforms for purchasing and downloading apps and media content on your iPhone 13. If you prefer not to use Face ID to authorize these transactions, you can easily disable it by following these steps:
-
Open the “Settings” app on your iPhone 13.
-
Scroll down and tap on “Face ID & Passcode”.
-
Enter your device passcode to proceed.
-
In the “Use Face ID For” section, look for the option “iTunes & App Store”.
-
Toggle off the switch next to “iTunes & App Store” to disable Face ID for these transactions.
By turning off Face ID for iTunes & App Store, you will no longer need to use your face to authenticate purchases and downloads from these platforms. Instead, you will be prompted to enter your Apple ID password whenever a transaction requires authorization.
Disabling Face ID for iTunes & App Store provides an extra layer of security for your purchases, as it requires a password to be entered manually. This can be particularly useful to prevent unauthorized purchases in case your iPhone 13 falls into the wrong hands.
If you ever change your mind and want to re-enable Face ID for iTunes & App Store, simply follow the same steps and toggle the switch back on.
Step 7: Disable Face ID for Safari Autofill
One of the convenient features of the iPhone 13 is the Face ID integration with Safari Autofill. This allows users to quickly fill in forms and logins with just a glance. However, if you prefer not to use Face ID for Safari Autofill, you can easily disable it by following these steps:
1. Open the “Settings” app on your iPhone 13.
2. Scroll down and tap on “Face ID & Passcode”.
3. Enter your passcode when prompted to proceed.
4. Scroll down to the “Use Face ID For” section and toggle off the switch next to “Safari Autofill”.
5. Once the switch is turned off, Face ID will no longer be used for Safari Autofill purposes.
By disabling Face ID for Safari Autofill, you ensure that your facial recognition data is not used to automatically fill in sensitive information on websites and forms. This provides an additional layer of privacy and security.
It’s worth noting that disabling Face ID for Safari Autofill does not affect other uses of Face ID on your iPhone 13, such as unlocking your device or authenticating app purchases. It only applies to the autofill feature in the Safari browser.
If you ever decide to re-enable Face ID for Safari Autofill, simply follow the same steps and toggle the switch back on.
Remember, the choice to enable or disable Face ID for Safari Autofill is entirely up to you and your preferences. Taking control of your privacy settings ensures that your iPhone 13 works in a way that aligns with your personal preferences and needs.
Conclusion
Turning off Face Recognition on your iPhone 13 is a straightforward process that ensures your privacy and peace of mind. By following the steps outlined in this article, you can easily disable the face recognition feature and opt for other authentication methods like passcodes or fingerprints.
With the growing concerns surrounding data privacy, it’s important to have control over the biometric features on your device. The iPhone 13 offers a seamless user experience and advanced security features, allowing you to personalize your device’s authentication settings to suit your preferences.
Remember, if you ever change your mind and want to re-enable Face Recognition, you can easily do so by following the same steps and toggling the feature back on.
So go ahead and take control of your iPhone 13’s settings, ensuring that you protect your personal information while enjoying the latest features and capabilities of your device.
FAQs
1. Can I turn off face recognition on my iPhone 13?
Yes, you can turn off face recognition on your iPhone 13. The face recognition feature, also known as Face ID, allows you to unlock your device and authenticate purchases with a glance. However, if you prefer to use a passcode instead or simply want to disable the feature, you can easily do so in the settings.
2. How do I turn off face recognition on my iPhone 13?
To turn off face recognition on your iPhone 13, follow these steps:
- Open the Settings app on your iPhone 13.
- Scroll down and tap on Face ID & Passcode.
- Enter your passcode to access the settings page.
- Toggle off the option for “iPhone Unlock” under the “Use Face ID For” section.
- You may be prompted to enter your passcode again to confirm the change.
3. Will turning off face recognition affect other features on my iPhone 13?
Yes, turning off face recognition on your iPhone 13 will disable Face ID for unlocking your device. However, it will not affect other features that can utilize Face ID, such as App Store purchases or third-party apps that support facial authentication. You will need to use passcodes or other authentication methods for those scenarios.
4. Can I still use Face ID for specific apps if I turn off face recognition?
Yes, even if you turn off face recognition on your iPhone 13, you can still use Face ID for specific apps that support it. To enable Face ID for app authentication, follow these steps:
- Go to Settings on your iPhone 13.
- Scroll down and tap on Face ID & Passcode.
- Enter your passcode.
- Under the “Other Apps” section, toggle on the specific apps you want to use Face ID with.
5. Can I turn off face recognition temporarily without disabling it completely?
Yes, you can temporarily disable face recognition on your iPhone 13 by covering the TrueDepth camera and sensors with your hand or any opaque object. This will prevent Face ID from recognizing your face until the obstruction is removed. Once you uncover the camera, Face ID will resume working as usual.