
Are you ready to take your Twitch experience to the next level? Subscribing to your favorite streamers on Twitch Mobile is a fantastic way to show support and gain access to exclusive perks. Whether you're a dedicated fan or a newcomer to the platform, learning how to subscribe on Twitch Mobile is a valuable skill that enhances your overall viewing experience. In this comprehensive guide, we'll walk you through the simple steps to subscribe on Twitch Mobile, ensuring that you can easily support your favorite content creators while enjoying the benefits of being a subscriber. Let's dive into the world of Twitch subscriptions and unlock a whole new level of interaction and entertainment on your mobile device.
Inside This Article
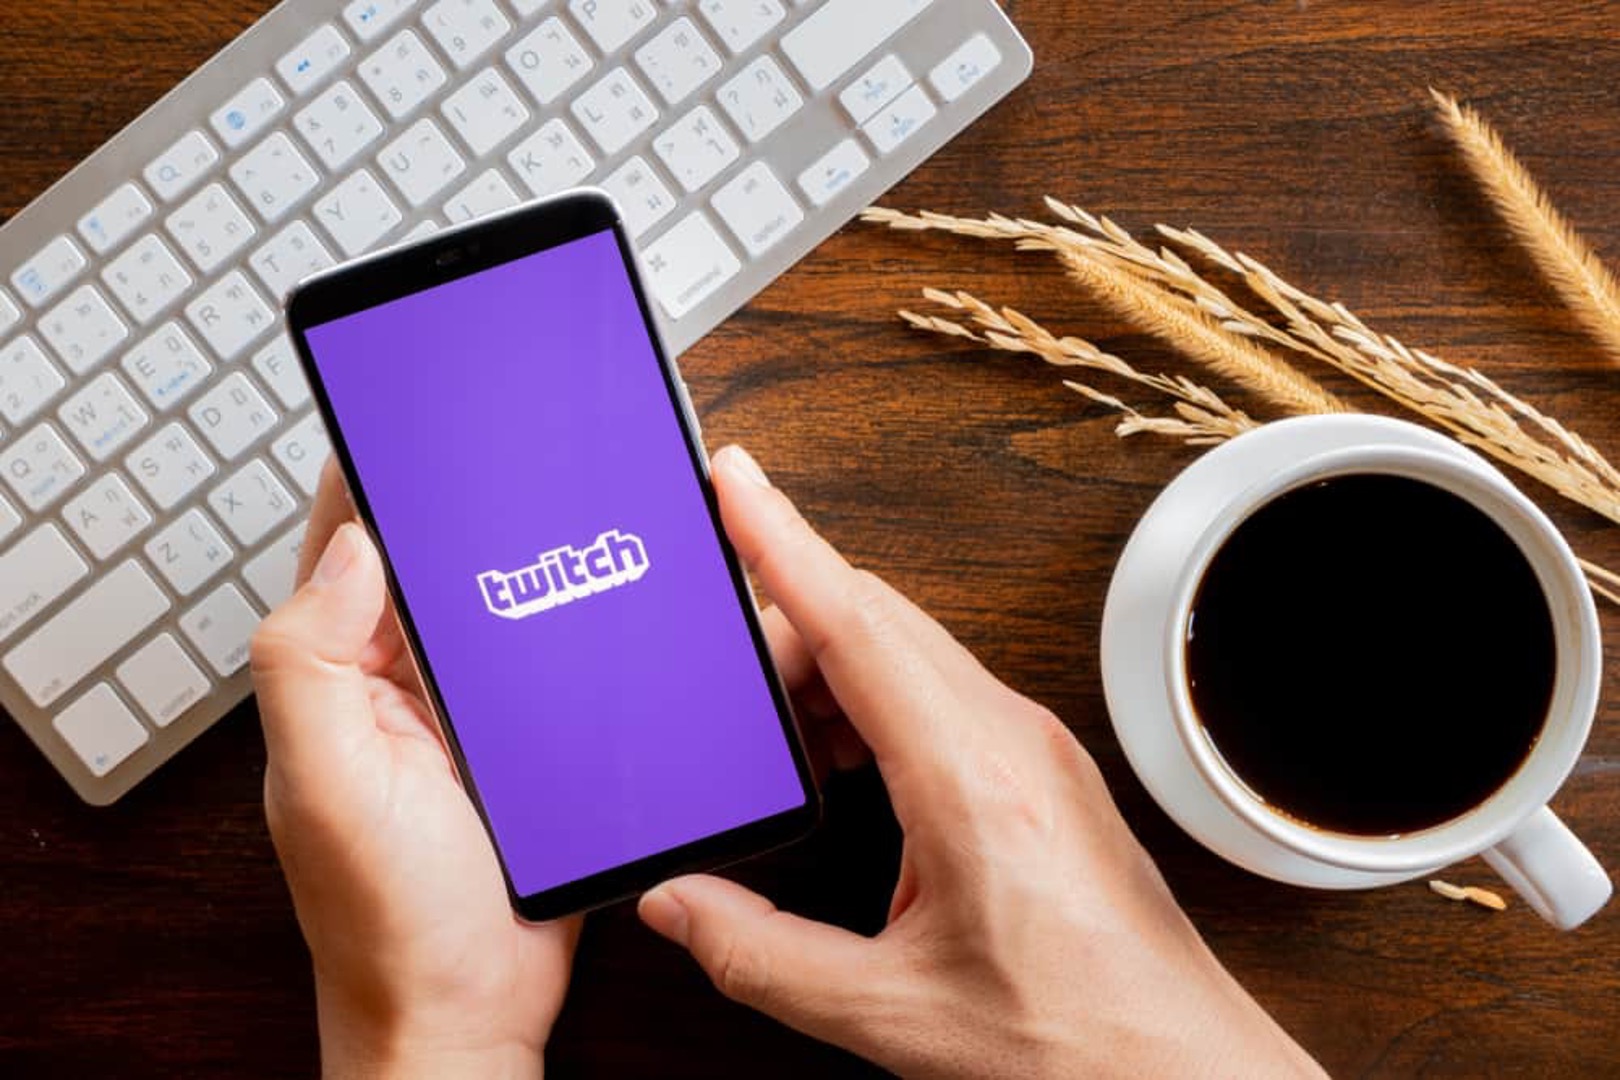
- Download the Twitch Mobile App
- Create a Twitch Account
- Navigate to the Channel You Want to Subscribe to
- Subscribe to the Channel
- Conclusion
- FAQs
Download the Twitch Mobile App
If you're an avid fan of live streaming, gaming, or just love to stay connected with your favorite content creators, then Twitch is the go-to platform for you. With its diverse range of content, including gaming, music, art, and more, Twitch offers an immersive experience for users worldwide. To access this vibrant community and enjoy exclusive perks like subscribing to your favorite channels, you'll need to download the Twitch mobile app. Here's a step-by-step guide to help you get started.
Step 1: Visit the App Store or Google Play Store
To begin your journey into the world of Twitch, head over to the App Store if you're using an iOS device or the Google Play Store for Android users. Once you're there, simply type "Twitch" into the search bar, and the official Twitch app should appear as the first result.
Step 2: Download and Install the App
After locating the Twitch app in the store, tap the "Download" or "Install" button to initiate the process. Depending on your internet connection speed, the download should only take a few moments. Once the app is successfully downloaded, tap the "Open" button to launch it.
Step 3: Sign In or Create an Account
Upon opening the Twitch app, you'll be prompted to sign in if you already have an account. If not, you can easily create a new account by tapping the "Sign Up" or "Create Account" option. Follow the on-screen instructions to complete the registration process, and you'll soon find yourself immersed in the world of Twitch.
Step 4: Explore and Personalize
Now that you've successfully downloaded the Twitch mobile app and created an account, take some time to explore the platform. Discover new content, follow your favorite streamers, and customize your experience by adjusting your notification settings and personalizing your profile.
By following these simple steps, you'll gain access to a world of live streaming content and be well on your way to subscribing to your favorite channels on Twitch. Whether you're a gaming enthusiast, a music lover, or simply seeking engaging live content, the Twitch mobile app opens the door to a diverse and vibrant community, right at your fingertips.
Create a Twitch Account
Creating a Twitch account is the gateway to a myriad of captivating live streaming content, engaging communities, and exclusive features. Whether you're an aspiring content creator, a dedicated viewer, or someone looking to explore diverse interests, having a Twitch account unlocks a world of possibilities. Here's a detailed guide on how to create your Twitch account and make the most of this vibrant platform.
Step 1: Visit the Twitch Website or Open the Mobile App
To embark on your Twitch journey, head to the official Twitch website or open the Twitch mobile app on your smartphone or tablet. The platform is easily accessible, allowing you to dive into the world of live streaming from the comfort of your preferred device.
Step 2: Initiate the Account Creation Process
Once you're on the Twitch website or mobile app, look for the "Sign Up" or "Create Account" option. Clicking on this will kickstart the account creation process, guiding you through the necessary steps to set up your Twitch profile.
Step 3: Enter Your Details
When prompted, provide the required details to personalize your Twitch account. This typically includes choosing a unique username, entering a valid email address, and creating a secure password. Your username is your digital identity on Twitch, so take your time to select a name that resonates with your interests or persona.
Step 4: Verify Your Email
After submitting your details, Twitch may send a verification email to the address you provided. Simply navigate to your email inbox, locate the verification message from Twitch, and follow the instructions to verify your account. This step ensures the security of your account and confirms that the email address is valid.
Step 5: Customize Your Profile
Once your account is verified, take the opportunity to personalize your profile. Add a profile picture, write a brief bio, and explore the customization options available to make your Twitch account uniquely yours. Personalizing your profile not only adds a personal touch but also helps other users connect with you based on shared interests.
Step 6: Familiarize Yourself with Community Guidelines
As a new member of the Twitch community, it's essential to familiarize yourself with the platform's community guidelines and terms of service. Understanding these guidelines ensures that you contribute positively to the community and enjoy a safe and respectful environment while interacting with fellow users.
By following these steps, you'll successfully create your Twitch account and gain access to a diverse array of live streaming content, interactive communities, and exciting features. Whether you're passionate about gaming, art, music, or any other form of live content, your Twitch account opens the door to a world of entertainment and connection. Join the millions of users who have embraced the Twitch community, and embark on your journey to explore, create, and engage with like-minded individuals from around the globe.
Navigate to the Channel You Want to Subscribe to
Once you've downloaded the Twitch mobile app and created your account, the next step is to navigate to the channel of the content creator you wish to support by subscribing. This process allows you to access exclusive perks, support your favorite streamers, and become an integral part of their community. Here's a comprehensive guide on how to navigate to the channel you want to subscribe to and make the most of your Twitch experience.
Step 1: Launch the Twitch Mobile App
To begin, open the Twitch mobile app on your device. Upon launching the app, you'll be greeted by a dynamic and visually engaging interface that showcases a variety of live streams, recommended channels, and personalized content based on your interests. The app's intuitive design makes it easy to explore and discover new channels while providing seamless navigation to your desired destinations.
Step 2: Explore the Browse Section
Navigate to the "Browse" section of the app, which serves as a hub for discovering a wide range of content across different categories. Whether you're interested in gaming, music, art, or other forms of live entertainment, the Browse section offers a curated selection of channels and live streams tailored to your preferences.
Step 3: Utilize the Search Function
If you already have a specific content creator or channel in mind, make use of the app's search function to quickly locate the desired channel. Simply tap on the search icon, enter the name of the channel or the content creator, and browse through the search results to find the exact channel you're looking for.
Step 4: Follow Recommendations and Featured Channels
Twitch provides personalized recommendations and featured channels based on your viewing history and preferences. Take advantage of these curated suggestions to explore new content creators and discover channels that align with your interests. By following these recommendations, you may uncover hidden gems and connect with creators who resonate with your passions.
Step 5: Interact with the Channel's Community
As you navigate to the channel you wish to subscribe to, take the opportunity to engage with the community surrounding the content creator. Participate in the live chat, interact with fellow viewers, and immerse yourself in the unique atmosphere cultivated by the channel. Building connections within the community enhances the overall experience and allows you to become an active participant in the channel's journey.
By following these steps, you'll seamlessly navigate to the channel of your choice and position yourself to subscribe and support the content creator. Whether you're drawn to the captivating gameplay of a skilled streamer, the mesmerizing artistry of a creative broadcaster, or the infectious energy of a music performer, Twitch offers a diverse array of channels waiting to be explored and embraced. Embrace the journey of discovering new content and connecting with like-minded individuals as you navigate the vibrant world of Twitch.
Subscribe to the Channel
Subscribing to a channel on Twitch is a meaningful way to show support for your favorite content creators while unlocking a host of exclusive benefits. By becoming a subscriber, you not only contribute to the success of the channel but also gain access to perks such as ad-free viewing, custom emotes, subscriber-only chat, and the satisfaction of being an integral part of the creator's community. Here's a comprehensive guide on how to subscribe to a channel and make the most of your Twitch experience.
Step 1: Access the Channel's Page
Once you've navigated to the channel you wish to subscribe to, access the channel's page by clicking on the profile of the content creator. This will direct you to the dedicated page showcasing the streamer's content, community, and subscription options. The channel page serves as a central hub for engaging with the creator's content and community while providing access to subscription-related features.
Step 2: Select the Subscribe Button
On the channel's page, locate the "Subscribe" button, which is typically displayed prominently to encourage support from viewers. The button may indicate the subscription tier options available, allowing you to choose the level of support you wish to provide. Twitch offers different subscription tiers, each with varying benefits, enabling you to select a tier that aligns with your preferences and budget.
Step 3: Choose Your Subscription Tier
Upon clicking the "Subscribe" button, you'll be presented with the available subscription tiers, such as Tier 1, Tier 2, and Tier 3. Each tier offers distinct perks, with Tier 1 being the standard subscription level. Take the time to review the benefits associated with each tier and select the one that best suits your preferences. Whether you're seeking exclusive emotes, ad-free viewing, or enhanced interaction with the community, each tier offers unique advantages for subscribers.
Step 4: Complete the Subscription Process
After choosing your preferred subscription tier, follow the on-screen prompts to complete the subscription process. You may be prompted to confirm your selection and enter your payment details if you're subscribing for the first time or updating your subscription. Twitch provides a secure and streamlined payment process, ensuring that your subscription is seamlessly processed, and the benefits are promptly made available to you.
Step 5: Engage with Subscriber Benefits
Once your subscription is confirmed, you'll gain immediate access to the exclusive perks associated with your chosen tier. Embrace the opportunity to use custom emotes, participate in subscriber-only chat sessions, and enjoy an ad-free viewing experience while supporting the content creator. Additionally, your subscription contributes directly to the growth and sustainability of the channel, enabling the creator to continue producing engaging content for the community.
By following these steps, you'll successfully subscribe to the channel of your choice, demonstrating your support for the content creator and immersing yourself in a world of exclusive subscriber benefits. Whether you're drawn to the captivating gameplay of a skilled gamer, the insightful discussions of a talk show host, or the creativity of an art streamer, your subscription plays a vital role in fostering a thriving and vibrant community on Twitch. Embrace the experience of being a subscriber, and revel in the unique perks and sense of belonging that come with supporting your favorite creators.
In conclusion, subscribing on Twitch via mobile devices is a straightforward process that allows users to support their favorite streamers and access exclusive perks. By following the simple steps outlined in this guide, users can easily subscribe to channels, unlock emotes, and enjoy an ad-free viewing experience on the go. With the increasing popularity of mobile streaming, the ability to subscribe on Twitch via mobile has become an essential feature for both viewers and content creators. As the platform continues to evolve, ensuring a seamless and user-friendly mobile subscription experience will be crucial for retaining and attracting new subscribers. Embracing the convenience of mobile subscriptions empowers users to engage with their favorite content creators and contribute to the vibrant Twitch community from anywhere, at any time.
FAQs
-
How do I subscribe to a channel on Twitch using the mobile app?
To subscribe to a channel on Twitch using the mobile app, simply navigate to the channel you wish to subscribe to, tap the Subscribe button, and follow the prompts to complete the subscription process. -
Can I manage my Twitch subscriptions through the mobile app?
Yes, you can manage your Twitch subscriptions through the mobile app. Simply access your account settings, navigate to the Subscriptions section, and you'll be able to view and manage your active subscriptions. -
Are there different subscription tiers available on Twitch mobile?
Yes, Twitch offers different subscription tiers on its mobile platform, allowing users to choose between Tier 1, Tier 2, and Tier 3 subscriptions, each offering varying levels of support and benefits for the subscribed channel. -
Is it possible to gift a subscription to a channel using the Twitch mobile app?
Absolutely! You can gift a subscription to a channel using the Twitch mobile app by selecting the "Gift a Sub" option on the channel's page and following the on-screen instructions to complete the gifting process. -
What payment methods can I use to subscribe on Twitch mobile?
Twitch mobile supports various payment methods for subscriptions, including credit/debit cards, PayPal, and other regional payment options, providing flexibility for users to choose their preferred payment method.