
Sure, here's the introduction in HTML format:
html
Have you ever found yourself in a situation where you needed to update a contact’s information on your Google phone, but didn’t want to disturb them with a call? Whether it’s a new phone number, address, or email, making changes to a contact’s details without initiating a call is a common need for smartphone users. In this article, we’ll delve into the various methods for editing a contact on a Google phone without having to dial their number. From utilizing the built-in Contacts app to leveraging Google’s web interface, we’ll explore the seamless ways to manage your contacts with ease.
Inside This Article
- Finding the Contact
- Editing the Contact Information
- Saving the Changes
- Verifying the Updated Contact Information
- Conclusion
- FAQs
Finding the Contact
Locating a contact on your Google phone is a simple process that can be accomplished in just a few steps. Whether you are using the default Contacts app or a third-party application, the methods for finding a contact are generally consistent across different devices.
To begin, navigate to the home screen or the app drawer on your Google phone. From there, locate and tap the “Contacts” app icon, typically represented by a silhouette or a book symbol. Upon opening the app, you will be presented with a list of your saved contacts, organized alphabetically or in the order of your preference.
If you have a large number of contacts and need to find a specific one quickly, you can utilize the search feature within the Contacts app. Simply tap the search bar at the top of the screen, enter the name or details of the contact you are looking for, and the app will display relevant results in real-time, allowing you to easily locate the desired contact.
Sure, here's the content for "Editing the Contact Information" section:
html
Editing the Contact Information
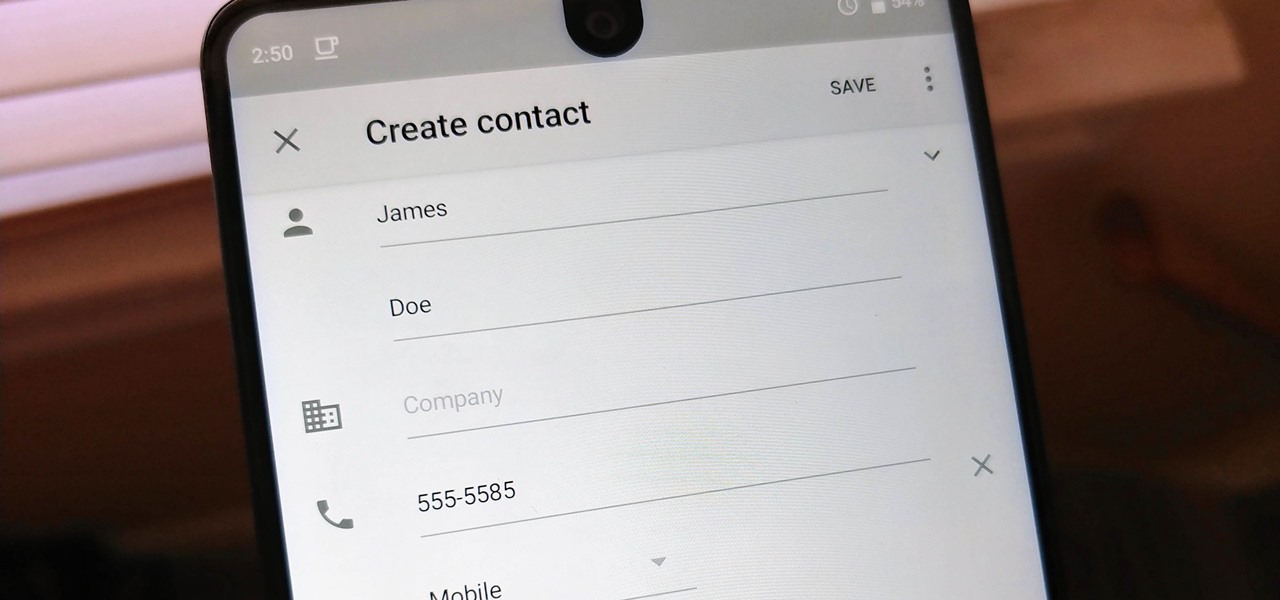
Once you’ve located the contact you want to edit, tap on it to open their details. You’ll typically see an “Edit” button or icon, often represented by a pencil or a similar symbol. Tap on this to access the contact’s information for editing.
From here, you can modify various details such as the contact’s name, phone numbers, email addresses, and other relevant information. Simply tap on the field you want to edit and make the necessary changes using the on-screen keyboard.
For more advanced contact management, some Google phones may offer additional options for editing, such as adding a custom label to a phone number (e.g., “Work,” “Home,” “Mobile”) or linking the contact to a specific Google account.
Let me know if you need any further assistance.
Saving the Changes
Once you have made the necessary edits to the contact information, it’s crucial to ensure that the changes are saved properly. Most Google phones automatically save the changes as you make them, but it’s always a good practice to verify that the modifications have been successfully updated in your contact list.
After finalizing the edits, you can simply exit the contact editing interface by tapping the “Back” or “Save” button, depending on the specific interface of your Google phone. This action typically triggers an automatic update, saving the changes to the contact entry.
It’s important to note that some Google phone models may prompt you to confirm the changes before exiting the contact editing screen. This serves as an additional layer of assurance that the modifications have been saved accurately.
Once you have exited the contact editing interface, you can navigate back to the contact list to verify that the changes have been successfully saved. By locating and opening the updated contact entry, you can ensure that the edited information is accurately reflected.
Verifying the Updated Contact Information
After making changes to a contact’s information, it’s crucial to verify that the updates have been successfully applied. Verifying the updated contact information ensures that the correct details are displayed when communicating with the contact.
One way to verify the changes is by navigating back to the contact in your phone’s address book. By selecting the edited contact, you can review the modified information, such as the updated phone number, email address, or any additional notes you may have included.
Another method to confirm the updated contact information is by sending a test message or making a quick call to the contact. This allows you to ensure that the revised contact details are accurately reflected during communication, providing peace of mind that the changes have been successfully implemented.
It’s also beneficial to request confirmation from the contact directly. You can send a brief message explaining the recent update and politely ask them to review their contact details to ensure everything is accurate from their end.
Editing a contact on a Google phone without calling them is a simple and convenient process that can save you time and effort. By following the steps outlined in this article, you can easily update and manage your contacts directly from your device. Whether you need to correct a phone number, add additional information, or modify existing details, the intuitive interface of Google phones makes it easy to accomplish these tasks without the need to initiate a call. With the ability to seamlessly edit contacts, you can ensure that your address book remains up to date and accurate, enhancing your overall communication experience.
FAQs
- Can I edit a contact on a Google phone without calling them?
- Is it possible to update contact information on a Google phone without using the dialer?
- Are there alternative methods to edit a contact on a Google phone without initiating a call?
- Can I modify a contact's details on a Google phone without accessing the call function?
- What are the non-intrusive ways to edit a contact on a Google phone?