
Adding contacts to your Android phone is a simple and essential task that allows you to easily stay connected with friends, family, colleagues, and other important contacts. Whether you have just purchased a new Android phone or are simply looking to organize your existing contacts, knowing how to add contacts on your Android device is key.
By adding contacts to your Android phone, you can conveniently access their information, including phone numbers, email addresses, and other relevant details, with just a few taps. This makes it easier to make calls, send messages, or even share important updates with your contacts. In this article, we will guide you through the process of adding contacts on your Android phone, ensuring that you can efficiently manage your contacts and keep your communication seamless.
Inside This Article
- Adding Contacts on Android Phone
- Adding Contacts from Phone Dialer
- Adding Contacts from Contacts App
- Adding Contacts from Messaging App
- Adding Contacts from Email App
- Conclusion
- FAQs
Adding Contacts on Android Phone
Adding contacts on your Android phone is a straightforward process that allows you to conveniently store and manage all your important contacts in one place. Whether you want to add contacts manually, import them from a SIM card, or synchronize them from your Google or social media accounts, Android provides various options to ensure you have easy access to your contacts whenever you need them.
1. Adding contacts manually: To add a contact manually, follow these steps:
- Open the “Contacts” app on your Android phone.
- Tap the “+” button or the “Add” button, usually located at the bottom right corner of the screen.
- Enter the contact’s name and any additional details, such as phone numbers, email addresses, and addresses.
- Tap the “Save” or “Done” button to save the contact.
2. Importing contacts from a SIM card: If you have contacts stored on a SIM card and want to import them to your Android phone, follow these steps:
- Open the “Contacts” app on your Android phone.
- Tap the menu button or the three dots icon, usually located at the top right corner of the screen.
- Select “Settings” or “Manage contacts.”
- Choose the option to import contacts.
- Select the storage location as SIM card.
- Follow the on-screen instructions to import the contacts.
3. Importing contacts from a Google account: If you have contacts saved in your Google account, you can easily import them to your Android phone. Here’s how:
- Open the “Contacts” app on your Android phone.
- Tap the menu button or the three dots icon.
- Select “Settings” or “Manage contacts.”
- Choose the option to import contacts.
- Sign in to your Google account and select the account from which you want to import contacts.
- Follow the on-screen instructions to import the contacts.
4. Syncing contacts from social media accounts: If you want to sync your contacts from social media accounts like Facebook or Twitter, follow these steps:
- Open the “Settings” app on your Android phone.
- Scroll down and select “Accounts” or “Accounts and backup.”
- Select the account associated with the social media platform you want to sync contacts from.
- Enable the option to sync contacts.
- Follow the on-screen instructions to complete the syncing process.
By following these methods, you can easily add and manage contacts on your Android phone. Whether you prefer to add them manually, import them from various sources, or sync them from your social media accounts, Android offers flexibility and convenience to ensure that all your contacts are readily accessible whenever you need them.
Adding Contacts from Phone Dialer
The phone dialer is a convenient and quick way to add contacts on your Android phone. Follow these simple steps to add contacts from the phone dialer:
- Open the phone dialer app on your Android device.
- Enter the phone number of the contact you want to add.
- Tap on the “Add to Contacts” or “Save Contact” option that appears on the screen.
- If the contact is not already saved, you will be prompted to enter the contact details, such as name, phone number, email address, and any other relevant information.
- Fill in the required details for the contact and customize additional information like the contact’s photo, organization, job title, etc.
- Tap on the “Save” or “Done” button to save the contact.
Once the contact is saved, it will be accessible from your contacts list, making it easy to stay connected with your friends, family, and colleagues.
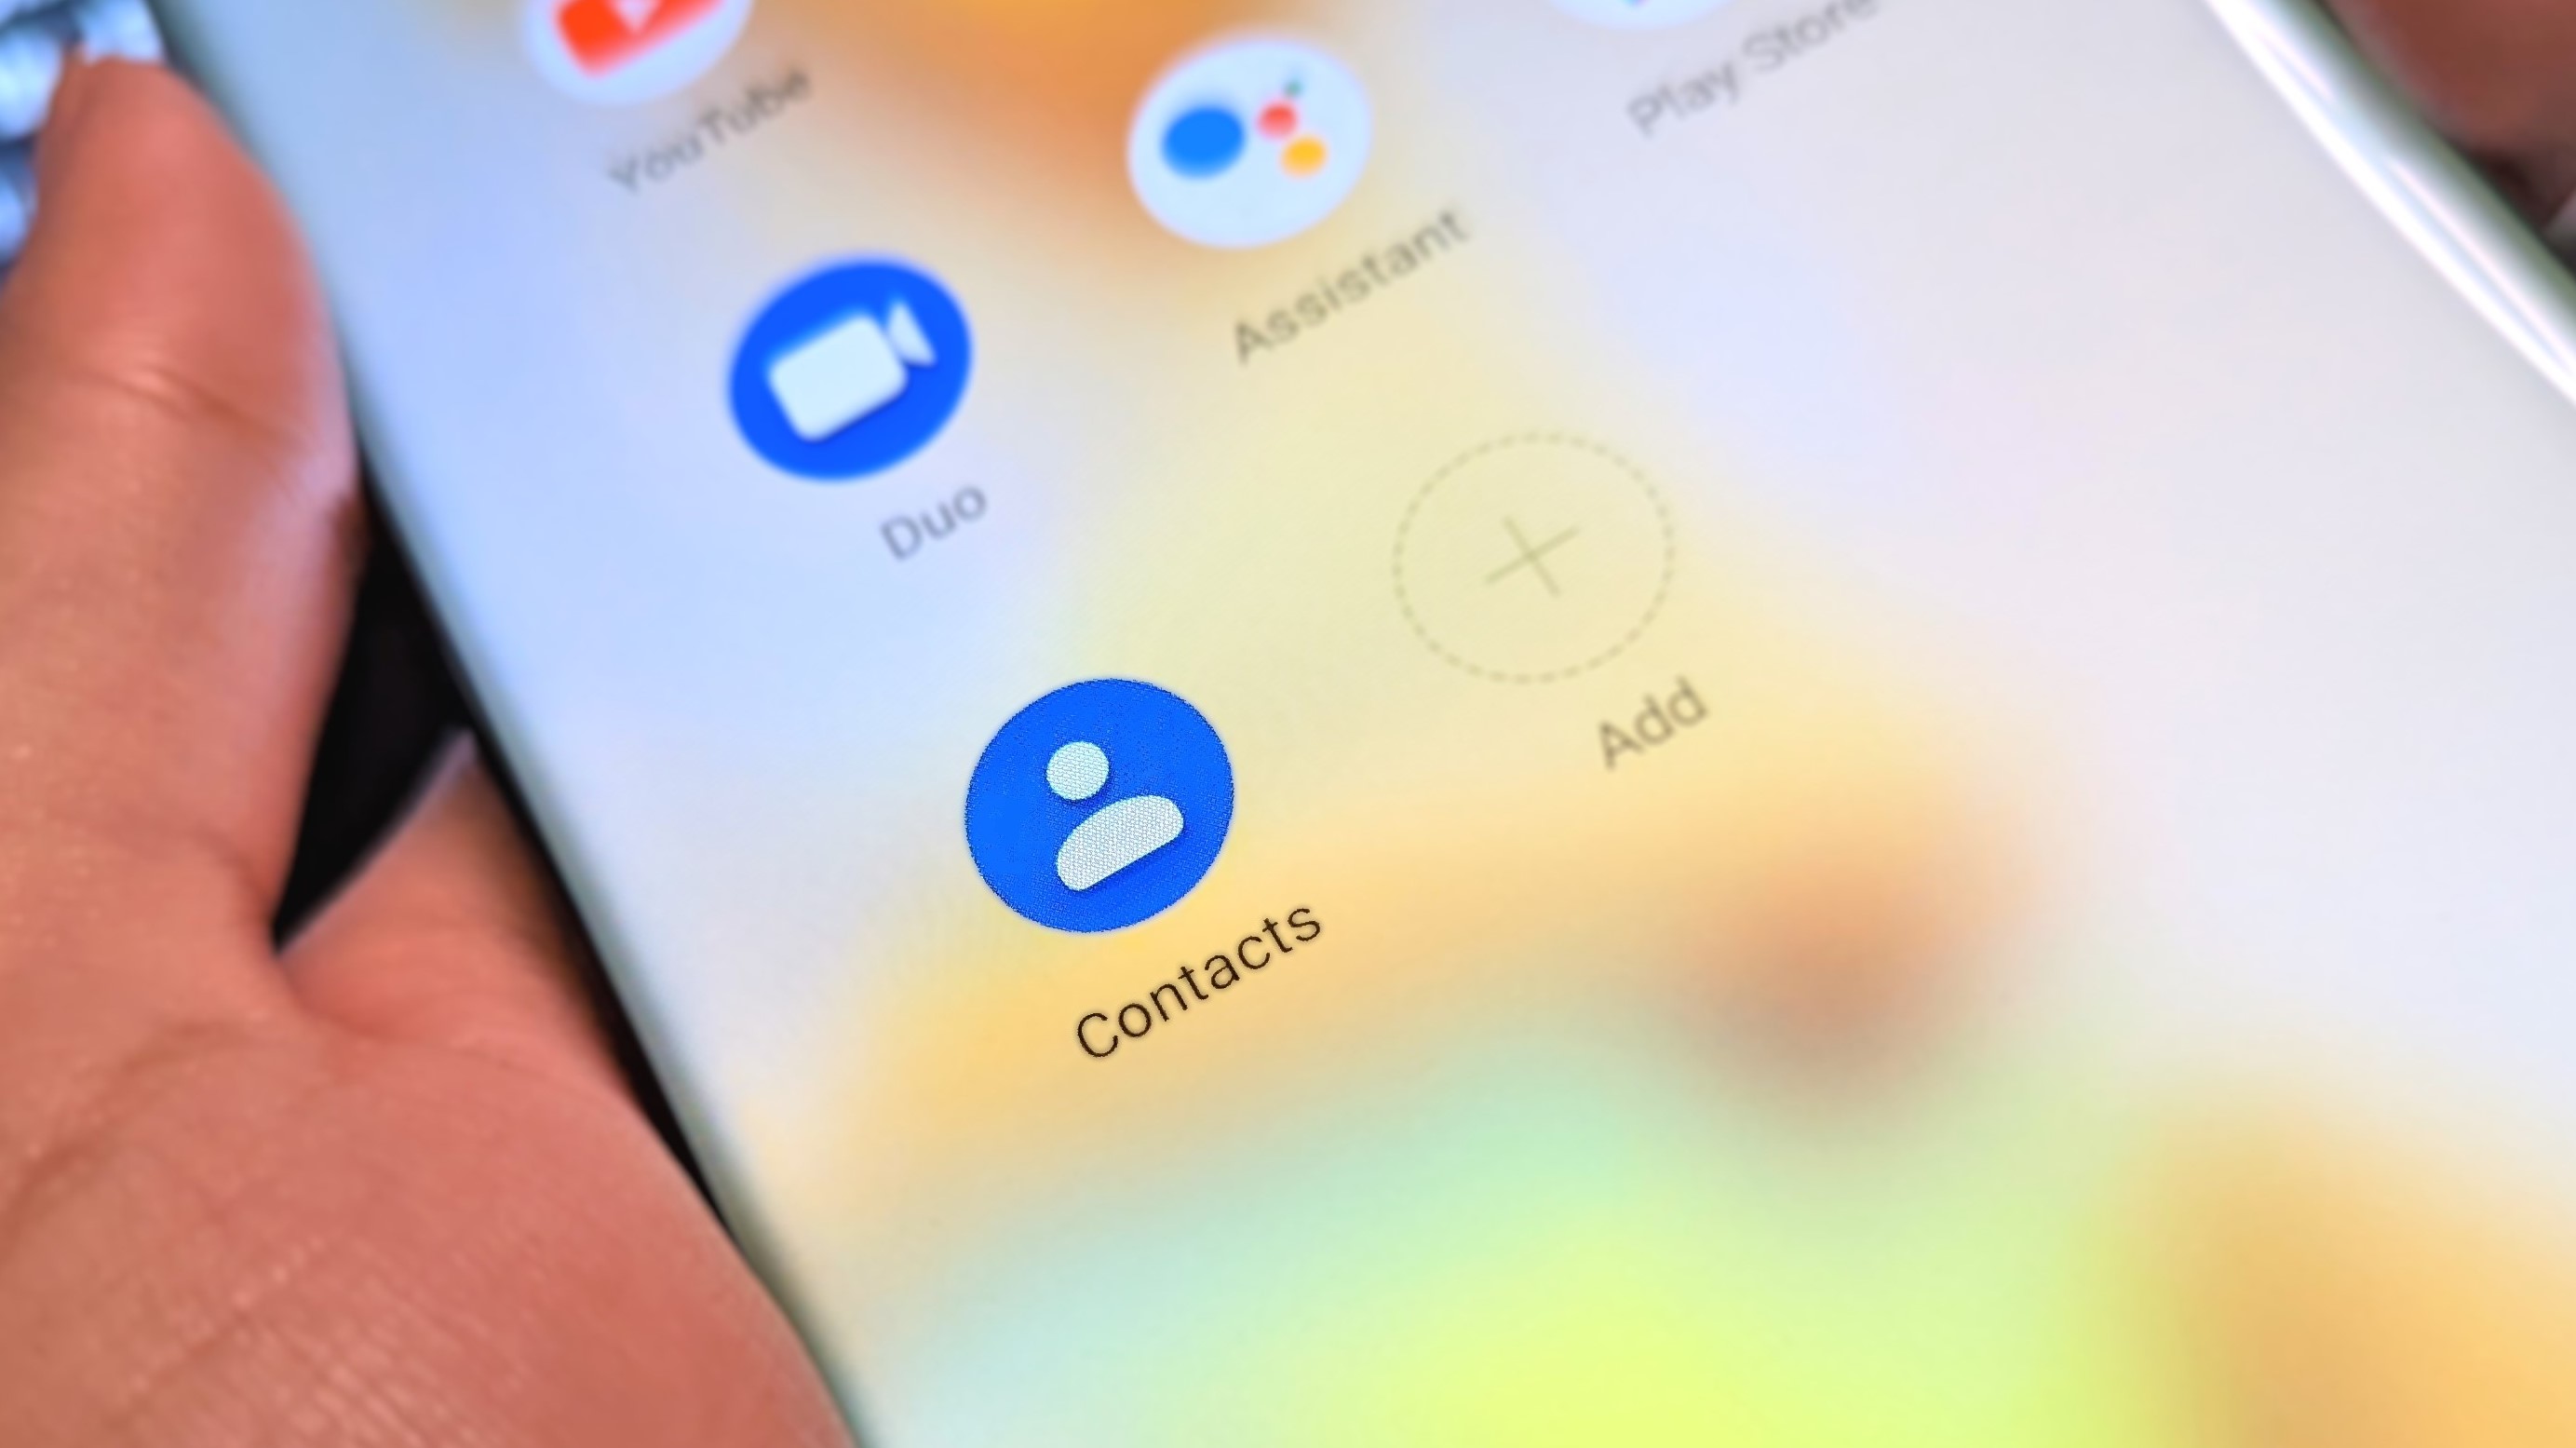
Adding Contacts from Contacts App
Adding contacts from the Contacts app on your Android phone is a simple and convenient way to build your contact list. Follow the steps below to add contacts using this method:
- Open the Contacts app: Locate and tap on the Contacts app on your home screen or in the app drawer.
- Tap on the “+” or “Add” icon: Look for the plus sign or an icon that represents adding a new contact. It is usually located at the bottom right corner of the screen.
- Enter contact information: Fill in the fields with the contact’s name, phone number, email address, and any other relevant details. You can also add a photo or assign the contact to a specific group.
- Save the contact: Once you have entered all the necessary information, tap on the “Save” or “Done” button to save the contact. The contact will now be added to your contacts list.
This method allows you to add contacts with precision and customize the contact information according to your needs. You can also edit or delete contacts easily using the Contacts app.
Keep your contacts organized by adding labels or assigning them to specific groups. This makes it easier to find and manage your contacts efficiently.
Adding contacts from the Contacts app is a seamless process that ensures all your important contacts are readily accessible on your Android phone.
Adding Contacts from Messaging App
If you frequently communicate with someone through a messaging app, it’s convenient to have their contact information readily available on your Android phone. Here’s how you can easily add contacts from a messaging app:
1. Open the messaging app on your Android phone and navigate to the conversation with the contact you want to add.
2. Once you are in the conversation, tap on the contact’s name or profile picture at the top of the screen. This will open the contact details.
3. In the contact details, you may see an option to “Add to Contacts” or a similar action. Tap on it to proceed.
4. A new window will appear, allowing you to enter additional details for the contact, such as their name, phone number, email address, and more. Fill in the relevant information and tap on “Save” or “Done” to complete the process.
5. After saving the contact, it will now be added to your Android phone’s contact list. You can easily find their information by searching for their name in the contacts app or through your phone’s search function.
Adding contacts from a messaging app is a quick and efficient way to ensure that you have all the necessary information about the people you frequently communicate with. It eliminates the hassle of manually inputting contact details and keeps your contact list organized and up to date.
Adding Contacts from Email App
Adding contacts from your email app is a convenient way to quickly populate your Android phone with important contacts. Here are the steps to do it:
1. Open your email app on your Android phone. This can be Gmail, Outlook, or any other email app you use.
2. Navigate to your contacts or address book section within the email app. The location of this section may vary depending on the app you are using. Look for an option that says “Contacts” or “Address Book.”
3. In the contacts section, you should see options to add new contacts. Tap on the “Add Contact” or the “+” icon, usually located at the bottom corner of the screen.
4. A contact form will appear, where you can enter the details of the contact you want to add. Fill in the required fields such as name, phone number, email address, and any other relevant information.
5. Once you have entered all the necessary information, tap on the “Save” or “Done” button to save the contact to your Android phone.
6. The contact should now appear in the contacts list of your Android phone’s native Contacts app, as well as in the contacts section of your email app.
By adding contacts from your email app, you can easily access important email contacts directly from your phone. This makes it convenient to call or message them without the need to search for their contact information each time.
Conclusion
Adding contacts to your Android phone is a straightforward process that allows you to easily manage and connect with your friends, family, colleagues, and other important contacts. Whether you’re using the built-in Contacts app or syncing your contacts from other accounts, such as Google or social media platforms, you have the flexibility to organize your contacts and access their information at any time.
By following the steps mentioned in this article, you can quickly add new contacts, edit existing ones, and keep your contact list up to date. Additionally, you can make use of various features like contact groups and favorites to further enhance your contact management experience on your Android device.
Remember to regularly back up your contacts to ensure you don’t lose any valuable information. With a well-organized and up-to-date contact list, you’ll be able to easily call, message, or email your contacts, saving time and staying connected in the digital age.
FAQs
1. How do I add contacts on my Android phone?
2. Can I add multiple phone numbers for a single contact on Android?
3. Is it possible to import contacts from another device to my Android phone?
4. Can I sync my contacts with my Google account?
5. How do I delete contacts from my Android phone?