
In today’s digital age, mobile devices have become an integral part of our lives, serving various purposes beyond just communication. Whether it’s browsing the internet, capturing stunning photos, or staying connected on social media, smartphones have evolved into versatile tools that cater to our diverse needs. However, to make the most out of our mobile experience, we often rely on a range of mobile accessories. One essential accessory that enhances the usability of our devices is the mobile magnifier. With the ability to magnify the screen, it enables users to read text, view images, and watch videos with greater clarity. In this article, we will delve into the world of mobile magnifiers, specifically focusing on how to turn on magnifier on Logitech Pointer. So, if you’re ready to maximize your mobile viewing experience, let’s dive in and explore the functionality of this handy accessory.
Inside This Article
- Overview of Logitech Pointer
- How to Access the Settings Menu
- Activating the Magnifier Feature
- Customization Options for the Magnifier
- Conclusion
- FAQs
Overview of Logitech Pointer
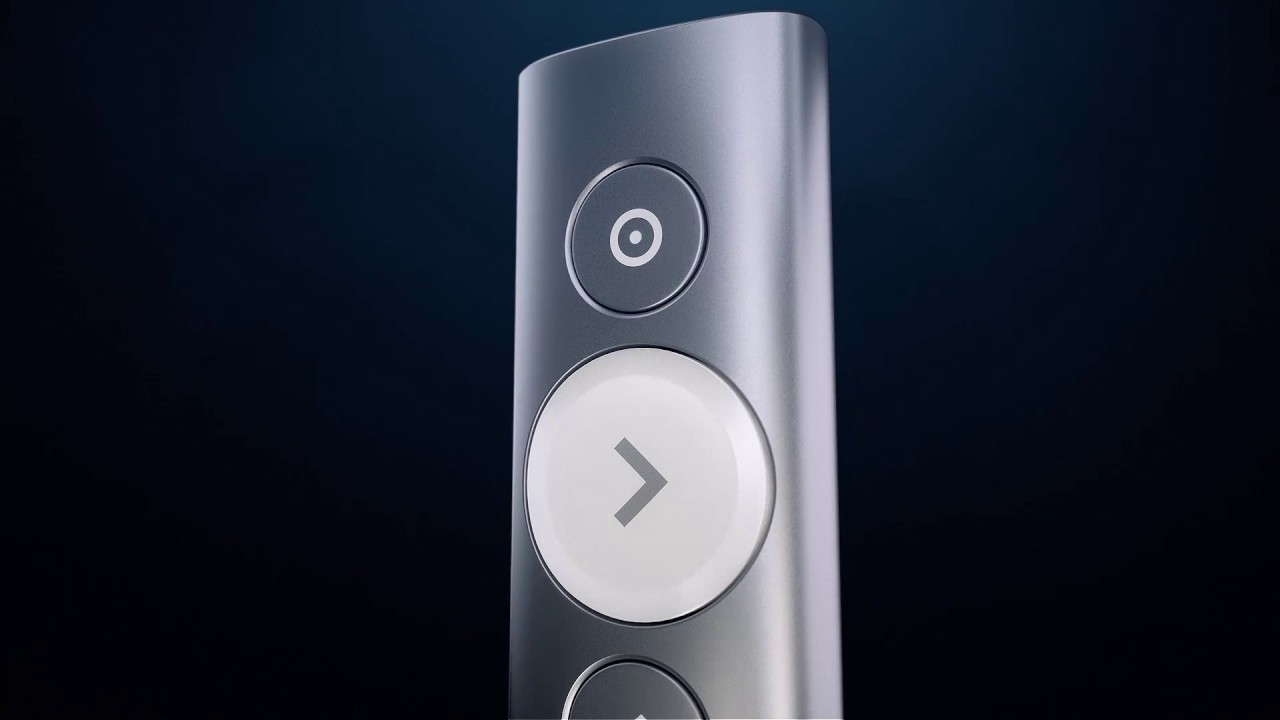
Logitech Pointer is a cutting-edge device that elevates the way you interact with your smartphone or tablet. Whether you’re browsing the web, playing games, or creating digital art, the Logitech Pointer is designed to provide you with precision and control.
With its sleek and ergonomic design, the Logitech Pointer offers a comfortable grip, allowing you to navigate your device with ease. Its wireless connectivity ensures that you can move freely without being limited by cables.
One of the standout features of the Logitech Pointer is its advanced gesture recognition. This allows you to perform various actions, such as scrolling, zooming, and switching between apps, simply by moving your finger on the touch-sensitive surface of the Pointer.
Another key advantage of the Logitech Pointer is its long-lasting battery life. With a single charge, you can enjoy hours of uninterrupted usage, making it the perfect companion for both work and play.
The Logitech Pointer is compatible with a wide range of devices, including smartphones and tablets running on iOS and Android. Thanks to its easy pairing process, you can quickly connect your device to the Pointer and start using it right away.
Overall, the Logitech Pointer is a powerful accessory that enhances your mobile experience. Its combination of ergonomic design, intuitive gesture recognition, and long-lasting battery life make it a must-have for anyone looking to take their smartphone or tablet interaction to the next level.
How to Access the Settings Menu
Accessing the settings menu on your Logitech Pointer is a straightforward process that allows you to customize your device to suit your preferences. By accessing the settings menu, you can enable or disable various features, adjust sensitivity levels, and personalize your pointer’s functionality.
To access the settings menu, follow these simple steps:
- Ensure that your Logitech Pointer is connected to your device via Bluetooth or USB.
- Press and hold the designated settings button on your Logitech Pointer. The location of the settings button may vary depending on the model you have.
- While holding the settings button, turn on your Logitech Pointer by pressing the power button. Continue holding the settings button until the device powers on and enters the settings mode.
- Your Logitech Pointer will now enter the settings menu, which is indicated by a series of flashing lights or a specific color pattern.
- Use the navigation buttons or the touchpad, depending on your Logitech Pointer model, to navigate through the settings menu options.
- Once you have selected the desired setting, press the designated confirm button on your Logitech Pointer to save the changes.
- To exit the settings menu, navigate to the “Exit” or “Back” option and press the confirm button.
By following these steps, you can easily access the settings menu on your Logitech Pointer and make any necessary adjustments or customizations to enhance your overall user experience.
Activating the Magnifier Feature
If you’re looking to enhance your Logitech Pointer experience, the Magnifier feature is a must-have. This useful feature allows you to zoom in on specific areas of your screen, making it easier to see and interact with content. Whether you’re presenting slides, browsing the web, or giving a demonstration, the Magnifier feature can be a game changer. Let’s explore how to activate it and make the most of this handy tool.
To activate the Magnifier feature on your Logitech Pointer, follow these simple steps:
- Start by turning on your Logitech Pointer if it’s not already on. You can usually do this by pressing and holding the power button on the device.
- Next, ensure that the Logitech Pointer is connected to your device via Bluetooth or the USB receiver. A solid blue LED light on the device indicates a successful connection.
- Once the Logitech Pointer is powered on and connected, it’s time to access the settings menu. This is where you can customize various features, including the Magnifier.
- On your computer or mobile device, navigate to the settings menu for the Logitech Pointer. This can usually be done through the Bluetooth settings or the Logitech software.
- Once you’re in the settings menu, locate the “Magnifier” or “Zoom” option. It may be under a “Accessibility” or “Pointer Options” section, depending on your device.
- Toggle the switch or check the box next to the Magnifier option to enable it. This will activate the Magnifier feature on your Logitech Pointer.
- Now that the Magnifier feature is activated, you can use it by pressing the assigned button on your Logitech Pointer. This button may vary depending on the model, but it’s typically located on the side or top of the device.
- When you press the Magnifier button, your screen will zoom in on the area around your pointer. You can then move the pointer to explore different parts of the screen.
It’s worth noting that the Magnifier feature may have additional customization options, allowing you to adjust the zoom level, scroll speed, and other settings to suit your preferences. These options can usually be found in the same settings menu where you activated the Magnifier.
With the Magnifier feature activated on your Logitech Pointer, you’ll have the ability to zoom in and focus on important details with ease. Whether you’re presenting to a large audience or simply navigating your device, this feature ensures that nothing goes unnoticed. Give it a try and see how it enhances your mobile accessory experience.
Customization Options for the Magnifier
Logitech Pointer offers a range of customization options to enhance your magnifier experience. By personalizing the settings, you can optimize the magnifier to suit your specific needs and preferences. Here are some of the key customization options available:
1. Magnification Level: The magnification level determines how much the magnifier enlarges the content on your screen. Logitech Pointer allows you to adjust the magnification level to your desired preference. Whether you need a slight increase in size or a more significant enlargement, you can easily customize the magnifier to meet your visual requirements.
2. Magnifier Window Size: You can also customize the size of the magnifier window. Logitech Pointer enables you to resize the magnifier window to fit your screen or adjust it to a specific area of interest. This flexibility allows you to focus on the most important content without obstructing other parts of the screen.
3. Magnifier Position: The position of the magnifier window on the screen is another customizable feature provided by Logitech Pointer. You have the option to move the magnifier window to any desired location, ensuring that it does not interfere with your work or obstruct any vital information. This flexibility allows you to maintain productivity while benefiting from the magnifier’s functionality.
4. Magnifier Contrast and Color Filters: Logitech Pointer offers various contrast and color filter options to enhance the visibility of the magnified content. These customization options enable you to adjust the contrast levels, apply color filters, or even invert colors to achieve optimal visibility and readability for your specific needs.
5. Magnifier Shortcut Keys: To enhance accessibility and convenience, Logitech Pointer allows you to assign shortcut keys to activate and control the magnifier. These shortcut keys ensure quick and easy access to the magnifier feature, enabling you to toggle it on or off and adjust settings without the need for navigating through menus or settings.
With these customization options, Logitech Pointer empowers you to tailor the magnifier feature to suit your unique requirements. Whether you need a higher magnification level, a specific window size or position, or enhanced contrast and color filters, Logitech Pointer offers the flexibility to optimize your magnifier experience.
In conclusion, turning on the magnifier feature on your Logitech pointer can greatly enhance your user experience and productivity. Whether you need to zoom in on a specific detail during a presentation or have difficulty reading small text, the magnifier function provides a convenient solution. By following the steps outlined in this article, you can easily activate the magnifier feature on your Logitech pointer and adjust the zoom level to suit your needs.
With the magnifier feature enabled, you’ll have the ability to zoom in on any area of the screen with just a press of a button. This can be particularly useful for professionals who frequently give presentations, students who need to take detailed notes, or anyone who wants to have better visibility on their computer screen.
By utilizing the magnifier feature on your Logitech pointer, you can ensure a more comfortable and accessible computing experience. So, don’t hesitate to explore this feature and make the most out of your Logitech pointer.
FAQs
1. Can I turn on the magnifier on my Logitech pointer?
2. What is the function of the magnifier on Logitech pointer?
3. How do I activate the magnifier feature on my Logitech pointer?
4. Does the Logitech pointer have different magnification levels?
5. Can I adjust the magnifier settings on my Logitech pointer?