
If you’re looking to master the art of crimping wire connectors, you’ve come to the right place! Crimping is an essential skill for anyone working with electrical or electronic equipment, as it allows you to make secure and reliable connections between wires and terminals. Whether you’re a DIY enthusiast or a professional electrician, understanding how to crimp a wire connector can save you time and ensure the safety and efficiency of your electrical projects. In this article, we’ll walk you through the step-by-step process of crimping a wire connector, including the tools you’ll need and the techniques to achieve a strong and durable connection. So grab your wire strippers and let’s get crimping!
Inside This Article
- What is a Wire Connector?
- Tools and Materials Needed
- Step-by-Step Guide to Crimping a Wire Connector
- Common Mistakes to Avoid
- Conclusion
- FAQs
What is a Wire Connector?
A wire connector, also known as a wire terminal or wire splice connector, is a device used to join two or more electrical wires together. It plays a crucial role in electrical installations and repairs by providing a secure and reliable connection between wires.
Wire connectors are designed to ensure proper electrical conductivity, prevent wire damage, and enhance safety. They come in various types and sizes, catering to different wire gauges and applications.
The primary function of a wire connector is to create a solid and durable electrical connection between wires. This connection allows the flow of electrical current without any interruptions or loss in efficiency. By securely joining wires, wire connectors prevent loose connections that can lead to power failures, fires, or other electrical hazards.
Wire connectors are commonly used in a wide range of industries and applications. They are used in residential, commercial, and industrial electrical systems, as well as in automotive, telecommunications, and aerospace industries. Whether it’s connecting wires in a home electrical circuit or splicing wires in an electronic device, wire connectors are an essential component in ensuring the proper functioning of electrical systems.
Tools and Materials Needed
Crimping wire connectors requires a few essential tools and materials to ensure a successful and secure connection. Before you start, make sure you have the following:
1. Wire Strippers: These are used to strip the insulation from the wire, exposing the conductor for a clean connection.
2. Crimping Tool: A crimping tool is specifically designed to compress the wire connector onto the stripped wire. Invest in a high-quality crimping tool to achieve reliable results.
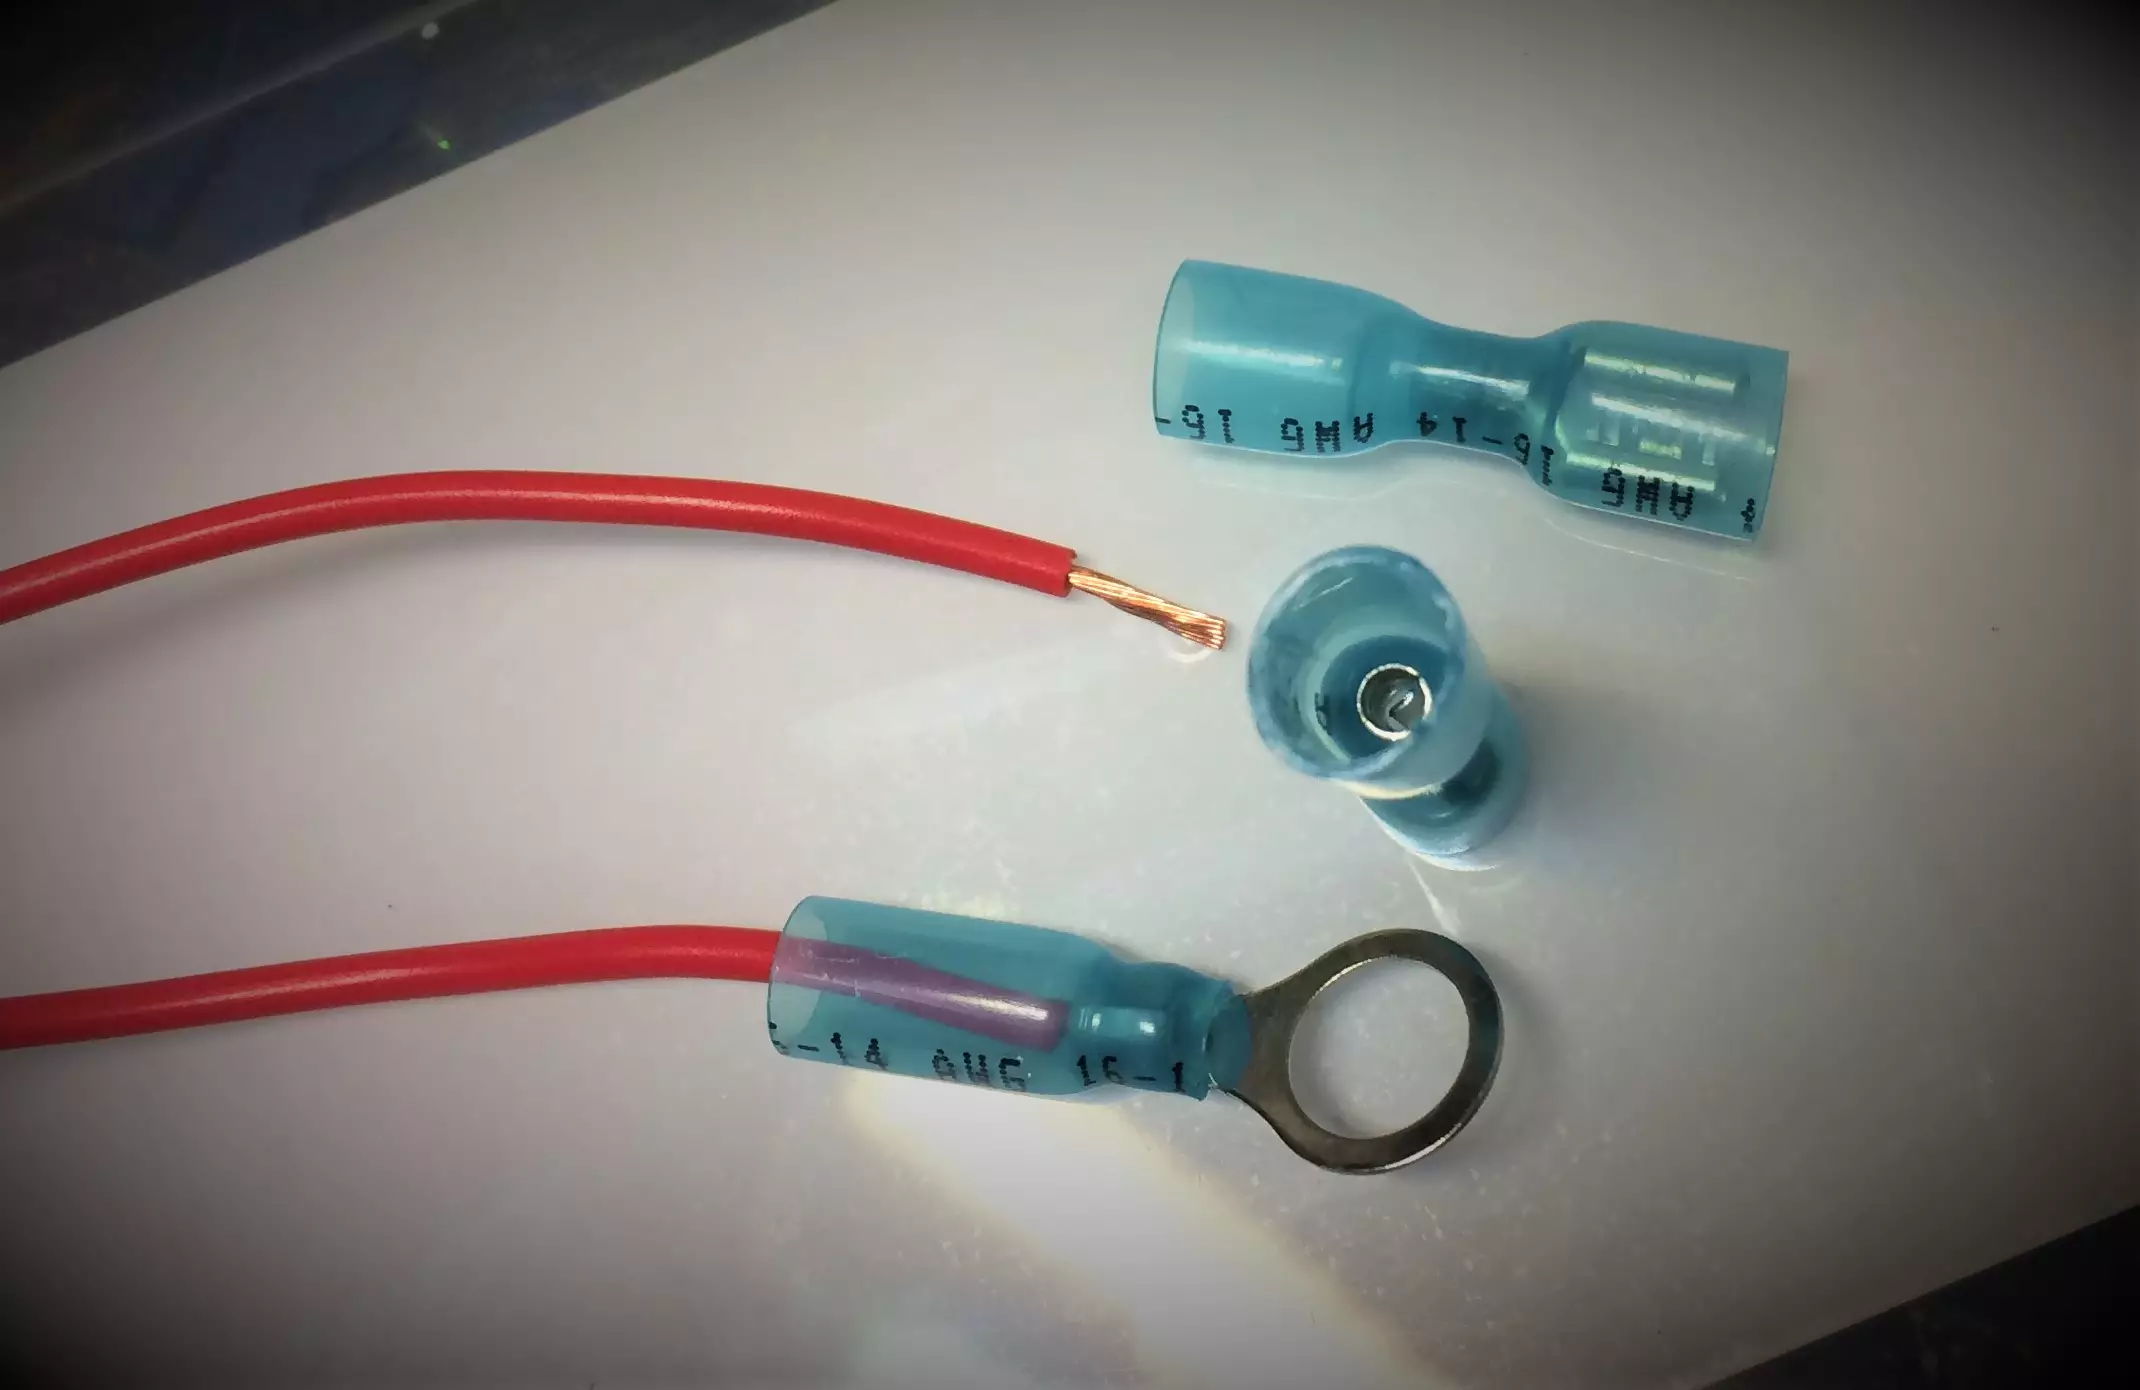
3. Wire Connectors: There are various types of wire connectors available, such as butt connectors, ring terminals, spade terminals, and many more. Choose the appropriate wire connector based on your specific application.
4. Wire Cutter: This tool comes in handy for trimming excess wire or cutting the wire to the desired length before crimping.
5. Wire: Of course, you’ll need the wire itself to make the connection. Ensure that the wire gauge is appropriate for your application and matches the wire connector size.
6. Safety Equipment: It’s always important to prioritize safety. Wear safety goggles to protect your eyes from any flying debris, and consider using gloves to prevent cuts or abrasions.
Now that you have all the necessary tools and materials at your disposal, you’re ready to start crimping a wire connector. Just follow the step-by-step guide for a successful connection!
Step-by-Step Guide to Crimping a Wire Connector
When it comes to working with electrical wiring, crimping a wire connector is an essential skill to have. Whether you’re a professional electrician or a DIY enthusiast, knowing how to properly crimp a wire connector ensures a secure and reliable connection.
Follow these step-by-step instructions to learn how to crimp a wire connector effectively:
- Select the Correct Wire Connector: The first step is to choose the right wire connector for your specific application. Consider the wire gauge, the number of wires to be connected, and the type of connection required.
- Prepare the Wires: Strip approximately 1/2 inch of insulation from the end of each wire using a wire stripper. Be careful not to damage the wire strands while stripping.
- Twist the Wire Strands: Once the wires are stripped, twist the individual wire strands tightly together using your fingers. This will help create a solid connection when crimping.
- Insert the Wires into the Connector: Insert the twisted wires into the open end of the wire connector. Make sure all the wire strands go all the way into the connector, leaving no exposed wires.
- Position the Connector: Hold the connector securely with one hand, ensuring it is properly aligned with the wires. This will prevent any movement or misalignment during the crimping process.
- Use Crimping Pliers: Use a dedicated pair of crimping pliers or a wire crimper tool specifically designed for the wire connector you are using. Position the connector and wires into the appropriate crimping area of the tool.
- Apply Pressure: Once the wires and connector are in place, firmly squeeze the crimping pliers or crimper tool to apply consistent pressure. This will compress the connector, creating a secure and tight connection.
- Inspect the Crimp: After crimping, visually inspect the connection to ensure it’s done correctly. Check that the wires are fully inserted into the connector, and the crimping is uniform and without any loose strands.
- Tug Test: To verify the strength of the crimped connection, give it a gentle tug. If the wires remain firmly held in place, then the crimp is successful. If there is excessive movement or the wires come loose, you may need to redo the crimp.
By following these step-by-step instructions, you’ll be able to confidently and effectively crimp wire connectors in any electrical wiring project. Remember, practice makes perfect, so don’t be afraid to hone your crimping skills to achieve professional-grade connections.
Common Mistakes to Avoid
When it comes to crimping wire connectors, there are a few common mistakes that people often make. These mistakes can lead to faulty connections and potential electrical hazards. To ensure a secure and reliable connection, it is important to avoid the following errors:
-
Using the wrong size wire connector: One of the most common mistakes is using a wire connector that is either too small or too large for the wires being crimped. This can result in a loose connection or difficulty securing the wires properly. Always check the wire gauge and use an appropriately sized connector.
-
Not stripping the wires correctly: Properly stripping the insulation from the wires is crucial for a successful crimp. If the wires are not stripped enough, the crimp may not make full contact with the bare wire, resulting in a weak connection. On the other hand, if the wires are stripped too much, there is a risk of exposed wires or short circuits. Take the time to strip the wires to the correct length according to the connector specifications.
-
Over-crimping the connector: Applying too much force while crimping can deform the connector and weaken the connection. It is essential to follow the manufacturer’s recommendations for crimping force and use a proper crimping tool to ensure a secure and reliable crimp. Avoid using excessive force or squeezing the connector too tightly.
-
Not aligning the wires properly: Before crimping the connector, it is important to ensure that the wires are properly aligned within the connector. Misaligned wires can lead to a weak or incomplete connection. Double-check the alignment of the wires and make any necessary adjustments before crimping.
-
Skipping the inspection: After crimping the connector, it is crucial to inspect the connection to ensure it is secure and properly crimped. Skipping this step could result in missed connections or faulty crimps that may cause electrical issues down the line. Take the time to visually inspect each crimped connection before moving on.
-
Using low-quality connectors: Investing in high-quality wire connectors is essential for reliable and long-lasting connections. Using cheap or low-quality connectors may result in loose connections or premature failure. Always choose connectors from reputable brands to ensure the best performance and safety.
By avoiding these common mistakes, you can ensure that your wire connectors are well-crimped, providing a secure and reliable electrical connection. Remember to follow the manufacturer’s instructions, use the correct tools and materials, and take the time to inspect your connections for peace of mind.
Conclusion
The process of crimping a wire connector is a fundamental skill that every DIY enthusiast, electrician, or hobbyist should possess. With the right tools, knowledge, and technique, you can create secure and reliable wire connections. By following the steps outlined in this article, you can ensure that your crimped wire connectors are properly installed and capable of withstanding the demands of electrical systems.
Crimping provides a strong, durable, and efficient method for joining wires. It eliminates the need for soldering and gives you a reliable, vibration-resistant connection. Whether you’re working on automotive wiring, household electrical repairs, or constructing electronic devices, mastering the art of crimping will make your projects more professional and reliable.
Remember to choose the appropriate wire connector for your specific application and follow the manufacturer’s instructions to ensure successful crimping. Practice your technique and always double-check your connections for proper crimping and insulation. With time and experience, you’ll become skilled at crimping wire connectors like a pro, making your electrical projects safer and more efficient.
FAQs
Here are some frequently asked questions about crimping wire connectors:
-
What is a wire connector?
A wire connector, also known as a crimp connector, is a device used to join or terminate electrical wires together. It provides a secure and reliable connection that ensures proper electrical conductivity.
-
Why is crimping necessary?
Crimping is necessary to establish a strong and durable connection between wires. It ensures that the wires are mechanically and electrically secure, minimizing the risk of loose connections or electrical faults.
-
What tools are required for crimping wire connectors?
To crimp wire connectors, you will need a wire crimper or a crimping tool. This tool is designed specifically for this purpose and allows you to apply the appropriate pressure to create a secure crimp. Additionally, wire strippers may be necessary to remove insulation from the wire ends.
-
How do I crimp a wire connector?
To crimp a wire connector, follow these steps:
- Strip the insulation from the wires to expose the bare conductors.
- Twist the stranded wires together for a neat and clean connection.
- Slide the wire connector over the twisted wires.
- Position the connector in the crimping tool and squeeze the handles firmly until the crimp is secure.
- Give the crimped connection a gentle tug to ensure its strength.
-
Are there different types of wire connectors?
Yes, there are various types of wire connectors available, depending on the application and wire size. Some common types include butt connectors, ring terminals, spade terminals, and bullet connectors. Each type has its own unique design and is suited for specific wire connections.