
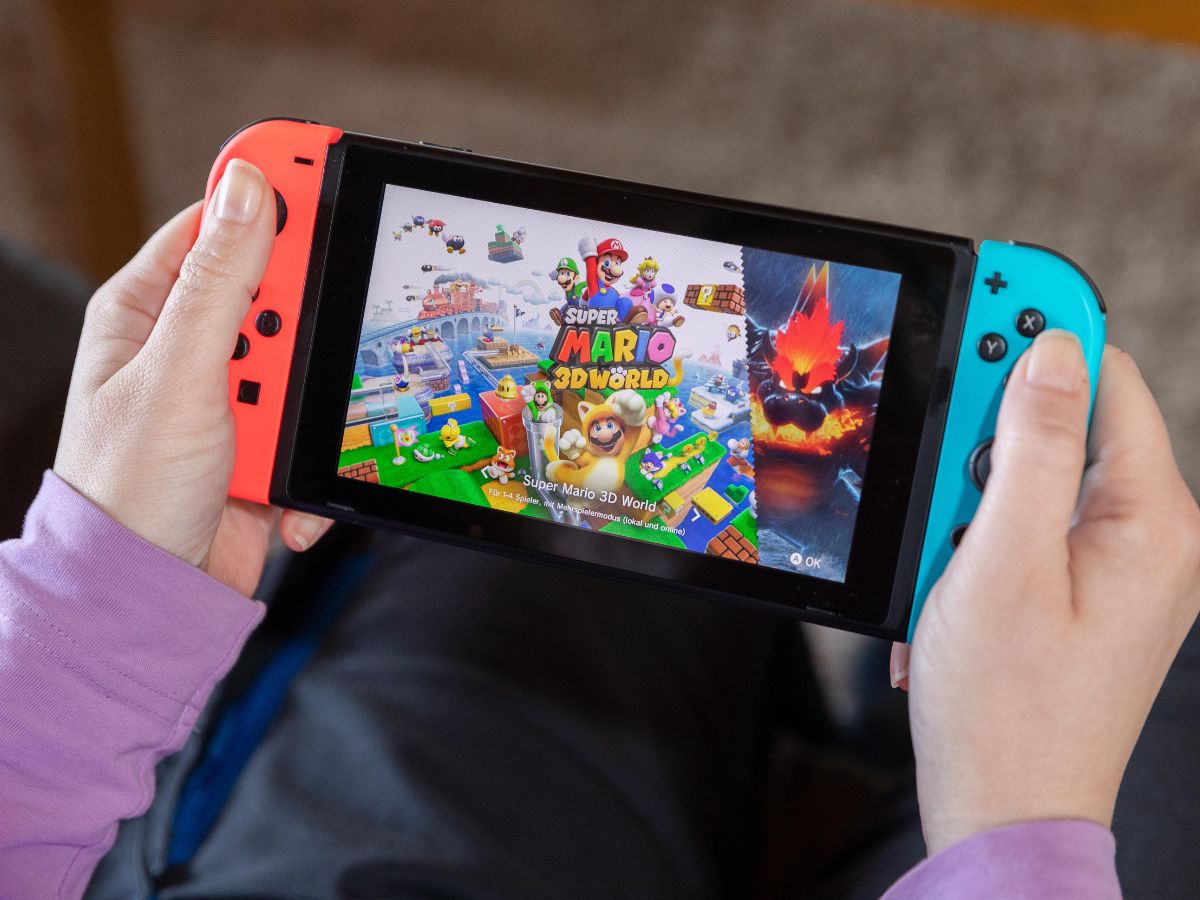
So you’ve just got your brand new Nintendo Switch and now you’re ready to dive into the world of gaming. But before you can start playing your favorite games, there’s one important step you need to take – putting a SIM card in your Nintendo Switch. While the Nintendo Switch is primarily designed for gaming on the go, it does have the capability to connect to the internet using a SIM card.
In this article, we will guide you step by step on how to properly insert a SIM card into your Nintendo Switch, ensuring that you can enjoy online multiplayer, download games, and stay connected with your friends. Whether you’re a seasoned gamer or a newbie, don’t worry – we’ve got you covered!
Inside This Article
- Removing the Back Cover
- Locating the SIM Card Slot
- Inserting the SIM Card
- Re-attaching the Back Cover
- Conclusion
- FAQs
Removing the Back Cover
Before we can access the SIM card slot on the Nintendo Switch, we must first remove the back cover of the device. Luckily, this process is straightforward and can be done in a few simple steps.
To start, power off the Nintendo Switch and make sure it is not connected to any charger or dock. This is important to ensure the safety of the device and yourself during the removal process.
Next, gently lay the Nintendo Switch face down on a flat and clean surface. This will allow us to access the back cover without any obstructions. Take a moment to locate the small rectangular indentation on the bottom-right side of the device. This is where we will apply pressure to remove the back cover.
Using your thumb or a small tool like a SIM card ejector, apply firm but gentle pressure to the indentation. You should feel a slight click or release as the back cover begins to loosen. Slowly and carefully continue applying pressure until the back cover is completely detached from the main body of the Nintendo Switch.
Once the back cover is removed, set it aside in a safe place to avoid any damage or misplacement. You will now have clear access to the internals of the Nintendo Switch, including the SIM card slot.
It’s important to note that removing the back cover may void the warranty of the device. If you are unsure about performing this procedure or have any concerns, it is recommended to seek professional assistance or consult the Nintendo Support website for further guidance.
Locating the SIM Card Slot
Inserting a SIM card into a Nintendo Switch is a straightforward process, but the first step is to locate the SIM card slot. The SIM card slot is typically located on the back of the Switch console.
To find the SIM card slot, gently turn the Nintendo Switch over and look for a small rectangular outline or a small panel that is removable. This is where you will find the SIM card slot.
Keep in mind that not all versions of the Nintendo Switch have a SIM card slot. The presence of a SIM card slot is usually limited to specific models, often those with cellular connectivity capabilities.
If you are unsure whether your Nintendo Switch has a SIM card slot, you can refer to the console’s user manual or check the manufacturer’s website for more information about your specific model.
Once you have confirmed the presence of the SIM card slot, you can proceed to the next step of inserting the SIM card.
Inserting the SIM Card
Now that you have located the SIM card slot in your Nintendo Switch, it’s time to insert the SIM card. Follow these steps:
- Hold the SIM card gently by its edges to avoid touching the metal contacts.
- Position the SIM card in the designated slot, ensuring that the gold-colored contacts are facing downwards. The notched corner of the SIM card should align with the corresponding notch on the slot.
- Gently push the SIM card into the slot until it is firmly seated.
- Double-check to make sure the SIM card is inserted correctly and securely in the slot.
It’s important to note that the Nintendo Switch only supports micro-SIM cards. Other SIM card sizes, such as nano-SIM or standard SIM, will not fit properly and may cause damage to the device or the card itself.
Once the SIM card is inserted, you can continue with the next step of re-attaching the back cover, which will secure the SIM card in place and complete the process. Refer to the previous section for detailed instructions on re-attaching the back cover.
Re-attaching the Back Cover
Once you have successfully inserted the SIM card into your Nintendo Switch, the final step is to re-attach the back cover. This ensures the SIM card is securely held in place and protects the internal components of the device.
To re-attach the back cover, start by aligning it with the slots on the sides of the Nintendo Switch. Make sure it fits snugly in place.
Gently press down on the back cover and use your fingertips to slide it back into position. You should hear a clicking sound as it locks into place. Ensure that all edges are securely sealed and there are no gaps or loose sections.
Take a moment to double-check that the back cover is properly aligned before proceeding. This will prevent any damage to the SIM card or the Nintendo Switch itself.
If you encounter any resistance while re-attaching the back cover, stop immediately and make sure the SIM card is inserted correctly. It is important not to force the cover back on as it may cause damage to the device.
Once the back cover is securely attached, power on your Nintendo Switch and check if it recognizes the SIM card. You can do this by navigating to the network settings and verifying that the device has successfully connected to a mobile network.
Remember, if you ever need to remove or replace the SIM card in the future, you can simply follow these steps in reverse order. Take your time and be gentle with the back cover to avoid any unnecessary damage.
Now that you have successfully re-attached the back cover, you can enjoy the benefits of using your Nintendo Switch with a SIM card. Whether it’s accessing online gaming features or staying connected while on-the-go, the addition of a SIM card can greatly enhance your gaming experience.
So go ahead, get back to gaming and immerse yourself in the world of Nintendo Switch with the convenience and flexibility of a mobile network connection!
Conclusion
Putting a SIM card in a Nintendo Switch can be a simple and straightforward process, allowing you to unlock a whole new world of connectivity and gaming on the go. By following the step-by-step instructions provided in this guide, you can easily insert a SIM card into your Nintendo Switch and enjoy online multiplayer, software updates, and access to the eShop.
Keep in mind that not all Nintendo Switch models support SIM card insertion, so it’s important to check your specific model’s compatibility before attempting to insert a SIM card. Additionally, make sure to choose a data plan from a reputable mobile provider that offers reliable coverage and network speeds.
With a SIM card successfully inserted, you can take your Nintendo Switch gaming experience to the next level, whether you’re playing with friends or competing online. Stay connected and enjoy the convenience of mobile gaming wherever you go.
FAQs
Q: Can I put a SIM card in a Nintendo Switch?
A: No, the Nintendo Switch does not have a SIM card slot. It is not designed to support cellular connectivity or make phone calls. Instead, it primarily relies on Wi-Fi for online functionality.
Q: Can I use mobile data to play online with my Nintendo Switch?
A: While the Nintendo Switch can connect to the internet via Wi-Fi, it does not have built-in support for mobile data. However, you can use your smartphone’s mobile hotspot feature to share your mobile data connection with the Switch and play online on the go.
Q: Are there any mobile accessories available for the Nintendo Switch?
A: Yes, there are various mobile accessories available for the Nintendo Switch that can enhance your gaming experience. These include portable chargers, protective cases, Joy-Con grips, screen protectors, and more. These accessories can provide added convenience and protection to your Switch when playing on the move.
Q: Are there any accessories that allow me to connect my Switch to a TV?
A: Yes, there is a specific accessory called the Nintendo Switch Dock that allows you to connect your Switch to a TV. The dock provides a seamless transition from handheld mode to TV mode, enabling you to enjoy your games on a larger screen. Simply connect your Switch to the dock using the included HDMI cable, and you can start playing on the TV.
Q: Can I use any USB-C cable to charge my Nintendo Switch?
A: While the Nintendo Switch uses a USB-C port for charging, it is recommended to use the official Nintendo Switch AC adapter or a reputable USB-C cable specifically designed for the Switch. This ensures proper power delivery and avoids any potential compatibility issues. Using low-quality or uncertified cables may lead to slower charging or even damage to your device.