
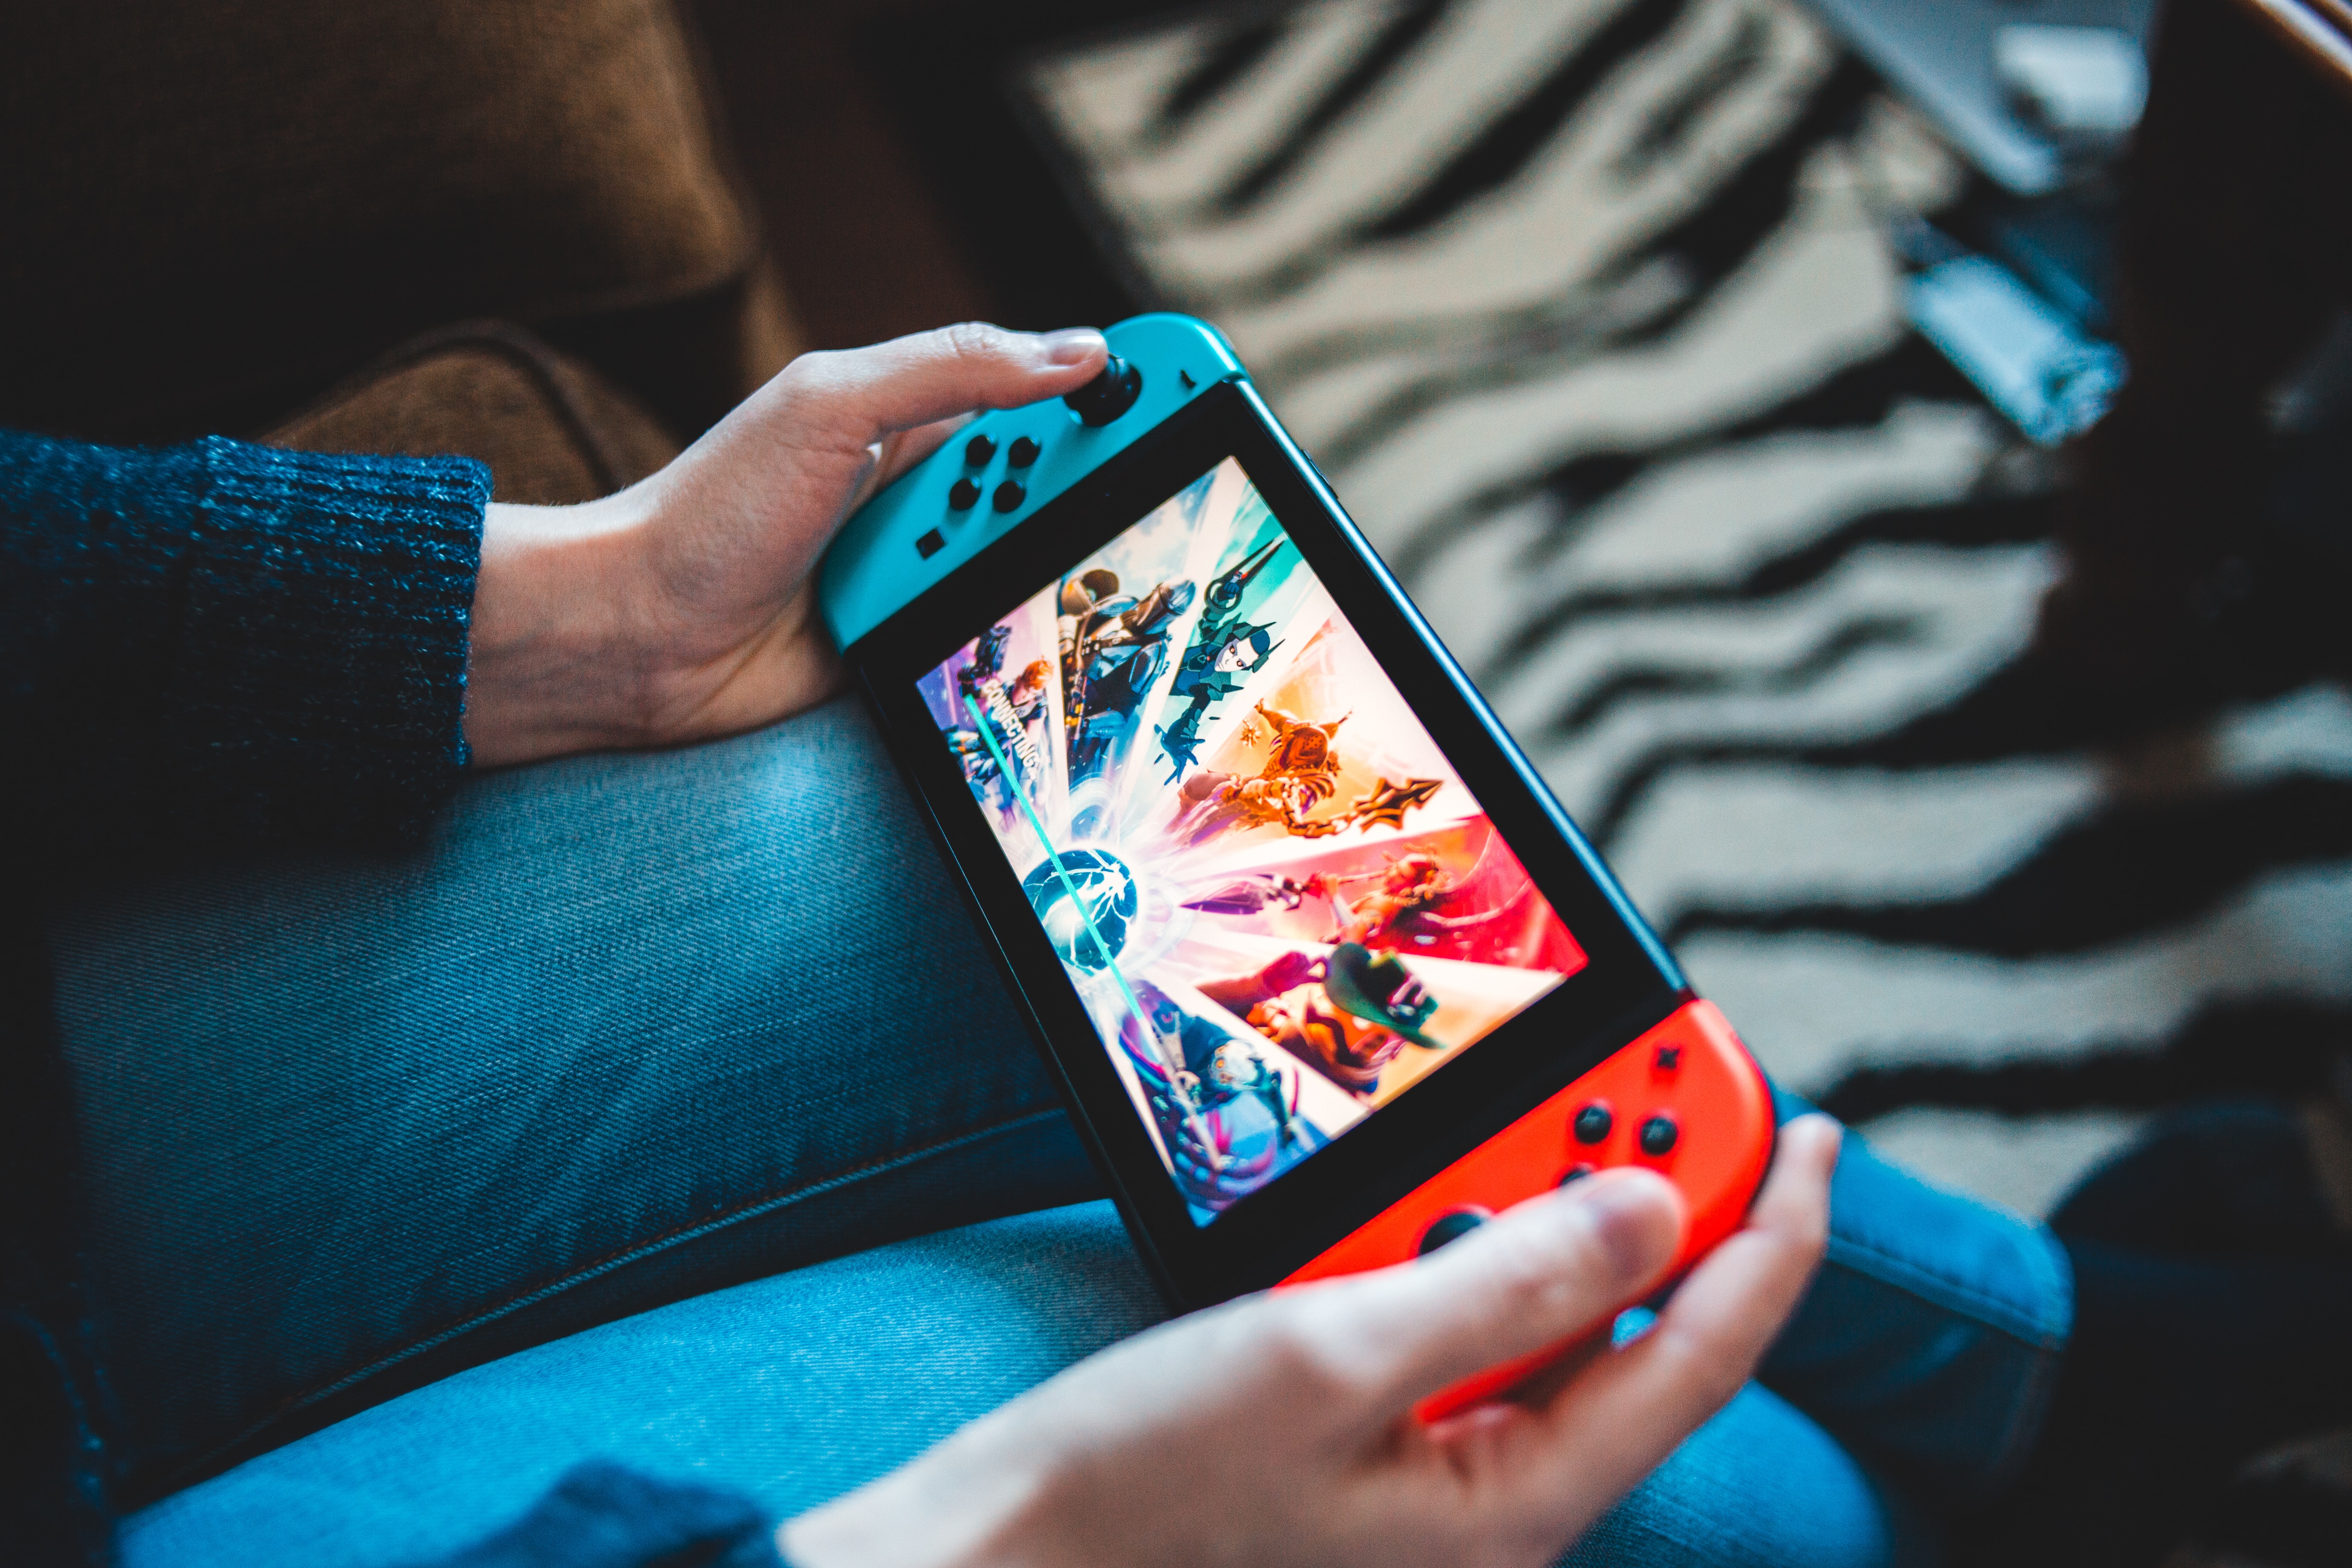
Are you struggling to remove the screen protector from your Nintendo Switch? Don’t worry, we’ve got you covered! The process of removing a screen protector can be tricky, and if done improperly, it can leave behind sticky residue or even damage the screen itself.
In this comprehensive guide, we will walk you through the step-by-step process of safely removing a screen protector from your Nintendo Switch. Whether you’re replacing it with a new one or just want to enjoy the flawless display of your console, we will ensure that you have all the necessary information and tools to complete the task with ease.
From gathering the right tools to applying the right technique, we’ll cover everything you need to know to accomplish this task successfully. So, let’s dive in and learn how to properly take off the screen protector from your beloved Nintendo Switch!
Inside This Article
- Choosing the Right Tools
- Preparing the Nintendo Switch
- Removing the Screen Protector
- Cleaning and Reapplying the Screen Protector
- Conclusion
- FAQs
Choosing the Right Tools
When it’s time to remove the screen protector from your Nintendo Switch, having the right tools will make the process much easier and safer. Here are some essential tools you should consider using:
- Microfiber Cloth: Before you start removing the screen protector, you’ll want to make sure the screen is clean. A microfiber cloth is the perfect tool for this task as it is soft and will not scratch the screen.
- Plastic Card or Spudger: A plastic card or a spudger can be incredibly useful in lifting up the edges of the screen protector. Be sure to choose a card that is not too sharp or hard, as it can damage the screen.
- Isopropyl Alcohol (or Cleaning Solution): If there are stubborn residue or adhesive left on the screen after removing the protector, isopropyl alcohol can help break it down. Just be cautious not to use excessive liquid, as it can damage the device.
- Tweezers: Tweezers can come in handy if there are any small pieces of the screen protector that are difficult to remove by hand.
- Hairdryer: In some cases, using a hairdryer on low heat can help loosen the adhesive of the screen protector, making it easier to remove.
Remember, the choice of tools may vary depending on the type of screen protector you have and your personal preference. It’s always a good idea to read the instructions provided by the screen protector manufacturer for any specific tools they recommend.
Now that you know the essential tools, let’s move on to preparing your Nintendo Switch for the screen protector removal process.
Preparing the Nintendo Switch
Before you start removing the screen protector from your Nintendo Switch, it’s important to properly prepare the device to ensure a smooth and safe process. Here are the steps you should follow:
- Turn off the Nintendo Switch: The first step is to power off your Nintendo Switch. This will prevent any accidental button presses or interference during the process.
- Gather the necessary tools: Make sure to have a microfiber cloth and some cleaning solution ready. It’s important to use a gentle cleaning solution that is specifically designed for electronics to avoid any damage to the device.
- Find a well-lit and clean area: Look for a clean and well-lit area where you can comfortably work on your Nintendo Switch. A clean space will help prevent any dust or debris from coming into contact with the exposed screen once the protector is removed.
- Remove any existing dirt or debris: Take the microfiber cloth and gently wipe the screen of your Nintendo Switch to remove any dirt, fingerprints, or smudges. This will ensure that the screen is clean and ready for the next steps.
- Inspect the surrounding area: Take a close look at the edges and corners of the screen to check if there are any signs of the protector peeling off or any loose edges. If you notice any areas that are lifting, proceed with caution during the removal process to avoid damaging the screen.
- Keep the Nintendo Switch steady: Place your Nintendo Switch on a stable surface to keep it steady while you remove the screen protector. This will ensure that you have better control and minimize the risk of accidentally dropping the device.
By properly preparing your Nintendo Switch before removing the screen protector, you can help minimize any potential risks and ensure a successful removal process. Taking these steps will help protect your device and maintain its functionality during and after the screen protector removal.
Removing the Screen Protector
Now that you have prepared your Nintendo Switch and gathered the necessary tools, it’s time to remove the screen protector. Follow these steps carefully to ensure a smooth and successful process:
- Find a well-lit and clean environment: Make sure you are in a location with good lighting and minimal dust or particles in the air. This will help you see any residue left behind on the screen protector and prevent further damage to the Nintendo Switch.
- Power off the Nintendo Switch: Before attempting to remove the screen protector, it is important to turn off the device. This will prevent any accidental input or damage to your system while you’re working on it.
- Inspect the screen protector: Take a close look at the screen protector. Look for any signs of damage, such as cracks or bubbles. If you notice any, be careful when removing the protector to avoid any further damage to the Switch’s screen.
- Lift a corner of the screen protector: Starting from one corner of the screen, use your fingernail or a thin, flat object like a credit card to gently lift the edge of the screen protector. Be cautious not to apply too much pressure, as this could potentially scratch the screen underneath.
- Peel off the screen protector: Once you have lifted the corner, slowly and evenly peel back the screen protector, applying gentle pressure as needed. Be patient and avoid rushing this step, as pulling too quickly or forcefully can leave behind residue or damage the screen.
- Remove any adhesive residue: After removing the screen protector, check the screen for any leftover adhesive. If you see any, use a microfiber cloth lightly dampened with isopropyl alcohol to gently clean the screen. Avoid using excessive moisture, as it can damage the Nintendo Switch.
- Inspect the screen: Once you have removed the screen protector and cleaned any residue, carefully examine the screen for any scratches or damage. If you notice any issues, you may need to take further steps to address them.
It’s important to note that the process of removing a screen protector may vary slightly depending on the type and brand of the protector you are using. Always refer to the manufacturer’s instructions or consult their website for any specific guidance or precautions.
By following these steps, you can safely and effectively remove the screen protector from your Nintendo Switch, ensuring a clean and clear display for your gaming sessions.
Cleaning and Reapplying the Screen Protector
Once you have successfully removed the screen protector from your Nintendo Switch, it’s important to clean the screen thoroughly before reapplying a new one. Here’s how you can clean and apply the screen protector:
1. Gather the Necessary Cleaning Supplies
Before you begin, make sure you have the following cleaning supplies ready:
- A microfiber cloth
- Isopropyl alcohol (70% concentration or higher)
- Cotton swabs
- A dust blower or can of compressed air
These supplies will help you effectively remove any dust, fingerprints, or smudges from the screen.
2. Clean the Screen
Start by using the dust blower or compressed air to blow away any loose dust particles from the screen. Be gentle to avoid scratching the surface. Next, dampen the microfiber cloth with isopropyl alcohol. Make sure the cloth is not dripping wet but damp enough to clean the screen effectively.
Gently wipe the screen in a circular motion, focusing on areas with fingerprints or smudges. Be thorough but gentle to prevent any damage. Use the cotton swabs dipped in isopropyl alcohol to clean the edges and corners of the screen.
3. Remove any Residue
If there is any residue left from the previous screen protector, you can use the sticky side of a piece of tape to lift it off. Press the sticky side onto the residue and lift it away. Repeat this process until the screen is free of any residue.
4. Apply the New Screen Protector
Once the screen is clean and dry, carefully remove the backing from the new screen protector. Align it with the edges of the screen and slowly place it onto the surface, avoiding any air bubbles. Gently press down on the screen protector, starting from the middle and working your way outwards.
Use a microfiber cloth to smooth out the surface and remove any remaining air bubbles. Start from the center and move towards the edges, applying even pressure. Take your time and be patient to achieve a bubble-free application.
5. Check for Proper Alignment
After applying the screen protector, check for proper alignment and make sure it covers the entire screen. If there are any edges that are not fully covered, carefully lift the screen protector and reapply it, making necessary adjustments as needed.
6. Allow the Screen Protector to Settle
Finally, allow the screen protector to settle for a few hours before using your Nintendo Switch. This will give it time to adhere properly and provide optimal protection for your device’s screen.
Remember, always follow the manufacturer’s instructions and recommendations when applying a screen protector. Each brand may have specific guidelines for cleaning and application.
By following these steps and taking proper care of your Nintendo Switch’s screen, you can ensure that it remains protected and in pristine condition for a long time.
Conclusion
In conclusion, removing a screen protector from your Nintendo Switch is a relatively simple process that can be done with a few easy steps. By following the instructions provided and taking the necessary precautions, you can ensure the safe removal of the screen protector without causing any damage to your device’s screen.
Remember to gather the necessary tools, such as a microfiber cloth and a piece of tape, to aid in the removal process. Take your time and work carefully to avoid any scratches or residue left behind on the screen.
Additionally, it is always a good idea to have a replacement screen protector ready before removing the existing one. This will help protect your device’s screen from potential scratches and smudges.
By keeping your Nintendo Switch’s screen clean and protected, you can enjoy an optimal gaming experience and prolong the lifespan of your device.
If you have any further questions or concerns about removing a Nintendo Switch screen protector or any other mobile accessory, don’t hesitate to reach out to a professional or consult the manufacturer’s guidelines for further assistance. Happy gaming!
FAQs
Q: Why should I use a screen protector for my Nintendo Switch?
A: A screen protector is essential for your Nintendo Switch to protect the display from scratches, smudges, and fingerprints. It adds an extra layer of defense to keep your screen looking brand new for longer.
Q: How do I remove the screen protector from my Nintendo Switch?
A: To remove the screen protector, start by using a credit card or your fingernail to lift one corner of the protector gently. Then, peel it off slowly and steadily, taking care not to damage the screen.
Q: Will removing the screen protector leave any residue on the screen?
A: If you use a high-quality screen protector, it should come off cleanly without leaving any residue behind. However, some low-quality or older screen protectors may leave a residue, which can be easily cleaned with a microfiber cloth and a mild cleaning solution.
Q: Can I reuse the screen protector after removing it?
A: No, once you have removed the screen protector, it is not recommended to reuse it. The adhesive loses its effectiveness after removal, and reapplying it may result in bubbles, poor adhesion, or reduced clarity.
Q: What should I do if there are any air bubbles under the screen protector?
A: If you notice air bubbles after applying the screen protector, gently lift the corner of the protector and use a credit card or your fingertip to smooth out the bubble towards the edge of the screen. If the bubble persists, carefully peel off the protector and reapply it, making sure to align it properly and avoid any dust or debris.
Q: Can I use a tempered glass screen protector for my Nintendo Switch?
A: Yes, you can use a tempered glass screen protector for your Nintendo Switch. Tempered glass offers excellent protection against scratches and impacts, providing a durable and clear shield for the screen.
Q: How can I clean the screen of my Nintendo Switch?
A: To clean the screen of your Nintendo Switch, use a microfiber cloth slightly dampened with water or a screen cleaning solution specifically designed for electronic devices. Gently wipe the screen in a circular motion, taking care not to apply too much pressure. Avoid using abrasive materials or harsh chemicals that can damage the screen.