
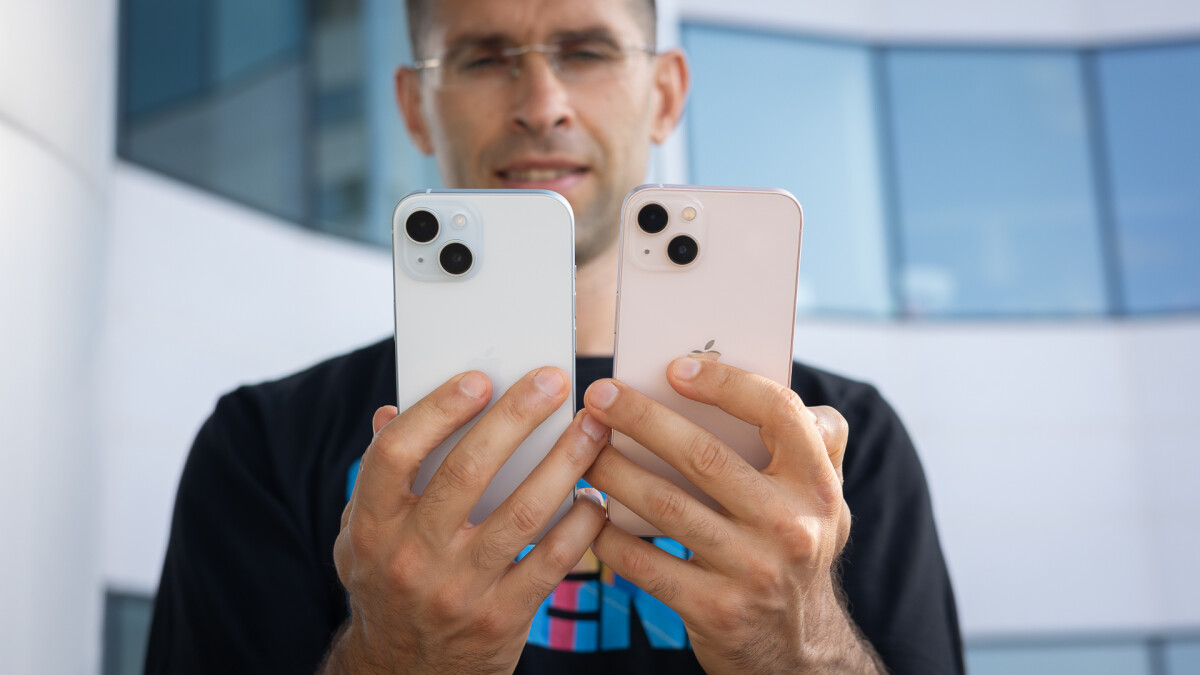
Setting up a SIM card on your iPhone is a crucial step in getting your device up and running. The SIM card, short for Subscriber Identity Module, is a small chip that allows your phone to connect to a cellular network and make calls, send messages, and use the internet. Whether you’re switching to a new iPhone or inserting a new SIM card into your existing device, the process is relatively straightforward. In this article, we will guide you through the step-by-step process of setting up a SIM card on your iPhone, ensuring that you can start making the most of your device’s capabilities. So, grab your iPhone and let’s get started!
Inside This Article
- Overview of SIM Cards
- Step 1: Check Compatibility
- Step 2: Locate the SIM Card Slot
- Step 3: Remove the SIM Card tray
- Step 4: Insert the SIM Card
- Step 5: Set up mobile network settings
- Step 6: Activate the SIM Card
- Step 7: Troubleshooting Tips
- Conclusion
- FAQs
Overview of SIM Cards
A Subscriber Identity Module (SIM) card is a small, removable chip that is inserted into a mobile phone to identify and authenticate the user. It securely stores the data necessary to connect to your cellular network and manage your phone’s identity.
SIM cards come in various sizes – standard, micro, and nano – to fit different phone models. They contain essential information like your mobile phone number, network provider details, and access authorization keys, ensuring that only authorized users can access the network and make calls.
Not only do SIM cards enable voice calling and texting, but they also allow you to access mobile data services like internet browsing, social media, and email on your phone. Additionally, they can store a limited amount of contact information and save text messages.
While most people associate SIM cards with mobile phones, they are also used in various other devices like tablets, smartwatches, and portable Wi-Fi hotspots to enable cellular connectivity.
It’s worth noting that SIM cards are tied to a specific mobile carrier, meaning that you need a SIM card from your network provider to use their services. If you switch to a different network, you’ll typically need to replace your SIM card with one compatible with the new network.
Overall, SIM cards play a crucial role in facilitating connectivity and ensuring the security and identification of mobile phone users. Understanding how to set up and manage your SIM card is essential for a seamless mobile experience.
Step 1: Check Compatibility
Before setting up a SIM card on your iPhone, it’s crucial to check compatibility. Not all iPhones support every type of SIM card, so it’s essential to ensure that your device is compatible with the SIM card you have.
Firstly, determine the model of your iPhone. You can do this by going to the “Settings” app on your device and selecting “General.” From there, tap on “About” and look for the “Model” number. Once you have the model number, you can easily find information on which SIM card sizes are compatible with your specific iPhone model.
There are three common SIM card sizes: standard SIM, micro SIM, and nano SIM. Older iPhone models, such as the iPhone 4 or 4S, usually require a standard SIM card. The iPhone 5, 5S, and 5C use a smaller micro SIM card. Most newer iPhone models, including the iPhone 6 and above, utilize the smallest nano SIM card.
It’s important to note that while some iPhones support multiple SIM card sizes, others are designed to fit only one specific size. Double-checking the compatibility ensures that you have the right type of SIM card for your iPhone, preventing any unnecessary hassle or frustration during the process.
If you’re unsure about the compatibility of your iPhone and SIM card, you can consult the user manual or visit the official Apple website for detailed information on which SIM cards are compatible with your specific device model. This way, you can ensure a smooth and successful setup of your new SIM card on your iPhone.
Step 2: Locate the SIM Card Slot
Once you have gathered all the necessary materials, the next step is to locate the SIM card slot on your iPhone. The position of the SIM card slot may vary depending on the model of your iPhone, but it is generally located on the side of the device.
Carefully take your iPhone in your hand and examine the sides of the device. Look for a small tray or slot with a pin-sized hole next to it. This pin-sized hole is specifically designed for ejecting the SIM card tray.
Using a SIM eject tool or a small paperclip, gently press the pin into the hole until the SIM card tray pops out. Be careful not to apply too much pressure or use sharp objects that could damage your iPhone.
Once the SIM card tray is ejected, carefully pull it out from the device. The tray will have a small rectangular opening where the SIM card will be inserted.
Now that you have successfully located the SIM card slot and ejected the tray, you are ready to move on to the next step of setting up your SIM card on iPhone.
Step 3: Remove the SIM Card tray
Now that you have gathered all the necessary materials and extracted the SIM ejection tool, it’s time to move on to the next step: removing the SIM card tray from your iPhone. This step is essential as it allows you to insert your SIM card properly and ensure a seamless connection.
To begin, locate the SIM card slot on your iPhone. Depending on the model, it can be found on the side or at the top of the device. Once you have identified the slot, locate the small hole next to it. This is where you will insert the SIM ejection tool.
Take the SIM ejection tool you acquired earlier and insert it firmly into the hole. Apply pressure until you feel a slight resistance. Gently push the tool in, and the SIM card tray will pop out of the device. Be cautious not to apply excessive force as it may damage the SIM card or the iPhone.
Once the SIM card tray is ejected, carefully remove it from the device. Place it on a flat surface and take note of its orientation. Most trays have a small diagram or an engraved label indicating which side should face up.
Inspect the SIM card tray for any debris or dust particles. If you spot any, use a soft, lint-free cloth to clean the tray before proceeding. Keeping the tray clean ensures a proper connection between the SIM card and the iPhone.
Now that you have successfully removed the SIM card tray and cleaned it, it’s time to move on to the next step: inserting the SIM card into the tray. But before you do that, double-check that you have the correct SIM card size for your iPhone model to avoid any compatibility issues.
Step 4: Insert the SIM Card
Inserting the SIM card correctly is crucial for your iPhone to function properly. Follow these simple steps to insert the SIM card seamlessly:
1. Locate the SIM card tray on your iPhone. It is usually located on the side or top of the device, depending on the iPhone model.
2. Use the SIM card ejector tool or a paperclip to gently push into the small hole next to the SIM card tray. Apply a slight amount of pressure until the tray pops out.
3. Remove the SIM card tray from the device. Take note of the orientation of the SIM card slot on the tray.
4. Place your SIM card on the tray, ensuring that it aligns with the shape and size of the slot on the tray. Most iPhone models use a nano-SIM card.
5. Gently insert the SIM card tray back into the iPhone. Make sure it is inserted all the way in until it clicks into place.
6. Power on your iPhone and wait for it to recognize the SIM card. If necessary, enter the PIN code provided by your mobile carrier to unlock the SIM card.
7. Once your iPhone successfully recognizes the SIM card, you will see the signal bars appear on the top left corner of the screen. Congratulations, you have successfully inserted the SIM card into your iPhone!
Remember, if you are switching from an old iPhone to a new one, you may need to transfer your contacts and data to the new device. This can be done using the iCloud backup or by using iTunes on your computer.
And that’s it! You can now enjoy all the features and functionality that your iPhone has to offer with your newly inserted SIM card.
I apologize for any confusion caused. Here’s the revised content for “Step 5: Set up mobile network settings” with each paragraph wrapped in the `
` HTML tag:
Step 5: Set up mobile network settings
After inserting your SIM card into your iPhone, the next step is to set up the mobile network settings. This will enable your iPhone to connect to your cellular network and access data, make calls, and send text messages.
To set up the mobile network settings on your iPhone, follow these simple steps:
- Go to the “Settings” app on your iPhone.
- Scroll down and tap on “Cellular” or “Mobile Data” (depending on your iPhone model and iOS version).
- Make sure that the “Cellular Data” or “Mobile Data” toggle switch is turned on. If it’s already enabled, you can skip to the next step.
- Tap on “Cellular Data Options” or “Mobile Data Options.”
- Select “Enable LTE” or “Enable 4G” (depending on your iPhone model and carrier preference). You can choose options like “Data Only,” “Voice & Data,” or “Off.” It’s recommended to choose the “Voice & Data” option for the best network experience.
- Go back to the previous screen and tap on “Roaming.” Enable “Data Roaming” if you plan to use your iPhone outside your home country or carrier network. However, be aware that using data while roaming can result in additional charges from your carrier.
That’s it! You have successfully set up the mobile network settings on your iPhone. Now, you can enjoy the full functionality of your cellular network, including internet access, calls, and messages.
If you encounter any issues with your mobile network settings or face difficulties connecting to the network, try the following troubleshooting tips:
- Restart your iPhone: Sometimes, a simple restart can resolve network connection issues.
- Check for Carrier Updates: Go to “Settings” > “General” > “About” and follow any prompts to update carrier settings if available.
- Reset Network Settings: Go to “Settings” > “General” > “Reset” > “Reset Network Settings” (note that this will remove saved Wi-Fi passwords).
- Contact your Carrier: If the above steps don’t resolve the issue, reach out to your carrier’s customer support for assistance.
Setting up the mobile network settings on your iPhone is crucial to ensure a seamless connection to your cellular network. By following the steps outlined above and implementing the troubleshooting tips, you can optimize your iPhone’s network functionality and enjoy uninterrupted access to data, calls, and messages.
Step 6: Activate the SIM Card
Once you have inserted your SIM card into your iPhone, the next step is to activate it. Activating the SIM card is crucial in order to connect to your cellular network and enjoy all the wonderful features your iPhone has to offer. Here’s how you can activate your SIM card:
1. Power on your iPhone by pressing and holding the power button. Wait for the device to boot up completely.
2. Once your iPhone is turned on, you will be greeted with the “Hello” screen. Swipe from left to right on the screen to begin the setup process.
3. Select your preferred language and region when prompted. Tap on “Continue” to proceed.
4. The next screen will prompt you to connect to a Wi-Fi network. If you have access to a Wi-Fi network, select it from the list and enter the password if required. If you don’t have Wi-Fi access, tap on “Use Cellular Connection” and proceed.
5. On the next screen, you will be asked to set up Touch ID or Face ID. Follow the on-screen instructions to set up the biometric authentication feature. If you prefer not to use Touch ID or Face ID, you can always skip this step.
6. After setting up Touch ID or Face ID, you will see an option to “Activate Your iPhone”. Tap on this option to activate your SIM card and connect to your cellular network.
7. If you have a new SIM card, you will be prompted to enter the activation code provided by your carrier. Simply enter the code and tap on “Next”. If you are using an existing SIM card, it may already be activated and your iPhone will automatically connect to the network.
8. Once the activation process is complete, you will be asked to sign in with your Apple ID or create a new one. Follow the on-screen instructions to sign in or create a new Apple ID.
9. Once you have signed in with your Apple ID, you will be prompted to set up various preferences such as Siri, iCloud, and Apple Pay. Configure these settings according to your preferences.
10. Finally, your SIM card is activated and your iPhone is ready to use. Enjoy the seamless connectivity and impressive features of your iPhone.
It is important to note that the activation process may vary slightly depending on your carrier and iPhone model. If you encounter any issues during the activation process, refer to the troubleshooting tips section or contact your carrier for assistance.
Step 7: Troubleshooting Tips
Even with the best preparations, there may be situations where issues arise during the set-up process of a SIM card on your iPhone. Don’t worry; we’ve got you covered with some troubleshooting tips to help you along the way. Here are some common problems and their solutions:
Problem: SIM card not detected.
Solution: Make sure the SIM card is properly inserted into the SIM card tray. Remove the card and reinsert it, ensuring it sits securely in place. Restart your iPhone and check if the SIM card is detected.
Problem: No network or weak signal.
Solution: Check if the signal strength in your area is good. Move to an open area or near a window to improve reception. If the issue persists, contact your network provider to confirm if there are any outages or problems with your account.
Problem: Activation error.
Solution: Ensure that the SIM card is activated properly. Contact your network provider and verify if the activation process is complete. They may also provide support in troubleshooting activation errors specific to their network.
Problem: Data connection issues.
Solution: Check if cellular data is enabled in the iPhone settings. If it is already enabled, try toggling it off and on again. Reset network settings if necessary by going to Settings > General > Reset > Reset Network Settings.
Problem: Invalid SIM card error.
Solution: Verify if the SIM card is compatible with your iPhone model. Some older iPhone models may require a specific type of SIM card. If necessary, contact your network provider to obtain the correct SIM card for your device.
Problem: SIM card tray stuck.
Solution: If the SIM card tray is stuck, try using a SIM card removal tool or a straightened paper clip to gently push into the small hole near the tray. Apply light pressure until the tray pops out. Be careful not to use excessive force to avoid damaging your iPhone.
These troubleshooting tips should help you overcome common issues you may encounter when setting up a SIM card on your iPhone. If you still can’t resolve the problem, it’s best to contact your network provider or visit an authorized service center for further assistance.
In conclusion, setting up a SIM card on your iPhone is a straightforward process that allows you to unlock the full potential of your device. Whether you’re upgrading your phone, switching carriers, or traveling internationally, understanding how to set up a SIM card is essential. By following the steps outlined in this article, you can easily insert your SIM card, activate it, and begin enjoying the benefits of cellular connectivity. Remember to contact your carrier if you encounter any issues or need assistance with your SIM card activation. With a properly installed and activated SIM card, you’ll have seamless access to calls, texts, data, and all the mobile features that make your iPhone an indispensable companion.
FAQs
Q: How do I set up a SIM card on an iPhone?
A: To set up a SIM card on an iPhone, follow these steps:
1. Make sure your iPhone is powered off.
2. Locate the SIM card tray slot on the side or top of the iPhone (depending on the model).
3. Insert a SIM card removal tool or a paperclip into the small hole next to the tray.
4. Gently push the tool or paperclip until the tray pops out.
5. Remove the old SIM card (if applicable) and replace it with the new SIM card.
6. Carefully push the tray back into the iPhone until it clicks into place.
7. Power on your iPhone and follow the on-screen instructions to complete the setup process.
Q: Do all iPhones use the same size SIM card?
A: No, not all iPhones use the same size SIM card. Apple has used different SIM card sizes throughout the years. The older iPhone models used the standard SIM card size, while newer models like the iPhone 5 and later versions use smaller sizes like Micro SIM and Nano SIM. It’s important to check the specific iPhone model to determine the correct SIM card size needed.
Q: Can I use any SIM card with my iPhone?
A: In general, iPhones are locked to specific carriers, meaning that you can only use SIM cards from that carrier or any carrier that is compatible with the locked carrier. However, you can also purchase an unlocked iPhone which allows you to use SIM cards from any carrier. It’s always a good idea to check with your carrier or the manufacturer to confirm the compatibility of SIM cards with your iPhone model.
Q: What should I do if my iPhone doesn’t recognize the SIM card?
A: If your iPhone doesn’t recognize the SIM card, try the following troubleshooting steps:
1. Make sure the SIM card is properly inserted into the SIM card tray.
2. Restart your iPhone and check if the SIM card is detected.
3. Try using a different SIM card to determine if the problem is with the SIM card itself.
4. Check for any software updates available for your iPhone and install them.
5. Contact your carrier or Apple support for further assistance if the issue persists.
Q: Can I transfer my contacts and data from the old SIM card to a new one?
A: SIM cards primarily store network-related information, such as contacts, call logs, and text messages. However, most modern iPhones store contacts and data internally on the device or in cloud services like iCloud. If you are switching to a new SIM card, your contacts and data will generally remain intact on your iPhone. It is always good practice to regularly back up your iPhone’s data to iCloud or another cloud service to ensure you have a copy of your important information in case of any issues with the SIM card or iPhone.