
Welcome to our comprehensive guide on how to get the Android Oreo launcher on your Android device! The Android Oreo launcher offers a sleek and intuitive user interface, along with various customization options to enhance your smartphone experience. Whether you’re eager to try out the latest features of Android Oreo or simply want a fresh look for your device, this step-by-step video guide will walk you through the process. Android Oreo brings exciting capabilities such as notification dots, enhanced app shortcuts, and a revamped settings menu. By following our instructions and using our carefully curated video guide, you’ll be able to easily install and activate the Android Oreo launcher on your device. Let’s dive in and explore the world of Android Oreo!
Inside This Article
- Step 1: Check compatibility
- Step 2: Download a launcher app
- Step 3: Install and set up the launcher
- Step 4: Customize the launcher settings
- Conclusion
- FAQs
Step 1: Check compatibility
Before you dive into downloading and installing the Android Oreo Launcher, it’s important to ensure that your device is compatible. Android Oreo requires a certain minimum version of Android to run smoothly, so you’ll need to check if your device meets the requirements.
The first thing you need to do is check the Android version currently running on your device. To do this, go to the Settings menu on your Android phone or tablet. From there, scroll down and tap on the “About phone” or “About tablet” option.
In the About phone or tablet section, you should see a “Android version” or “Software information” option. Tap on it to view the current version of Android installed on your device. If the version is anything below Android 8.0 (Oreo), unfortunately, your device is not compatible with the Android Oreo Launcher.
If your device is running Android 8.0 or above, you’re in luck! Your device is compatible with the Android Oreo Launcher. However, keep in mind that some features of the launcher may not be available on all devices, as it depends on the manufacturer and any customizations they have made to the Android software.
It’s also worth checking if your device meets the recommended hardware specifications for Android Oreo. While not mandatory, having a device with decent hardware specs can enhance your overall experience with the launcher.
Now that you have checked the compatibility of your device, you can move on to the next step of downloading and installing the Android Oreo Launcher.
Step 2: Download a launcher app
Once you have determined that your Android device is compatible with the Android Oreo launcher, it’s time to move on to the next step: downloading a launcher app. A launcher app replaces the default home screen and app drawer on your device, allowing you to customize the look and feel of your Android experience.
There are several launcher apps available on the Google Play Store that offer the Android Oreo look and functionality. Some popular options include Nova Launcher, Action Launcher, and Lawnchair Launcher. These apps provide a wide range of customization options and are highly rated by users.
To download a launcher app, follow these simple steps:
- Open the Google Play Store on your Android device.
- Type the name of the launcher app you want to download in the search bar.
- Tap on the app from the search results to open its details page.
- Click on the “Install” button to begin the download and installation process.
Wait for the app to download and install on your device. The time taken for this process may vary depending on your internet connection speed.
Once the installation is complete, you will see a notification on your device. You can also find the newly installed launcher app in your app drawer or on your home screen.
Remember that downloading a launcher app does not automatically make it your default launcher. You will need to set it as the default launcher in order to enjoy the Android Oreo experience. The next step will guide you through this process.
Step 3: Install and set up the launcher
Once you have chosen and downloaded the launcher app that suits your preferences, it’s time to install and set it up on your Android device. Follow these simple steps to get your new Android Oreo launcher up and running:
1. Find the downloaded launcher app
Locate the launcher app you downloaded in the previous step. It is likely stored in your device’s Downloads folder or in the App installation section of your device’s settings.
2. Open the installer
Tap on the launcher app’s icon to open the installer. This will initiate the installation process.
3. Grant necessary permissions
During the installation process, you may be prompted to grant certain permissions to the launcher app. These permissions are necessary for the app to function properly. Read through the permissions carefully and tap “Accept” or “Allow” to proceed with the installation.
4. Set the launcher as default
After the installation is complete, you will be prompted to set the new launcher as your device’s default launcher. This will ensure that the launcher app is activated whenever you press the home button on your device.
5. Choose the launcher as default
If you have multiple launcher apps installed on your device, you will be presented with a list of available launchers. Choose the newly installed launcher from the list and select “Always” to set it as the default launcher.
6. Customize the launcher
Once you have set the new launcher as the default, you can explore its settings and customize it according to your preferences. This may include changing the app icons, adjusting the grid size for app icons, modifying the theme, or adding widgets to your home screen.
7. Enjoy your new Android Oreo launcher
Congratulations! You have successfully installed and set up the Android Oreo launcher on your device. Take some time to navigate through the new launcher and enjoy the fresh look and features it brings to your Android experience.
Now that you have completed the installation and setup process, you can fully immerse yourself in the Android Oreo experience. Explore the launcher’s functionalities and make the most out of its customization options to suit your personal style.
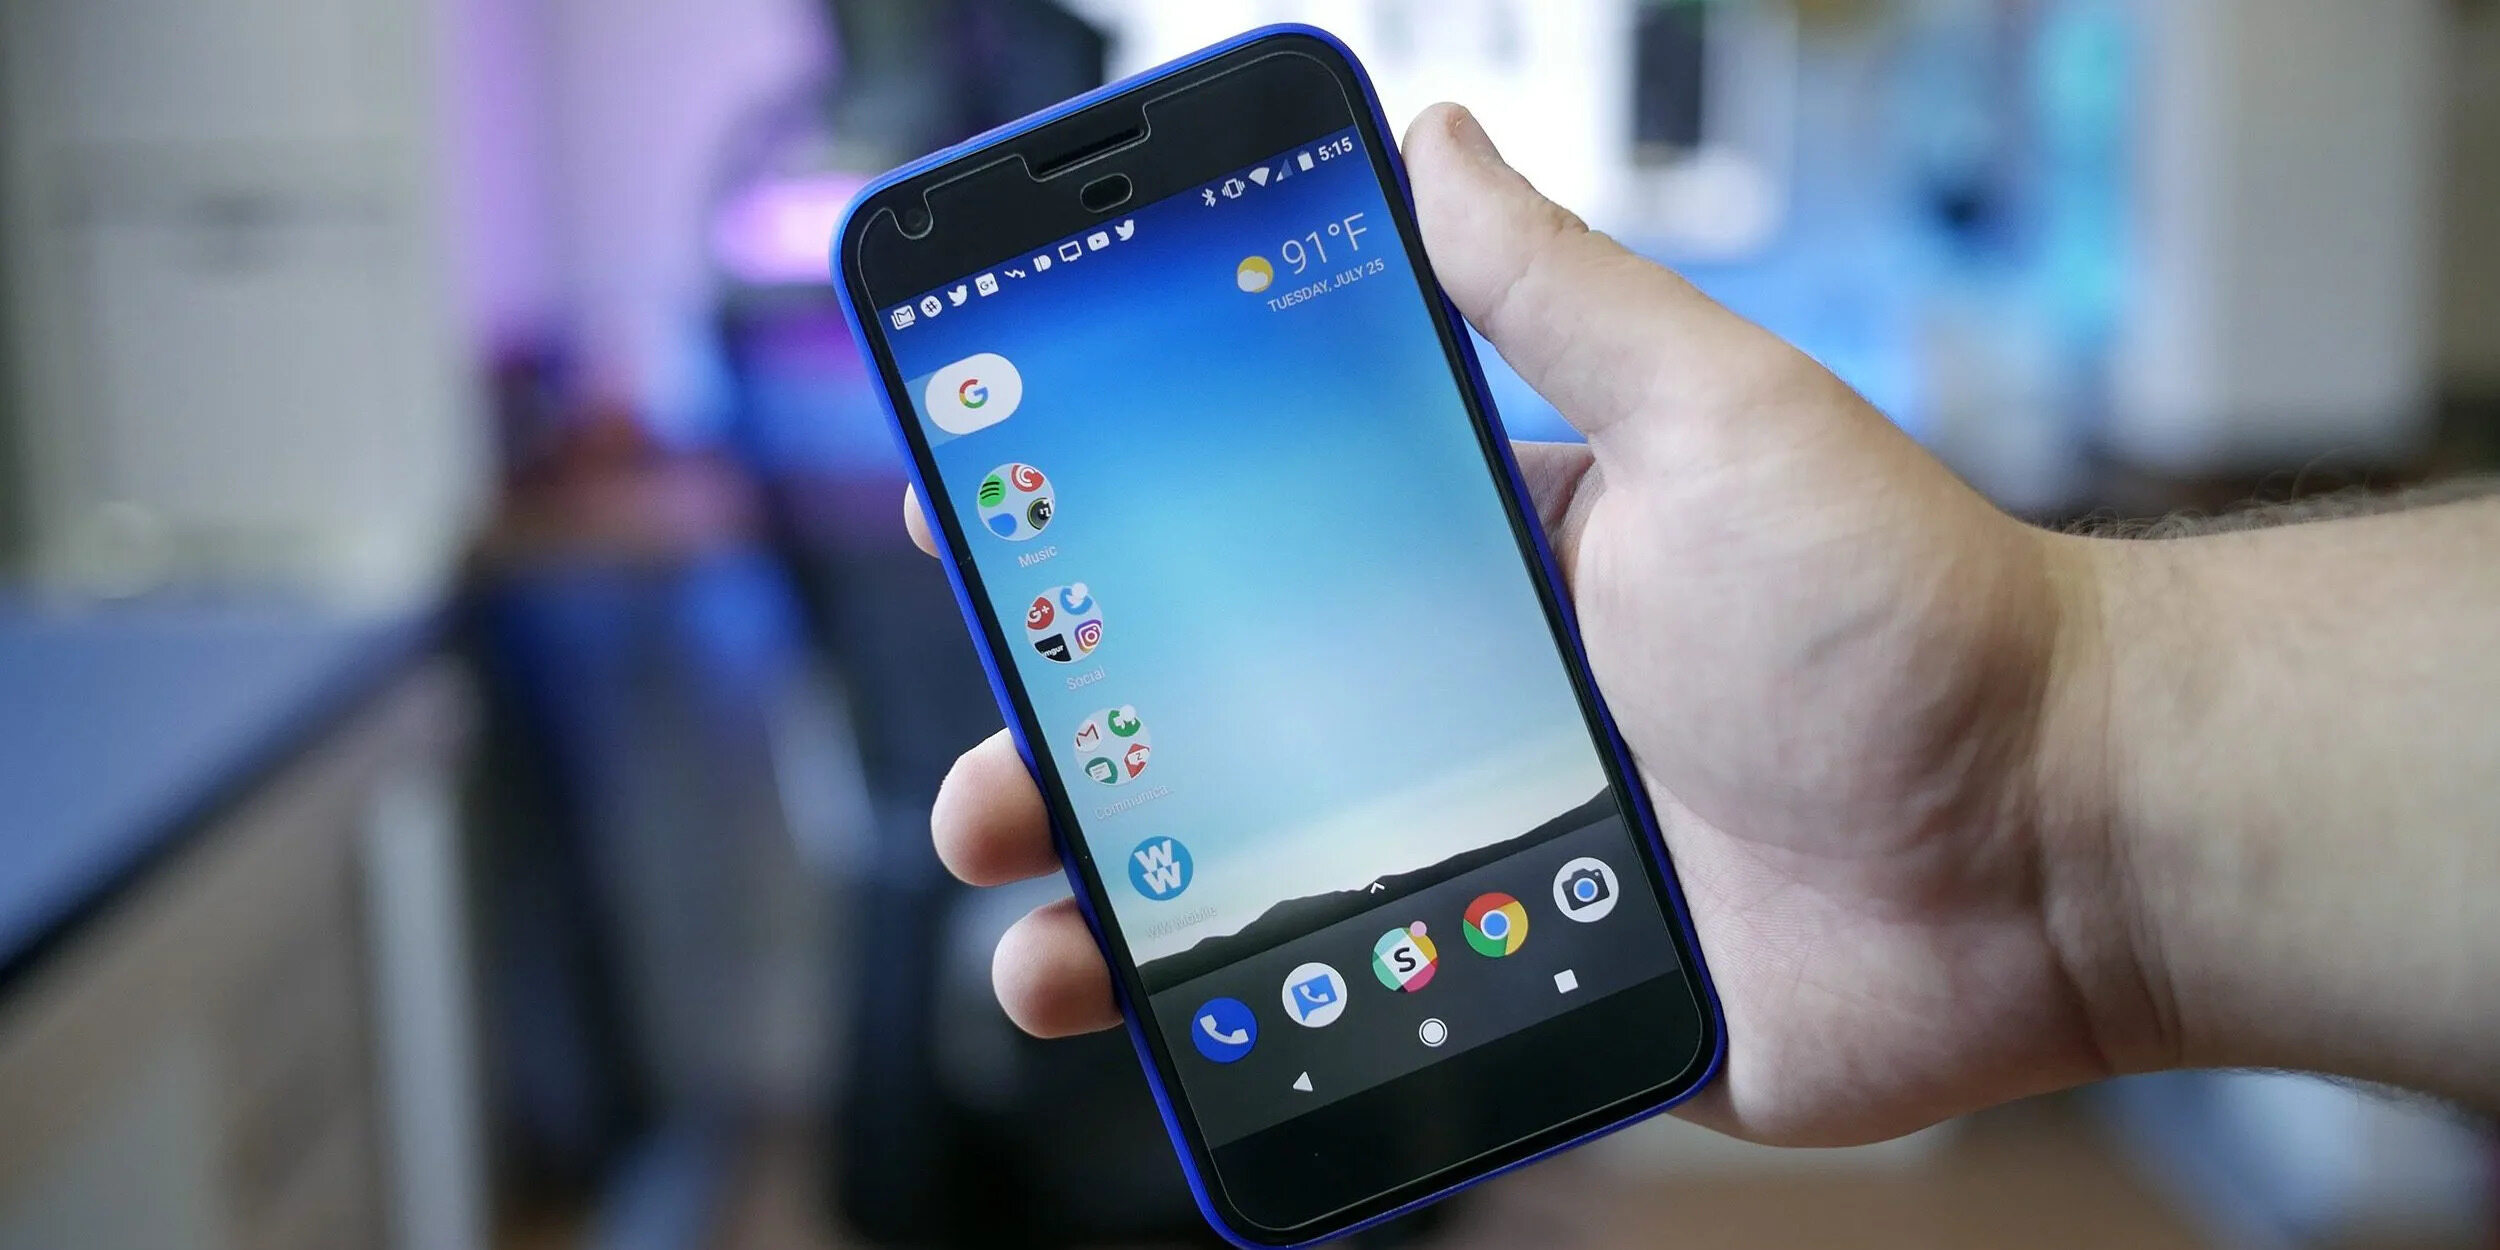
Step 4: Customize the launcher settings
Once you have successfully installed and set up the Android Oreo launcher on your device, it’s time to explore and customize its settings to make your Android experience truly personalized. This step allows you to take full advantage of the features and functionalities offered by the launcher.
Here are some key settings you can customize:
- Home Screen Layout: With the Android Oreo launcher, you can choose the layout of your home screen. You can opt for a more traditional grid layout or a customized layout with resizable widgets and dynamic shortcuts. Experiment with different layouts to find the one that suits your preferences.
- App Drawer Style: The app drawer is where all your installed applications are listed. Android Oreo launcher provides different styles for the app drawer, including alphabetical sorting, categorized sorting, and custom sorting. You can choose the style that helps you easily locate and access your apps.
- Icon Packs: The Android Oreo launcher allows you to change the appearance of your app icons using icon packs. These packs offer a wide variety of icon designs to choose from, giving your device a fresh new look. Explore different icon packs from the Google Play Store and select the one that matches your style.
- Gestures: Android Oreo launcher supports customizable gestures that allow you to perform quick actions with simple swipes on your device’s screen. For example, you can set up a gesture to open the notification panel, launch a specific app, or perform other actions. Experiment with different gestures to streamline your navigation and enhance your efficiency.
- Notification Badges: Android Oreo launcher enables notification badges on app icons, providing visual indicators for unread messages or pending notifications. You can customize the appearance and behavior of notification badges to suit your preferences. You can choose to display counts, dots, or disable notification badges altogether.
- Widgets: Take advantage of the widget support in Android Oreo launcher to add useful information and shortcuts directly on your home screen. You can customize the size, position, and functionality of widgets to create a personalized and convenient interface.
Remember, these are just a few examples of the settings you can customize within the Android Oreo launcher. Feel free to explore all the available options and personalize your Android experience to make it truly yours.
By customizing the launcher settings, you can optimize the appearance, functionality, and usability of your Android device. Take the time to experiment and find the perfect settings that suit your needs and preferences. Enjoy the freedom to make your Android truly yours with the Android Oreo launcher.
In conclusion, getting the Android Oreo Launcher on your device is a simple and straightforward process. By following the step-by-step video guide provided in this article, you can easily customize and enhance your Android experience with the latest Launcher features. The Android Oreo Launcher brings a fresh and modern look to your device, with improved performance and functionality.
Whether you’re looking to organize your apps, access quick settings, or enjoy a more intuitive user interface, the Android Oreo Launcher offers a range of features to meet your needs. With its seamless integration and easy installation process, you can enjoy the benefits of this advanced Launcher without complications.
So why wait? Upgrade your Android device with the Android Oreo Launcher today and discover a whole new level of personalization and convenience.
FAQs
Q: What is the Android Oreo Launcher?
The Android Oreo Launcher is a user interface that provides a customizable home screen, app drawer, and other features on Android devices running the Oreo operating system and above.
Q: How can I get the Android Oreo Launcher on my phone?
To get the Android Oreo Launcher on your phone, you can either update your device to the Oreo operating system or above, or you can download and install a third-party launcher from the Google Play Store that replicates the Oreo Launcher’s features and design.
Q: Are there any advantages to using the Android Oreo Launcher?
Absolutely! The Android Oreo Launcher offers several advantages, such as a streamlined and intuitive user interface, improved app organization and categorization, enhanced performance and speed, and access to features specific to the Oreo operating system.
Q: Can I customize the Android Oreo Launcher?
Yes, one of the key benefits of the Android Oreo Launcher is its customization options. You can personalize your home screen, change app icons, customize the app drawer layout, choose different themes, and even apply various wallpapers to create a unique and tailored user experience.
Q: Will installing the Android Oreo Launcher affect my phone’s performance?
While installing the Android Oreo Launcher may consume some resources, such as storage space and system memory, it is generally optimized to work smoothly on compatible devices. However, older devices with limited hardware capabilities may experience a slight decrease in performance.