
Are you looking for a quick and convenient way to transfer files between your iPhone or iPad and your Mac? Look no further than AirDrop! AirDrop is a fantastic feature that allows you to wirelessly transfer files, photos, videos, and more between your Apple devices with just a few taps. Whether you want to share a document with your colleagues, send vacation photos to your family, or transfer a video to edit on your Mac, AirDrop makes it incredibly easy.
In this article, we will guide you through the simple steps to use AirDrop from your iPhone or iPad to your Mac. We’ll show you how to enable AirDrop on both devices, how to select the files you want to transfer, and how to complete the process seamlessly. So, put away your USB cables and let’s dive into the convenience of AirDrop!
Inside This Article
- How to AirDrop From Your iPhone or iPad to Your Mac
- Frequently Asked Questions (FAQs)
- Enabling AirDrop on your iPhone or iPad
- Enabling AirDrop on your Mac
- Sending files from your iPhone or iPad to your Mac via AirDrop
- Receiving files on your Mac from your iPhone or iPad via AirDrop
- Conclusion
- FAQs
While there are several methods to transfer files between devices, AirDrop offers a seamless and convenient way to share content between your iPhone or iPad and your Mac. Whether you want to send photos, videos, or documents, AirDrop allows you to transfer files wirelessly and effortlessly. In this article, we will guide you through the steps to AirDrop from your iPhone or iPad to your Mac, so you can easily transfer your files in no time.
How to AirDrop From Your iPhone or iPad to Your Mac
1. Enabling AirDrop on your iPhone or iPad
Step 1: Unlock your iPhone or iPad and swipe up from the bottom of the screen to access the Control Center.
Step 2: Long-press on the network settings card, which includes options like Wi-Fi, Bluetooth, and AirDrop.
Step 3: The AirDrop menu will appear. Here, you can choose to enable AirDrop for “Contacts Only” or “Everyone” depending on your preference. Selecting “Contacts Only” restricts AirDrop to people in your contacts list, while selecting “Everyone” allows anyone nearby with AirDrop enabled to discover your device.
2. Enabling AirDrop on your Mac
Step 1: Open the Finder on your Mac by clicking on the Finder icon in the dock or by pressing Command + Space and typing “Finder” in the Spotlight search.
Step 2: In the Finder menu, select “Go” and then choose “AirDrop” from the drop-down menu.
Step 3: The AirDrop window will appear. Ensure that you have the “Allow me to be discovered by” set to “Everyone” or “Contacts Only” to match the setting on your iPhone or iPad.
3. Sending files from your iPhone or iPad to your Mac via AirDrop
Step 1: Select the file or files you want to AirDrop from your iPhone or iPad. This can be done through the Photos app, the Files app, or any other app that supports AirDrop.
Step 2: Tap the Share button, usually represented by a square with an arrow pointing upwards.
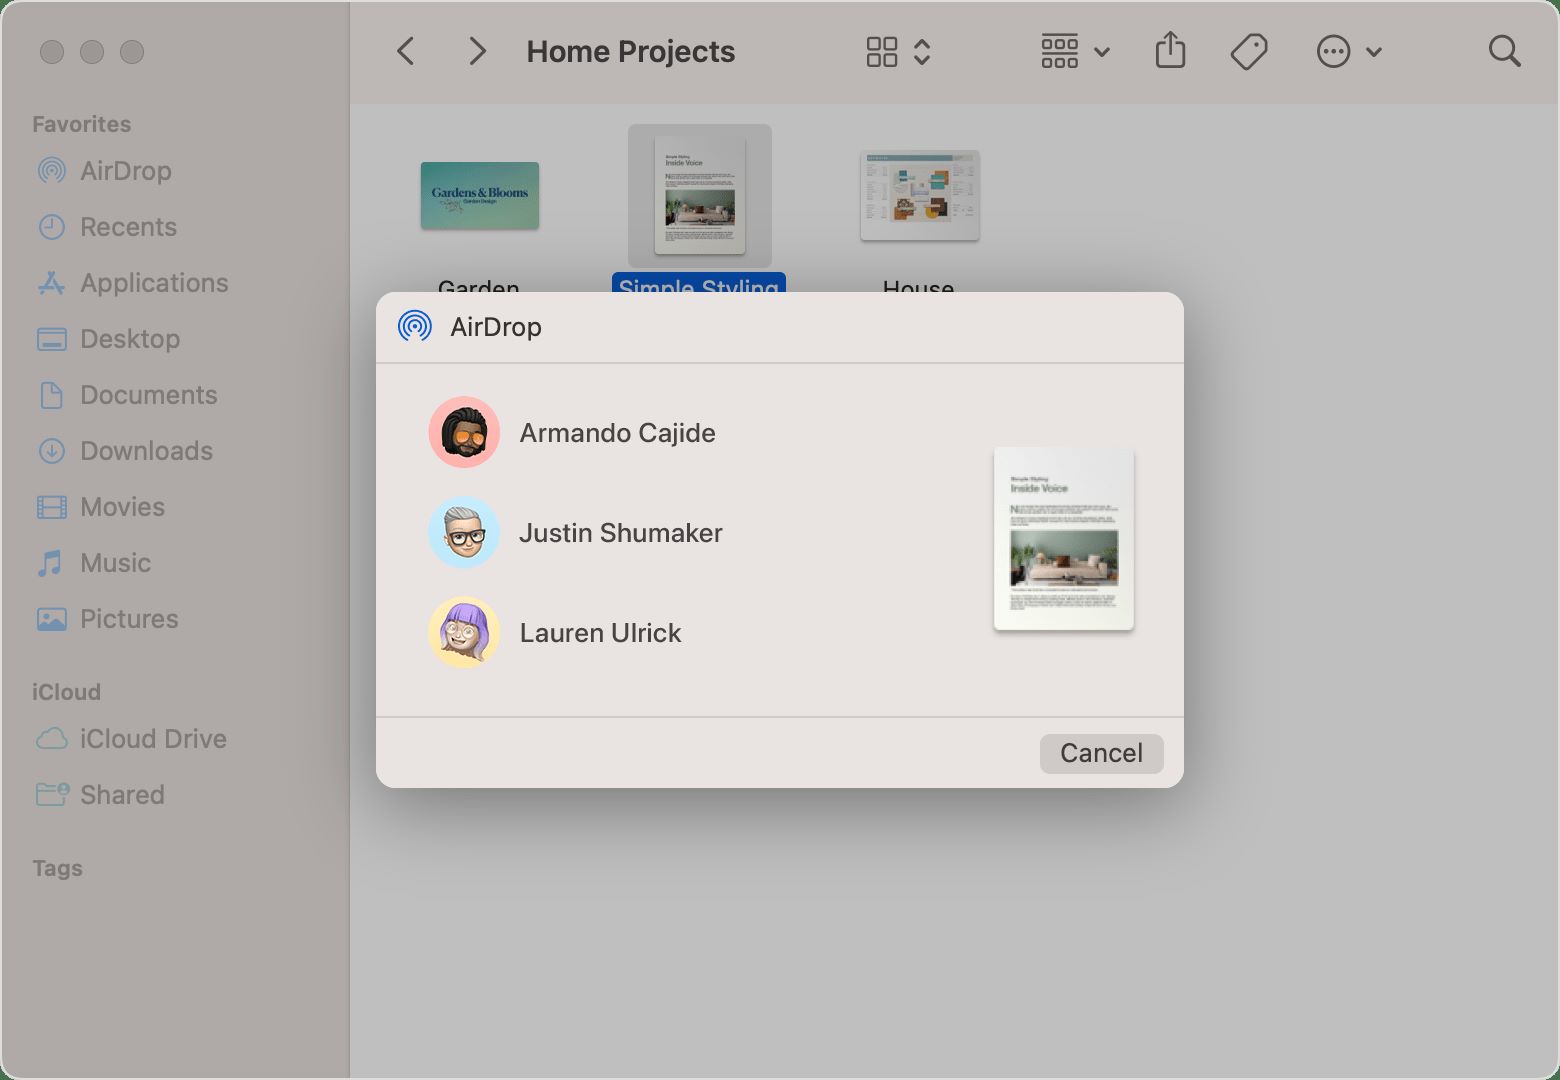
Step 3: The AirDrop options will appear. Choose your Mac from the list of available devices.
Step 4: On your Mac, a notification will pop up requesting permission to accept the file. Click “Accept” to initiate the transfer.
4. Receiving files on your Mac from your iPhone or iPad via AirDrop
Step 1: When someone attempts to AirDrop a file to your Mac, a notification will appear on your screen.
Step 2: Click “Accept” to receive the file. The file will be saved to your Downloads folder by default.
Congratulations! You have successfully AirDropped files from your iPhone or iPad to your Mac. The transferred files can now be accessed on your Mac, allowing you to view, edit, or organize them as you desire.
Remember to disable AirDrop or set it to the desired privacy setting once you have completed transferring your files for added security. Enjoy the convenience and efficiency of AirDrop for seamless file sharing between your devices.
Frequently Asked Questions (FAQs)
Q: Can I AirDrop files between different models of iPhones, iPads, and Macs?
A: Yes, AirDrop is compatible with various models of iPhones, iPads, and Macs as long as they meet the minimum system requirements for AirDrop.
Q: Can I AirDrop files with devices that are not connected to the same Wi-Fi network?
A: No, AirDrop requires the devices to be in close proximity and connected to the same Wi-Fi network or have Bluetooth turned on.
Q: Can I AirDrop files to multiple devices at once?
A: Yes, you can choose multiple devices from the list when sending files via AirDrop.
Q: What types of files can be AirDropped?
A: AirDrop supports a wide variety of files, including photos, videos, documents, contact information, and more.
Q: Is AirDrop secure?
A: AirDrop uses encryption and authentication protocols to ensure secure file transfers between devices. However, it is recommended to only accept AirDrop files from trusted sources to avoid potential security risks.
Now that you know how to AirDrop from your iPhone or iPad to your Mac, you can easily share files and streamline your workflow. Enjoy the convenience and efficiency that AirDrop brings to your device ecosystem.
Enabling AirDrop on your iPhone or iPad
AirDrop is a convenient feature on iOS and macOS that allows you to easily share files wirelessly between your iPhone or iPad and your Mac. To get started, you first need to enable AirDrop on your iPhone or iPad:
- Open the Control Center on your device by swiping down from the top-right corner on iPhone X and later models, or swiping up from the bottom on older iPhone models and iPads.
- Press and hold the network settings card in the top-left corner of the Control Center.
- In the AirDrop section, you’ll see three options: “Receiving Off,” “Contacts Only,” and “Everyone.” Choose the option that suits your preferences.
By selecting “Receiving Off,” you disable AirDrop entirely. “Contacts Only” allows only your contacts to see and send files to you via AirDrop, while “Everyone” lets any nearby Apple device see and send files to you.
Enabling AirDrop on your Mac
To receive files from your iPhone or iPad, you also need to enable AirDrop on your Mac:
- Click on the “Finder” icon in the dock to open a Finder window.
- In the sidebar, under “Favorites,” you should see “AirDrop.” Click on it to open the AirDrop window.
- In the AirDrop window, you’ll see the option “Allow me to be discovered by” followed by “No One,” “Contacts Only,” or “Everyone.” Choose the desired option.
Similar to the iOS settings, “No One” disables AirDrop on your Mac, “Contacts Only” allows only your contacts to send files to your Mac, and “Everyone” permits any nearby Apple device to send files.
Sending files from your iPhone or iPad to your Mac via AirDrop
Now that you have AirDrop enabled on both your iPhone or iPad and your Mac, let’s explore how to send files from your mobile device to your computer:
- Select the desired file or files that you want to send. This can be done through the Files app, Photos app, or other apps that support AirDrop.
- Tap on the Share button, which is represented by a square with an arrow pointing up.
- In the sharing options that appear, you’ll see a list of available AirDrop recipients. Look for your Mac under the “Tap to share with AirDrop” section.
- Tap on your Mac’s name to initiate the file transfer.
- On your Mac, you’ll receive a notification asking whether you want to accept the incoming file. Click on “Accept” to proceed.
The file will now be transferred from your iPhone or iPad to your Mac via AirDrop, and you’ll find it in the designated location on your computer.
Receiving files on your Mac from your iPhone or iPad via AirDrop
Receiving files from your iPhone or iPad on your Mac is just as straightforward. Follow these steps:
- Ensure that AirDrop is enabled on both your mobile device and your Mac, as mentioned in the previous sections.
- On your iPhone or iPad, select the file or files you want to send and tap on the Share button.
- In the sharing options, locate your Mac in the AirDrop section and tap on it to initiate the transfer.
- On your Mac, you’ll receive a notification asking whether you want to accept the incoming file. Click “Accept” to proceed.
The file will now be transferred from your iPhone or iPad to your Mac via AirDrop, and it will be saved in the designated location on your computer.
Conclusion
By mastering the art of AirDrop, you can easily transfer files between your iPhone or iPad and your Mac, making your digital life more convenient and efficient. Whether you need to share photos, videos, documents, or any other type of files, AirDrop provides a seamless and secure solution.
Now that you have learned how to use AirDrop, you can take advantage of this powerful feature to effortlessly transfer files between your Apple devices. No more fumbling with cables or relying on third-party apps. With just a few taps and clicks, you can seamlessly send files wirelessly from your iPhone or iPad to your Mac.
So the next time you need to transfer a file, remember to give AirDrop a try. It’s not only convenient, but it also ensures that your files are transferred quickly and securely. With AirDrop, you can focus on what matters most—getting things done and enjoying the seamless integration of your Apple devices.
FAQs
Q: How do I enable AirDrop on my iPhone or iPad?
A: To enable AirDrop on your iPhone or iPad, swipe down from the top-right corner of the screen to open the Control Center. Tap on the AirDrop icon, which looks like concentric circles. From there, you can choose to enable AirDrop for “Contacts Only” or “Everyone”.
Q: Can I AirDrop files between different types of devices?
A: Yes! AirDrop allows you to share files between iPhone, iPad, and Mac devices seamlessly. As long as all devices are connected to the same Wi-Fi network and have AirDrop enabled, you can effortlessly transfer files between them.
Q: What types of files can I AirDrop?
A: AirDrop supports a wide range of file types. You can AirDrop photos, videos, documents, audio files, contacts, and more. Simply select the file you want to share and use the AirDrop feature to send it to another device.
Q: How do I AirDrop files from my iPhone or iPad to my Mac?
A: To AirDrop files from your iPhone or iPad to your Mac, make sure both devices have AirDrop enabled and are within close proximity. On your iPhone or iPad, open the file or content you want to share and tap the Share button. Then, select your Mac from the list of available devices in the AirDrop section and confirm the transfer on your Mac.
Q: Can I AirDrop multiple files at once?
A: Absolutely! AirDrop allows you to transfer multiple files simultaneously. Simply open the Files app, select the files you want to share, tap the Share button, and choose the AirDrop option. Select the desired device to receive the files, and voila! Your files will be transferred swiftly.