
In today’s digital age, smartphones have become an essential part of our lives. From communication to entertainment, these devices have revolutionized the way we interact with the world. One of the most convenient features of smartphones is the ability to transfer apps to another phone via Bluetooth. This feature allows us to share our favorite apps, games, and utilities with friends and family without the need for internet or data connection.
In this article, we will explore the process of transferring apps from one phone to another using Bluetooth. Whether you want to share a useful productivity app or a fun game, we will guide you through the steps and provide tips to ensure a seamless transfer. So, if you’re ready to learn how to Bluetooth apps to another phone, let’s get started!
Inside This Article
- Step 1: Check Compatibility
- Step 2: Enable Bluetooth on Both Devices
- Step 3: Pair the Devices
- Step 4: Select Apps to Transfer
- Step 5: Initiate the Transfer Process
- Step 6: Accept the Transfer on the Receiving Device
- Step 7: Verify and Install the Apps
- Step 8: Complete the Transfer
- Conclusion
- FAQs
Step 1: Check Compatibility
Before attempting to transfer apps via Bluetooth to another phone, it is crucial to ensure that both devices are compatible. Compatibility can be evaluated based on a few factors:
Firstly, check if both devices have Bluetooth capabilities. Most modern smartphones are equipped with this technology, but it is always wise to double-check. This can usually be confirmed by navigating to the device’s settings and looking for the Bluetooth option.
Secondly, make sure that both devices support the necessary Bluetooth protocols for transferring apps. The most common protocol used for app transfers is the Object Push Profile (OPP). However, it’s worth noting that some devices may use alternative protocols, such as the File Transfer Profile (FTP). Consult the user manual or documentation of the devices to determine the supported protocols.
Furthermore, consider the operating systems of both devices. Bluetooth app transfers may be restricted between devices running different operating systems, such as Android and iOS. Some platforms have limitations placed on transferring apps via Bluetooth for security purposes. Verify that the devices are running compatible operating systems to ensure a successful transfer.
Lastly, check that both devices have sufficient storage space to accommodate the transferred apps. You can evaluate the available storage by navigating to the device’s settings and accessing the storage or memory section. If either device is running low on storage, it may be necessary to free up space before attempting the transfer.
Step 2: Enable Bluetooth on Both Devices
Enabling Bluetooth is a crucial step in transferring apps from one phone to another. Here’s how you can do it on both devices:
1. On the sending device, go to the settings menu and find the “Bluetooth” option. It is usually located under the “Network” or “Connections” section.
2. Tap on the “Bluetooth” option to enable it. You may need to toggle the switch to turn it on.
3. On the receiving device, follow the same steps to enable Bluetooth. Go to the settings menu and locate the “Bluetooth” option. Enable it by toggling the switch.
4. Once Bluetooth is enabled on both devices, they will start searching for nearby Bluetooth devices to pair with.
5. Keep in mind that some devices may require you to make them discoverable in order to be visible to other devices. If prompted, select the option to make the device discoverable.
6. Once the devices are discoverable, they should appear on each other’s Bluetooth device lists. On the sending device, tap on the name of the receiving device to initiate the pairing process.
7. A pairing request may appear on the receiving device. Confirm the pairing by accepting the request.
8. After successful pairing, the devices will be connected via Bluetooth, allowing for data transfer between them.
By enabling Bluetooth on both devices, you have set the stage for the effortless transfer of apps. Now, proceed to the next step to select the apps you want to transfer.
Step 3: Pair the Devices
Once you have enabled Bluetooth on both devices, the next step is to pair them with each other. Pairing allows the devices to establish a secure connection and communicate with each other.
To begin the pairing process, go to the Bluetooth settings on both devices. On most smartphones, you can find this option in the Settings menu. Look for the Bluetooth tab or option and tap on it to open the settings.
On the device from which you want to transfer the apps (the sending device), make sure Bluetooth is turned on and set to discoverable mode. This will allow the receiving device to detect and connect to it.
On the receiving device, also ensure that Bluetooth is enabled and set to the discoverable mode. This will make the device visible to other nearby devices, including the sending device.
Once both devices have Bluetooth enabled and are set to discoverable mode, they will start scanning for each other. It may take a few seconds for the devices to detect each other, so be patient.
When the devices detect each other, you will see a list of available devices on the screen. Look for the name of the other device and tap on it to establish a connection. The sending device may prompt you to enter a passcode, which you will also need to enter on the receiving device to complete the pairing process.
Once the devices are successfully paired, you will see a confirmation message on both devices. They are now connected via Bluetooth and ready to proceed with the app transfer process.
Step 4: Select Apps to Transfer
Once you have successfully paired the devices, it’s time to select the apps that you want to transfer. Before initiating the transfer process, it is essential to review the apps and ensure that you only select the ones you need.
To begin, open the app transfer feature on the sending device. This can usually be found in the Bluetooth settings or the file sharing section. Once you are in the transfer section, you will see a list of all the installed apps on your device.
Take some time to go through the list and carefully select the apps that you want to transfer. It is important to note that not all apps can be transferred via Bluetooth. Some apps may have restrictions due to licensing or security reasons.
When selecting the apps, consider their size and compatibility with the receiving device. If the receiving device has limited storage space or if the apps are not compatible, it may be best to omit them from the transfer.
In addition to selecting individual apps, some devices may also offer the option to transfer entire app folders or groups of apps. This can be a convenient way to transfer a batch of related apps in one go.
Once you have made your selections, double-check the list to ensure that you have chosen all the desired apps. Remember, once the transfer process begins, you may not be able to add or remove apps.
After finalizing your app selections, proceed to the next step to initiate the transfer process.
Step 5: Initiate the Transfer Process
After successfully pairing your devices, it’s time to initiate the transfer process. Here are the steps to follow:
1. On the sending device, open the Bluetooth settings and navigate to the list of paired devices. Locate the device you want to transfer apps to and tap on it to open the options.
2. Look for an option that says “Send” or “Share” and select it to initiate the transfer process.
3. Depending on your device, you may have different options for selecting the apps you want to transfer. Some devices allow you to transfer individual apps, while others offer the option to transfer multiple apps at once.
4. Select the apps you want to transfer by checking the boxes next to their names. You may also have the option to select all apps if you want to transfer everything.
5. Once you have chosen the apps, tap on the “Next” or “Send” button to start the transfer process. The sending device will begin packaging the selected apps for transfer.
6. While the transfer is in progress, make sure the receiving device is within Bluetooth range and the Bluetooth settings are open.
7. On the receiving device, a notification will appear that informs you of the incoming apps. Tap on the notification to accept the transfer.
8. The receiving device will start receiving the apps one by one. This process may take a few minutes depending on the number and size of the apps being transferred.
9. Once the transfer is complete, you may receive a notification indicating that the transfer was successful.
10. Close the Bluetooth settings on both devices and proceed to the next step to verify and install the transferred apps.
The transfer process may vary slightly depending on the devices and operating systems you are using. However, the general steps outlined above should guide you through the process of initiating the transfer and getting the apps ready for installation on the receiving device.
Step 6: Accept the Transfer on the Receiving Device
Once the transfer process is initiated and the sending device successfully sends the apps to the receiving device, it’s time to switch to the receiving device and accept the transfer. Here’s how to do it:
1. On the receiving device, navigate to the Bluetooth settings. You can usually find this in the Settings menu of your device.
2. Ensure that the device’s Bluetooth is turned on and is discoverable. This will allow the sending device to detect and establish a connection.
3. Once the sending device has successfully paired with the receiving device, a notification will appear on the receiving device’s screen. The notification may vary depending on the device, but it usually prompts you to accept the incoming transfer.
4. Tap on the notification to accept the incoming transfer. This will initiate the installation process on the receiving device.
5. The receiving device will now start installing the transferred apps. This process may take a few moments, depending on the size and number of apps being transferred.
6. Once the installation is complete, you will receive a confirmation message on the receiving device. You can now access and use the transferred apps on your receiving device.
Note: It’s important to ensure that your receiving device has enough storage space to accommodate the transferred apps. If the device’s storage is insufficient, you may need to free up some space or uninstall unnecessary apps before accepting the transfer.
By following these steps, you can easily accept the transfer of apps on your receiving device. Enjoy your newly transferred apps and make the most out of them on your mobile device!
Step 7: Verify and Install the Apps
After accepting the transfer on the receiving device, it is essential to verify and install the apps that have been transferred. This step ensures that the transferred apps are compatible with the receiving device and that they function correctly.
To begin, navigate to the file manager or the designated folder where the transferred apps are stored. Open the folder and locate the transferred app files. You can typically identify the app files by their file extension, such as “.apk” for Android apps or “.ipa” for iOS apps.
Once you have found the transferred app files, tap or click on one of the files to start the installation process. The device may prompt you with a security warning to ensure the app is from a trusted source. In most cases, you can proceed by accepting the security warning and granting the necessary permissions.
The installation process may take a few moments, depending on the size of the app and the processing power of the device. During this time, you may see a progress bar or an installation screen indicating the status of the installation.
Once the app is successfully installed, you will usually find its icon on the home screen or in the app drawer of the receiving device. You can tap or click on the app icon to open and begin using the transferred app.
Repeat this process for each transferred app, verifying and installing them one by one. It’s important to pay attention to any error messages or compatibility issues that may arise during installation. If you encounter any problems, you may need to troubleshoot or seek help from the app developer or device manufacturer.
Remember to delete the transferred app files from the file manager or designated folder once you have successfully installed all the apps. This will help you free up storage space and maintain a clutter-free device.
With the apps verified and installed, you can now enjoy the added functionality and features they bring to your receiving device. Take some time to explore and familiarize yourself with each app, making the most of your mobile phone’s capabilities.
Step 8: Complete the Transfer
Once the transfer process is complete and the apps have been successfully sent to the receiving device, it is important to ensure that the transfer is complete and that the apps are ready to be used. Here are a few steps to complete the transfer:
1. Double-check the transferred apps: Before proceeding further, take a moment to verify that all the desired apps have been successfully transferred. Open the app list on the receiving device and cross-reference it with the list of selected apps from Step 4. If any apps are missing, you may need to repeat the transfer process.
2. Install any necessary updates: It is quite possible that the apps being transferred may have newer versions available on the receiving device’s app store. If this is the case, you will need to update these apps to ensure they are running optimally. Go to the app store on the receiving device and check for any pending updates.
3. Grant necessary permissions: Some apps may require specific permissions to function properly. After the transfer is complete, it is a good practice to review the permissions needed for each app and grant them accordingly. This can usually be done by accessing the app settings on the receiving device and adjusting the permissions as needed.
4. Customize the app settings: Depending on the nature of the app, you may want to customize certain settings to personalize your experience. Take a few moments to explore the settings menu of each transferred app on the receiving device and configure them to your liking.
5. Test the transferred apps: The final step is to ensure that the transferred apps are working correctly on the receiving device. Launch each app and perform basic tasks or functions to make sure everything is functioning as expected.
By following these steps, you can ensure that the transfer process is successfully completed and that the apps are ready to be used on the receiving device. Enjoy exploring and utilizing the transferred apps on your new device!
Conclusion
In conclusion, transferring Bluetooth apps from one phone to another can be a convenient way to share and enjoy your favorite apps. Whether you are upgrading to a new phone or simply want to share apps with friends and family, Bluetooth offers a simple and wireless solution. By following the steps outlined in this article, you can successfully transfer apps via Bluetooth and ensure a smooth transition.
Remember to always check the compatibility and compatibility of the devices involved to ensure a successful transfer. Additionally, make sure to have a stable Bluetooth connection and sufficient storage space on the receiving device. If you encounter any issues during the transfer process, consult the user manual or reach out to the manufacturer for further assistance.
With the power of Bluetooth technology, you can easily share your favorite apps and enhance your mobile experience. So, why wait? Start exploring the world of Bluetooth app transfers today and enjoy the convenience of seamless app sharing.
FAQs
**Q: What is Bluetooth?**
Bluetooth is a wireless technology that allows devices to connect and communicate with each other over short distances. It is commonly used for transferring files, connecting peripherals, and streaming media between devices such as smartphones, tablets, laptops, and more.
**Q: Can I transfer apps from one phone to another using Bluetooth?**
No, you cannot transfer apps from one phone to another using Bluetooth. Apps are typically tied to the device’s operating system and cannot be directly transferred via Bluetooth.
**Q: How can I transfer other files, such as photos or documents, from one phone to another using Bluetooth?**
To transfer files between two phones using Bluetooth, you can follow these steps:
1. Enable Bluetooth on both devices.
2. Pair the devices by searching for nearby Bluetooth devices.
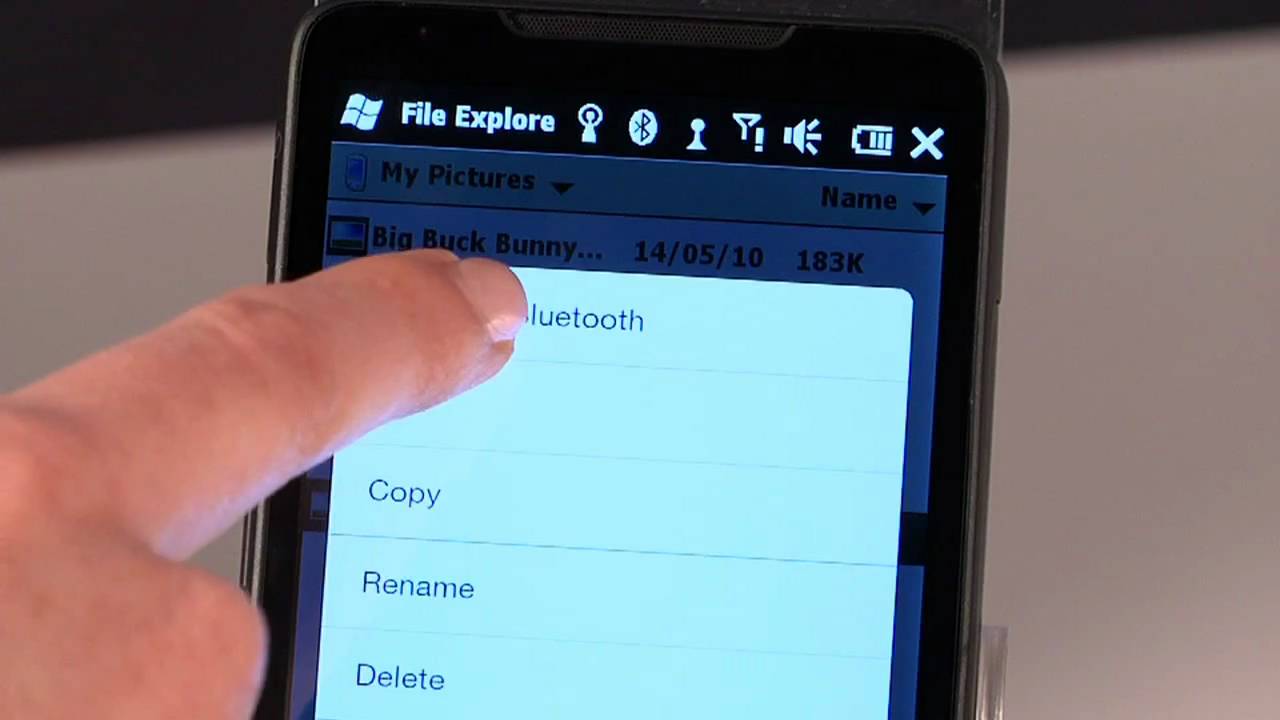
3. Once paired, go to the file you want to transfer and use the share option.
4. Select the Bluetooth option and choose the paired device.
5. Accept the file transfer request on the receiving device.
6. Wait for the file transfer to complete.
**Q: Is Bluetooth the only way to transfer files between phones?**
No, Bluetooth is not the only way to transfer files between phones. Other options include using Wi-Fi Direct, third-party file-sharing apps, cloud storage services, and physical methods such as using a USB cable or an SD card.
**Q: Are there any limitations when transferring files via Bluetooth?**
Yes, there are some limitations when transferring files via Bluetooth:
– Bluetooth has a limited range, typically up to 30 feet (10 meters), which means the devices need to be within close proximity.
– The transfer speed of Bluetooth is slower compared to other methods like Wi-Fi or physical connections.
– Some files, especially large ones, may take longer to transfer and may be subject to compression or quality loss.
– The devices must have Bluetooth capability and be compatible with each other to establish a successful connection.