
Have you ever wondered how to delete phone numbers on iPhone? Whether you want to remove a contact from your phone book or clear out your call history, managing your phone’s contacts and recent calls is an essential task. Knowing how to delete phone numbers on your iPhone can help streamline your contacts list and maintain organization.
In this article, we will guide you through the step-by-step process of deleting phone numbers on your iPhone. We will cover methods for deleting individual contacts, multiple contacts, and clearing your entire call history. By the end of this article, you’ll be equipped with the knowledge and skills to efficiently manage your phone numbers on your iPhone. So let’s dive in and learn how to declutter your phonebook!
Inside This Article
- How To Delete Phone Numbers On iPhone
- Deleting a Single Phone Number
- Removing Multiple Phone Numbers
- Deleting Phone Numbers from Contacts
- Syncing Changes with iCloud
- Conclusion
- FAQs
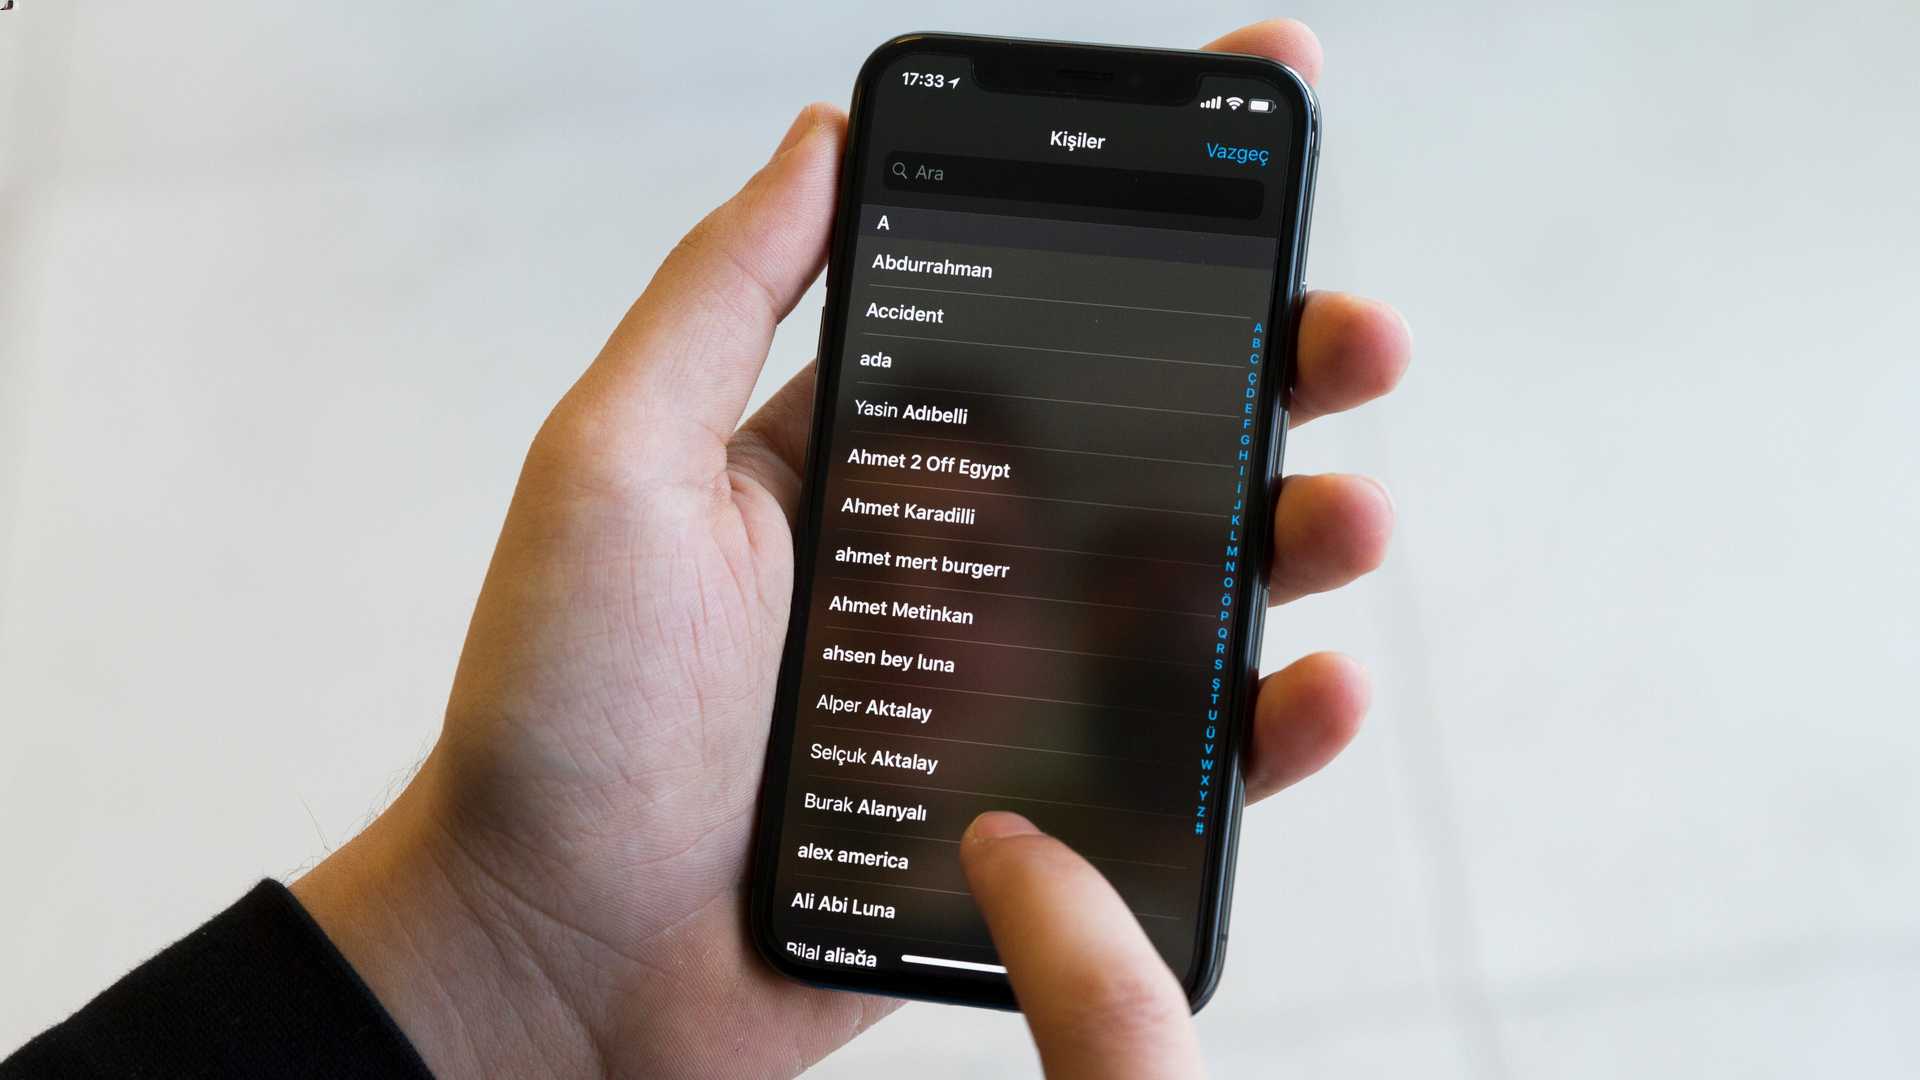
How To Delete Phone Numbers On iPhone
Deleting phone numbers on your iPhone is a quick and easy process that can help declutter your contact list and remove outdated or unwanted information. Whether you want to delete a single phone number, remove multiple numbers at once, or delete phone numbers from your contacts entirely, your iPhone provides several options to streamline the process. In this article, we will guide you through the steps to delete phone numbers on your iPhone.
1. Deleting a Single Phone Number
If you want to remove a single phone number from your iPhone, follow these steps:
- Open the Phone app on your iPhone.
- Tap on the “Contacts” tab at the bottom of the screen.
- Scroll or search for the contact containing the phone number you want to delete.
- Tap on the contact name to open their details.
- Scroll down and locate the specific phone number you wish to delete.
- Swipe left on the phone number.
- A “Delete” button will appear on the right side – tap on it.
- Confirm the deletion by tapping on “Delete” again when prompted.
By following these steps, you can easily delete a single phone number from your iPhone without affecting any other contact information.
2. Removing Multiple Phone Numbers
If you have multiple phone numbers associated with one contact and want to remove them simultaneously, you can do so by editing the contact details. Here’s how:
- Open the Phone app and go to the “Contacts” tab.
- Find the contact you want to edit.
- Tap on the contact to open their details.
- Tap on the “Edit” button in the top-right corner of the screen.
- Scroll down to the “Phone” section.
- Delete the phone numbers you want to remove by tapping on the “-” button next to each number.
- Tap on “Done” to save the changes.
Deleting multiple phone numbers at once through the contact editing feature is a convenient method to streamline your contact list.
3. Deleting Phone Numbers from Contacts
If you wish to remove all phone numbers associated with a contact, you can delete the entire contact from your iPhone. Follow these steps:
- Open the Phone app and navigate to the “Contacts” tab.
- Find the contact you want to delete.
- Swipe left on the contact’s name.
- Tap on the “Delete” button.
- Confirm the deletion by tapping on “Delete Contact” when prompted.
By deleting the whole contact, all phone numbers, as well as other contact details, will be removed from your iPhone.
4. Syncing Changes with iCloud
If you have iCloud enabled on your iPhone, any changes you make to your contacts will sync across all devices connected to the same iCloud account. This ensures that the deleted phone numbers will also be removed from other Apple devices like your iPad or Mac.
However, if you want to permanently delete the phone numbers from all devices, you can log in to your iCloud account on a web browser and remove them from there. This will ensure that the deleted phone numbers are removed from all devices associated with your iCloud account.
Deleting a Single Phone Number
Deleting a single phone number from your iPhone is a straightforward process. Here’s how you can do it:
Step 1: Open the “Phone” app on your iPhone by tapping on the green icon with a white phone receiver.
Step 2: Navigate to the “Contacts” tab at the bottom of the screen. This will display a list of all your contacts.
Step 3: Scroll through the contacts or use the search bar at the top of the screen to locate the contact containing the phone number you want to delete.
Step 4: Once you’ve found the contact, tap on it to open the contact details.
Step 5: In the contact details, scroll down until you find the specific phone number you wish to delete.
Step 6: To delete the phone number, tap on the “Edit” button located at the top right corner of the screen.
Step 7: A red minus sign (-) will appear next to the phone number. Tap on it to remove the number from the contact.
Step 8: Finally, to save the changes, tap on the “Done” button located at the top right corner of the screen.
Congratulations! You have successfully deleted a single phone number from your iPhone.
Removing Multiple Phone Numbers
If you have numerous phone numbers on your iPhone that you want to delete at once, there are a couple of methods you can use to efficiently remove them all. Let’s explore the options:
Method 1: Deleting Numbers from the Phone app
The Phone app on your iPhone allows you to manage your contacts and delete multiple phone numbers at the same time. Here’s how:
- Open the Phone app on your iPhone.
- Tap on the “Contacts” tab at the bottom of the screen.
- Scroll through your list of contacts and tap on the contact that contains the phone numbers you want to delete.
- Once you’re on the contact’s page, tap on the “Edit” button in the top right corner of the screen.
- Scroll down to the “Phone” section and you will see a list of phone numbers associated with that contact.
- To delete a specific phone number, tap on the minus (-) icon next to it and then tap on the “Delete” button.
- If you want to delete multiple phone numbers, tap on the “Edit” button again and then tap on the red minus (-) icon next to each phone number you want to remove. Finally, tap on the “Delete” button.
- Tap on the “Done” button in the top right corner of the screen to save the changes.
Method 2: Using a Third-Party Contact Manager
If you have a large number of phone numbers to delete, using a third-party contact manager app can be a more efficient solution. These apps often offer additional features and customization options for managing your contacts. Here’s how you can utilize a contact manager app to remove multiple phone numbers:
- Download and install a contact manager app from the App Store. Some popular options include “Contacts+” and “Sync.ME”.
- Open the contact manager app and grant it access to your contacts.
- Navigate to your list of contacts within the app and locate the contact that contains the phone numbers you want to delete.
- Tap on the contact to open its details page.
- Look for an option to delete phone numbers or edit contact information.
- Select the phone numbers you wish to remove and confirm the deletion.
- Save the changes.
Removing multiple phone numbers from your iPhone doesn’t have to be a tedious task. With these methods, you can efficiently delete unwanted phone numbers and keep your contacts organized.
Deleting Phone Numbers from Contacts
Deleting unwanted phone numbers from your iPhone’s contacts is quick and easy. By following a few simple steps, you can efficiently remove any unnecessary or outdated information from your device. Here’s how:
1. Open the Contacts app on your iPhone. It’s the app with a green icon and the silhouette of a person on it. You can typically find it on your home screen or in your app drawer.
2. Once you’ve opened the Contacts app, select the contact from which you want to delete a phone number. You can either scroll through your contacts or use the search bar at the top to find a specific contact.
3. With the contact open, scroll down to the section that lists the phone numbers associated with that contact. You’ll typically see options like “Home,” “Work,” “Mobile,” and more.
4. To delete a phone number, tap on the “Edit” button in the top right corner of the screen. This will allow you to make changes to the contact’s information.
5. Once in edit mode, locate the phone number you wish to delete and tap on the red minus (-) icon next to it. A prompt will appear, asking if you want to delete the phone number. Confirm the deletion by tapping “Delete”.
6. After deleting the phone number, tap on the “Done” button in the top right corner to save the changes and exit the editing mode. The unwanted phone number will be removed from the contact.
7. Repeat the process for any additional phone numbers you want to delete from the contact.
It’s important to note that deleting a phone number from a contact will not delete the entire contact itself. The contact will remain in your contacts list, minus the deleted phone number.
By following these steps, you can easily manage your contacts and ensure that only the relevant and up-to-date phone numbers are stored on your iPhone.
Syncing Changes with iCloud
One of the many benefits of using an iPhone is the seamless integration with iCloud, Apple’s cloud-based storage and syncing service. When you delete phone numbers from your iPhone, it’s important to ensure that these changes are synced and reflected across all your devices connected to iCloud. Here’s how to do it:
1. Open the Settings app on your iPhone.
2. Tap on your Apple ID banner at the top of the screen.
3. From the Apple ID menu, select “iCloud”.
4. Make sure that the “Contacts” toggle switch is enabled. This will ensure that your contacts, including any deleted phone numbers, are synced with iCloud.
5. If the toggle switch is already enabled, but you’re still not seeing the changes reflected on other devices, you can manually initiate a sync. Simply toggle the switch off and then back on again.
6. You can also force a sync by going back to the main Settings screen, selecting “General”, and then choosing “Background App Refresh”. Enable the switch for “Contacts” to allow the Contacts app to refresh and sync with iCloud in the background.
By following these steps, you can ensure that any phone number deletions you make on your iPhone are synced and updated across all your devices connected to iCloud.
Deleting phone numbers on your iPhone is a simple and useful process that can help you manage your contacts effectively. By following the steps outlined in this article, you can quickly remove unwanted or outdated numbers from your device.
Keeping your contact list organized not only saves you time but also ensures that you have easy access to the information you need. Whether you want to declutter your phone or keep your contacts up to date, deleting phone numbers on your iPhone is a necessary task.
Remember to regularly review your contact list and remove any numbers that are no longer relevant. By doing so, you will streamline your phone’s storage and keep it running smoothly. With a clean and organized contact list, you can make the most of your iPhone’s capabilities and stay connected with ease.
FAQs
Q: How can I delete phone numbers on my iPhone?
A: Deleting phone numbers from your iPhone is a simple process. You can do it in a few different ways – either from your Contacts app, the Phone app, or by using your iCloud account to remove them. Let me guide you through the steps:
Q: How to delete a phone number from the Contacts app?
A: To delete a phone number from your Contacts app, follow these steps:
- Open the Contacts app on your iPhone.
- Find and select the contact that contains the phone number you want to delete.
- Tap on the “Edit” button in the top right corner of the screen.
- Scroll down to the phone number you want to remove.
- Tap on the red minus symbol (-) next to the number.
- A confirmation message will pop up, asking if you want to delete the number. Tap on “Delete” to confirm.
- Tap on “Done” when you’re finished editing the contact.
Q: Can I delete a phone number directly from the Phone app?
A: Yes, you can delete a phone number directly from the Phone app. Here’s how:
- Open the Phone app on your iPhone.
- Go to the “Recents” or “Contacts” tab, depending on where the phone number is stored.
- Find the phone number you want to delete and swipe left on it.
- A “Delete” button will appear. Tap on it.
- Confirm the deletion by tapping on “Delete” again.
Q: What if my contacts are synced with iCloud? How do I delete a phone number?
A: If your contacts are synced with iCloud, you can delete a phone number using the iCloud website. Follow these steps:
- Go to iCloud.com and sign in with your Apple ID.
- Click on “Contacts” to open your contact list.
- Find the contact that contains the phone number you want to delete.
- Click on the contact to select it.
- Press the delete key on your keyboard or click on the settings icon (gear) at the bottom left and select “Delete”.
- Confirm the deletion when prompted.
Q: Can I recover a deleted phone number?
A: If you accidentally deleted a phone number, there are a few options to recover it. First, check if you have a backup of your iPhone on iTunes or iCloud, as you can restore your device to a previous state. If you don’t have a backup, you can try using data recovery software specifically designed for iOS devices. However, please note that the success rate may vary depending on various factors, and there is no guarantee of complete recovery.
Q: Can I delete multiple phone numbers at once?
A: Unfortunately, the Contacts app and Phone app on iPhone do not have a built-in feature to delete multiple phone numbers at once. You would need to delete them individually. However, you can use iCloud.com on a computer to select and delete multiple phone numbers simultaneously.