
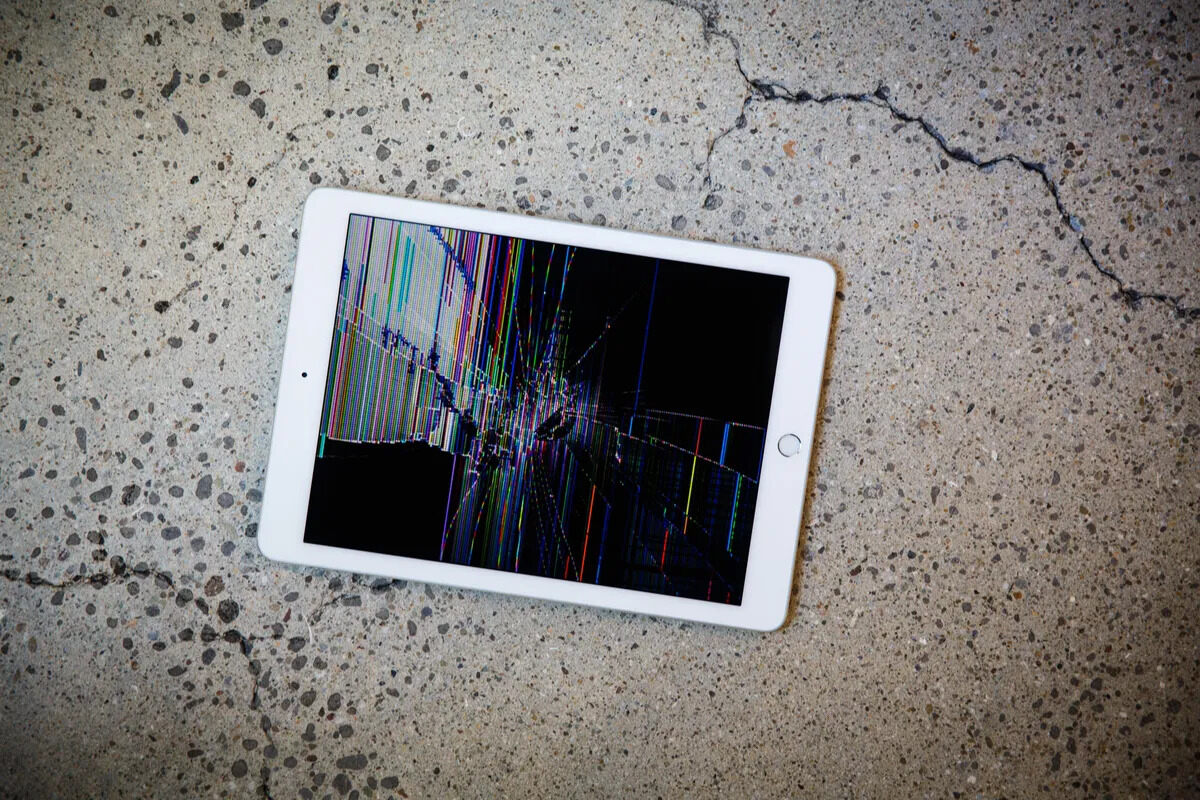
So, you accidentally dropped your iPad and now you’re left with a shattered screen. It’s a frustrating situation, but fear not – you can fix it! Whether you have a cracked, unresponsive, or completely shattered screen, there are several options available to get your iPad back in working condition. In this article, we will guide you through the step-by-step process of fixing a broken iPad screen. From assessing the damage to finding affordable repair options, we’ve got you covered. Not only will we provide you with detailed instructions, but we’ll also offer tips and tricks to avoid further damage and ensure a successful repair. So, without further ado, let’s dive into the world of iPad screen repair and get your device back in shape!
Inside This Article
Assess the Damage
Before diving into the process of fixing a broken iPad screen, it’s essential to assess the extent of the damage. This step will help you determine if the screen can be repaired or if it needs to be replaced entirely. Take a few moments to carefully examine the iPad for any visible cracks, shattered glass, or LCD bleeding.
Start by checking if the touch functionality is still working properly. Try swiping, tapping, and using different gestures to see if the screen responds. If you notice any unresponsiveness or erratic behavior, it could indicate a more severe issue beyond just a broken screen.
Next, inspect the screen for any signs of damage that go beyond the surface. Look for any bent frame, loose connectors, or other physical deformities. These issues may require additional repairs along with the screen replacement process.
It’s also crucial to consider the age and model of your iPad. Older models may have limited availability of replacement screens, or the cost of the repair may outweigh the value of the device. Assessing these factors will help you make an informed decision about the best course of action.
By thoroughly assessing the damage, you can determine the scope of the repair and decide if it’s a DIY project or if professional assistance is necessary. Keep in mind that attempting to fix a broken iPad screen yourself carries some risks, so it’s important to weigh your options carefully.
Gather the Necessary Tools
Before you can begin replacing the broken screen on your iPad, you’ll need to gather the necessary tools. Here is a list of essential tools you’ll need:
- Suction cup: This tool will help you lift the broken screen from the iPad.
- Small heat gun or hairdryer: Using heat will soften the adhesive holding the screen in place.
- Plastic spudger: A spudger is useful for gently prying open the iPad and disconnecting cables.
- Tweezers: Tweezers can come in handy when working with small screws or connectors.
- Phillips screwdriver: Depending on the model of your iPad, you may need a small Phillips screwdriver to remove screws.
- Guitar pick or plastic card: These tools can be used to separate the screen from the adhesive.
- Clean cloth: A clean cloth is essential for wiping down the screen and removing any fingerprints or smudges.
- Double-sided adhesive: You’ll need adhesive to secure the new screen to the iPad.
Make sure you have all these tools on hand before you begin the repair process. This will ensure a smooth and efficient replacement of the broken screen.
Replace the Broken Screen
Replacing a broken screen on your iPad may seem like a daunting task, but with the right tools and a little patience, you can do it yourself. Follow these step-by-step instructions to successfully replace the broken screen:
1. Prepare your workspace: Find a clean, well-lit area to work in. Lay down a soft cloth or towel to protect the iPad from scratches and prevent any small screws or parts from rolling away.
2. Power off the iPad: Before you begin the repair, make sure to turn off your iPad to prevent any accidents or damage to the device.
3. Remove the broken screen: Start by applying heat to the edges of the iPad using a heat gun or hairdryer. This will soften the adhesive holding the screen in place. Gently insert a thin plastic pry tool between the broken screen and the iPad frame and carefully separate them.
4. Disconnect the display cables: Once the screen is detached, locate the display cables near the top of the iPad. Disconnect them by gently lifting the connectors with a spudger tool or your fingernails.
5. Remove the old screen assembly: Unscrew the small screws securing the broken screen to the iPad frame. Use a suction cup or a pry tool to lift the screen assembly away from the iPad. Be careful not to damage any of the components during this process.
6. Install the new screen assembly: Take the new screen assembly and carefully align it with the iPad frame. Ensure that the connectors are properly seated. Secure the screen using the screws you removed earlier.
7. Reconnect the display cables: Carefully reconnect the display cables to their respective connectors on the iPad. Make sure they are firmly attached and properly aligned.
8. Test the replacement: Before closing up the iPad, power it on and test the new screen. Check for any display issues, touch responsiveness, and overall functionality.
9. Secure the iPad: Once you are satisfied with the replacement screen, carefully press it back into place. Make sure it is aligned properly and snaps back into the frame. Double-check that all the edges are aligned correctly.
10. Power on the iPad: Turn your iPad back on and ensure that it functions properly. Congratulations, you have successfully replaced the broken screen on your iPad!
Remember, it’s essential to follow these steps carefully and be patient throughout the process. If you are unsure about any step or encounter difficulties, it’s always recommended to seek professional help or consult the manufacturer’s guide for your specific iPad model.
In conclusion, dealing with a broken iPad screen can be a frustrating experience, but it is not an insurmountable challenge. By following the steps outlined in this article, you can successfully fix your broken iPad screen and restore its functionality. Remember to take the necessary precautions, such as wearing gloves and using the right tools, to ensure your safety and prevent further damage to your device.
However, if you are not confident in your abilities or if the damage is extensive, it is always best to seek professional help. A trusted repair service can provide you with the expertise and resources to fix your broken iPad screen efficiently and effectively.
By addressing the issue promptly, you can once again enjoy the full functionalities of your iPad and continue using it for work, entertainment, and communication with ease. So don’t let a broken screen hold you back; take action and get your iPad back in working condition as soon as possible!
FAQs
Q: Can I fix a broken iPad screen myself?
A: Theoretically, it is possible to fix a broken iPad screen yourself. However, it requires technical expertise and the right tools, and any mistakes could potentially damage your device further. It is highly recommended to seek professional help to ensure the repair is done correctly and safely.
Q: How much does it cost to repair an iPad screen?
A: The cost of repairing an iPad screen can vary depending on the model, the extent of the damage, and where you take it for repairs. On average, screen repairs can range from $100 to $300. It is advisable to contact authorized service centers or repair shops to get an accurate quote for your specific iPad model.
Q: How long does it take to fix a broken iPad screen?
A: The duration of the repair process can vary depending on several factors, including the availability of replacement parts and the workload of the repair service. In general, repairing a broken iPad screen can take anywhere from a few hours to a couple of days. It is recommended to check with the repair service beforehand to get an estimated timeframe.
Q: Can I still use my iPad with a cracked screen?
A: Technically, you can still use your iPad with a cracked screen, but it is not advisable. The cracks can worsen over time, affecting the touch sensitivity and potentially causing further damage. It is prudent to get your iPad screen repaired promptly to ensure optimal performance and avoid any additional issues.
Q: Will repairing the iPad screen void the warranty?
A: In most cases, repairing the iPad screen through unauthorized repair services may void the warranty. It is recommended to check the terms and conditions of your warranty or contact the manufacturer to understand the specific guidelines. Authorized repair centers or Apple service providers are more likely to retain the warranty coverage while performing the necessary repairs.