
Remember the nostalgic joy of creating a tin can phone as a child? In the age of smartphones and cutting-edge technology, it’s easy to forget the simplicity and charm of this classic DIY project. But why not bring back some of that childhood wonder and teach your own kids how to make a tin can phone?
Building a tin can phone is not only a fun craft activity but also a great way to explore the basic principles of sound transmission. Plus, it’s a fantastic way to disconnect from screens and engage in some old-fashioned communication!
In this article, we will guide you through the step-by-step process of creating your own tin can phone. From gathering the necessary materials to constructing the phone itself, you’ll soon be relishing in the joy of connecting with a friend through a simple, homemade device. So, grab your cans and let’s get started on this nostalgic journey!
Inside This Article
- Materials Needed
- Step 1: Gathering the Supplies
- Step 2: Preparing the Tin Cans
- Step 3: Creating a Hole for the String
- Step 4: Adding the String and Securing the Cans
- Step 5: Testing and Adjusting the Tin Can Phone
- Tips and Variations
- Conclusion
- FAQs
Materials Needed
Before you embark on the journey of making a tin can phone, make sure you have gathered all the necessary materials. Here’s a list of what you’ll need:
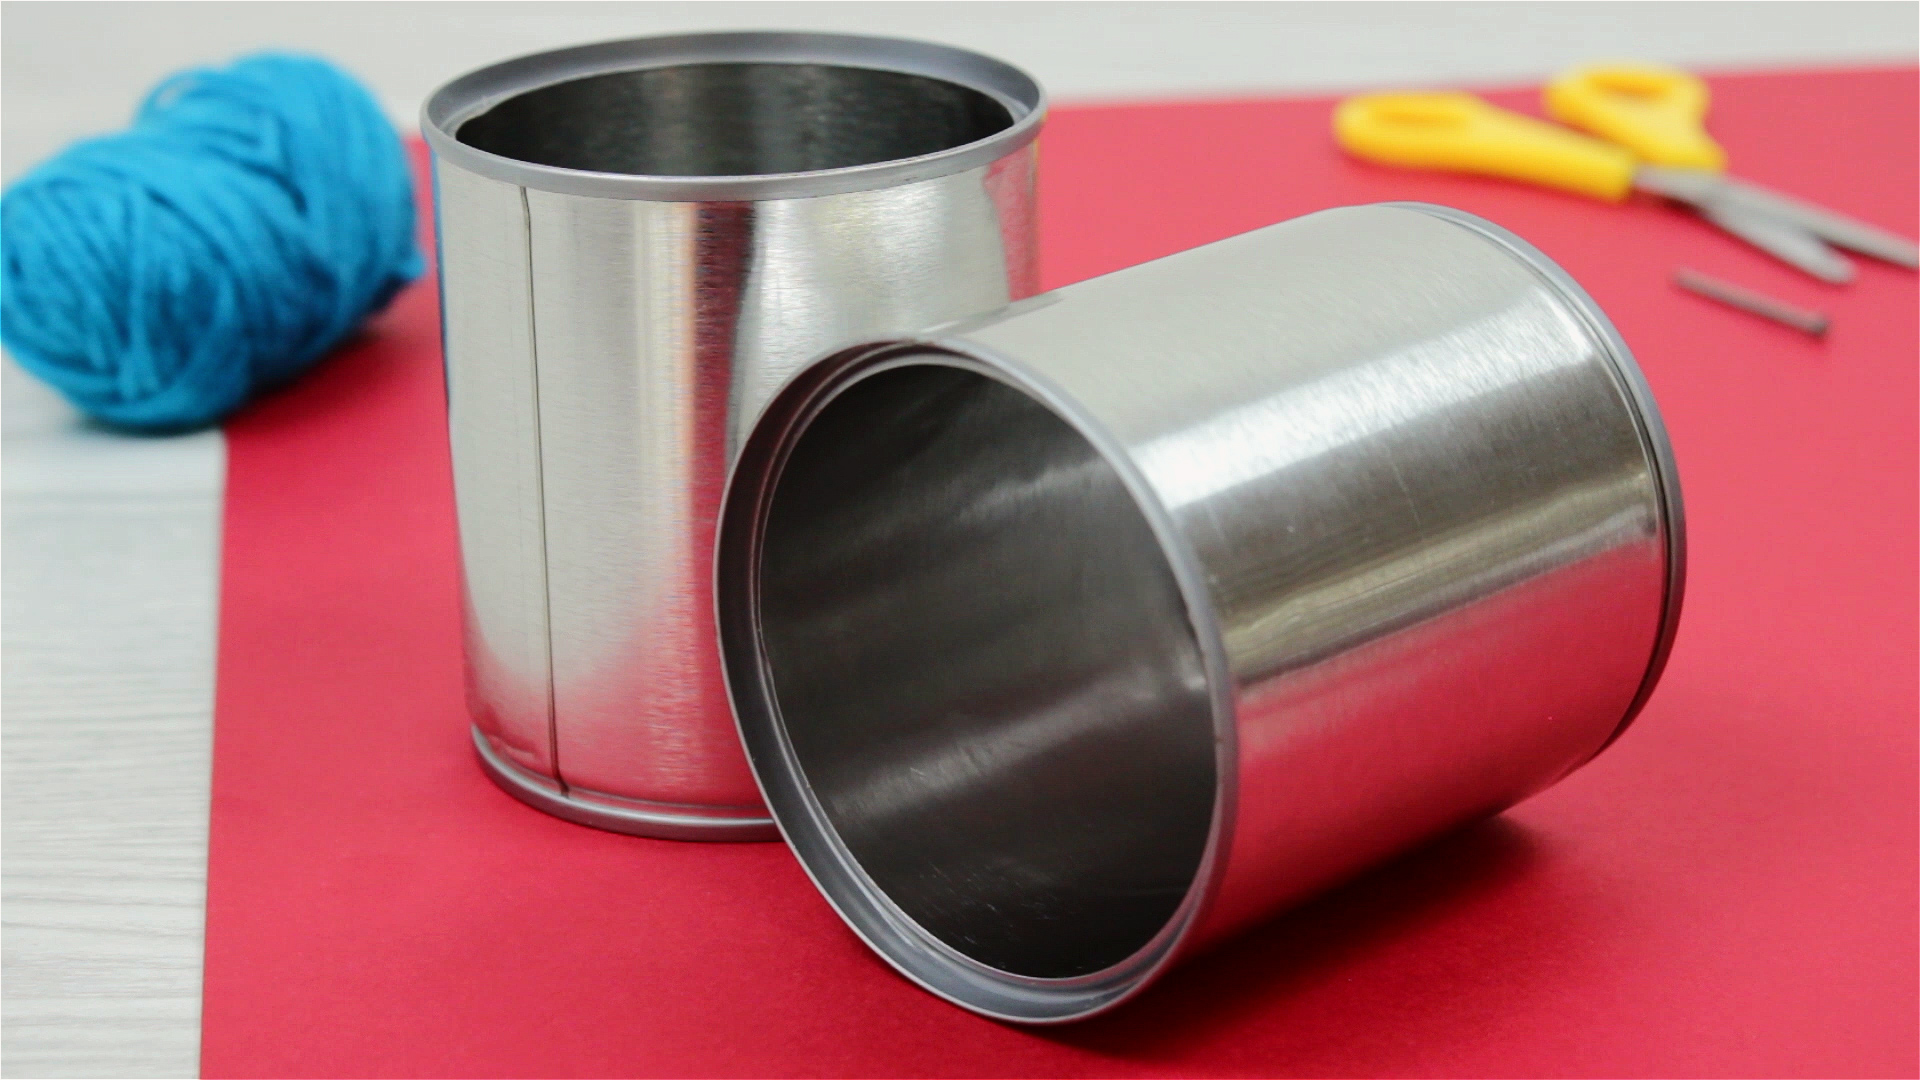
- Two Tin Cans: Look for two clean tin cans with a similar size and shape. Empty food cans are perfect for this project. Make sure the cans have smooth edges to avoid any accidental cuts.
- String: Choose a strong and durable string, such as nylon or fishing line. The length of the string will depend on the distance between the phone users. Measure the distance beforehand and add a few extra inches for flexibility.
- Nail or a Small Drill: You’ll need a tool to create a hole in the bottom of each tin can. A small nail or a drill with a small bit should do the trick.
- Scissors: Have a pair of scissors handy to cut the string to the desired length and to make any adjustments if needed.
Once you have gathered all these materials, you’re ready to move on to the next steps and start creating your own tin can phone!
Step 1: Gathering the Supplies
Before you embark on the exciting journey of creating your very own tin can phone, it’s vital to gather all the necessary supplies. Here’s a rundown of what you’ll need:
- Two empty tin cans (preferably with lids) – Ensure that the cans are clean and have no sharp edges.
- A strong, durable string – Nylon or cotton string works well for this purpose.
- A pair of scissors – You’ll need these to cut the string to the desired length.
- A nail or a small sharp object – This will be used to create a hole in the bottom of each tin can.
- Decorative materials (optional) – If you want to add a touch of personal style to your tin can phone, gather some paint, stickers, or other decorative items.
With these supplies in hand, you’re ready to move on to the next step of the process. Remember, creativity knows no bounds, so feel free to modify the supplies as per your preferences and available resources.
Step 2: Preparing the Tin Cans
Now that you have gathered the necessary supplies, it’s time to prepare the tin cans for your homemade tin can phone. This step involves making sure the cans are clean, removing any sharp edges, and creating a sound hole for the string to connect the two cans.
Start by cleaning the tin cans thoroughly. You can use soap and water to get rid of any dirt or residue on the surface. Make sure to dry them completely before moving on to the next step. Cleaning the cans will not only ensure a clear sound transmission but also maintain hygiene.
Next, carefully inspect the cans for any sharp edges. Tin cans are usually sealed with a lid that leaves a sharp rim around the opening. Use sandpaper or a file to smooth out these edges, as they can cause injury while handling the tin can phone. Make sure to file both the inside and outside edges of the cans.
After removing the sharp edges, it’s time to create a sound hole. This is the crucial part that allows the sound waves to travel through the string and transmit the sound from one can to another. Use a nail or a small drill to make a hole near the bottom of each tin can. Aim for a hole with a diameter of about half an inch, as it will provide optimal sound transmission.
Once the holes are made, inspect them to ensure they are clean and free from any debris. You can use a cloth or a cotton swab to wipe away any excess metal shavings or dust. It’s crucial to have clean and open sound holes for the best audio quality in your tin can phone.
After completing these steps, you’re ready to move on to the next phase of assembling your homemade tin can phone. Congratulations! You’ve successfully prepared the tin cans, and now they are ready for the next step of adding the string and securing the cans together.
Step 3: Creating a Hole for the String
Now that you have your tin cans ready, it’s time to create a hole to thread the string through. This step is crucial as it will allow the sound vibrations to travel between the cans, enabling you to communicate with your friend.
Begin by selecting a point near the bottom of each tin can. You want the hole to be large enough to fit the string through but small enough to prevent it from slipping out. Using a nail or a small drill bit, carefully create a hole at each chosen point.
Make sure to hold the tin can steady as you create the hole to avoid any accidental slips. It’s a good idea to place a block of wood or a thick piece of cardboard behind the tin can to provide support and prevent any damage to your work surface.
When creating the hole, start with a small pilot hole and gradually increase the size until it is suitable for threading the string. Be mindful of the thickness of the string you will be using so that you can create a hole that accommodates it comfortably.
It’s important to create the hole near the bottom of the tin can as this is where the sound vibrations will be the strongest. Placing the hole too high on the can may result in weaker sound transmission.
Once you have successfully created the holes on both tin cans, you are ready to move on to the next step of attaching the string and securing the cans together.
Step 4: Adding the String and Securing the Cans
Now that you have prepared the tin cans and created holes for the string, it’s time to add the string and secure the cans together. Follow these simple steps to complete your tin can phone:
-
Take one end of the string and thread it through the hole in the bottom of one tin can. Make sure the string is long enough to reach the other tin can.
-
Tie a knot at the end of the string inside the can, so it doesn’t slip out.
-
Repeat the same process with the other end of the string and the second tin can.
-
Hold one tin can in each hand, keeping the string taut. Ensure that the cans are facing in the same direction, with the open ends aligned.
-
Using either tape or a rubber band, secure the cans together tightly. This will hold them in place while you communicate through your tin can phone.
Make sure the cans are securely fastened so that they don’t separate when in use. You can test the connection by gently tugging on the string to ensure that it remains intact.
It’s important to note that the length and tightness of the string can affect the sound quality of your tin can phone. To improve the clarity, experiment with different lengths of string and adjustments to the tightness.
Once you have successfully added the string and secured the cans together, you are ready to move on to the next step – testing and adjusting your tin can phone. This is where the real fun begins as you and your friends communicate through this classic homemade device!
Step 5: Testing and Adjusting the Tin Can Phone
After successfully assembling your tin can phone, it’s time to put it to the test! Follow these steps to ensure its optimal performance:
1. Find a quiet area: Identify a quiet space where you can conduct your testing without any background noise or distractions. This will help you accurately assess the functionality of your tin can phone.
2. Distance yourself: Position yourself at one end of the tin can phone setup, while the other person stands at the opposite end. Begin with a relatively small distance between you and gradually increase it as you progress.
3. Speak into the can: Speak clearly and directly into the open end of the can. Experiment with different volumes and pitches to determine the most effective way to communicate through the phone. Remember to speak into the can, not the string!
4. Listen carefully: The person on the other end should place their ear near the open end of their can and listen attentively for any sound. It may take a few attempts to find the right positioning and distance, so be patient and keep trying.
5. Adjust as needed: If you encounter any issues during the testing process, such as muffled or distorted sound, try the following troubleshooting tips:
- Check the string: Ensure that the string is taut and secure between the cans. If it’s loose or tangled, fix the problem before proceeding.
- Trim excess string: If the excess string creates unnecessary vibrations or affects the sound quality, trim it to a shorter length.
- Improve the cans: If the cans are not creating clear sound transmission, consider using different cans or modifying them. For example, remove any sharp edges or make a larger hole for better sound passage.
6. Repeat and refine: Continue testing the tin can phone by varying the distance between you and the listener, trying different speaking techniques, and making adjustments whenever necessary. Practice and experimentation will help you achieve the best results.
Remember, the tin can phone may not produce crystal-clear audio like a modern smartphone, but it’s a fun and educational device that demonstrates how sound can travel through a simple medium. Enjoy the process of refining your tin can phone and have fun communicating with your friends using this classic invention!
Tips and Variations
Now that you have successfully created your own tin can phone, here are some tips and variations to explore:
1. Experiment with different materials: While tin cans are the traditional choice for making a tin can phone, you can also try using other materials like plastic cups or even paper cups. Each material will give the phone a different sound quality, so feel free to experiment and find what works best for you.
2. Adjust the length of the string: The length of the string connecting the tin cans can affect the clarity of the sound. If you find that the sound is muffled or weak, try shortening or lengthening the string to find the optimal length for clear communication.
3. Decorate your tin can phone: Get creative and personalize your tin can phone with decorations! You can paint the cans in different colors or add stickers and other embellishments to make it unique and eye-catching.
4. Use a thicker string: If you’re not satisfied with the sound quality of the tin can phone, try using a thicker string. This can help transmit sound vibrations more effectively, resulting in clearer and louder communication.
5. Experiment with different setups: While the classic tin can phone setup involves a straight line between two cans, you can get creative with the setup. Try making multiple tin can phones and connecting them in different configurations, like a “Y” shape or a triangle, to see how it affects the sound quality and range.
6. Try a makeshift megaphone: If you don’t have a second tin can, you can create a makeshift megaphone using one tin can and a funnel. Simply attach the funnel to the open end of the tin can, and you’ll have a device that amplifies your voice.
7. Conduct your own experiments: Don’t be afraid to think outside the box and come up with your own variations and modifications to the tin can phone. Change the string material, try different can sizes, or even add additional elements to see how they affect the sound.
Remember, creating and experimenting with your tin can phone is part of the fun! Enjoy the process and discover the endless possibilities of this classic communication device.
Conclusion
In conclusion, creating a tin can phone can be a fun and nostalgic activity for both kids and adults alike. It not only allows you to explore the principles of sound transmission but also provides a unique way to communicate over short distances. By following the simple steps outlined in this guide, you can easily assemble your own tin can phone using materials you may already have at home.
Remember, the key to a successful tin can phone is ensuring that the cans are securely connected and the string is taut. Experiment with different sized cans and lengths of string to find the best combination for optimal sound quality. Whether you’re looking for a DIY project, a science experiment, or simply a quirky way to communicate with friends, making a tin can phone is a great choice.
So, gather your materials, recruit a friend, and get ready to experience the joy of communication through a tin can phone. It’s a throwback to simpler times, bringing a sense of nostalgia and fun. Happy tin can phone making!
FAQs
Q: Can I make a functional phone out of a tin can?
A: While you can create a tin can phone as a fun DIY project, it won’t function as a modern cell phone. Tin can phones are simple communication devices that rely on a string or wire tension to transmit sound. They can’t connect to cellular networks or make calls like mobile phones.
Q: How does a tin can phone work?
A: A tin can phone works by utilizing vibrations to transmit sound. When you speak into one can, the sound waves create vibrations that travel through the string or wire to the other can. These vibrations are then converted back into sound waves, allowing for communication over short distances.
Q: What materials do I need to make a tin can phone?
A: To make a tin can phone, you will need two empty tin cans, preferably with tight-fitting lids, a length of strong string or wire, a nail, a hammer, and some basic tools for making small holes in the cans and attaching the string or wire.
Q: Can I make a tin can phone with materials other than tin cans?
A: Absolutely! While the traditional tin can phone uses tin cans, you can experiment with other materials such as plastic cups, paper cups, or even small containers with good acoustic properties. The key is to create a sealed chamber that can transmit sound vibrations effectively.
Q: What is the purpose of making a tin can phone?
A: Making a tin can phone is a fun and educational activity that can teach basic principles of sound transmission. It is a great way to explore acoustics and engage in hands-on learning. Additionally, it can serve as a nostalgic reminder of simpler forms of communication before the advent of modern technology.