
Discord is a popular online platform that allows users to communicate and collaborate with others through text, voice, and video chat. While Discord is primarily known for its gaming community, it also provides a space for people to share and discuss a wide range of topics. One such topic is NSFW (Not Safe for Work) content, which refers to explicit or adult-oriented material.
If you are using Discord on your mobile phone and want to create an NSFW channel, you may be wondering how to go about it. In this article, we will guide you through the process of making an NSFW channel on Discord using the mobile app. Whether you are a server administrator or a member looking for a way to engage in adult-themed discussions, we’ve got you covered. So, let’s dive into the steps and explore how to create an NSFW channel on Discord Mobile.
Inside This Article
- Getting Started with Discord Mobile
- Creating a Server on Discord
- Setting Up Channel Permissions
- Making an NSFW Channel on Discord Mobile
- Conclusion
- FAQs
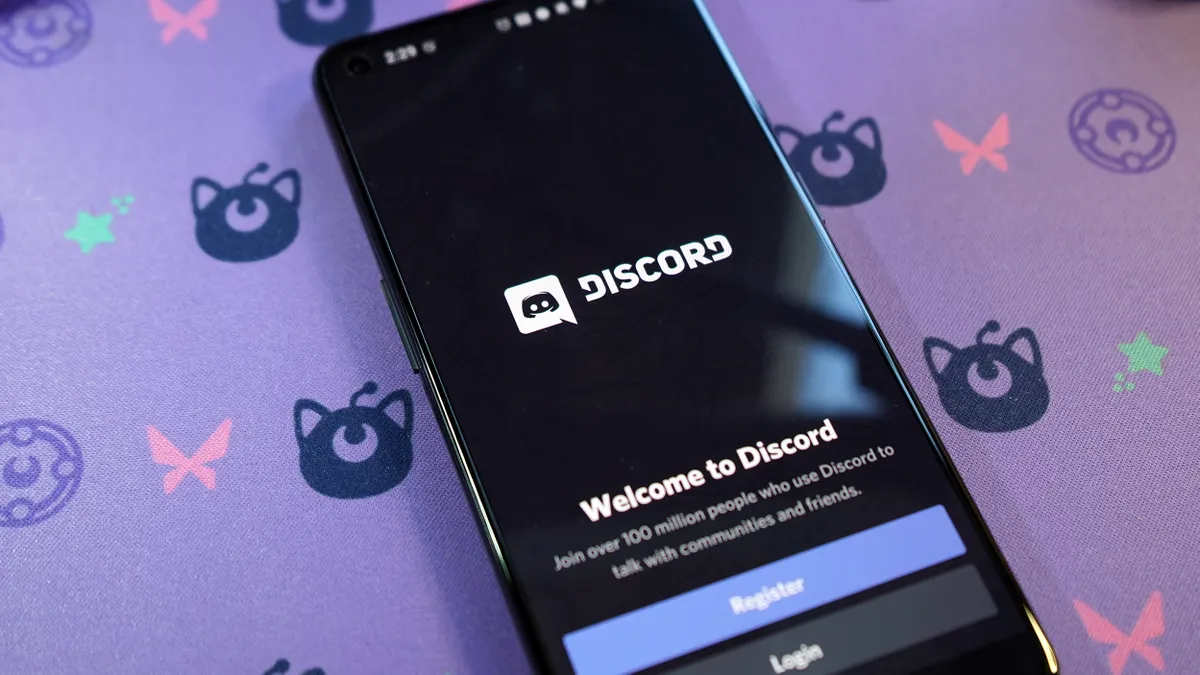
Getting Started with Discord Mobile
Discord is a popular communication platform that allows users to chat, voice-call, and even video-call with friends, communities, and gaming partners. With its mobile app, Discord offers the convenience of staying connected on the go. Whether you’re an avid gamer or simply looking for a reliable messaging app, Discord Mobile is an excellent choice. In this article, we will guide you through the process of getting started with Discord Mobile.
Step 1: Download the Discord Mobile App
Firstly, you need to download the Discord Mobile app on your smartphone or tablet. It is available for both iOS and Android devices. Simply go to the respective app store and search for “Discord.” Tap on the Discord icon and click the “Install” or “Get” button to download and install the app.
Step 2: Create a Discord Account
To use Discord Mobile, you need to create a Discord account. Launch the app and tap on the “Register” button if you are new to Discord. Fill in the required information, such as username, email address, and password. You can also choose to create an account using your existing Google or Facebook account for faster sign-up.
Step 3: Customize Your Profile
After creating your account, it’s time to customize your profile. Tap on the menu icon (usually located in the top-left or bottom-right corner) to access the settings. From there, you can add a profile picture, set your display name, and add a catchy status message to let others know more about you.
Step 4: Join Servers and Communities
Discord is all about connecting with others. You can join servers and communities based on your interests, whether it’s gaming, music, art, or any specific topic. Tap on the magnifying glass icon to search for servers or browse through the recommended ones. Joining servers allows you to chat with like-minded individuals and participate in conversations.
Step 5: Start Chatting and Calling
Once you’ve joined a server or added friends, you’re ready to start chatting and calling. Tap on the server or friend’s name to open a chat window. From here, you can send text messages, share images or files, and even make voice or video calls. Discord Mobile offers a smooth and seamless communication experience, allowing you to stay connected with your community wherever you are.
Step 6: Explore Discord’s Features
Discord Mobile is packed with features to enhance your communication experience. Take some time to explore the app and discover features like creating and managing channels, using emojis and reactions, setting up server roles, and more. You can also customize notification settings to receive alerts for activity that matters most to you.
With these steps, you are now well-equipped to get started with Discord Mobile. Stay connected with your friends, communities, or gaming buddies, and enjoy the seamless communication experience that Discord has to offer.
Creating a Server on Discord
Discord is a popular communication platform for gamers, allowing them to connect with friends, join communities, and coordinate gaming sessions. To start using Discord, you need to create a server. Don’t worry; it’s a straightforward process. Just follow these steps:
Step 1: Sign in to Discord
The first step is to sign in to your Discord account. If you don’t have an account yet, you can easily create one by visiting the Discord website or downloading the mobile app.
Step 2: Click on the Plus Icon
Once you’re logged in, you’ll see the server menu on the left side of the screen. At the bottom of the server menu, you’ll find a plus icon (+). Click on it to create a new server.
Step 3: Customize Your Server
After clicking on the plus icon, you’ll be prompted to choose between creating a new server or joining an existing one. Since we’re focusing on creating a server, select the “Create a Server” option.
Then, you’ll need to give your server a name. Choose a unique and descriptive name that represents the purpose or theme of your server. You can also upload an icon to further personalize your server.
Step 4: Managing Server Settings
Now that your server is created, it’s time to manage the settings. You can access the server settings by clicking on the small arrow next to your server’s name on the left side of the screen.
In the server settings, you’ll find various options to customize your server’s roles, channels, and permissions. This is where you can define who can access certain features and channels within your server.
Step 5: Inviting Members
No server is complete without members! To invite your friends or other users to join your server, you can generate an invite link. Simply click on the “Invite People” button in the server settings and copy the invite link to share it with others.
Alternatively, you can also manually invite users by entering their Discord usernames or email addresses.
Step 6: Enjoy Your Server
Now that you’ve created your server, customized the settings, and invited members, it’s time to enjoy your Discord server! Use the text channels to chat with your members, create voice channels for voice chats, and explore the various features and functionalities Discord has to offer.
Remember, as the server owner, you have the power to manage the server, create new roles, assign permissions, and moderate the community. Make sure to familiarize yourself with Discord’s moderation features to ensure a positive and enjoyable environment for everyone.
Creating a server on Discord is the first step towards building a thriving community of like-minded individuals. So, go ahead and start your own server to connect, chat, and play games with your friends and fellow gamers!
Setting Up Channel Permissions
Setting up the right channel permissions for your NSFW channel on Discord Mobile is essential to ensure that only designated users can access and view the content. Here’s a step-by-step guide to help you set up the channel permissions:
1. Open your Discord Mobile app and navigate to the server where you want to create the NSFW channel.
2. Tap on the three horizontal lines at the top left corner to open the server menu.
3. Scroll down and tap on the “Server Settings” option.
4. In the server settings menu, select “Roles”. This will display a list of all the roles available on the server.
5. Tap on the “+” button to create a new role specifically for the NSFW channel. You can name the role something like “NSFW Viewer” or any other appropriate name.
6. Once the role is created, scroll down and find the “Channels” section. Tap on the NSFW channel that you created earlier.
7. In the channel settings, scroll down and tap on the “Permissions” option.
8. Here, you can assign the newly created “NSFW Viewer” role to specific users or roles. Tap on the “+” button to add a user or role.
9. After adding the user or role, you can modify their permissions by tapping on the checkboxes next to each permission category. For the NSFW channel, you might want to enable permissions like “Read Messages” and “View Channel” while disabling others like “Send Messages” or “Manage Channel”.
10. Once you have assigned the appropriate permissions, tap on the “Save Changes” button to apply the changes to the NSFW channel.
By following these steps, you can successfully set up the channel permissions for your NSFW channel on Discord Mobile. This ensures that only users with the specific role can access and view the contents of the channel, maintaining a safe and controlled environment.
Making an NSFW Channel on Discord Mobile
Discord is a popular communication platform known for its versatility and customization options. If you want to establish an NSFW (Not Safe for Work) channel on Discord mobile, follow these simple steps.
Step 1: Enabling NSFW Content
To create an NSFW channel, it is essential to enable NSFW content in your server settings. Open Discord on your mobile device, click on the three-line menu icon at the top left corner, and scroll down to find “Server Settings”.
Once you are in the server settings, navigate to the “Content Filters” section. Toggle the switch next to “Allow NSFW Content” to enable NSFW content in your server.
Step 2: Creating a New Channel
After enabling NSFW content, you can proceed to create a new channel specifically for NSFW content. To do this, return to your server settings by clicking on the three-line menu icon, select the desired server, and choose the “Create Channel” option.
In the channel creation window, give your NSFW channel a distinct name. It is essential to clearly indicate that the channel is NSFW to avoid any misunderstandings with other users.
Step 3: Setting Channel Permissions
Once the NSFW channel is created, you need to set the appropriate permissions for it. Tap on the newly created channel and select the cogwheel icon on the top right corner to access channel settings.
Under the “Permissions” section, you can manage the permissions for various roles and users within the server. Ensure that you grant access to the NSFW channel only to users who are supposed to have it, to maintain a safe and comfortable community environment.
Step 4: Accessing the NSFW Channel
Now that you have created the NSFW channel and adjusted the permissions, you can access it on your mobile device. Simply go back to the server homepage, locate the channel list, and tap on the NSFW channel you created.
Once inside the NSFW channel, you can engage in discussions, share media, and interact with other community members within the established guidelines and rules of your server.
Remember, it is essential to exercise responsibility and create a safe and inclusive environment when using NSFW channels on Discord mobile. Be sure to clearly communicate the rules and guidelines to all members to maintain the integrity of your server.
Conclusion
Creating an NSFW channel on Discord mobile is a simple process that allows you to set up a separate space for mature content and discussions. By following the steps outlined in this guide, you can ensure that your server remains safe and respectful for all users.
Remember to have clear rules and guidelines in place to maintain a positive and inclusive environment. Encourage open communication and actively moderate the NSFW channel to prevent any inappropriate behavior or content.
Whether you’re a gamer, content creator, or part of a community, having an NSFW channel can be a valuable addition to your Discord experience. Take advantage of the features and settings available to customize the channel to your specific needs.
So go ahead and unleash your creativity, engage in interesting discussions, and enjoy the benefits of having an NSFW channel on Discord mobile. Embrace the freedom while also respecting the boundaries and ensuring that everyone feels comfortable and safe in your server.
FAQs
Q: How can I create an NSFW channel on Discord mobile?
To create an NSFW (Not Safe for Work) channel on Discord mobile, follow these steps:
1. Open the Discord mobile app on your device.
2. Navigate to the server where you want to create the NSFW channel.
3. Tap on the three horizontal lines at the top-left corner to open the server menu.
4. Scroll down and select “Server Settings.”
5. In the server settings, tap on “Moderation” and then “Enable NSFW” option.
6. Once enabled, you can go back to the server menu and tap on the “+” button to create a new channel.
7. Give the channel a name and select the “NSFW Channel” option.
8. Customize additional settings such as permissions, topic, and channel category if desired.
9. Tap “Create Channel” to finalize the creation of your NSFW channel.
Please note that NSFW content should always be shared respectfully and with the appropriate permissions.
Q: Can I use an NSFW channel on Discord mobile without enabling NSFW mode?
No, in order to use an NSFW channel on Discord mobile, you need to enable NSFW mode in the server settings. This ensures that only users who have acknowledged and accepted the NSFW content warning will have access to the content within the channel.
Q: Are there any age restrictions for accessing NSFW channels on Discord mobile?
Yes, Discord has strict policies regarding age restrictions for NSFW content. Users must be at least 18 years old to access NSFW channels. Discord takes these restrictions seriously and employs various mechanisms to verify the age of users in order to comply with legal requirements.
Q: Can I make an existing channel NSFW on Discord mobile?
No, once a channel has been created, you cannot directly convert it into an NSFW channel on Discord mobile. To have an NSFW channel, you need to create a new channel and select the “NSFW Channel” option during the creation process. This ensures that the appropriate NSFW guidelines and permissions are in place for that specific channel.
Q: Can I hide NSFW channels from my Discord mobile app?
Yes, if you don’t want to see NSFW channels on your Discord mobile app, you can enable the “Hide Sensitive Content” option. This can be done by going to the “Settings” menu, selecting “Privacy & Safety,” and then toggling on the “Hide Sensitive Content” option. Enabling this setting will prevent NSFW channel content from being displayed in your server list and direct message previews.