
Are you curious about how to scan documents on the latest iPhone 14? Look no further, as we have all the information you need. With the advancement of technology, scanning documents has become easier and more convenient than ever before. The iPhone 14, equipped with cutting-edge features and capabilities, offers a seamless scanning experience. Whether you need to scan receipts, contracts, or important papers, the iPhone 14 has got you covered. In this article, we will guide you through the step-by-step process of scanning documents on your iPhone 14. From opening the camera app to saving the scanned document, we will provide you with all the necessary instructions. So, let’s dive in and discover how you can harness the power of your iPhone 14 to scan documents effortlessly.
Inside This Article
- Overview of Scanning on an iPhone 14
- How to Access the Built-in Scanner App
- Scanning Documents on an iPhone 14
- Tips for Enhancing Scanned Documents on an iPhone 14
- Conclusion
- FAQs
Overview of Scanning on an iPhone 14
With the advancement in mobile technology, our smartphones have become more than just communication devices. The iPhone 14, with its cutting-edge features and user-friendly interface, offers a built-in scanner app that allows users to easily scan documents with just a few taps. This feature eliminates the need for bulky scanners or tedious trips to the office supply store, making document scanning quick and convenient.
The scanner app on the iPhone 14 utilizes the device’s high-resolution camera to capture clear and detailed images of your documents. Whether you need to scan receipts, contracts, or handwritten notes, the built-in scanner app can handle it all with precision and accuracy.
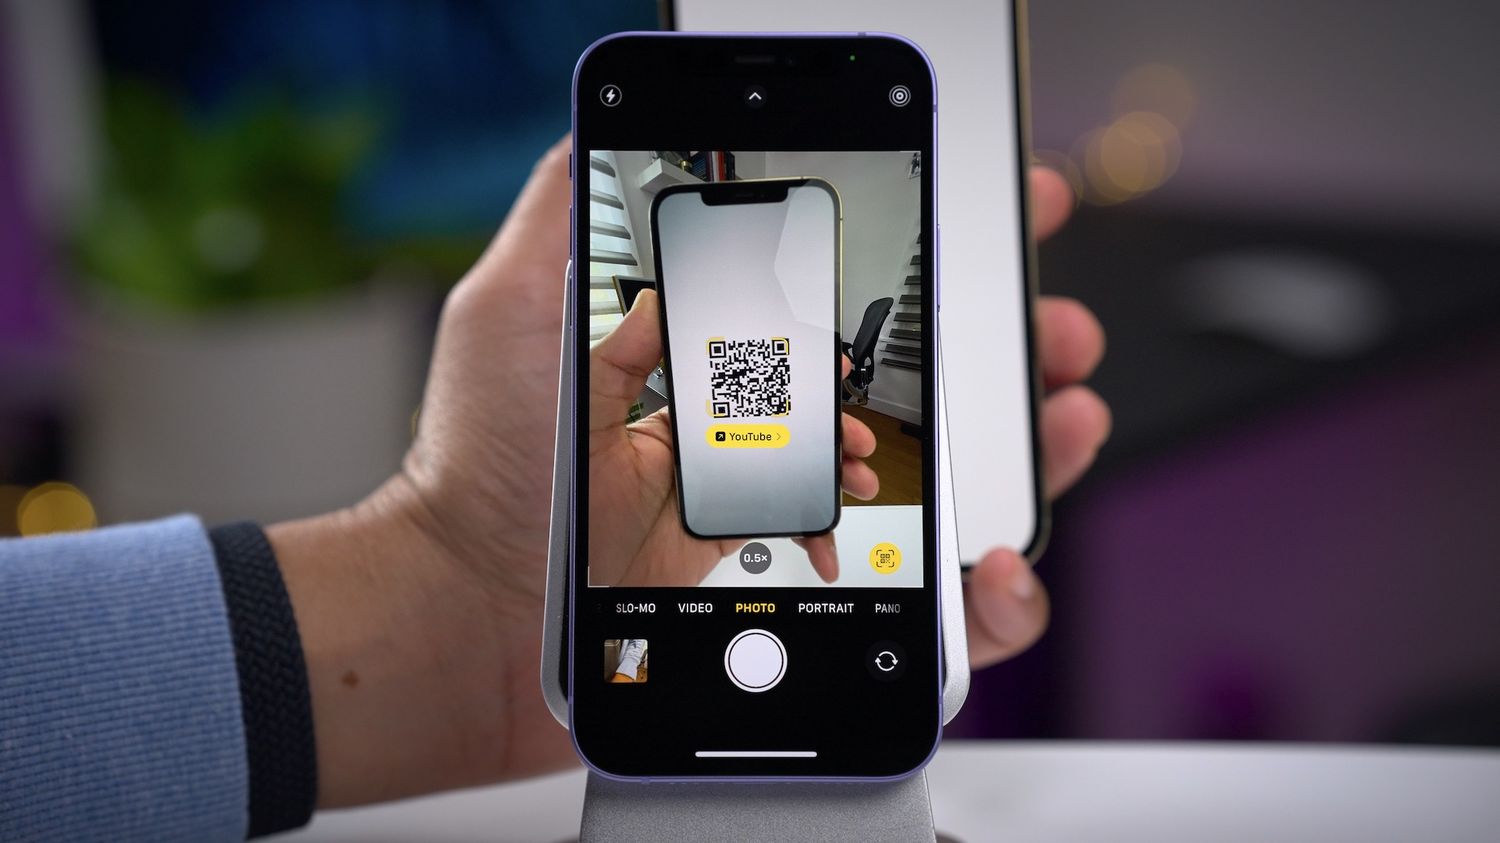
In addition to scanning documents, the iPhone 14 scanner app also enables users to scan QR codes, which can quickly provide information, access websites, or even make payments. This versatility makes the scanner app a valuable tool for both personal and professional use.
With the iPhone 14’s scanner app, you can easily convert physical documents into digital files, making it convenient to store and share important information. Whether you need to email a scanned document to a colleague or save it to cloud storage for easy access, the scanning feature on the iPhone 14 allows you to do so seamlessly and efficiently.
Furthermore, the scanner app on the iPhone 14 offers features like auto-cropping and image optimization, ensuring that your scanned documents are of the highest quality. This means that you don’t have to worry about blurry or distorted images, as the app intelligently adjusts the settings to enhance the readability and clarity of your scanned documents.
How to Access the Built-in Scanner App
If you own an iPhone 14, you’re in luck because it comes with a built-in scanner app called “Files.” This app allows you to easily scan documents and save them as PDF files. To access the scanner app, follow these simple steps:
- Open the “Files” app on your iPhone 14. This app is represented by a blue folder icon and is usually found on the home screen or in the app drawer.
- Navigate to the location where you want to save the scanned document. You can choose to save it in the iCloud Drive, the On My iPhone storage, or any other location within the Files app.
- Tap on the “+” button located at the top right corner of the app. This will open a menu with various options.
- From the menu, select the “Scan Documents” option. This will launch the built-in scanner app on your iPhone 14.
- Align the document within the viewfinder of your iPhone’s camera. Make sure that the entire document is within the frame and that there is sufficient lighting for a clear scan.
- Once the document is properly aligned, tap the capture button to take a picture of the document. You can also tap the “Auto” button if you want the app to automatically detect and capture the document without manual intervention.
- If needed, you can add more pages to the scanned document by tapping the “+” button and repeating the capture process for each additional page.
- After capturing all the necessary pages, tap the “Save” button to save the scanned document as a PDF file in the chosen location within the Files app.
That’s it! You have successfully accessed the built-in scanner app on your iPhone 14 and scanned your documents. The scanned files are now ready to be shared, emailed, or stored for future reference.
It’s worth mentioning that the Files app offers additional features like document organization, tagging, and searching, which can greatly enhance your scanning experience. Take some time to explore these features and make the most out of the built-in scanner app on your iPhone 14.
Scanning Documents on an iPhone 14
Scanning documents on your iPhone 14 has never been easier. With the built-in scanner app, you can quickly digitize all your important documents with just a few taps. Whether you need to scan a receipt, a contract, or a handwritten note, the iPhone 14’s scanner app has got you covered.
To begin, open the scanner app on your iPhone 14. This app comes pre-installed on the device, so there is no need to download any additional apps. Simply locate the scanner app icon on your home screen and tap on it to launch the app.
Once you have the app open, position your iPhone 14 over the document you want to scan. Make sure the entire document is within the frame on your screen. The app uses advanced image recognition technology to automatically detect the edges of the document and capture it accurately.
Once the document is in focus, tap the capture button. The app will take a snapshot of the document and display it on your screen. You can then review the image and make any necessary adjustments, such as cropping or rotating, before saving it.
After you have made any final adjustments, tap the save button to store the scanned document on your iPhone 14. You can choose to save it in your device’s photo album or in a cloud storage service of your choice, such as iCloud or Dropbox.
Scanned documents can be easily accessed and shared whenever you need them. From the scanner app, you can directly email the scanned document or share it through messaging apps or social media platforms. This convenient feature allows you to quickly send important documents to colleagues, clients, or family members without the need for a physical copy.
The scanner app on the iPhone 14 also offers additional features to enhance your scanned documents. You can adjust the brightness and contrast to improve the readability of the text. There is also an option to convert scanned documents into searchable PDFs, making it easier to find specific information within the document.
Furthermore, the scanner app supports multi-page scanning, allowing you to scan multiple documents into a single file. This can be particularly useful when scanning lengthy contracts or multiple pages of a book.
Tips for Enhancing Scanned Documents on an iPhone 14
Scanning documents on an iPhone 14 can be a convenient way to digitize your important paperwork. However, the quality of the scanned documents might not always be perfect. To enhance the scanned documents and ensure they look their best, here are some useful tips:
1. Find the Right Lighting: Lighting plays a crucial role in the quality of scanned documents. Make sure you are in a well-lit area or use external lighting to ensure proper illumination. Avoid shadows or glares on the document, as they can affect the clarity of the scan.
2. Hold the iPhone Steady: When scanning, it’s essential to hold your iPhone 14 steady to avoid any blurs or distortions. Resting your hands or using a tripod can help maintain a stable position and capture clear images.
3. Adjust the Scan Settings: The built-in scanning app on the iPhone 14 offers various settings to customize your scans. Experiment with options like color, resolution, and auto-enhancement to find the settings that work best for your specific document.
4. Clean the Camera Lens: A dirty camera lens can result in blurry scans. Before starting the scanning process, ensure that the lens is clean and free from any smudges or fingerprints. You can use a microfiber cloth to gently wipe the lens if needed.
5. Use a Flat Surface: Placing the document on a flat surface, such as a table or desk, can help maintain the document’s alignment while scanning. This can prevent any distortion and ensure the scanned document appears neat and legible.
6. Preview and Edit: After scanning, take a moment to preview the scanned document. If necessary, use the editing features of the scanning app to make adjustments. This can include cropping, rotating, or even applying filters to enhance the document further.
7. Organize Scanned Documents: To keep your scanned documents well-organized, utilize folders or tags within the scanning app or a dedicated document management app. This way, you can easily locate and access your scanned files whenever needed.
8. Backup Scanned Documents: It’s always a good practice to back up your scanned documents. Consider saving them to cloud storage or transferring them to a computer or external drive regularly. This ensures that your valuable scanned documents are securely stored and accessible even if something happens to your iPhone.
By following these tips, you can enhance the quality of your scanned documents on an iPhone 14. Whether you’re scanning important documents, receipts, or even handwritten notes, these tips will help you capture clear and legible scans.
Conclusion
In conclusion, the iPhone 14 offers users a seamless and convenient way to scan documents with exceptional quality and efficiency. With the advancements in technology, Apple has made document scanning a breeze with the built-in scanning feature on the iPhone 14. Whether you need to scan important papers, receipts, or even handwritten notes, the iPhone 14’s scanning capability saves you time and allows you to organize your digital files effortlessly.
By following the simple steps outlined in this article, you can easily access the scanning feature on your iPhone 14 and start digitizing your important documents. The high-resolution camera, coupled with the powerful image processing software, ensures that your scanned documents retain their clarity and legibility.
With the iPhone 14, you no longer need a separate scanner or a computer to scan documents. This convenient and time-saving feature makes the iPhone 14 a valuable tool for professionals, students, and anyone who needs quick and reliable document scanning on the go. Embrace the power of the iPhone 14, and take your document scanning experience to the next level!
FAQs
1. Can I scan documents using the default camera app on my iPhone 14?
Yes, with the advancements in technology, the default camera app on your iPhone 14 allows you to scan documents easily. It provides a built-in document scanning feature that can capture high-quality scans of your documents.
2. How do I access the document scanning feature on my iPhone 14?
To access the document scanning feature on your iPhone 14, simply open the default camera app and tap on the “Notes” icon. Then, create a new note or open an existing one. Tap on the “+” button and select “Scan Documents” from the menu.
3. Can I scan multiple pages into a single document on my iPhone 14?
Absolutely! The document scanning feature on your iPhone 14 allows you to scan multiple pages into a single document. Simply continue scanning additional pages and they will be automatically appended to the existing document.
4. How can I enhance the scanned document’s quality on my iPhone 14?
After scanning a document on your iPhone 14, you can enhance its quality by adjusting the cropping, rotation, or even applying filters. When you are previewing the scan, tap on the “Edit” button to access these options and make necessary adjustments.
5. Can I share the scanned documents directly from my iPhone 14?
Yes, once you have successfully scanned a document on your iPhone 14, you can easily share it with others. Tap on the share button, which looks like a square with an arrow pointing outwards, and choose the desired sharing method such as email, messaging apps, or cloud storage services.