
Screen recording on your Android phone can be a useful tool for capturing moments, creating tutorials, or sharing gameplay highlights with friends. Whether you want to record a video call, demonstrate a new app feature, or create content for your social media channels, knowing how to screen record on your Android device is essential. In this article, we will guide you through the step-by-step process of screen recording on your Android phone, so you can easily capture and share your screen with ease. From built-in screen recording options to third-party apps, we have got you covered. So, let’s dive in and discover how to screen record on your Android phone!
Inside This Article
- Overview
- Method 1: Using the Built-in Screen Recording Feature
- Method 2: Using Third-party Screen Recording Apps
- Method 3: Using Screen Recording feature in certain Android versions
- Troubleshooting Tips
- Conclusion
- FAQs
Overview
Screen recording on an Android phone can be incredibly useful for a variety of reasons. Whether you want to capture a gaming session, create a tutorial, or save a video call, being able to record your screen can come in handy. Fortunately, there are multiple methods available to accomplish this task on your Android device. In this article, we will explore three different ways you can screen record on your Android phone.
Method 1 involves using the built-in screen recording feature available on some Android devices. This method is convenient as it does not require downloading any additional apps. We will walk you through the steps to activate and utilize this feature on your phone.
If your Android device does not have a built-in screen recording feature, Method 2 will be your solution. This method involves using third-party screen recording apps from the Google Play Store. We will recommend a few popular options that offer easy-to-use interfaces and reliable screen recording functionalities.
In Method 3, we will explore how to use the screen recording feature available in certain Android versions. Although not all Android versions have this feature, if your device is compatible, we will show you how to enable and utilize it effectively.
If you encounter any issues or come across error messages while attempting to screen record on your Android phone, we have got you covered. In the Troubleshooting tips section, we will provide solutions to common problems and offer suggestions to overcome any hurdles you may face.
Method 1: Using the Built-in Screen Recording Feature
Android devices offer a convenient built-in screen recording feature that allows you to capture and save whatever is happening on your phone’s screen. Whether you want to make a tutorial video or simply save a memorable moment, this native screen recording feature makes it easy to do so without the need for any additional apps.
To access the built-in screen recording feature, follow these steps:
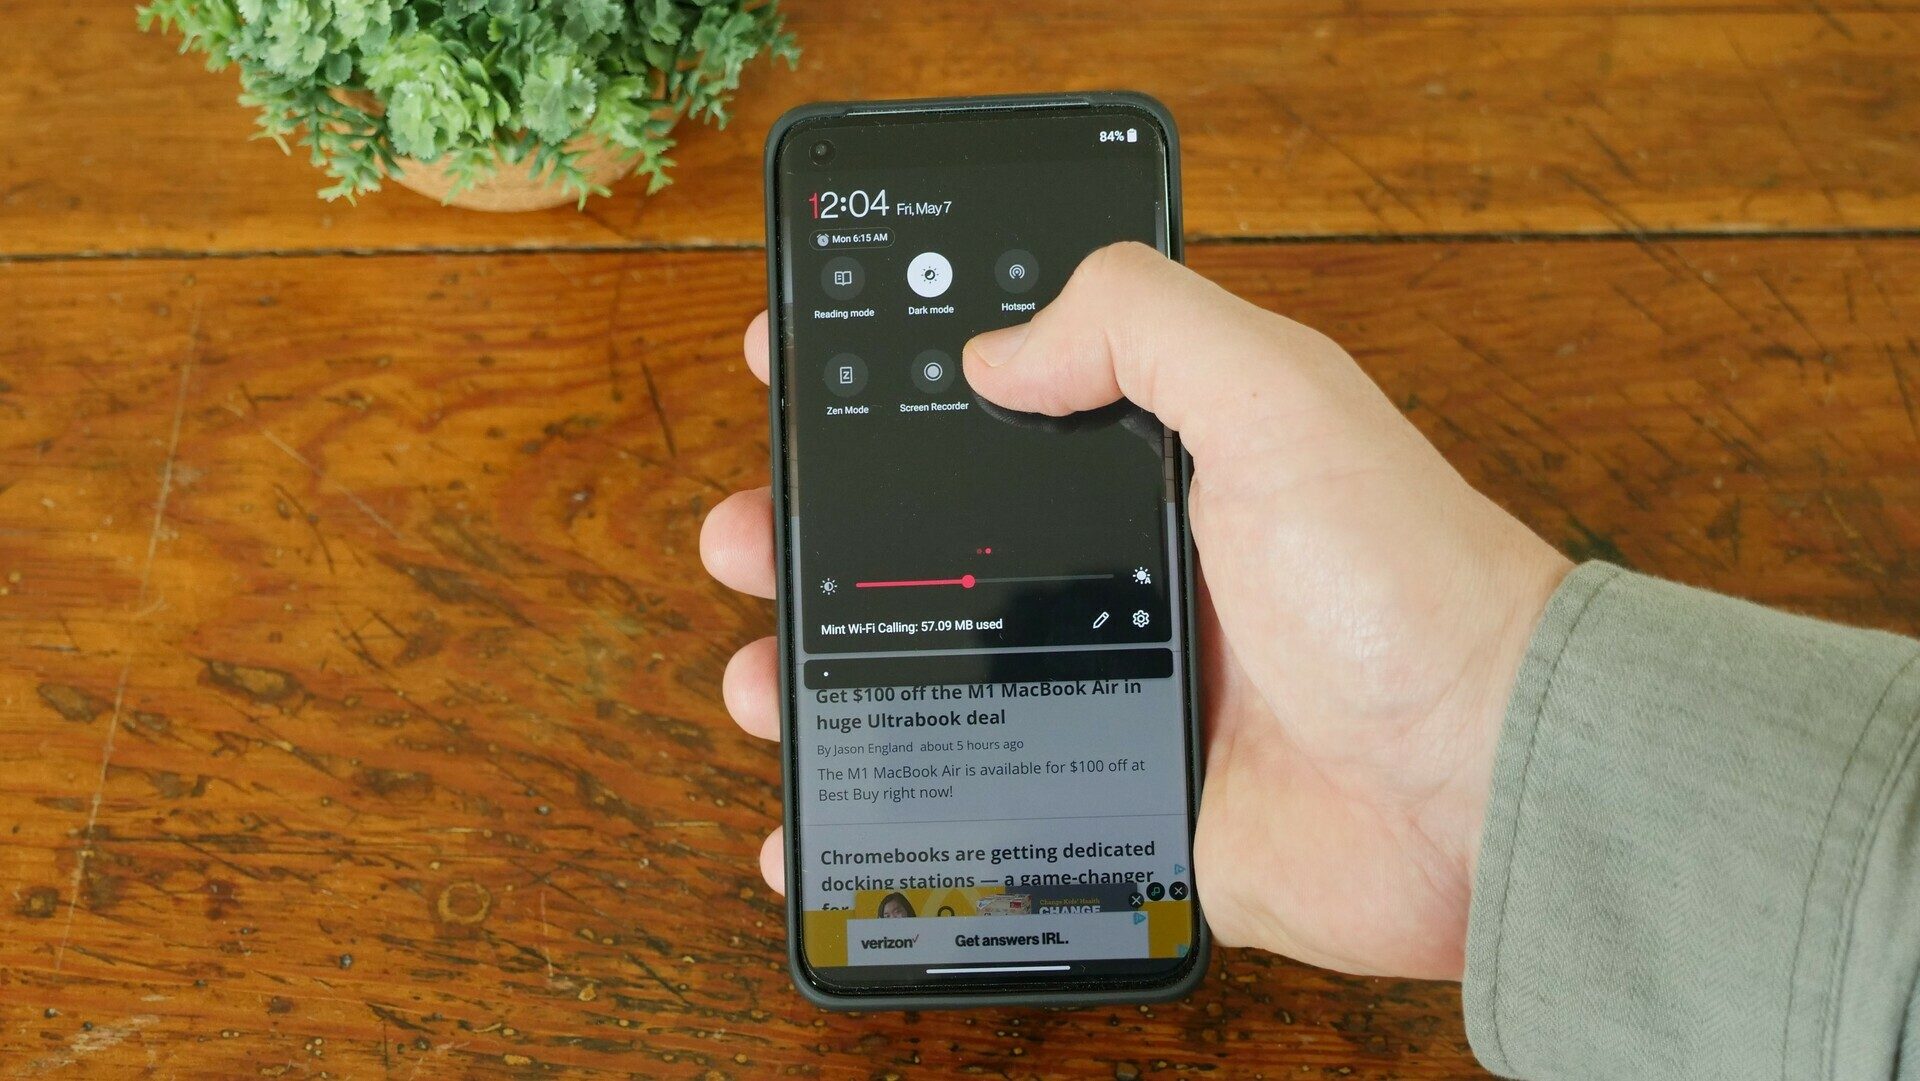
- Swipe down from the top of your Android phone’s display to open the notification shade.
- Look for the Screen Recording icon among the quick settings icons. It usually looks like a square with a circle inside.
- If you can’t find the Screen Recording icon, swipe left or right to access additional quick settings options.
- Once you locate the Screen Recording icon, tap on it to start the recording.
- You may be prompted to grant permission for the screen recording feature. Follow the on-screen instructions to proceed.
- Once you start the screen recording, a countdown timer may appear on the screen, indicating that the recording has begun.
- Record whatever you want to capture. You can navigate through apps, play games, or demonstrate specific features on your Android phone.
- When you are finished recording, tap the Stop button, usually located in the notification shade or the screen recording icon itself.
- Your screen recording will be saved in your phone’s gallery or a specific folder designated for screen recordings.
The built-in screen recording feature offers a simple and convenient way to capture your Android phone’s screen without the need for any third-party apps. It’s a handy tool for creating tutorials, recording gameplay, or sharing your favorite moments with friends and family.
Method 2: Using Third-party Screen Recording Apps
If your Android phone doesn’t have a built-in screen recording feature, don’t worry. You can still easily capture your screen by using third-party screen recording apps.
There are several great screen recording apps available on the Google Play Store that offer a range of features and functionalities. Here are a few popular options:
- AZ Screen Recorder: This app is highly recommended by users for its simplicity and effectiveness. It allows you to record high-quality videos without any time limits or watermarks. AZ Screen Recorder also provides features like screen capture, video editing, and live streaming.
- DU Recorder: DU Recorder is another top-rated screen recording app that offers various features like screen capture, video editing, and live streaming. It supports high-quality video recording and allows you to customize the resolution, frame rate, and bit rate according to your preferences.
- Screen Recorder – No Ads: As the name suggests, this app offers ad-free screen recording experience. It provides smooth and high-quality screen recording with customizable settings such as video resolution, bit rate, and frame rate. Moreover, it also allows you to pause and resume the recording, making it convenient for capturing long videos or tutorials.
- Mobizen Screen Recorder: This app is known for its user-friendly interface and a wide range of features. In addition to screen recording, Mobizen also offers video editing tools, voice recording, and convenient sharing options. It is compatible with various Android devices and provides high-quality recordings.
To use these apps, simply search for their names in the Google Play Store, install them, and follow the on-screen instructions to start recording your screen.
It is important to note that while third-party screen recording apps offer additional features and customization options, some free apps may display ads or include watermarks in the recorded videos. To remove ads or access advanced features, you may need to upgrade to a paid version or make in-app purchases.
Before using any third-party app, make sure to check its user reviews and ratings to ensure it meets your recording needs and is compatible with your Android phone.
With these third-party screen recording apps, screen capturing on your Android device becomes a breeze, allowing you to easily record and share your screen activities with others.
Method 3: Using Screen Recording feature in certain Android versions
One of the advantages of using certain Android versions is the availability of a built-in screen recording feature. This means you don’t have to rely on third-party apps or complex methods to capture your screen activity. However, keep in mind that this feature may not be available on all Android devices and versions.
To check if your Android device has the screen recording feature, follow these steps:
- Swipe down from the top of your screen to access the notification panel.
- Look for the “Screen recording” tile. It may be located in the quick settings panel or under the “Edit” option.
- If you can’t find the “Screen recording” tile, go to your device’s settings.
- Scroll down and look for the “Screen recorder” option. It may be under the “Advanced” or “System” settings.
If you find the screen recording feature, here’s how you can use it:
- Open the app or screen you want to record.
- Swipe down from the top of your screen to access the notification panel.
- Tap on the “Screen recording” tile or the “Screen recorder” option in the quick settings panel.
- A countdown will appear, indicating the start of the recording.
- Once the recording starts, you can continue using your device as usual.
- To stop the recording, swipe down from the top of your screen and tap on the “Stop” button in the notification panel.
After stopping the recording, you can find the video file in your device’s gallery or video folder. From there, you can edit, share, or delete the recording as needed.
It is important to note that the availability and functionality of the screen recording feature may vary depending on your Android version and device manufacturer. If you don’t have the built-in screen recording feature, you can always explore third-party apps or the other methods mentioned in this article.
Troubleshooting Tips
Screen recording on an Android phone is a fantastic feature that allows you to capture and share important moments, demonstrations, or even create tutorials. However, like any technology, it can sometimes encounter issues. Here are some troubleshooting tips to help you overcome common problems:
1. Check for App Compatibility: If you are using a third-party screen recording app, ensure that it is compatible with your specific Android phone model and operating system version. Some apps may not work correctly on certain devices, leading to recording issues or app crashes.
2. Clear App Cache: If you experience freezing or stuttering during screen recording, clearing the cache of the screen recording app can sometimes resolve the issue. Go to the app settings, locate the storage section, and tap on the “Clear cache” button.
3. Restart Your Phone: Like with any software glitch, a simple restart can often fix the problem. If you are experiencing issues with screen recording, try restarting your Android phone and then attempt the recording process again.
4. Disable Battery Saving Mode: Some Android devices have a battery saving mode that can limit the functionality of certain apps, including screen recording. Make sure battery saving mode is turned off or whitelist the screen recording app to ensure it works properly.
5. Free Up Storage Space: Insufficient storage space can cause screen recording problems. Delete unnecessary files, apps, or move them to an external storage device to free up space on your phone.
6. Update Your Android OS: Outdated operating systems can lead to compatibility issues with screen recording apps. Check for system updates in your phone’s settings and install any available updates to ensure optimal performance.
7. Close Background Apps: Running multiple apps simultaneously can consume system resources and interfere with screen recording. Close unnecessary background apps before starting the screen recording process.
8. Disable Display Overlays: Some apps or features, such as Facebook Messenger Chat Heads or screen magnifiers, can interfere with screen recording. Disable any such overlays before attempting to record your screen.
9. Reset App Preferences: If none of the above solutions work, you can try resetting app preferences on your Android device. Go to Settings > Apps > Reset App Preferences. This will reset all app preferences, including permissions, and might fix any issues related to screen recording.
10. Contact App Support: If you are still experiencing problems with screen recording, reach out to the app’s developer customer support. They may have specific troubleshooting steps for their app or be able to assist you in resolving any compatibility issues.
By following these troubleshooting tips, you can overcome common challenges and enjoy seamless screen recording on your Android phone. Remember to always keep your phone updated and utilize reliable screen recording apps for the best experience.
Screen recording on your Android phone is a powerful feature that allows you to capture and share your screen activity with ease. Whether you want to create video tutorials, record gameplay, or demonstrate app functionalities, the ability to screen record opens up a world of possibilities.
In this article, we’ve explored various methods to screen record on your Android device. From built-in screen recording options to third-party apps, you now have plenty of options to choose from based on your preferences and specific device capabilities.
Remember to consider factors such as audio quality, video resolution, and ease of use when selecting a screen recording method. It’s also important to respect privacy and copyright laws when capturing and sharing screen recordings.
Now that you’re equipped with the knowledge of screen recording on your Android phone, go ahead and start exploring the endless creative possibilities. Capture memorable moments, share knowledge, and make the most out of your mobile device’s capabilities!
FAQs
1. Can I screen record on my Android phone?
Yes, you can screen record on your Android phone. Android devices, starting from Android 5.0 Lollipop, have a built-in screen recording feature that allows you to capture your device’s screen activities. However, the availability and location of this feature may vary depending on the manufacturer and the version of Android.
2. How can I start screen recording on my Android phone?
To start screen recording on your Android phone, follow these steps:
- Swipe down from the top of your screen to open the notification shade.
- Look for the screen recording icon, which looks like a small circle with a dot inside. If you can’t find it, swipe left or right to access more quick settings tiles.
- Tap on the screen recording icon to start recording. You may need to grant permission for the app to access your device’s screen. If prompted, follow the on-screen instructions to provide the necessary permissions.
- Once recording begins, you will see a floating control panel that allows you to pause or stop the recording.
- When you’re done recording, tap the stop button on the control panel to end the screen recording.
3. Where can I find the screen recordings on my Android phone?
The screen recordings on your Android phone are usually saved in the Gallery app or the Photos app. After ending a screen recording, you may receive a notification that the recording has been saved. You can also check the Screenshots or Movies folder in your Gallery app to find your screen recordings. If you are using a different Gallery app or file manager, the location of the recordings may vary.
4. Can I edit my screen recordings on my Android phone?
Yes, you can edit your screen recordings on your Android phone using various video editing apps available on the Google Play Store. These apps allow you to trim, crop, add text, apply filters, and perform other editing tasks on your screen recordings. Simply install a video editing app of your choice, import the screen recording into the app, and use the editing tools to customize your recording as desired.
5. What if my Android phone doesn’t have a built-in screen recording feature?
If your Android phone doesn’t have a built-in screen recording feature, you can still record your screen using third-party screen recording apps available on the Google Play Store. These apps offer similar functionalities and allow you to record and save your screen activities. Some popular third-party screen recording apps include AZ Screen Recorder, Mobizen Screen Recorder, and DU Recorder. Simply download and install one of these apps, follow the on-screen instructions, and start recording your screen.