
Are you wondering how to send a picture from your Android phone? Look no further! In this article, we will guide you through the step-by-step process of sending pictures from your Android phone to friends, family, or anyone else you want to share your memories with. Whether you’re a novice or a tech-savvy individual, we’ve got you covered. Sharing photos with others has become an integral part of our lives, and Android phones offer various methods for achieving this. From text messaging to social media apps, there are multiple ways to send pictures with just a few taps on your screen. So, let’s dive in and explore the different methods available to send a picture from your Android phone.
Inside This Article
- Overview
- Step 1: Open the Messaging App
- Step 2: Create a New Message
- Step 3: Attach the Picture
- Step 4: Send the Picture
- Troubleshooting Tips
- Conclusion
- FAQs
Overview
Sending pictures from an Android phone has become a daily routine for most smartphone users. Whether you want to share a funny meme, a beautiful sunset photo, or a cherished memory with your friends and family, knowing how to send a picture from your Android phone is an essential skill. In this article, we will guide you through the process step by step, ensuring that you can effortlessly send pictures to your loved ones in no time!
To send a picture from your Android phone, you will need to follow a few simple steps. First, you need to open the messaging app on your device. Next, create a new message and attach the picture you want to send. Finally, hit the send button, and your picture will be on its way to the recipient.
Whether you are using the default messaging app on your device or a third-party messaging app, the process of sending a picture remains quite similar. However, it’s worth noting that the exact steps and features might vary slightly depending on the specific messaging app and Android version you are using. But don’t worry, we will cover all the basics to ensure you can send pictures regardless of your device or app.
Now, let’s dive into the step-by-step process of sending a picture from an Android phone. Make sure you have your Android device in hand and are ready to share your favorite photos!
Step 1: Open the Messaging App
Before you can send a picture from your Android phone, you’ll need to open the messaging app on your device. The messaging app allows you to send messages, including text messages, pictures, and other media, to your contacts. This app may have a different name depending on your device and the version of Android you are using. Most Android phones come with a default messaging app, but you may also have other messaging apps installed on your device.
To open the messaging app, locate the app icon on your home screen or in the app drawer. The app icon typically resembles a speech bubble or a message box. Once you find the messaging app, tap on the icon to open it. If you have multiple messaging apps installed, you may need to select the specific app you want to use.
Once the messaging app is open, you’ll be ready to proceed to the next step and start composing your message with the picture you want to send.
Step 2: Create a New Message
After opening the messaging app on your Android phone, the next step is to create a new message. This will allow you to compose the text and attach the picture you want to send.
To create a new message, look for the icon or button that typically resembles a pencil or a compose symbol. It is usually located at the bottom right corner of the messaging app screen.
Once you have located the create new message option, tap on it to begin composing your message. A blank message field should appear where you can start typing your text.
If you have a specific recipient in mind, you can enter their contact information in the “To” field. This can be done by either typing their name or phone number. Most messaging apps also provide suggestions as you type, making it easier and quicker to select the intended recipient.
Keep in mind that some messaging apps may require you to tap on a “+” or “Add Contact” button next to the message field in order to add a recipient.
Once you have entered the recipient’s information and composed your message, it’s time to move on to the next step – attaching the picture you want to send.
Step 3: Attach the Picture
Now that you have created a new message in your messaging app, it’s time to attach the picture you want to send. Attaching a picture from your Android phone is a simple process. Just follow these steps:
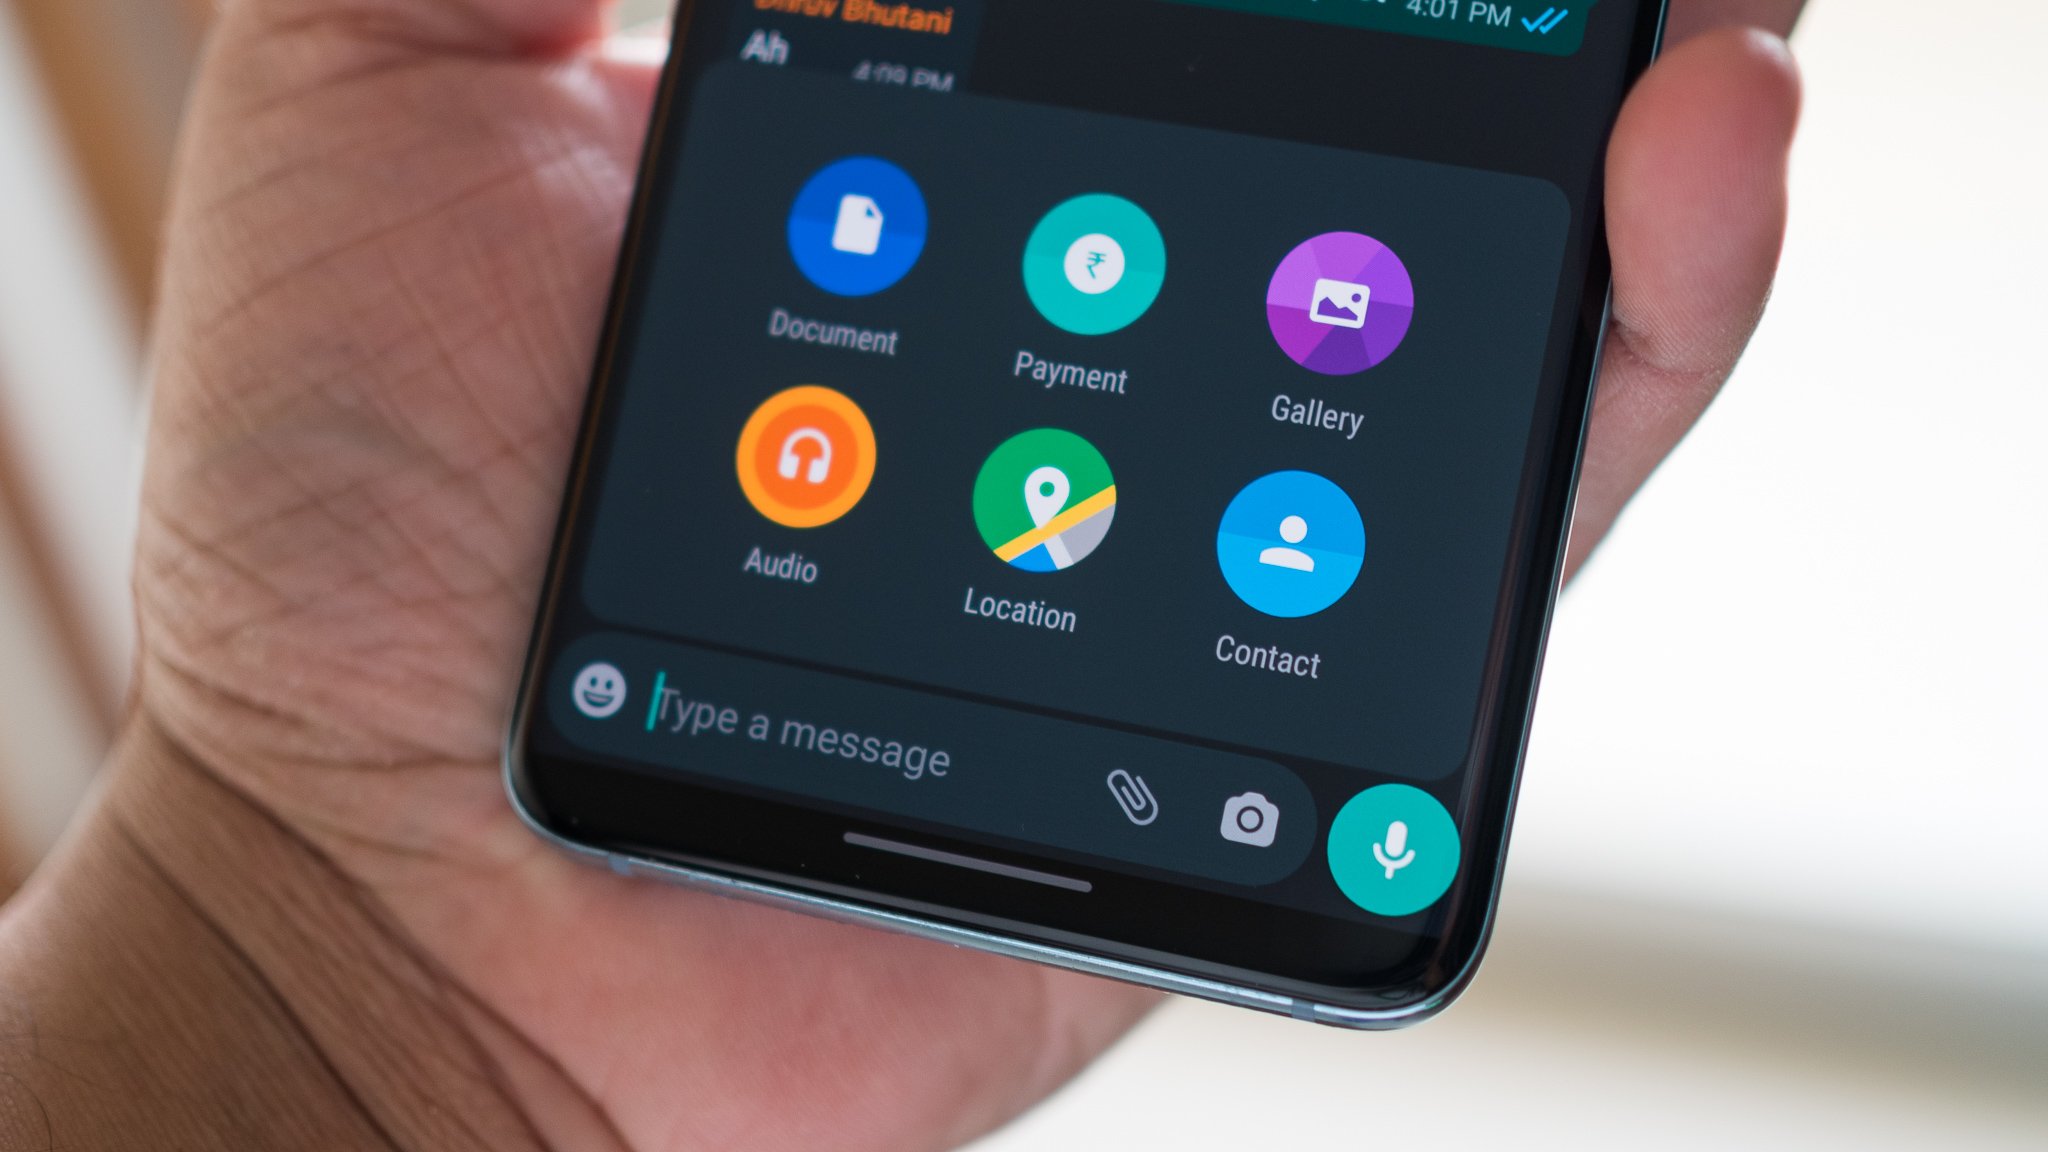
1. Tap on the attachment icon. This is usually represented by a paperclip or a camera icon, and can be found in the messaging app’s interface.
2. Once you tap on the attachment icon, you will be presented with different options for attaching files, photos, or media. Select “Gallery” or “Photos” from the options.
3. Tap on the picture you want to attach. This will open your phone’s gallery or photo library, allowing you to select the picture you want to send.
4. After selecting the picture, you may have the option to crop or edit it before sending. This can be useful if you want to trim or enhance the picture before sharing it.
5. Finally, tap on the “Attach” or “Send” button, depending on your messaging app’s interface. This will attach the picture to your message and prepare it for sending.
Keep in mind that the steps may vary slightly depending on the messaging app you are using, but the general process remains the same. Once you have attached the picture, you can proceed to the next step and send it to the intended recipient.
Step 4: Send the Picture
Once you have attached the picture to your message, it’s time to send it to your recipient. Sending a picture from an Android phone is a simple process that can be done in just a few taps.
1. Review the picture: Before sending the picture, take a moment to review it. Make sure it’s the correct picture and that it captures what you want to share.
2. Add a caption (optional): If you want to add a caption to the picture, many messaging apps allow you to include a text box where you can type in a description or comment. This can provide context or enhance the recipient’s understanding of the picture.
3. Tap the send button: Once you are satisfied with the picture and any accompanying text, find the send button in your messaging app. It is usually represented by an arrow or a paper plane icon. Tap on it to send the picture.
4. Wait for the picture to send: After tapping the send button, a progress indicator may appear, indicating that the picture is being sent. Depending on the size of the picture and your internet connection, the process may take a few seconds or longer. Be patient and wait for the picture to send successfully.
5. Confirmation of sending: Once the picture has been sent, you may receive a confirmation message or see a checkmark next to the sent picture in the messaging app. This indicates that the picture has been successfully delivered to the recipient.
6. Double-check delivery: If you want to confirm that the recipient has received the picture, you can check the messaging app for any read receipts or delivery indicators. These features vary depending on the messaging app, but they generally show when a message has been opened or delivered.
That’s it! You have now successfully sent a picture from your Android phone. Remember to consider the recipient’s preferences and data plan when sending pictures, especially larger files that may consume more data or take longer to download.
Troubleshooting Tips
If you are having trouble sending a picture from your Android phone, don’t worry! There are a few troubleshooting tips you can try to overcome any issues you may be facing.
1. Check your network connection: Ensure that you have a stable internet or cellular data connection. Sometimes, poor network connectivity can prevent pictures from being sent successfully.
2. Resend the picture: If your picture fails to send, try resending it. Sometimes, network congestion or temporary glitches can interrupt the sending process.
3. Restrictions by wireless carrier: Some wireless carriers impose restrictions on sending certain types of files, including large pictures. Check with your carrier to see if there are any limitations or restrictions that might be affecting your ability to send pictures.
4. Check available storage: If you are unable to send a picture, it could be because your device’s storage is full. Ensure that you have enough available storage space to send and receive picture files.
5. Restart your device: A simple restart can fix many common issues with mobile devices. Try turning off your phone and turning it back on again to see if that resolves the problem.
6. Update your messaging app: Outdated messaging apps can sometimes encounter compatibility issues. Check if there are any updates available for your messaging app and install them to ensure optimal performance.
7. Try an alternative method: If you’re still unable to send a picture through your messaging app, consider using alternative methods. You can try sending the picture via email, social media platforms, or file-sharing apps.
8. Contact customer support: If none of the above troubleshooting tips solve your issue, it may be beneficial to reach out to your phone’s manufacturer or your wireless carrier’s customer support for further assistance.
By following these troubleshooting tips, you should be able to overcome any obstacles preventing you from sending pictures from your Android phone. Experiment with different strategies to find the one that works best for you and enjoy sharing your favorite moments with friends and family!
Conclusion
In conclusion, sending a picture from an Android phone is a straightforward process that can be done in a few simple steps. Whether you want to share memorable moments with friends and family or collaborate on a work project, the ability to send pictures from your Android device offers convenience and connectivity. By utilizing various methods such as messaging apps, email, and social media platforms, you can easily transfer images and communicate visually with others.
Remember to consider the best method for your specific needs, taking into account factors such as image quality, privacy, and the preferences of the recipient. Whether you opt for a quick and casual approach using messaging apps or a more formal method like email, the options are plentiful. So, next time you have a picture you want to share, feel confident in knowing that with your Android phone, sending it is just a few taps away.
FAQs
Here are some frequently asked questions about sending pictures from an Android phone:
1. How do I send a picture from my Android phone?
Sending a picture from your Android phone is easy. Follow these steps:
- Open the Gallery or Photos app on your Android phone.
- Select the picture you want to send by tapping on it.
- Tap on the “Share” button, usually represented by an arrow pointing outwards or three dots.
- Select the app or contact you want to send the picture to. You can choose to send it via email, messaging apps, or social media platforms.
- Follow the prompts to complete the sending process.
2. Can I send multiple pictures at once from my Android phone?
Yes, you can send multiple pictures at once from your Android phone. Here’s how:
- Open the Gallery or Photos app on your Android phone.
- Tap on the “Select” or “Edit” button, usually represented by a checkbox icon.
- Select the pictures you want to send by tapping on them.
- Tap on the “Share” button.
- Select the app or contact you want to send the pictures to.
- Follow the prompts to complete the sending process.
3. How can I resize a picture before sending it from my Android phone?
You can resize a picture before sending it from your Android phone using various photo editing apps available on the Google Play Store. Here’s a general guide:
- Install a photo editing app on your Android phone. Some popular options include Adobe Photoshop Express, Snapseed, and Pixlr.
- Open the photo editing app and import the picture you want to resize.
- Look for the “Resize” or “Image Size” option in the app’s editing tools.
- Adjust the dimensions or percentage to your desired size.
- Save the resized picture.
- Open the Gallery or Photos app, select the resized picture, and proceed with the sending process as mentioned earlier.
4. How can I send a picture as an email attachment from my Android phone?
To send a picture as an email attachment from your Android phone, follow these steps:
- Open the Gallery or Photos app on your Android phone.
- Select the picture you want to send.
- Tap on the “Share” button.
- Choose the email app you want to use for sending the picture.
- Compose your email, add the recipient’s email address, and write a subject and message if desired.
- Tap on the “Send” button to send the email with the picture attachment.
5. Can I send a picture from my Android phone to an iPhone?
Yes, you can send pictures from your Android phone to an iPhone. The process is similar to sending pictures to other Android devices or apps. Simply follow the steps below:
- Open the Gallery or Photos app on your Android phone.
- Select the picture you want to send.
- Tap on the “Share” button.
- Choose the app or contact you want to send the picture to, which can include messaging apps, email, or social media.
- Proceed with the sending process as usual.