
Sending pictures on an Android phone has become a common need in today’s digital age. Whether you want to share moments with friends and family or send important documents, knowing how to send pictures efficiently is essential. With the vast variety of Android devices available, it’s important to understand the different methods and options available for sending pictures.
In this article, we will guide you through the various ways you can send pictures on your Android phone. From sending images through messaging apps to using email attachments and cloud storage solutions, we’ll cover the different methods step by step. Whether you’re a tech-savvy individual or new to the Android world, this article will provide you with the knowledge you need to confidently send pictures from your Android device.
Inside This Article
- Point 1: Using Messaging Apps – Sending pictures through messaging apps like WhatsApp or Facebook Messenger – Steps to attach and send pictures in various messaging apps
- Point 2: Through Email – Sending pictures as email attachments – Steps to compose and send emails with pictures attached
- Point 3: Using File Sharing Apps- Utilizing file sharing apps like Dropbox or Google Drive to send pictures- Instructions for uploading and sharing pictures through these apps
- Point 4: Direct Sharing via Bluetooth – Sending pictures directly to another Android phone using Bluetooth technology – Steps to enable Bluetooth and transfer pictures between devices
- Conclusion
- FAQs
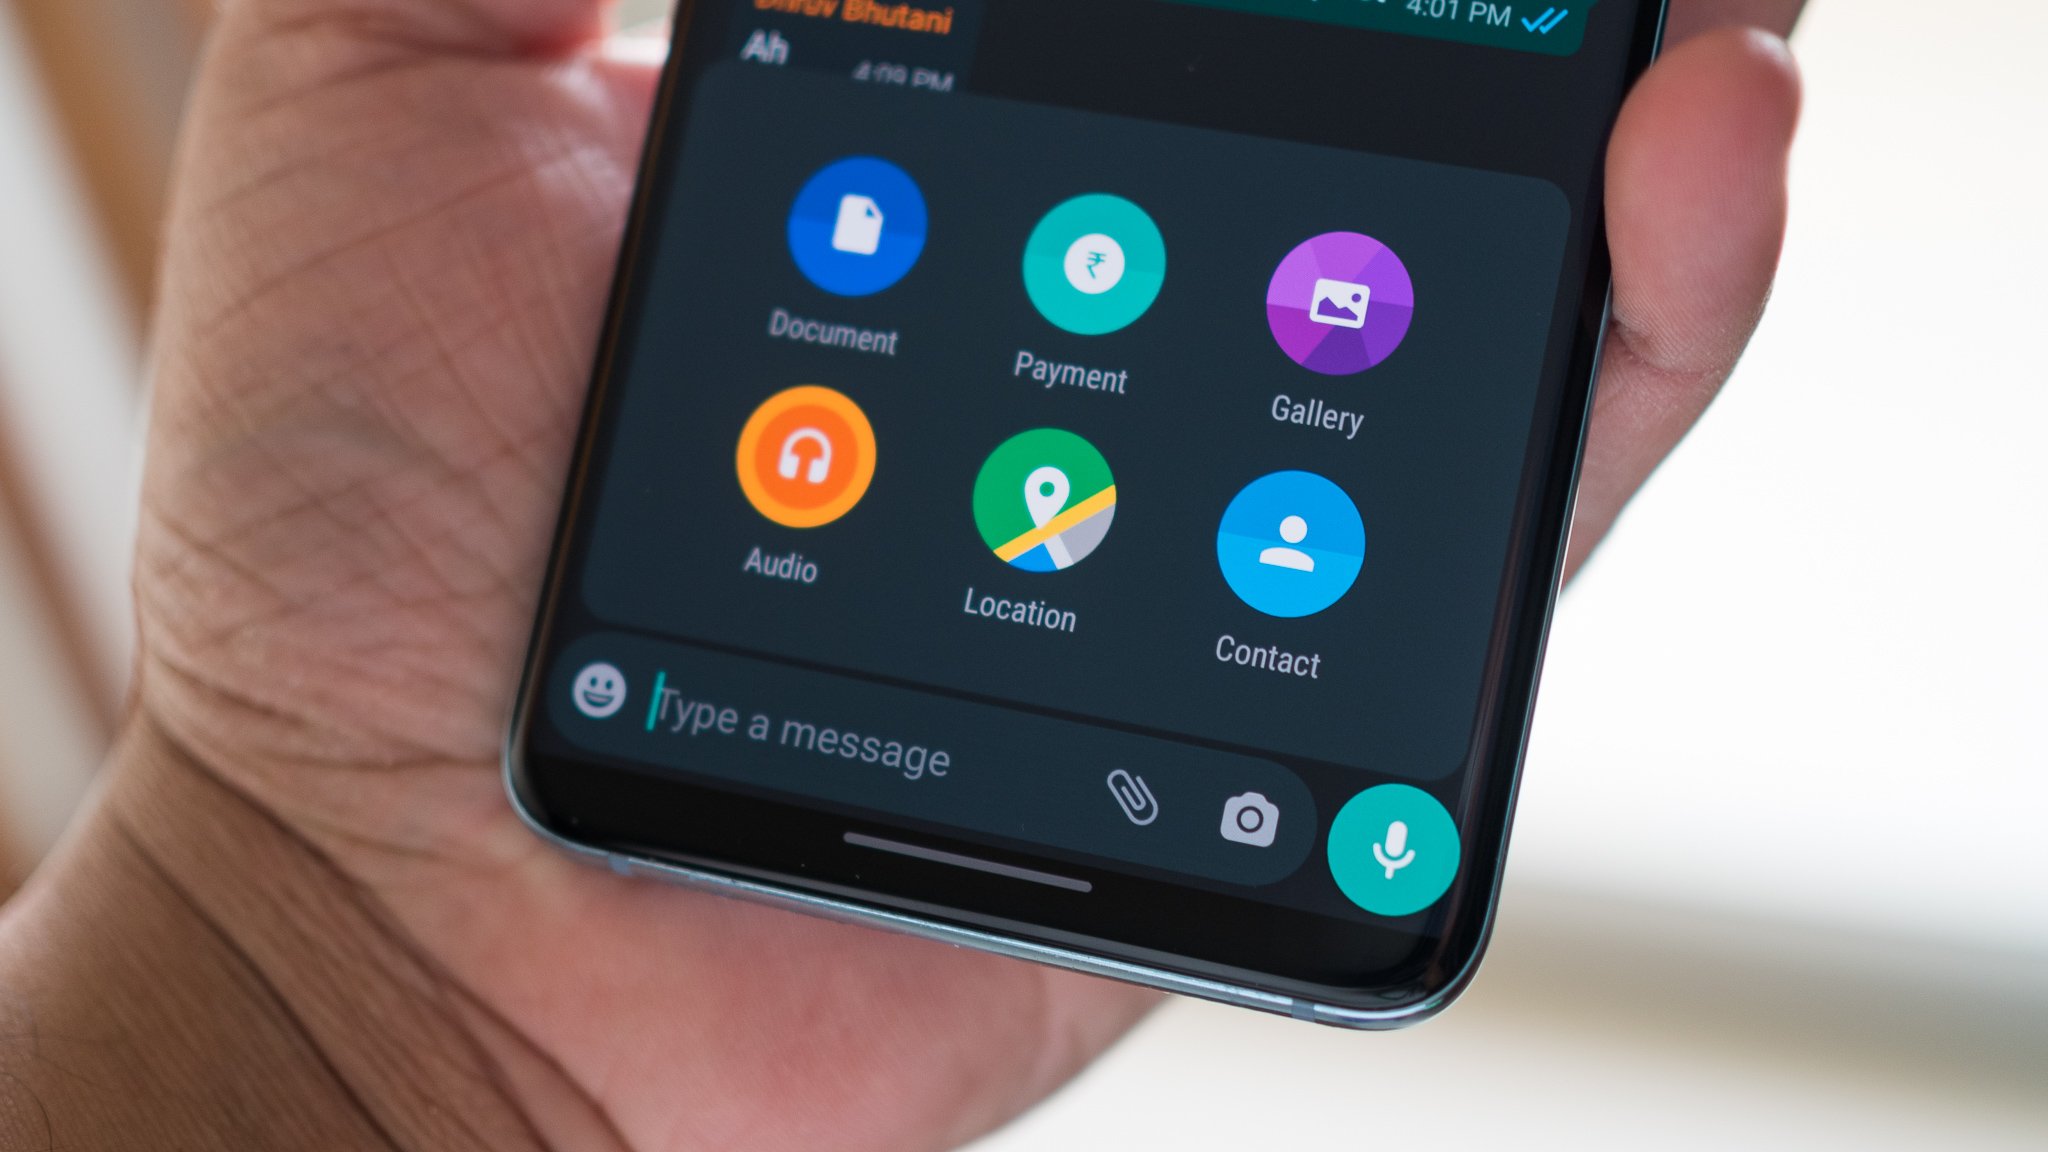
Point 1: Using Messaging Apps – Sending pictures through messaging apps like WhatsApp or Facebook Messenger – Steps to attach and send pictures in various messaging apps
Messaging apps have become an integral part of our daily lives, allowing us to stay connected with friends and family. One of the many features these apps offer is the ability to send pictures instantly. If you want to share a memorable photo with your loved ones, here is how you can do it using popular messaging apps such as WhatsApp or Facebook Messenger.
Step 1: Open the messaging app on your Android phone. If you don’t have WhatsApp or Facebook Messenger installed, you can download them from the Google Play Store.
Step 2: Start a new conversation or select an existing contact or group you want to send the picture to.
Step 3: Look for the attachment or paperclip icon usually located at the bottom of the conversation window. Tap on it to open the attachment menu.
Step 4: In the attachment menu, you will see various options such as Gallery, Camera, or Documents. Tap on the appropriate option based on where the picture you want to send is located.
Step 5: If the picture is in your Gallery, select the Gallery option, and browse through your albums to find the picture you want to send. Tap on it to select it.
Step 6: Once the picture is selected, you may have the option to add a caption or comment to accompany the picture. Type in your message if desired.
Step 7: Finally, tap on the send button, usually represented by an arrow icon or a paper plane symbol. The selected picture will be sent instantly to the chosen contact or group.
Sending pictures through messaging apps is a convenient way to share moments with friends and family, as it allows for quick and easy sharing from the palm of your hand. Whether it’s a funny meme, a stunning landscape, or a precious memory, these steps will ensure your pictures are shared with ease.
Point 2: Through Email – Sending pictures as email attachments – Steps to compose and send emails with pictures attached
Email has been a popular method of communication for many years, and it provides a convenient way to send pictures from your Android phone to others. Sending pictures as email attachments allows you to share multiple images with family, friends, or colleagues. Here are the steps to compose and send emails with pictures attached:
Step 1: Open your Email Application
To begin, open the email application on your Android phone. This could be Gmail, Yahoo Mail, Outlook, or any other email app you have installed.
Step 2: Compose a New Email
Once the email app is open, tap on the option to compose a new email. Look for the “Compose” or “New Email” button, usually located at the bottom right or top right corner of the app.
Step 3: Enter the Recipient’s Email Address
In the “To” field, enter the email address of the person you want to send the pictures to. If you are sending the email to multiple recipients, separate their email addresses with commas.
Step 4: Add a Subject
In the subject field, briefly describe the content of the email or mention that it contains pictures. A descriptive subject will help the recipient understand the purpose of the email.
Step 5: Attach the Pictures
Next, look for the attachment icon, which is usually represented by a paperclip symbol. Tap on the attachment icon and navigate to the folder on your Android phone where the pictures are saved. Choose the pictures you want to attach, and then tap on “Attach” or “Done” to add them to the email.
Step 6: Compose Your Message
After attaching the pictures, you can write a message to accompany the email. This could be a simple greeting, an explanation of the pictures, or any other relevant information you wish to include.
Step 7: Review and Send
Before sending the email, take a moment to review the attached pictures, the message, and the recipient’s email address. Ensure that everything is correct and to your satisfaction, and then tap on the “Send” button to send the email with the attached pictures.
Sending pictures as email attachments is a convenient way to share multiple images from your Android phone. It allows you to easily send pictures to anyone with an email address, regardless of their device or location. Remember to consider the size of the pictures and the data limits of the recipient’s email service to avoid sending large files that may exceed their storage or cause delays in downloading. Keep in mind that some email services may have file size limitations. In such cases, you may need to resize or compress the pictures before attaching them to the email.
Point 3: Using File Sharing Apps- Utilizing file sharing apps like Dropbox or Google Drive to send pictures- Instructions for uploading and sharing pictures through these apps
File sharing apps, such as Dropbox and Google Drive, offer a convenient and efficient way to send pictures from your Android phone. These apps allow you to upload your photos to the cloud and share them with others using a simple link or email invitation. Here are the step-by-step instructions for uploading and sharing pictures through these popular file sharing apps:
1. Install and Set Up the App: Start by downloading and installing the file sharing app of your choice from the Google Play Store. Once installed, open the app and follow the on-screen instructions to sign in or create a new account.
2. Create a New Folder: Within the file sharing app, create a new folder dedicated to the pictures you want to send. This will help keep your files organized and easily accessible.
3. Upload Pictures: Open the newly created folder and tap on the upload button. You will be given the option to select photos from your phone’s gallery. Choose the pictures you wish to send and tap the “Upload” or “Done” button to initiate the upload process.
4. Generate a Shareable Link: Once the upload is complete, navigate to the folder containing the pictures you uploaded. Look for the share or link icon, usually represented by a chain or arrow symbol. Tap on it to generate a shareable link for the folder.
5. Share the Link: Copy the link and share it with the desired recipients via email, messaging apps, or any other preferred communication method. The recipients will be able to access and download the pictures by clicking on the link.
Alternatively, some file sharing apps also offer the option to send pictures directly to contacts within the app. If your recipient is already using the same file sharing app, you can search for their username or email and share the pictures directly.
It’s worth mentioning that file sharing apps often provide additional features, such as password protection for shared folders, editing permissions, and the ability to collaborate on files with others. Explore the app’s settings and features to fully utilize its capabilities.
By utilizing file sharing apps like Dropbox or Google Drive, you can easily send pictures from your Android phone without worrying about file size limitations or compatibility issues. These apps offer a secure and efficient way to share photos with friends, family, or colleagues, making it a versatile option for both personal and professional use.
Point 4: Direct Sharing via Bluetooth – Sending pictures directly to another Android phone using Bluetooth technology – Steps to enable Bluetooth and transfer pictures between devices
Bluetooth technology allows you to directly share pictures between Android devices without the need for internet connectivity. This can be especially useful when you want to share pictures with someone nearby, such as a friend or colleague. Here, we will walk you through the steps to enable Bluetooth and transfer pictures between devices.
Step 1: Enable Bluetooth on both devices
To start, make sure that Bluetooth is enabled on both the sending and receiving Android devices. You can do this by going to the Settings menu on each device, selecting the “Bluetooth” option, and toggling the switch to turn it on. Keep in mind that both devices need to be in close proximity for Bluetooth to work effectively.
Step 2: Pair the devices
Next, you’ll need to pair the two devices via Bluetooth. On the sending device, go to the Bluetooth menu and tap on the option to “Scan” for available devices. The receiving device should be set to discoverable mode, which is typically found in the Bluetooth settings. Once the sending device detects the receiving device, select it from the available devices list. You may be prompted to enter a passcode or confirm the pairing on both devices.
Step 3: Select and send the pictures
Once the devices are successfully paired, you can proceed to select and send the pictures. On the sending device, locate the pictures you want to share and tap on the share icon. From the sharing options, choose the Bluetooth option. The sending device will then prompt you to select the paired device you want to send the pictures to. Select the receiving device from the list and confirm the transfer.
Step 4: Accept the transfer on the receiving device
On the receiving device, a notification will appear indicating that a Bluetooth transfer is in progress. Accept the transfer to receive the pictures. The transfer speed may vary depending on the size of the pictures and the Bluetooth version supported by the devices.
Step 5: Verify the received pictures
Once the transfer is complete, you can navigate to the gallery or any other suitable location on the receiving device to view the received pictures. They should now be available for you to enjoy or share further if desired.
Note: Bluetooth may have limitations when it comes to file size and transfer speed. Larger files may take longer to transfer, and some older devices may have slower Bluetooth capabilities. Additionally, it’s important to ensure that the Bluetooth connection remains stable and uninterrupted during the transfer process.
By following these steps, you can easily send pictures directly from one Android device to another using Bluetooth. Take advantage of this convenient and straightforward method to share cherished moments with friends and family right at your fingertips.
Conclusion
In conclusion, sending pictures on your Android phone is a simple and convenient process that allows you to share your cherished memories with family and friends. Whether you prefer using messaging apps, email, or social media platforms, there are multiple ways to send pictures from your device.
By following the step-by-step instructions provided above, you can easily attach and send photos from your Android phone in just a few taps. Remember to consider the file size, choose the appropriate sharing method, and ensure a stable internet connection for a seamless experience.
Additionally, exploring third-party gallery and sharing apps can provide further customization and features to enhance your picture-sharing capabilities. Experiment with different methods and find the one that best suits your needs and preferences.
So, the next time you want to share a memorable moment captured on your Android phone, you can do so effortlessly, bringing joy and delight to your loved ones.
FAQs
Q: How do I send pictures on my Android phone?
A: Sending pictures on your Android phone is simple and convenient. Follow these steps:
- Open your preferred messaging app or email client.
- Select the contact or recipient you want to send the picture to.
- Tap on the attachment icon, often represented by a paperclip or a camera icon.
- Choose whether you want to take a new photo or select an existing one from your gallery.
- After selecting the picture, tap on the “Send” or “Share” button.
- The picture will be sent to the recipient, and they will be able to view it once they open the message or email.
Note: The steps may vary slightly depending on the messaging or email app you are using.
Q: Can I send multiple pictures at once?
A: Yes, you can send multiple pictures at once on your Android phone. Here’s how:
- Open your messaging app or email client.
- Select the contact or recipient.
- Tap on the attachment icon (paperclip or camera icon).
- Choose the option to select multiple photos from your gallery or take new photos.
- After selecting the pictures, tap on the “Send” or “Share” button.
- The selected pictures will be sent as a group to the recipient.
Q: What if the picture I want to send is too large?
A: If the picture you want to send is too large, you may encounter issues with sending it as an attachment via messaging or email. In such cases, you have a few options:
- Resize the picture: Use an image editing app or the built-in image editor on your Android phone to resize the picture to a smaller file size.
- Use a file sharing service: Upload the picture to a cloud storage service like Google Drive or Dropbox, and share the link with the recipient.
- Compress the picture: Utilize a file compression app or online tool to reduce the file size of the picture before sending it as an attachment.
Q: Can I send pictures using messaging apps other than SMS?
A: Yes, you can send pictures using messaging apps other than SMS on your Android phone. Popular messaging apps like WhatsApp, Facebook Messenger, or Telegram allow you to send pictures seamlessly. Simply open the app, select the contact or group chat you want to send the picture to, and tap on the attachment icon to choose the picture from your gallery or take a new one. Follow the on-screen instructions to send the picture.
Q: Are there any limits to the size or number of pictures I can send?
A: The size and number of pictures you can send may depend on various factors, such as the messaging or email app you are using, your network connection, and the device’s storage capacity. Some apps or email clients may have file size limits for attachments, while others may enforce limits on the total message size or number of attachments. It is always advisable to check the requirements or limitations of the specific app or service you are using to ensure smooth picture sending.