
In today’s digital age, capturing moments through photographs has become an integral part of our lives. Whether it’s a breathtaking sunset, a delightful meal, or a memorable event, we rely heavily on our smartphones to capture these moments. But what if you want to share those precious photos via email? Sending pictures from an Android phone to email may seem daunting for some users. However, with the right knowledge and a few simple steps, you can quickly and easily send pictures from your Android phone to email, allowing you to share those memorable moments with friends, family, or colleagues. In this article, we will guide you through the process, providing you with step-by-step instructions and helpful tips to make the process as smooth as possible. So, let’s dive in and discover how you can effortlessly share your favorite photos via email from your Android phone.
Inside This Article
- Step 1: Open the Email App
- Step 2: Compose a New Email
- Step 3: Add the Recipient’s Email Address
- Step 4: Attach the Picture
- Step 5: Enter a Subject (Optional)
- Step 6: Add a Message (Optional)
- Step 7: Send the Email
- Conclusion
- FAQs
Step 1: Open the Email App
When it comes to sending pictures from your Android phone to an email address, the first step is to open the email app on your device. Most Android phones come pre-installed with an email app, such as Gmail or the default Email app. Look for the icon on your home screen or in the app drawer that represents the email app and tap on it to open it.
If you are using Gmail, the icon will typically be a red and white envelope. If you are using the default Email app, the icon may vary depending on the phone manufacturer and Android version, but it is commonly represented by an envelope or a letter symbol.
Once you locate the email app, tap on it to open it. This will take you to the main screen of the app, where you can manage your email accounts and send emails.
If you have multiple email accounts set up on your Android phone, such as personal and work accounts, make sure to select the account from which you want to send the pictures. You can usually switch between accounts by tapping on the account name or profile picture displayed at the top of the app.
Step 2: Compose a New Email
Once you have successfully accessed the email app on your Android phone, it’s time to compose a new email. Follow these simple steps to send pictures from your Android phone to an email address:
- Locate the “Compose” button or icon in your email app. It is usually represented by a pencil or a “+”, and it is usually found at the bottom right or top right corner of the screen.
- Tap on the “Compose” button to start a new email.
- A new email window will open, allowing you to enter the recipient’s email address in the “To” field. You can either type in the email address manually or choose it from your contacts list.
- Next, give your email a subject by typing a brief description of the content you are sending. For example, “Pictures from Android Phone.”
- In the body of the email, you can include a message or any additional information you want to share along with the pictures.
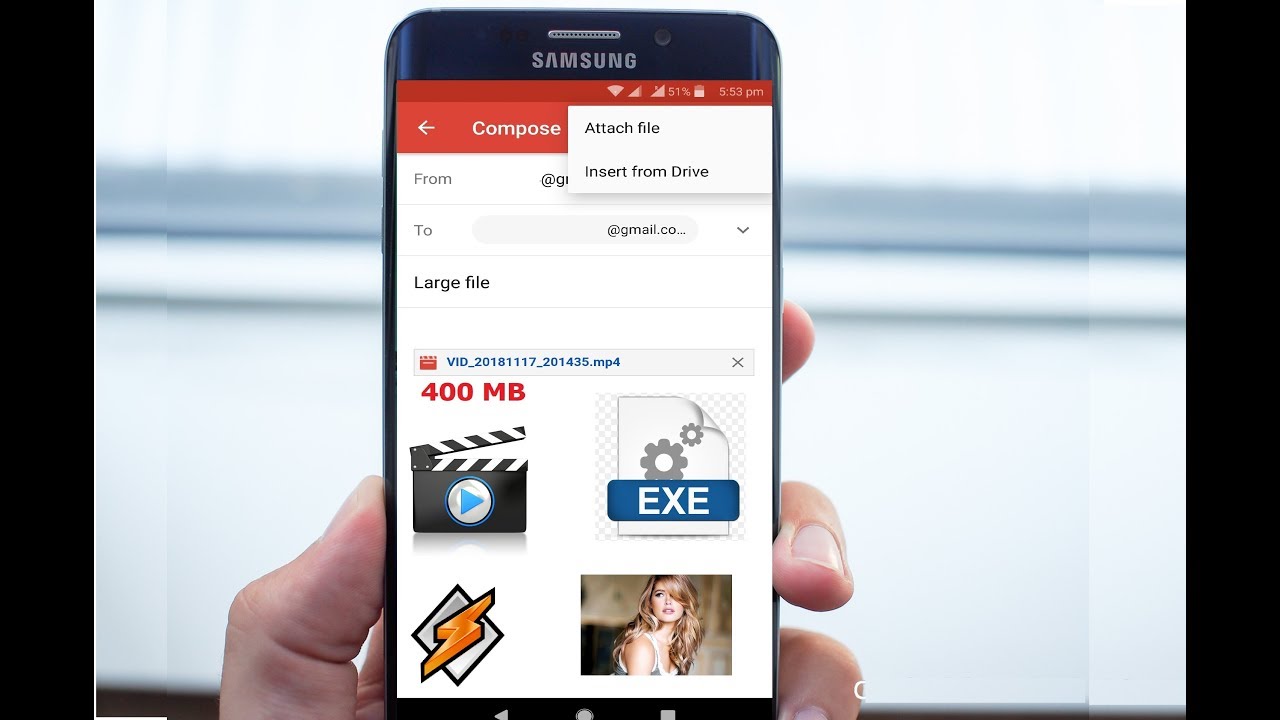
- Now it’s time to attach the pictures you want to send. Tap on the attachment icon (usually represented by a paperclip) and choose the option to attach files or pictures.
- A file manager or a gallery app will open, allowing you to browse through your phone’s storage and select the pictures you want to send. Tap on each picture to select them, or use the “Select All” option if you want to send multiple pictures.
- Once you have selected all the pictures you want to send, tap on the “Insert” or “Done” button to attach them to the email.
- Before hitting the send button, take a moment to review your email. Make sure the recipient’s email address is correct, the subject line accurately describes the content, and that all the attached pictures are included.
- Finally, when you are ready to send the email, tap on the “Send” button. The email app will then send the email along with the attached pictures to the recipient’s email address.
That’s it! You have successfully composed a new email and attached pictures from your Android phone. Now all you need to do is wait for the recipient to receive and enjoy the pictures you shared.
Step 3: Add the Recipient’s Email Address
Once you have selected the pictures you want to send from your Android phone, the next step is to add the recipient’s email address. This is the email address where you want to send the pictures.
To add the recipient’s email address, follow these steps:
- Open the email app or the email section within the app you are using to send the pictures.
- Tap on the “Compose” or “New Email” button to create a new email.
- In the “To” field, enter the email address of the recipient. Make sure to type it correctly to ensure the pictures are delivered to the intended person.
- If you want to send the pictures to multiple recipients, you can separate their email addresses with commas or semicolons.
Remember to double-check the recipient’s email address before sending the email to avoid any mistakes. Sending pictures to the wrong email address can result in privacy concerns or loss of important data.
Step 4: Attach the Picture
Once you have located the picture that you want to send from your Android phone, it’s time to attach it to your email. Follow these simple steps:
1. Open the email app or the Gmail app on your Android phone.
2. Begin composing a new email by tapping on the “Compose” or “New Email” button.
3. In the email composition screen, you should see an icon or an option to attach a file. Look for the paperclip icon or a similar symbol.
4. Tap on the attachment icon, and it will open up a file manager on your phone.
5. Browse through your phone’s file manager to find the location where the picture is stored.
6. Once you have located the picture, tap on it to select it.
7. After selecting the picture, you will see the file name displayed in the attachment area of your email composition screen.
8. If you want to attach multiple pictures, repeat the process and select the additional pictures.
9. Once you have attached all the desired pictures, you can now continue composing your email.
10. Add a subject, recipient’s email address, and any additional message or content you want to include in the email.
11. When you are ready, click on the “Send” button to send the email along with the attached pictures.
That’s it! You have successfully attached the picture to your email on your Android phone. Now, the recipient will be able to view and download the picture from their email inbox.
Step 5: Enter a Subject (Optional)
After you have selected the pictures you want to send from your Android phone to your email, the next step is to enter a subject for your email. This step is optional, but it is recommended to provide a subject for your email to make it easier for the recipient to understand the content of the email.
The subject line acts as a brief description of the email’s content and helps the recipient quickly identify the purpose of the email. It can be as simple as “Vacation Photos” or “Family Reunion Pics.” By providing a subject, you are making it easier for the recipient to search for and locate the email in their inbox.
When entering the subject, be sure to keep it concise and informative. Avoid using vague or generic subjects that do not provide any context. The goal is to make the subject line relevant and engaging to increase the likelihood that the recipient will open and read your email.
If you’re sending multiple pictures, you can consider adding a brief description or specific details related to the photos in the subject line. For example, if you’re sending pictures from a recent trip, you can mention the destination or any special event that took place during the trip.
Remember, the subject line should not be too long or contain excessive punctuation. Keep it straightforward and to the point, ensuring that it accurately reflects the content of the email and grabs the recipient’s attention.
Step 6: Add a Message (Optional)
After selecting the photos you want to send from your Android phone to email, you may have the option to add a message before hitting the send button. This message can provide additional context or information about the photos you are sending.
To add a message, you can simply tap on the text field or the “Add a message” section, depending on the email app you are using. Once you tap on the field, a keyboard will appear, allowing you to type your desired message.
This optional message can be helpful if you want to give recipients some context about the photos or simply add a personal touch to your email. Whether you want to share memorable moments, explain the content of the photos, or simply add a friendly note, this is your opportunity to do so.
However, it is important to keep in mind that adding a message is not always necessary. Some people prefer to send photos without any additional text, letting the images speak for themselves. Ultimately, the decision to include a message is entirely up to you and the purpose of the email.
Once you have composed your message, you can review it for any errors or finalize any changes before sending it along with the photos. Take a moment to read through the message to ensure it conveys the intended meaning and is clear to the recipient.
Remember that the purpose of the message is to enhance the overall communication and provide context, so keep it concise and relevant. Sharing personal anecdotes or information related to the photos can make your email more engaging and meaningful.
Once you are satisfied with the message, you can proceed to the final step of sending the photos from your Android phone to the designated email address.
Step 7: Send the Email
After composing your email and attaching the pictures, it’s time to send it! Here are the steps to follow:
1. Double-check your email content and make sure all the necessary pictures are attached. It’s important to ensure that you have included any additional information or instructions you want to convey in the email.
2. Look for the “Send” button or icon. This is usually located at the top or bottom of the email composition screen. Click on it to initiate the sending process.
3. Wait for the email app to send the message. The time it takes to send the email may vary depending on factors such as the size of the attached pictures and the speed of your internet connection.
4. Once the email has been successfully sent, you may receive a confirmation message or notification. This will indicate that the email has been delivered to the recipient’s inbox.
5. Take note of any error messages or delivery failure notices. If you encounter any issues or errors in sending the email, double-check the recipient’s email address and try again. It’s also a good idea to ensure that you have a stable internet connection at the time of sending.
6. Once the email has been sent, you can close the email app or continue using it for other purposes.
Note: It’s important to be mindful of any file size limits imposed by your email service provider. If the attached pictures exceed the maximum file size allowed, you may need to compress them or consider using alternative methods, such as uploading the pictures to a cloud storage service and sharing the download link in the email.
Conclusion
In conclusion, sending pictures from your Android phone to email is a simple and convenient process. Whether you want to share memorable moments with friends and family or back up important images, knowing how to send pictures via email is a crucial skill. By following the steps outlined in this article, you can easily attach and send photos from your Android phone to any email address.
Remember to check the file size of your images to ensure they can be sent successfully. If the file size is too large, consider resizing or compressing the images before sending them. Additionally, always double-check the recipient’s email address to avoid sending pictures to the wrong recipient.
With the ability to send pictures from your Android phone to email, you can effortlessly share and preserve your special moments with others. So go ahead, start utilizing this feature, and share your favorite pictures with friends, family, and beyond!
FAQs
Q: How do I send pictures from my Android phone to email?
Sending pictures from an Android phone to email is a straightforward process. Simply follow these steps:
- Open the Gallery app on your Android phone.
- Select the pictures you want to send by tapping on them.
- Tap the share button (usually represented by an icon with three dots connected by lines or an arrow).
- Select the email app you want to use to send the pictures.
- Compose an email, and enter the recipient’s email address.
- Tap the send button to send the email with the attached pictures.
Q: Can I send multiple pictures at once via email from my Android phone?
Yes, you can send multiple pictures at once via email from your Android phone. To do so, follow these steps:
- Open the Gallery app on your Android phone.
- Select the pictures you want to send by long-pressing on the first picture, then tapping on the subsequent ones.
- Tap the share button (usually represented by an icon with three dots connected by lines or an arrow).
- Select the email app you want to use to send the pictures.
- Compose an email, and enter the recipient’s email address.
- Tap the send button to send the email with the attached pictures.
Q: Is there a file size limit when sending pictures via email from an Android phone?
Yes, there is typically a file size limit when sending pictures via email from an Android phone. Different email providers may have different limits, but a common limit is around 25 MB. If your pictures exceed this limit, you may encounter issues with sending them via email. In such cases, you can consider resizing or compressing the pictures before sending or using alternative methods such as cloud storage or file-sharing services to share the pictures with the recipient.
Q: Do email attachments impact my mobile data usage when sending pictures from my Android phone?
Yes, when you send pictures via email from your Android phone, the data used to upload the attachments will count toward your mobile data usage. The amount of data consumed depends on the file size of the pictures you are sending. If you have a limited mobile data plan, it is advisable to connect to a Wi-Fi network before sending email attachments to avoid excessive data usage and potential additional charges from your mobile service provider.
Q: Can I send pictures from the cloud storage apps on my Android phone to email?
Yes, you can send pictures from cloud storage apps on your Android phone to email. Most cloud storage apps have the option to share files through email. Simply open the cloud storage app, locate the pictures you want to send, tap the share button, and select the email app you want to use. Compose the email and send it with the attached pictures. This method allows you to share pictures without the need for them to be physically stored on your device.