
Are you tired of constantly switching between your iPhone and Mac to check and respond to messages? Well, fret no more! In this article, we will explore the simple yet effective method of syncing messages from your iPhone to your Mac.
With the advancements in technology, it has become increasingly seamless to keep your digital communication in sync across multiple devices. By syncing your messages, you can conveniently access and respond to your conversations from the comfort of your Mac, without needing to pick up your iPhone.
Whether you’re working on your Mac and don’t want to be distracted by constant iPhone notifications, or simply prefer the convenience of typing on a larger keyboard, syncing messages can make your life easier and more efficient. So, let’s dive into the step-by-step process of syncing messages from your iPhone to your Mac.
Inside This Article
- Overview
- Method 1: Using iCloud
- Method 2: Using Messages in iCloud
- Method 3: Using AirDrop
- Method 4: Using Third-Party Apps
- Conclusion
- FAQs
Overview
Syncing messages between your iPhone and Mac allows you to conveniently access and manage your conversations across multiple devices. Whether you want to seamlessly transition from texting on your phone to typing on your computer or have a backup of your messages on both devices, syncing messages is a useful feature.
There are various methods available to sync messages from your iPhone to your Mac. In this article, we will explore four different methods that you can try. These methods include using iCloud, Messages in iCloud, AirDrop, and third-party apps. Each method offers its own advantages and may be more suitable depending on your specific needs and preferences.
Whether you are a tech-savvy individual or someone who is new to syncing messages, this article will provide you with the necessary information to effortlessly sync your iPhone messages to your Mac. Choose the method that works best for you and get ready to have your messages synced across your devices in no time!
Method 1: Using iCloud
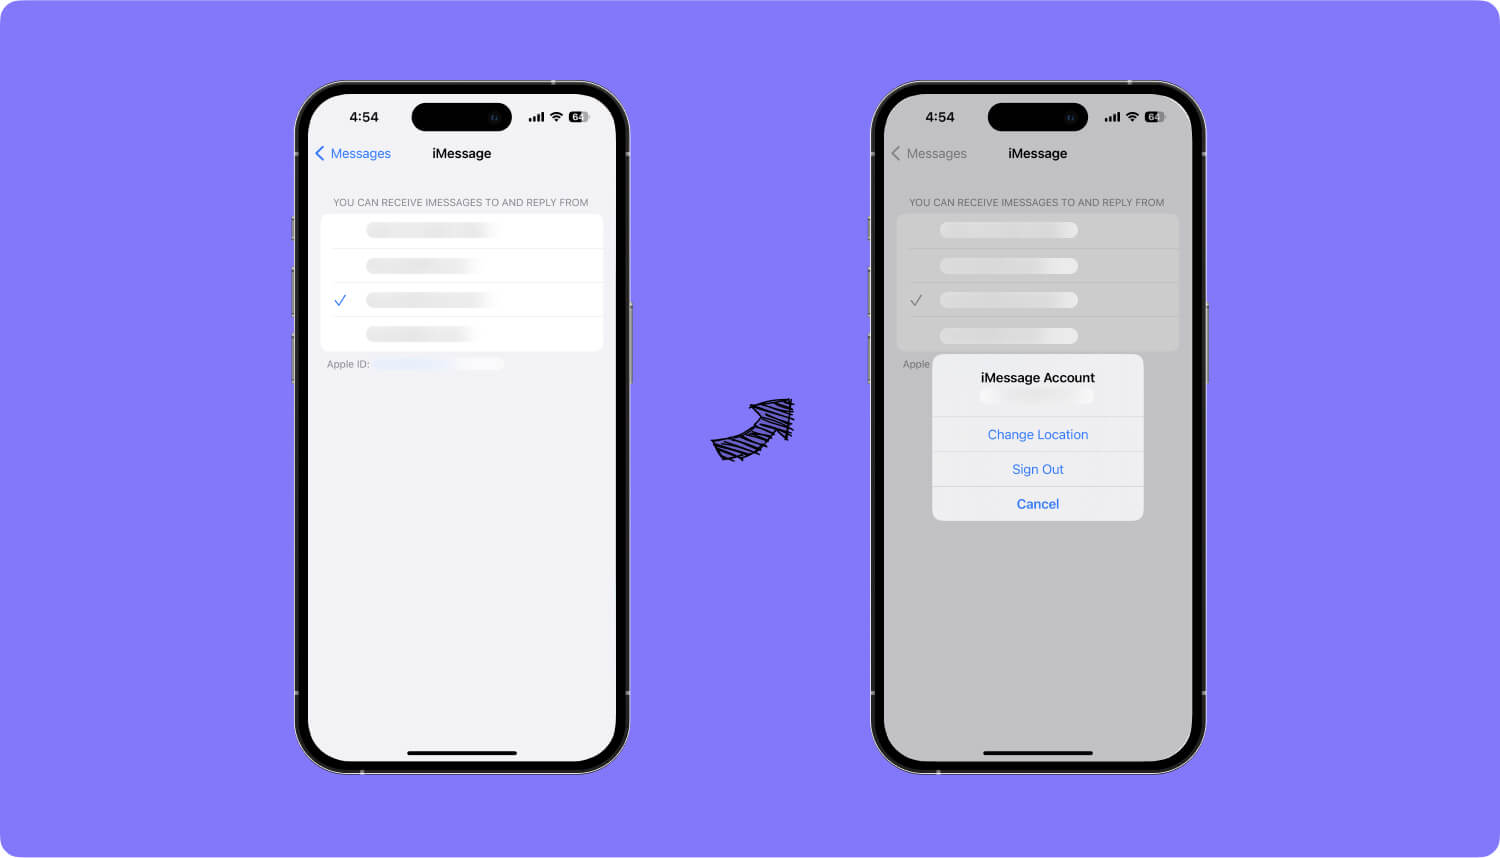
One of the easiest ways to sync messages from your iPhone to your Mac is by using iCloud. iCloud is Apple’s cloud storage and syncing service that allows you to access your messages, photos, videos, and other data across all your Apple devices.
To sync messages from your iPhone to your Mac using iCloud, follow these steps:
- Ensure that you are signed in to iCloud with the same Apple ID on both your iPhone and your Mac.
- On your iPhone, go to “Settings” and tap on your name at the top of the screen.
- Select “iCloud” and then toggle on the “Messages” option.
- Wait for the messages to upload to iCloud. This might take some time depending on the number of messages you have.
- On your Mac, open the Messages app.
- Go to “Preferences” by clicking on “Messages” in the menu bar, and then selecting “Preferences”.
- In the “Accounts” tab, make sure that your iCloud account is selected.
- You should now see your iPhone messages syncing to your Mac.
By following these steps, you can easily sync your iPhone messages to your Mac using iCloud. This allows you to conveniently access your messages on both devices and continue your conversations seamlessly.
Method 2: Using Messages in iCloud
If you want a seamless and effortless way to sync messages from your iPhone to your Mac, using Messages in iCloud is the way to go. This method allows you to sync your messages across all your Apple devices, ensuring that you have access to your conversations whenever and wherever you need them. Here’s how you can set it up:
Step 1: Enable Messages in iCloud on your iPhone
First, make sure that your iPhone is running iOS 11.4 or later. Then, follow these steps:
- Open the “Settings” app on your iPhone.
- Tap on your Apple ID at the top of the screen.
- Select “iCloud.”
- Scroll down and toggle on the “Messages” switch.
Step 2: Enable Messages in iCloud on your Mac
Now that Messages in iCloud is enabled on your iPhone, it’s time to set it up on your Mac. Here’s what you need to do:
- Open the “Messages” app on your Mac.
- Click on “Messages” in the menu bar and select “Preferences.”
- In the “Accounts” tab, make sure your iCloud account is selected.
- Check the box next to “Enable Messages in iCloud.”
Step 3: Wait for Messages to Sync
Once you’ve enabled Messages in iCloud on both your iPhone and Mac, give it some time to sync your messages. Depending on the number of messages you have, this process may take a while.
After the syncing is complete, all your messages, including text messages, iMessages, photos, and attachments, will be available on both your iPhone and Mac. Any changes or deletions you make to your messages will be synced across all your devices.
Note: Keep in mind that using Messages in iCloud does require sufficient iCloud storage. If you run out of storage, you may need to upgrade your iCloud plan to ensure smooth syncing.
By using Messages in iCloud, you can seamlessly access and sync your messages between your iPhone and Mac. This method not only ensures that your conversations are always up to date but also saves you the hassle of manually transferring messages. Give it a try and enjoy the convenience of having all your messages at your fingertips!
Method 3: Using AirDrop
AirDrop is a convenient feature offered by Apple that allows you to wirelessly transfer files between your iPhone and Mac devices. This includes text messages, photos, videos, and more. Follow the steps below to sync your messages from iPhone to Mac using AirDrop:
- Make sure AirDrop is enabled on both your iPhone and Mac. On your iPhone, swipe up from the bottom of the screen to open the Control Center, then tap on the AirDrop icon to turn it on. On your Mac, go to Finder and click on “AirDrop” in the sidebar to enable it.
- On your iPhone, open the Messages app and navigate to the conversation you want to sync. Tap on the individual message or multiple messages that you want to transfer.
- Tap on the “Share” icon, which resembles a box with an arrow pointing upwards.
- In the Share menu, you will see the list of available AirDrop contacts. Your Mac should appear as an option. Tap on your Mac’s name to send the selected messages via AirDrop.
- On your Mac, you will receive a notification with a preview of the transferred messages. Click on the notification to open them in the Messages app.
It is important to note that both your iPhone and Mac need to be within proximity to each other for AirDrop to work effectively. Additionally, ensure that Bluetooth and Wi-Fi are both turned on and that you are signed in to the same iCloud account on both devices.
AirDrop provides a seamless and quick way to sync your messages from iPhone to Mac without the need for additional cables or third-party apps. It’s a convenient solution if you want to transfer specific conversations or important messages to your Mac for safekeeping or easier access.
Method 4: Using Third-Party Apps
If you’re looking for an alternative way to sync your messages from iPhone to Mac, you can consider using third-party apps. These apps provide additional features and flexibility compared to the built-in methods offered by Apple. Here are a few popular options to consider:
1. iMazing: iMazing is a comprehensive iOS management tool that allows you to transfer and backup various types of data, including messages, from your iPhone to your Mac. With its user-friendly interface, you can easily sync your messages to your Mac and keep them organized.
2. AnyTrans: AnyTrans is another powerful app that enables you to transfer messages between your iPhone and Mac effortlessly. It supports both individual and batch transfers, giving you the flexibility to choose which messages you want to sync.
3. iExplorer: iExplorer offers a simple and intuitive way to transfer and manage messages between your iPhone and Mac. It allows you to export your messages as PDF, CSV, or text files, making it easy to view and organize them on your Mac.
4. SynciOS: SynciOS is a versatile iOS manager that offers a wide range of features, including message syncing. It allows you to transfer messages, contacts, photos, and more between your iPhone and Mac seamlessly.
Before using any third-party app, make sure to do thorough research and read user reviews to ensure that the app is reliable and trustworthy. It’s also recommended to backup your iPhone data before syncing your messages to minimize the risk of data loss.
Using third-party apps can be a convenient way to sync your messages from iPhone to Mac, especially if you’re looking for additional features and customization options. Explore these options and find the one that best suits your needs.
Conclusion
Syncing messages between your iPhone and Mac is a convenient and efficient way to stay connected across devices. By following the steps outlined in this guide, you can seamlessly transfer your messages and keep your conversations in sync.
Remember, keeping your devices updated with the latest software versions ensures compatibility and smooth data synchronization. In addition, utilizing iCloud and iMessage features can enhance the sync functionality and offer a more seamless messaging experience.
Whether you’re merging your conversations, accessing your messages on a larger screen, or simply organizing your communication, syncing messages from your iPhone to Mac opens up a world of possibilities. With this guide at your disposal, you’ll have no trouble connecting your devices and enjoying the benefits of message synchronization.
So, go ahead and give it a try. Start syncing your messages today and streamline your digital communication like never before.
FAQs
1. Can I sync messages from my iPhone to my Mac?
Yes, you can sync messages from your iPhone to your Mac. Syncing messages allows you to access your text messages on both devices and keep them in sync. This way, you can seamlessly continue conversations between your iPhone and Mac without missing any important messages.
2. How do I sync messages from my iPhone to my Mac?
To sync messages from your iPhone to your Mac, follow these steps:
1. Make sure you have signed in with the same Apple ID on both devices.
2. On your iPhone, go to “Settings” and tap on your name at the top. Then, tap on “iCloud” and make sure “Messages” is enabled.
3. On your Mac, open the Messages app. If you’re not signed in, go to “Messages” > “Preferences” and sign in with your Apple ID.
4. In the Messages app on your Mac, go to “Messages” > “Preferences” > “Accounts”. Ensure that your iCloud account is selected and that the “Enable Messages on iCloud” option is checked.
5. Wait for the messages to sync between your iPhone and Mac. The syncing process might take some time, depending on the number of messages and attachments.
3. Will syncing messages from iPhone to Mac use up storage space on my Mac?
Syncing messages from your iPhone to your Mac will not consume additional storage space on your Mac. The messages are stored in your iCloud account, and only the necessary metadata and attachments are downloaded to your Mac when you view them. This means that your Mac will not be cluttered with all the messages and won’t run out of storage due to message syncing.
4. Can I sync messages from multiple iPhones to my Mac?
Yes, you can sync messages from multiple iPhones to your Mac as long as you’re signed in with the same Apple ID on all devices. Each iPhone will have its own separate message thread in the Messages app on your Mac, allowing you to conveniently switch between conversations and keep them in sync.
5. Can I sync messages between an iPhone and a non-Apple computer?
No, currently, the built-in message syncing feature is only available between Apple devices. If you’re using a non-Apple computer, you can explore third-party solutions that offer cross-platform message syncing options. These solutions often require additional software or apps to be installed on both your iPhone and the non-Apple computer.