
In the digital age, our smartphones have become an extension of ourselves – constantly by our side, assisting us with every task we need to accomplish. From communication to entertainment, our mobile phones have revolutionized the way we live our lives. One of the many functionalities offered by these pocket-sized powerhouses is the ability to type and send letters. Whether it’s a formal business letter or a heartfelt message to a loved one, your Android phone can serve as a convenient and efficient tool for composing and sending letters on the go. In this article, we will guide you through the process of typing a letter on an Android phone, providing you with invaluable tips and tricks to make the task a breeze. Let’s dive in and unlock the full potential of your smartphone!
Inside This Article
- Overview
- Step 1: Open a Word Processing App
- Step 2: Create a New Document
- Step 3: Enter the Recipient’s Address
- Step 4: Add the Date
- Step 5: Write the Letter
- Step 6: Format the Letter
- Step 7: Save and Send the Letter
- Tips for Typing a Letter on Android Phone
- Conclusion
- FAQs
Overview
Typing a letter on an Android phone has become increasingly convenient with the advent of word processing apps. Whether you need to send a formal business letter or a personal note, your Android phone can serve as a capable tool for creating professional-looking documents. In this article, we will guide you through the step-by-step process of typing a letter on your Android phone.
By following these instructions, you will be able to compose, format, and even send your letter without the need for a computer or a printer. With the power of your Android phone at your fingertips, you can quickly and effortlessly draft letters on the go, saving both time and effort.
Let’s jump right into the process and explore how you can easily type a letter on your Android phone.
Disclaimer: The specific steps and procedures outlined in this article may vary slightly depending on the word processing app you are using. However, the general concepts will remain the same, and you will be able to adapt these instructions to the app of your choice.
Step 1: Open a Word Processing App
When it comes to typing a letter on your Android phone, the first step is to open a word processing app. There are several options available in the Google Play Store, such as Google Docs, Microsoft Word, or WPS Office. Choose the one that suits your preferences and needs. Once you have installed the app, locate it on your phone’s home screen or in your app drawer and tap to open it.
Word processing apps on Android offer a wide range of features and functionality, making it easier for you to create and format your letter. They provide a user-friendly interface and allow you to access your documents from anywhere, as long as you have an internet connection.
If you prefer to work offline, make sure to download the necessary documents or enable the offline mode within the app. This way, you can continue to type and edit your letter even when you don’t have an internet connection.
Once you have opened the word processing app, you are ready to move on to the next step and start creating your letter.
Step 2: Create a New Document
Now that you have opened a word processing app on your Android phone, it’s time to create a new document. Follow these steps to get started:
- Once you have opened the app, you will likely see a homepage or document list. Look for a button or icon that says “Create New” or something similar. Tap on it to begin creating a new document.
- A new window or screen will appear, giving you options for different types of documents. Choose the option that best suits your needs. For example, if you are typing a formal letter, you might select “Blank Document” or “Letter Template.” If you are unsure, you can always go with the default option, such as “New Document” or “General Template.”
- After selecting the document type, you may be prompted to give your document a title. This step is optional, but it can be helpful for organizing your files later on. Enter a title that is descriptive and relevant to the content of your document.
- Once you have completed these steps, tap the “Create” or “OK” button to create your new document. The app will then open a blank page for you to start typing.
Congratulations! You have successfully created a new document on your Android phone. Now you are ready to move on to the next step: entering the recipient’s address.
Step 3: Enter the Recipient’s Address
Once you have opened a word processing app and created a new document, it’s time to enter the recipient’s address. This step is crucial as it ensures that your letter reaches the intended recipient. To enter the address, follow these simple steps:
- Start by typing the recipient’s name or the name of the organization in the “To” field. If the recipient is an individual, make sure to include their full name. If you’re sending the letter to a company or organization, include the full name of the organization.
- In the next line, enter the recipient’s street address. Include the house or building number, street name, and any apartment or suite numbers. Make sure to spell out words like “Street,” “Road,” “Avenue,” etc. For example, you would write “123 Main Street” or “456 Park Avenue.”
- Following the street address, enter the city or town name. If the city has a specific postal code, include it as well. For example, you would write “New York, NY 10001” or “Los Angeles, CA 90001.”
- In the next line, enter the name of the state or province. If you’re sending the letter internationally, include the name of the country as well. For example, you would write “New York” or “California” for a letter within the United States, or “Ontario” for a letter in Canada.
- Finally, enter the recipient’s postal code or ZIP code. This helps ensure that the letter is delivered to the correct postal district. If you’re sending the letter internationally, make sure to include the correct postal code format for that country.
Make sure to double-check the recipient’s address for accuracy before moving on to the next steps. Accuracy is key to ensure that your letter reaches the intended recipient without any delays or errors.
Step 4: Add the Date
Adding the date to your letter is an important step as it helps provide context and serves as a reference point for future correspondence. Follow the steps below to easily add the date to your letter on your Android phone.
1. Once you have opened the word processing app on your Android phone and created a new document, navigate to the top of the page where you want to add the date.
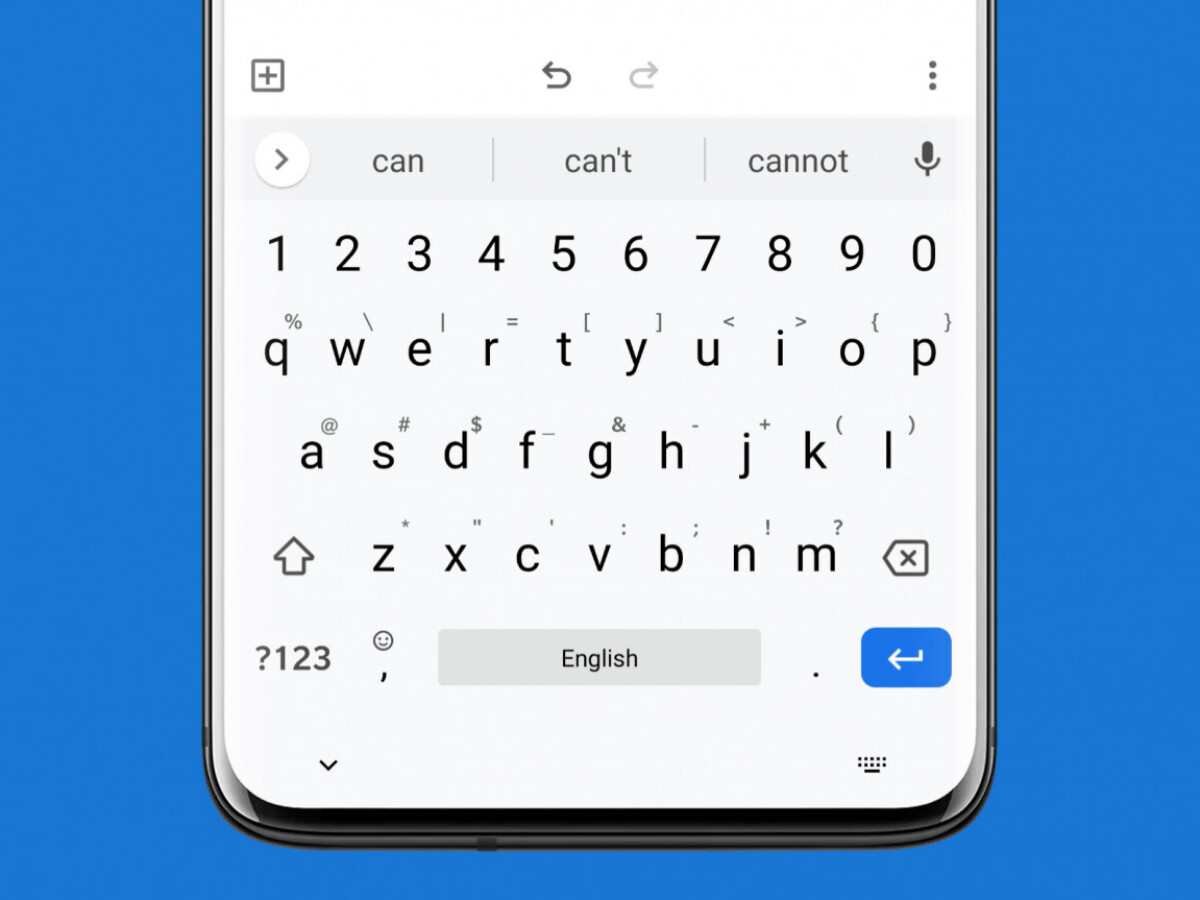
2. Place your cursor at the desired location and tap on the keyboard icon at the bottom of your screen to bring up the virtual keyboard.
3. On the virtual keyboard, locate the numbers and symbols section. Click on the “#” or “123” key to access the symbols.
4. Look for the symbol that represents the date format you wish to use, such as “/” or “-“. Tap on it to insert it into the document.
5. Once the symbol is inserted, tap on the keyboard icon again to return to the regular keyboard layout.
6. Now, using the regular keyboard, type in the numerical representation of the date. For example, if today is the 15th of June, you would enter “15”.
7. Next, type in the symbol representing the month, whether it’s an abbreviated form like “Jun” or a numerical representation like “06”.
8. Finally, type in the symbol for the year, either in a two-digit format like “21” or a four-digit format like “2021”.
9. After inputting the date, take a moment to review it and make any necessary corrections or adjustments.
10. Your date is now successfully added to your letter. Continue with the rest of your writing, formatting, and editing as needed.
Remember, proper formatting and accurate dates are crucial for formal letters or any correspondence that requires precise documentation. Double-check the date before finalizing your letter to ensure accuracy.
With these simple steps, you can easily add the date to your letter using your Android phone, allowing you to effectively communicate and keep track of important correspondence.
Step 5: Write the Letter
Now that you have set up the basic layout of your letter, it’s time to start writing the content. Writing a letter on your Android phone is simple and convenient.
Begin by addressing the recipient. If you are writing a formal letter, use the appropriate salutation, such as “Dear Mr. Smith” or “Dear Mrs. Johnson.” If the letter is more casual, you can use the recipient’s first name or a friendly greeting like “Hi there.”
Next, clearly state the purpose of your letter. Whether you are writing a business proposal, a complaint, or a personal letter, make sure to express your intentions and main points concisely.
Now comes the body of your letter. In this section, provide the necessary details, explanations, or arguments related to the purpose of your letter. It is important to organize your thoughts in a logical manner, presenting each point in a separate paragraph.
When writing your letter, make sure to use clear and concise language. Avoid using jargon or complex terms that could confuse the reader. Use simple and straightforward sentences to convey your message effectively.
To add emphasis to certain words or phrases, you can use bold or italics. This will help draw attention to important information and make your letter more visually appealing. However, use formatting sparingly and only when necessary.
Remember to use proper grammar and punctuation throughout your letter. Proofread your work to catch any errors or typos before finalizing it.
Lastly, conclude your letter with a closing remark. This can be a polite statement, such as “Thank you for your attention” or “I look forward to hearing from you soon.” Sign off with your name and any relevant contact information.
Once you have finished writing your letter, move onto the next step to format and style it to your liking.
Step 6: Format the Letter
Formatting is an important step to make your letter look professional and presentable. Here are some tips to help you format your letter on an Android phone:
- Font Style and Size: Choose a font style and size that is clear and easy to read. Stick to standard fonts like Arial, Times New Roman, or Calibri, and use a font size between 10 and 12 points.
- Alignment: Align your text to the left, keeping a consistent margin. This ensures that your letter appears neat and organized.
- Line Spacing: Maintain an appropriate line spacing to make your letter easy on the eyes. Use single or 1.5 line spacing to provide a clean and professional look.
- Paragraphs: Structure your letter with paragraphs for better readability. Begin each paragraph with an indentation or a blank line to create a visual break between different sections.
- Bullet Points or Numbered Lists: If you need to list items or provide information in a concise manner, use bullet points or numbered lists. This helps organize your content and makes it easier to understand.
- Italic and Bold: Use italic or bold formatting sparingly to emphasize important points or headings. For example, you may want to highlight the recipient’s name or any specific dates in your letter.
- Margins and Page Layout: Ensure that your text fits within the margins of the page. Adjust the page layout settings if necessary to maintain uniformity and prevent any text from being cut off.
- Spell Check: Take advantage of the built-in spell check feature on your Android phone. This will help you catch any spelling or grammar errors before sending the letter.
- Proofread: After formatting your letter, proofread it carefully. Check for any typos, formatting inconsistencies, or grammatical errors. Making sure your letter is error-free will enhance its professionalism.
Remember, the formatting choices you make should be appropriate for the type of letter you are writing. Whether it’s a formal business letter or an informal personal letter, maintaining a professional appearance will leave a positive impression on the recipient.
Step 7: Save and Send the Letter
Once you have finished typing your letter on your Android phone, the next step is to save and send it to the intended recipient. Here are the steps to accomplish this:
1. Save the letter: Before sending the letter, it’s important to save it in case you need to make any further edits or refer back to it later. Most word processing apps on Android phones have a “Save” or “Save As” option. Tap on this option and choose a location to save the letter, such as your phone’s internal storage or cloud storage services like Google Drive or Dropbox.
2. Review the letter: It’s a good idea to review your letter one final time before sending it. Check for any spelling or grammatical errors and ensure that the content is clear and concise. If necessary, make any necessary edits or revisions to polish your letter.
3. Attach the letter: Depending on the method you plan to use to send your letter, you may need to attach it to an email or messaging app. Open the app you wish to use to send the letter and look for the attachment option. Tap on it and navigate to the location where you saved the letter. Select the file and attach it to your message.
4. Fill in recipient details: If you’re sending the letter via email, enter the recipient’s email address in the “To” field. If using a messaging app, enter the recipient’s phone number. Double-check the contact details to ensure accuracy.
5. Send the letter: Once the letter is attached and the recipient details are filled in, it’s time to send the letter. Tap on the “Send” button or icon in your chosen messaging app or email client. The letter will be sent to the recipient, usually within seconds or minutes depending on network conditions.
6. Confirm delivery: After sending the letter, you can confirm its delivery by checking for any read receipts or delivery notifications in your messaging app or email client. This will give you peace of mind and ensure that the recipient has received your letter.
By following these steps, you can easily save and send a letter from your Android phone. Whether it’s a personal letter, a formal business letter, or any other type of correspondence, the convenience of mobile technology allows you to stay connected and productive on the go.
Tips for Typing a Letter on Android Phone
Writing a letter on an Android phone may seem challenging at first, especially as it involves typing on a smaller screen. However, with the right tips and tricks, you can effortlessly compose a professional and polished letter on your Android device. Check out these valuable tips to enhance your typing experience:
1. Use a reliable word processing app: To write your letter effectively, choose a trustworthy word processing app, such as Microsoft Word, Google Docs, or Evernote. These apps offer a user-friendly interface and a wide range of formatting options.
2. Utilize voice typing: If you’re not a fan of typing on a touchscreen keyboard, take advantage of the voice typing feature available on Android devices. Simply tap the microphone icon on the keyboard and speak your letter. The built-in speech-to-text feature will transcribe your words accurately.
3. Enable AutoCorrect and predictive text: Save time and minimize errors by enabling the AutoCorrect feature on your Android keyboard. This feature automatically corrects commonly misspelled words and offers predictive text suggestions as you type.
4. Customize your keyboard settings: Android devices allow you to personalize your keyboard settings to suit your preferences. You can adjust the keyboard size, enable gestures for faster typing, and even change the theme or layout to make typing more enjoyable.
5. Take advantage of keyboard shortcuts: Android keyboards often have useful shortcuts that can speed up your typing. Learn the keyboard shortcuts for actions like copying, pasting, undoing, or redoing, which can greatly improve your letter-writing efficiency.
6. Utilize text expansion: Android devices offer text expansion shortcuts, where you can create custom abbreviations that automatically expand into longer phrases or sentences. For example, you can set “btw” to expand into “by the way.” This feature is particularly handy for commonly used phrases or your contact information.
7. Proofread and edit before sending: Before finalizing and sending your letter, make sure to proofread and edit it for any spelling or grammatical errors. Utilize the editing tools provided by the word processing app to correct any mistakes and ensure that your letter is well-written and professional.
8. Save and backup your letter: To avoid losing your work, remember to save your letter periodically as you type. Most word processing apps have an autosave feature, but it’s always a good practice to manually save your work and backup important documents to cloud storage or email them to yourself.
By following these tips, you can confidently write a letter on your Android phone, whether it’s a formal business letter, a personal correspondence, or anything in between. Embrace the convenience of mobile technology and make the most of your Android device for all your writing needs.
Conclusion
In conclusion, typing a letter on an Android phone has become easier and more convenient than ever before. With the advancements in mobile technology, you no longer need a full-sized physical keyboard to compose a professional and polished letter. The virtual keyboard on Android devices offers a wide range of features and functionalities, including predictive text, voice-to-text conversion, and various formatting options.
Whether you’re using the default keyboard app or a third-party keyboard, the process is straightforward. Simply open a text editing app or email client, tap on the text field, and start typing. With a little practice and familiarity with the keyboard layout, you’ll be able to quickly compose a letter on your Android phone.
Remember to proofread your letter before sending it, and make use of spelling and grammar checkers if available. Additionally, consider using a Bluetooth keyboard or a stylus for even greater precision and comfort while typing.
So, the next time you need to compose a letter on your Android phone, don’t worry about finding a computer – just grab your device and start typing away!
FAQs
Q: Can I type a letter on my Android phone?
Yes, you can definitely type a letter on your Android phone. With the built-in keyboard and writing apps available on Android, you can easily compose and format letters directly on your device.
Q: What are some popular writing apps for Android?
Some popular writing apps for Android include Google Docs, Microsoft Word, Evernote, and JotterPad. These apps offer a wide range of features and formatting options to help you craft professional-looking letters on your Android phone.
Q: Can I use a physical keyboard with my Android phone to type a letter?
Yes, you can connect a physical keyboard to your Android phone if it supports USB or Bluetooth connectivity. This can significantly enhance your typing experience and make it more similar to typing on a traditional computer or laptop.
Q: How can I format the letter on my Android phone?
To format a letter on your Android phone, you can use the formatting options provided by the writing app you are using. These options usually include text formatting (bold, italic, underline), alignment (left, center, right), paragraph formatting, and bullet/numbered lists. Simply select the desired text and apply the formatting using the tools available in the app.
Q: Can I use voice-to-text feature to type a letter on my Android phone?
Yes, Android phones offer a built-in voice-to-text feature that allows you to dictate your letter and have it automatically converted into text. This feature can be found in the keyboard settings or through a dedicated voice input app. However, it’s important to proofread and make any necessary corrections after using the voice-to-text feature to ensure accuracy.