
In today’s digital age, wireless mice have become an essential accessory for many people. They offer convenience and freedom of movement, allowing users to navigate their computer screens effortlessly. However, a common issue that can arise with wireless mice is battery life. There’s nothing more frustrating than having your mouse die in the middle of an important task or gaming session. That’s why it’s important to know how to check the battery of your wireless mouse regularly. By keeping an eye on the battery level, you can avoid any unexpected interruptions and ensure consistent performance from your mouse. In this article, we will guide you through the process of checking the battery of your wireless mouse, so you can always stay ahead of any battery-related issues.
Inside This Article
- Importance of Checking the Battery of a Wireless Mouse
- Method 1: Using the Mouse Software
- Method 2: Checking the Battery Indicator
- Method 3: Testing the Mouse with a Different Device
- Conclusion
- FAQs
Importance of Checking the Battery of a Wireless Mouse
A wireless mouse has become an essential accessory for many computer users. Its convenience, ease of use, and freedom from tangled wires are undeniable advantages. However, one of the most common issues with wireless mice is the battery running out of power. That’s why it is crucial to regularly check the battery level of your wireless mouse to ensure uninterrupted usage. Let’s explore the importance of checking the battery and how to do it effectively.
1. Avoid Interruptions: Running out of battery power in the middle of an important task can be frustrating. It disrupts your workflow, causing unnecessary interruptions and delays. By regularly checking the battery level of your wireless mouse, you can proactively address any low battery issues and prevent potential disruptions.
2. Maintain Performance: A wireless mouse with a low battery may not function optimally. It could result in lagging cursor movement, unresponsiveness, or even complete disconnection. By checking the battery level regularly, you can ensure that your mouse performs at its best, providing you with smooth and accurate navigation.
3. Save Time and Money: When the battery of your wireless mouse dies unexpectedly, you may find yourself rushing to the store to purchase replacement batteries or searching for a charging cable. This can lead to unnecessary expenses and wasted time. By regularly checking the battery level of your wireless mouse, you can plan ahead and ensure you have a spare battery or a charged backup mouse, saving both time and money.
4. Extend Battery Life: Checking the battery level of your wireless mouse allows you to monitor its power consumption patterns. By identifying any potential battery drainage issues, you can take necessary steps to extend the battery life. This may include adjusting the mouse sensitivity settings, using energy-saving modes, or considering alternative battery types.
So, don’t underestimate the importance of checking the battery level of your wireless mouse. It not only helps you avoid interruptions and maintain optimal performance but also saves you time, money, and unnecessary hassle. Now let’s explore different methods to effectively check the battery level of your wireless mouse.
Method 1: Using the Mouse Software
If you want to check the battery status of your wireless mouse, one convenient method is to use the mouse software that comes with it. Many manufacturers provide software that allows users to customize settings, update firmware, and monitor battery life.
First, you need to install the mouse software on your computer. This software is usually included in the package or can be downloaded from the manufacturer’s website. Once installed, launch the software and look for the battery status or power management section.
Depending on the software, you may find a battery indicator displaying the current battery level of your wireless mouse. It can be represented as a percentage, a graph, or a textual description such as “low,” “medium,” or “full.” This information provides a quick and accurate way to gauge how much battery life your mouse has left.
In addition to displaying the battery status, some mouse software also offers features like power-saving modes, battery usage statistics, and notifications when the battery is running low. These features can help you optimize the battery life and ensure that you are always aware of the remaining power.
Keep in mind that not all wireless mice come with dedicated software. Some basic models may not have this functionality, making it necessary to explore other methods to check the battery status. However, if you have a higher-end wireless mouse with specialized software, utilizing it is the most reliable way to monitor your battery life.
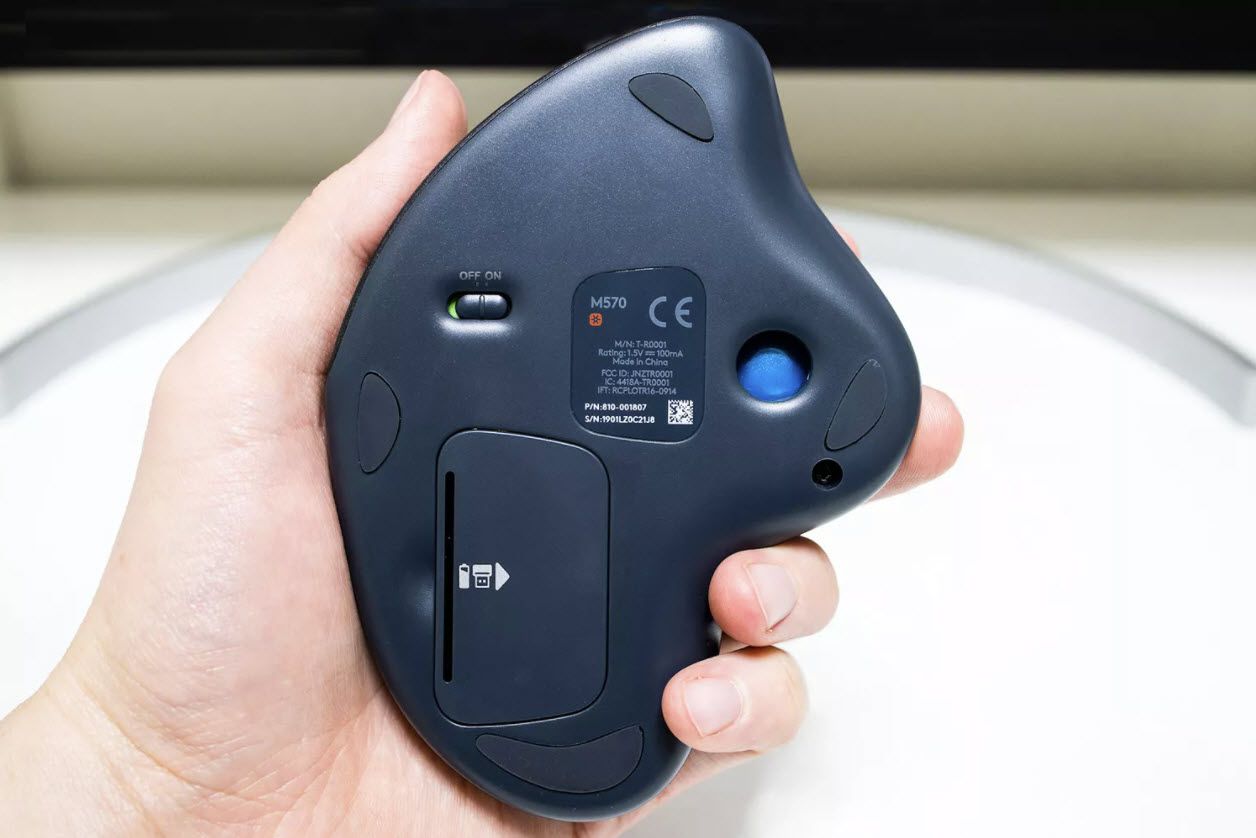
Method 2: Checking the Battery Indicator
If you want to quickly check the battery level of your wireless mouse, one of the easiest methods is to rely on the battery indicator. Most wireless mice are equipped with a small LED light that serves as a battery indicator. This LED light is usually located either on the top surface of the mouse or near the scroll wheel. Its color or pattern will provide you with valuable information about the battery status.
To check the battery indicator, simply turn on the mouse and observe the LED light. Typically, a green light indicates a fully charged battery, while a red light suggests that the battery is running low and should be replaced soon. Sometimes, there might be other colors or blinking patterns that indicate different battery levels or warnings, so be sure to consult the user manual or manufacturer’s website to interpret the specific LED light indications for your wireless mouse model.
Keep in mind that the battery indicator on your mouse might not be 100% accurate. It is always a good idea to have spare batteries or a charging cable nearby, especially if you heavily rely on your wireless mouse for work or gaming. By keeping an eye on the battery indicator, you can be proactive and avoid any unexpected interruptions due to a drained battery.
If your wireless mouse does not have a battery indicator or the indicator is not functioning properly, it may be time to consider replacing the batteries. It is generally recommended to use high-quality, brand-name batteries to ensure optimal performance and longer battery life for your mouse.
Method 3: Testing the Mouse with a Different Device
If you’re experiencing issues with your wireless mouse and suspect that the battery might be the culprit, one effective method to confirm your suspicions is by testing the mouse with a different device. This method can help you determine whether the problem lies with the mouse itself or if there are other factors at play.
To test your wireless mouse with a different device, follow these steps:
- Ensure that the other device you are using, such as a laptop or another computer, is compatible with your wireless mouse.
- Connect the USB receiver of the mouse to the USB port of the other device. Make sure it is securely plugged in.
- Turn on the mouse and wait for the device to recognize it. This may take a few seconds.
- Once the mouse is recognized, try moving it around and clicking the buttons to see if it functions properly on the other device.
- If the mouse works without any issues on the different device, it indicates that the problem is most likely not related to the battery. You can then focus your troubleshooting efforts on the original device or any software-related issues.
- On the other hand, if the mouse continues to exhibit the same problems on the different device, it suggests that there may be a problem with the battery or the mouse itself. In this case, you may need to replace the battery or consider getting a new wireless mouse.
Testing your wireless mouse with a different device can provide valuable insights into the source of the problem. It helps you narrow down the possible causes and saves you time and effort troubleshooting in the wrong direction.
Keep in mind that if you do determine that the issue lies with the battery, it is important to replace it with a compatible battery recommended by the manufacturer. Using an incorrect battery may not only affect the performance of the mouse but could also potentially damage the device.
By using Method 3 and testing your wireless mouse with another device, you can quickly and accurately diagnose whether the battery is the cause of your mouse-related issues and proceed with the appropriate solutions.
So in conclusion, checking the battery of your wireless mouse is a simple and essential task that can ensure uninterrupted productivity and a smooth user experience. By following the steps outlined in this article, you can easily determine the battery level of your wireless mouse and take appropriate action, whether it’s replacing the batteries or recharging them. Regularly monitoring the battery status of your mouse will help you avoid sudden interruptions and delays during important tasks. Remember to take note of the type of batteries your mouse requires and keep a spare set on hand to ensure you’re always prepared. With a fully charged or properly replaced battery, you can continue using your wireless mouse with ease and efficiency. Happy computing!
FAQs
1. How do I check the battery of a wireless mouse?
To check the battery of a wireless mouse, you can follow these steps:
- Flip the mouse over and locate the battery compartment.
- Open the battery compartment by sliding or lifting the cover.
- Check the type of batteries required (usually AA or AAA).
- Remove the old batteries (if present) and replace them with fresh ones.
- Close the battery compartment securely.
- If your wireless mouse has an LED indicator, it may blink or light up to indicate that the batteries are functioning properly.
2. How can I prolong the battery life of my wireless mouse?
To extend the battery life of your wireless mouse, you can try the following:
- Turn off the mouse when not in use. Many wireless mice have a power switch or an automatic sleep mode.
- Reduce the mouse sensitivity or DPI (dots per inch) setting. Higher sensitivity settings can drain the battery faster.
- Use a mouse pad with a smooth surface. This reduces the friction and helps the mouse to operate more efficiently.
- Disable any unnecessary mouse features or extra buttons that you don’t use frequently.
3. How long do the batteries of a wireless mouse typically last?
The battery life of a wireless mouse can vary depending on factors like the brand, model, and usage. However, on average, a set of standard AA or AAA batteries can last anywhere from several months to a year, with normal daily usage. Keep in mind that using advanced features or high-performance settings may decrease the battery life more quickly.
4. Can I use rechargeable batteries in my wireless mouse?
Yes, you can use rechargeable batteries in your wireless mouse. Make sure to choose rechargeable batteries that match the required battery size (AA or AAA) specified by your mouse manufacturer. Rechargeable batteries can be a more cost-effective and environmentally friendly option in the long run, as they can be recharged and reused multiple times.
5. My wireless mouse is not working even after changing the batteries. What could be the issue?
If your wireless mouse is not working even after replacing the batteries, there could be a few potential issues:
- Check if the mouse has a power switch and ensure it’s turned on.
- Make sure the wireless receiver is properly connected to your computer’s USB port.
- Try using the mouse on a different surface or mouse pad, as an incompatible surface may affect the sensor’s performance.
- Restart your computer and reconnect the wireless receiver.
- If none of the above steps work, there could be a hardware issue with the mouse, and you may need to contact the manufacturer for further assistance or consider getting a replacement.