
Are you struggling to set up a wireless network connection on your Windows XP computer? In this digital age, a stable and reliable wireless connection is essential for staying connected to the world. Whether you’re working or simply browsing the internet, having a wireless network connection can greatly enhance your productivity and convenience.
However, setting up a wireless connection on an older operating system like Windows XP can be a bit challenging. Don’t worry, though! In this article, we will guide you through the step-by-step process of making a wireless network connection on your XP computer. By following these instructions, you’ll be able to connect to Wi-Fi networks effortlessly and enjoy seamless internet access.
Inside This Article
- Step 1: Enable the Wireless Network Adapter
- Step 2: Connect to a Wireless Network
- Step 3: Enter the Network Security Key
- Troubleshooting Tips
- Conclusion
- FAQs
Step 1: Enable the Wireless Network Adapter
Before you can start connecting to a wireless network on your Windows XP computer, you need to make sure that the wireless network adapter is enabled. Here’s how you can do it:
1. Right-click on the “My Computer” icon on your desktop and select “Properties” from the drop-down menu.
2. In the System Properties window, click on the “Hardware” tab and then select “Device Manager.”
3. In the Device Manager window, expand the “Network adapters” category by clicking on the plus sign (+) next to it.
4. Look for your wireless network adapter. It might be labeled as “Wireless Network Connection,” “Wi-Fi,” or something similar.
5. Right-click on the wireless network adapter and select “Enable” from the context menu.
6. Wait for a few moments while the adapter is being enabled. You will see a notification or icon indicating that the wireless network adapter is now enabled.
7. Close the Device Manager window and any other open windows.
Now that the wireless network adapter is enabled, you can proceed to the next step of connecting to a wireless network.
Step 2: Connect to a Wireless Network
After enabling the wireless network adapter on your Windows XP computer, it’s time to connect to a wireless network. Follow these steps to establish a connection:
-
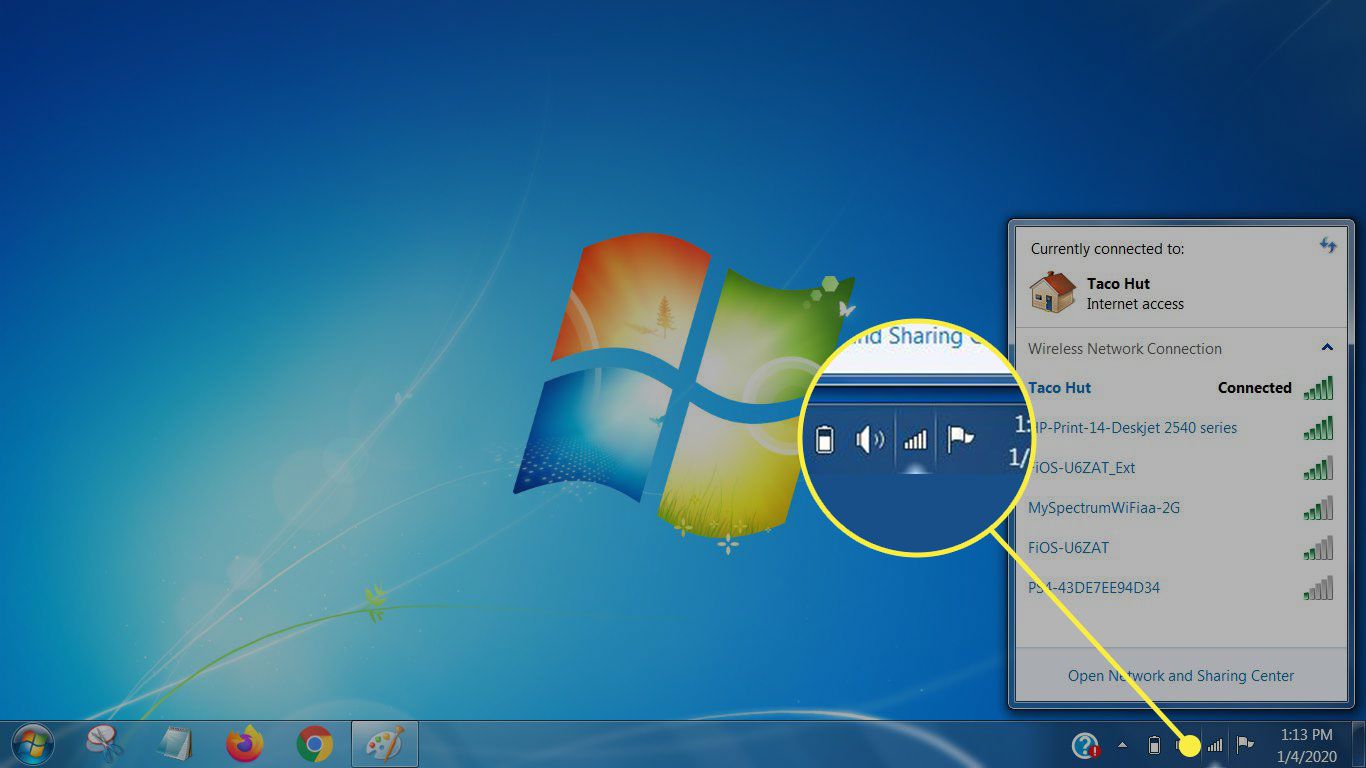
Click on the wireless network icon in the system tray located at the bottom right corner of your screen. This icon looks like two overlapping computer screens, or signal bars if you’re using the classic theme.
-
A list of available wireless networks will appear. Look for the network you want to connect to and click on it.
-
If the network is secured, a prompt will appear asking for the security key. Enter the network security key to proceed. (If you’re not sure about the key, contact the network administrator or check the documentation that came with the network router.)
-
Click on the “Connect” button to establish a connection with the wireless network.
-
If the security key is correct and the network signal is strong enough, your computer will successfully connect to the wireless network. You will see a confirmation message letting you know that you’ve connected to the network.
-
Once connected, you can enjoy the benefits of wireless internet access and browse the web, check emails, stream videos, and do much more without the need for a physical network cable.
Remember, if the network is not secured, your computer will automatically connect to it without requiring a security key. However, it’s always recommended to connect to secured networks to safeguard your data.
If you’re having trouble connecting to a wireless network, refer to the troubleshooting tips in the next section.
Step 3: Enter the Network Security Key
Once you have successfully connected to a wireless network, the next step is to enter the network security key. This key is a password or passphrase that protects the network from unauthorized access. Without the correct security key, you won’t be able to connect to the network and enjoy its benefits.
Here’s how you can enter the network security key on your XP device:
- Click on the wireless network icon in the system tray located at the bottom-right corner of your taskbar. It looks like a series of curved lines or wireless signal bars.
- A list of available wireless networks will appear. Locate the network you want to connect to and click on it.
- Click the “Connect” button to initiate the connection process.
- A prompt will appear, asking you to enter the network security key. This is where you input the password or passphrase for the network. Make sure to enter it correctly to establish a secure connection.
- Click the “OK” button or press Enter to confirm the security key.
Once you have entered the network security key, Windows XP will attempt to verify the authentication and establish a connection to the wireless network. If the security key is correct, your device will successfully connect to the network and you will be able to access the internet and other network resources.
If you are having trouble entering the network security key or if it is not accepting the password, double-check that you have the correct key and that Caps Lock is not enabled. Additionally, ensure that the network administrator has provided you with the accurate security key details.
In case you are still unable to connect despite entering the correct security key, try resetting the wireless router and restarting your computer. Sometimes, connectivity issues can be resolved by simply restarting the devices.
Remember, the network security key is essential for maintaining the privacy and security of your wireless network. It prevents unauthorized users from accessing your network and potentially compromising your sensitive information. Always keep the security key in a secure place and avoid sharing it with anyone you don’t trust.
Troubleshooting Tips
If you are experiencing issues with your wireless network connection on Windows XP, don’t worry! Here are some troubleshooting tips to help you get back online:
1. Check your wireless signal strength: Ensure that you are within range of your wireless router or access point. Sometimes, a weak signal can cause connectivity issues.
2. Restart your devices: Turn off your computer, router, and modem. Wait for a few seconds, then turn them back on in the following order: modem, router, and then your computer. This can help refresh the network connection.
3. Disable and enable the wireless adapter: Sometimes, simply disabling and then re-enabling the wireless adapter can help resolve connectivity problems. Right-click on the wireless network icon in the system tray, select “Disable”, wait for a few seconds, then right-click again and choose “Enable”.
4. Update your wireless network driver: Outdated or incompatible network drivers can cause issues with your wireless connection. Visit the manufacturer’s website and download the latest driver for your wireless adapter. Install it and restart your computer.
5. Check for radio frequency interference: Other devices like cordless phones, microwaves, or baby monitors can interfere with your wireless signal. Make sure your router is placed away from such devices or switch to a different channel on your router’s settings.
6. Reset your wireless router: If none of the above steps work, try resetting your wireless router to its factory defaults. Look for the reset button on the back of the router, usually a small hole. Use a paperclip or a similar object to press and hold the reset button for about 10 seconds. This will erase all previous settings, so you will need to set up your wireless network again.
7. Seek professional help: If you have tried all the troubleshooting tips and are still unable to establish a wireless connection, it may be time to reach out to a professional for assistance. They can diagnose the issue and provide the necessary solution.
Remember, troubleshooting network issues can require some patience and experimentation. By following these tips, you should be able to resolve most wireless network connection problems on Windows XP.
Conclusion
Creating a wireless network connection on Windows XP is a straightforward process that allows you to enjoy the convenience of wireless internet access. By following a few simple steps, you can set up a secure connection and stay connected to the web without the need for cumbersome cables.
Whether you’re connecting to a home or office network, or even a public Wi-Fi hotspot, Windows XP provides the tools you need to establish a reliable wireless connection. With the ability to connect multiple devices to the network and access the internet from anywhere within range, wireless connectivity has become an essential part of our daily lives.
By familiarizing yourself with the process of setting up a wireless connection on Windows XP, you can enjoy the flexibility and convenience of wirelessly connecting to the internet, ensuring that you stay connected and productive wherever you go.
FAQs
1. How do I make a wireless network connection on Windows XP?
To make a wireless network connection on Windows XP, you will need a wireless network adapter installed on your computer. Once you have the adapter, follow these steps:
– Click on the Start button and open the Control Panel.
– In the Control Panel, select Network Connections.
– In the Network Connections window, right-click on Wireless Network Connection and choose Properties.
– In the Properties window, click on the Wireless Networks tab.
– Check the box that says “Use Windows to configure my wireless network settings.”
– Click on the Add button to add a wireless network.
– Enter the network name (SSID) and select the appropriate network authentication type and encryption mode.
– If necessary, enter the network key or password.
– Click on OK and close all windows.
– Your computer will now attempt to connect to the wireless network.
– Once connected, you should see a notification in the system tray indicating a successful connection.
2. How can I troubleshoot wireless network connection issues on Windows XP?
If you are experiencing issues with your wireless network connection on Windows XP, you can try the following troubleshooting steps:
– Make sure your wireless network adapter is properly installed and enabled.
– Restart your computer and the wireless router or access point.
– Ensure that you are within range of the wireless network and that there are no physical obstructions.
– Check if the wireless network adapter drivers are up to date.
– Disable and re-enable the wireless network adapter.
– Remove and re-add the wireless network in the network connection settings.
– Reset the TCP/IP stack by opening a command prompt and typing the command “netsh int ip reset”.
– Disable any firewall or security software temporarily to check if they are causing the issue.
– Contact your Internet Service Provider or network administrator for further assistance.
3. Can I connect to a wireless network without a wireless network adapter on Windows XP?
No, you cannot connect to a wireless network without a wireless network adapter on Windows XP. The wireless network adapter is necessary to establish a wireless connection. If your computer does not have a built-in wireless network adapter, you will need to purchase and install an external one.
4. How can I secure my wireless network connection on Windows XP?
To secure your wireless network connection on Windows XP, follow these steps:
– Log in to the router or access point’s settings page by typing its IP address into a web browser.
– Enable encryption by selecting either WPA or WPA2 and entering a strong passphrase.
– Change the default username and password for the router or access point.
– Disable remote administration.
– Change the default SSID (network name) to something unique.
– Enable MAC address filtering to allow only specific devices to connect to the network.
– Regularly update your router or access point’s firmware to ensure you have the latest security patches.
– Consider disabling SSID broadcasting to make your network less visible to others.
– Keep your wireless network adapter drivers up to date.
5. How can I improve the speed and range of my wireless network connection on Windows XP?
To improve the speed and range of your wireless network connection on Windows XP, you can try the following tips:
– Position your router or access point in a central location, away from walls and obstructions.
– Place your computer and other devices within range of the router or access point.
– Make sure your wireless network adapter drivers are up to date.
– Change the wireless channel to avoid interference from other nearby networks.
– Upgrade your router or access point to a newer model that supports faster Wi-Fi standards.
– Add a wireless range extender or repeater to increase the coverage area of your network.
– Consider using a wired Ethernet connection for devices that require high-speed and stable connections.
– Minimize the number of devices and applications using the network simultaneously to reduce congestion.