
Are you tired of dealing with tangled wires while using your headphones with your Mac? Well, you’re in luck! In this article, we will guide you through the simple process of syncing wireless headphones to your Mac. With the advancement in technology, wireless headphones have become increasingly popular due to their convenience and ease of use. They offer the freedom to move around without being restricted by wires and cables. Whether you have Bluetooth-enabled headphones or a wireless audio adapter, we will provide you with step-by-step instructions to connect them to your Mac. Say goodbye to tangled wires and hello to a seamless and wire-free listening experience on your Mac!
Inside This Article
Connecting Wireless Headphones to Mac
Wireless headphones have become increasingly popular due to their convenience and freedom from tangled wires. If you own a Mac and are wondering how to connect your wireless headphones, you’re in luck. In this article, we will guide you through the simple process of syncing your wireless headphones to your Mac.
The first step is to make sure that your wireless headphones are in pairing mode. This typically involves pressing and holding a specific button on the headphones until you see a flashing light or hear a voice prompt confirming that the headphones are ready to pair.
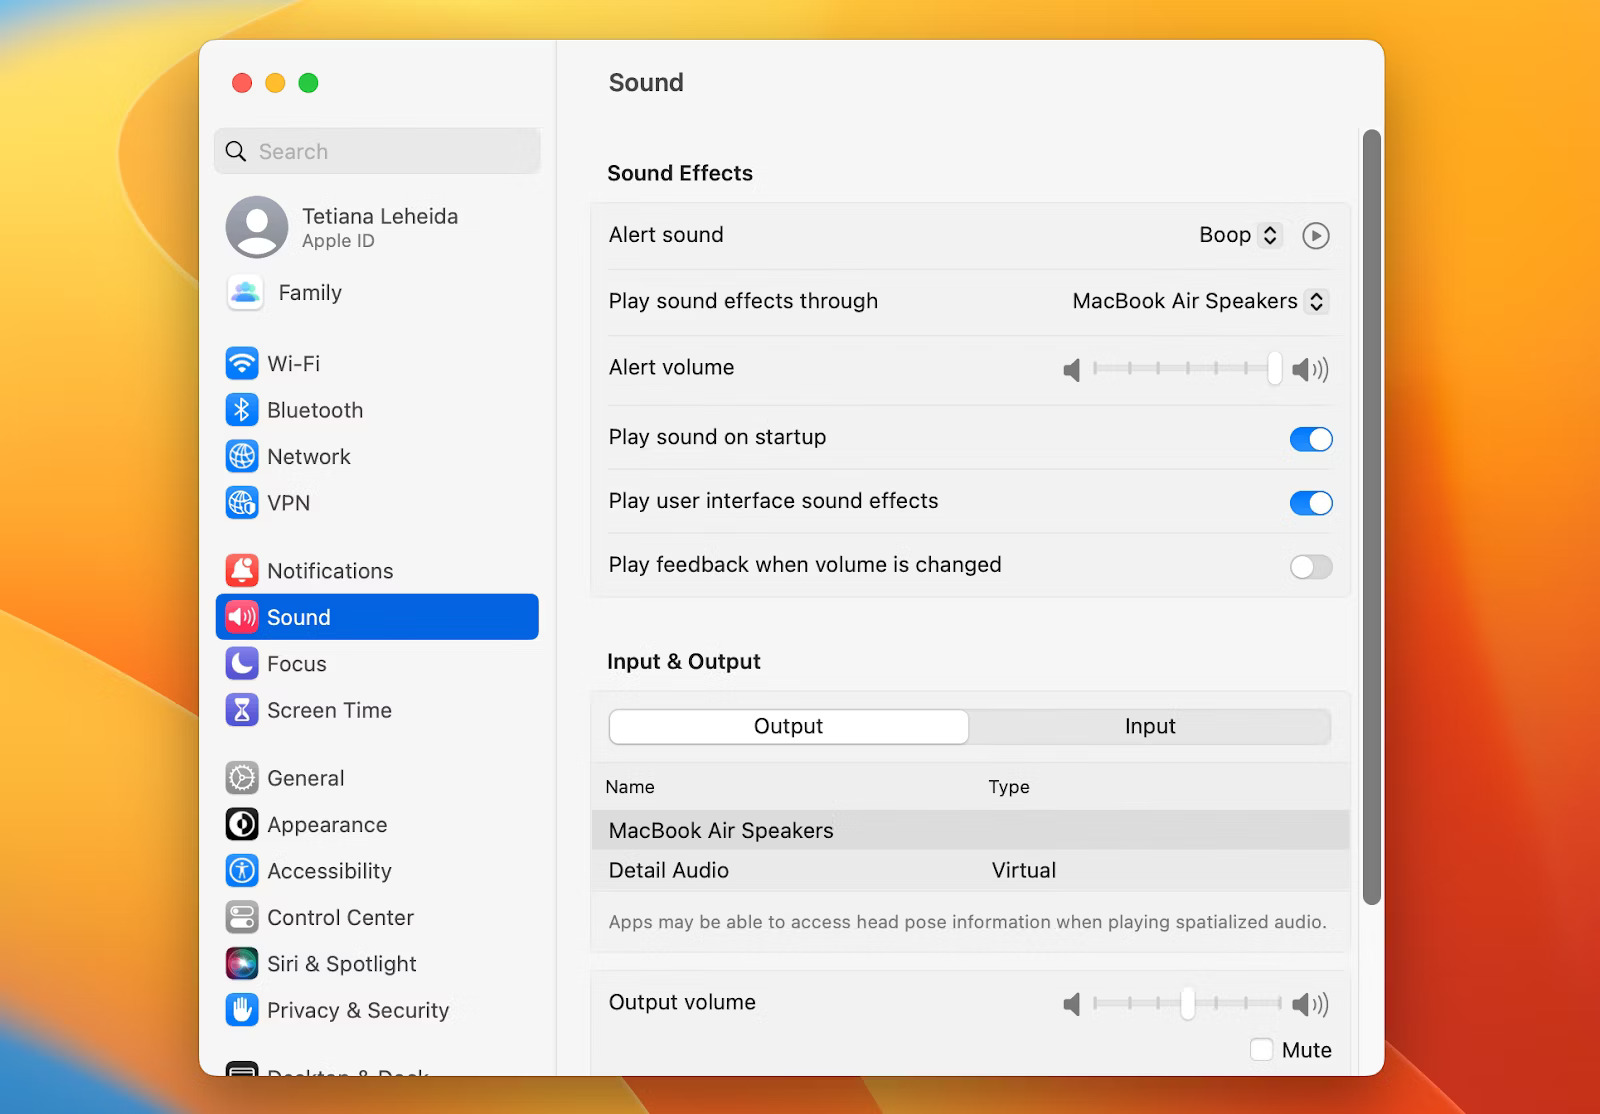
Once your wireless headphones are in pairing mode, it’s time to move to your Mac. Go to the Apple menu and select “System Preferences.” From there, click on “Bluetooth.” You should see a list of available devices.
In this list, look for your wireless headphones. If they are already listed, make sure they are turned on and click on the “Connect” button next to the headphones’ name. If your headphones do not appear, click on the “+” button at the bottom left corner to add a new device.
In the window that appears, make sure the “Bluetooth” tab is selected and wait for your Mac to search for available devices. Once your headphones appear in the list, select them and click on the “Pair” button.
Your Mac will now connect to your wireless headphones. Wait for a few moments until you see a confirmation message that the pairing was successful. At this point, you can start using your wireless headphones with your Mac.
If you’re encountering any issues with connecting your wireless headphones to your Mac, there are a few troubleshooting tips you can try. First, make sure that both your headphones and your Mac are fully charged. Low battery life can sometimes interfere with the pairing process.
Additionally, ensure that your headphones are within range of your Mac. While Bluetooth technology allows for a decent range, distance can still affect the quality of the connection. Try bringing your headphones closer to your Mac and see if that resolves the issue.
If you’re still facing problems, you can try resetting the Bluetooth connection on your Mac. Go to the Apple menu, select “System Preferences,” and click on “Bluetooth.” Find your headphones in the device list, right-click on them, and select “Remove.” Then, follow the pairing instructions mentioned earlier to reconnect your headphones.
Troubleshooting Common Issues
Syncing wireless headphones to your Mac can sometimes be a straightforward process, but it’s not uncommon to run into a few roadblocks along the way. In this section, we will address some common issues that users may encounter and provide troubleshooting tips to help you get your wireless headphones up and running smoothly.
1. Connectivity Problems: If your wireless headphones are not connecting to your Mac, the first step is to ensure that they are in pairing mode. Refer to the manufacturer’s instructions to put your headphones in pairing mode and make sure your Mac’s Bluetooth is turned on. If the problem persists, try restarting both your headphones and your Mac to refresh the connection.
2. Audio Quality Issues: Are you experiencing poor audio quality or distortion when using your wireless headphones with your Mac? One common cause of this issue is interference from other electronic devices. Try moving away from devices like routers, microwaves, or cordless phones that may be causing signal interference. Additionally, make sure your headphones are fully charged as low battery levels can affect sound quality.
3. Lag or Delayed Audio: If you’re experiencing a noticeable delay between the audio and video when using your wireless headphones, it could be due to latency. Latency occurs when there is a delay in transmitting audio signals wirelessly. To mitigate this issue, you can try using headphones that support low-latency codecs such as aptX. Additionally, closing unnecessary applications and reducing the distance between your headphones and Mac can help reduce latency.
4. Firmware Updates: Manufacturers often release firmware updates for their wireless headphones to improve performance and compatibility. If you’re experiencing issues, check if there are any firmware updates available for your headphones. You can typically find instructions on how to update the firmware on the manufacturer’s website or in the product manual.
5. Bluetooth Interference: Bluetooth interference can cause connectivity issues or interruptions in audio playback. Avoid using your wireless headphones in crowded areas with numerous Bluetooth devices, as this can lead to interference. If possible, try using the 5GHz Wi-Fi band instead of the crowded 2.4GHz band, as it can help reduce interference from other devices.
6. Resetting Headphones: If all else fails and you’re still experiencing issues, you can try resetting your wireless headphones to their factory settings. Check the user manual or manufacturer’s website for instructions on how to perform a reset. Please note that resetting your headphones will erase any saved settings and connections, so you will need to pair them again with your Mac.
By following these troubleshooting tips, you should be able to overcome common issues when syncing wireless headphones to your Mac. Remember to consult the user manual or reach out to the manufacturer’s support team if you’re still encountering difficulties.
Conclusion
Syncing wireless headphones to a Mac is a simple process that allows you to enjoy your favorite music, movies, and podcasts without the constraints of a headphone cable. By following the step-by-step instructions described in this article, you can easily pair your wireless headphones with your Mac and begin experiencing immersive audio.
Whether you’re using Bluetooth or a dedicated wireless headphone adapter, the convenience and freedom provided by wireless headphones enhance your overall listening experience. With the ability to connect seamlessly to your Mac, you can enjoy high-quality sound while working, exercising, or simply relaxing.
Remember to check your device compatibility and ensure your headphones are in pairing mode before initiating the syncing process. With a few simple clicks, you’ll be ready to immerse yourself in a world of stellar audio quality, free from the constraints of wired headphones.
So, go ahead and sync your wireless headphones to your Mac today and elevate your audio experience to the next level!
FAQs
1. Can I sync wireless headphones to my Mac?
Yes, you can sync wireless headphones to your Mac. Mac computers are equipped with Bluetooth technology, allowing you to connect and sync various Bluetooth-enabled devices, including wireless headphones.
2. How do I sync my wireless headphones to my Mac?
To sync your wireless headphones to your Mac:
- Make sure your wireless headphones are turned on and in pairing mode. Consult the user manual for specific instructions on how to enter pairing mode.
- On your Mac, click on the Apple menu in the top-left corner of the screen and select “System Preferences.”
- Within System Preferences, click on “Bluetooth.”
- Ensure that Bluetooth is turned on by checking the box next to “Turn Bluetooth On.”
- Your Mac will start scanning for nearby Bluetooth devices. Once your wireless headphones appear in the list of available devices, click on them to initiate the pairing process.
- Follow any additional on-screen prompts to complete the pairing process and establish a connection between your wireless headphones and your Mac.
3. What if my wireless headphones are not showing up in the list of available devices?
If your wireless headphones are not appearing in the list of available devices on your Mac, make sure they are in pairing mode and are within close proximity to your computer. You may also try turning Bluetooth off and on again on your Mac or restarting both your headphones and your Mac and attempting the pairing process again.
4. Can I connect multiple pairs of wireless headphones to my Mac simultaneously?
In most cases, Mac computers support connecting multiple Bluetooth devices simultaneously. However, the ability to connect multiple pairs of wireless headphones to your Mac depends on the specific model and its Bluetooth capabilities. Consult the documentation or support resources for your Mac to determine if it supports simultaneous connections with multiple headphones.
5. How can I switch between multiple pairs of connected wireless headphones on my Mac?
If you have multiple pairs of wireless headphones connected to your Mac, you can switch between them by following these steps:
- Click on the Bluetooth icon in the menu bar at the top-right corner of your screen.
- A dropdown menu will appear, showing a list of currently connected Bluetooth devices.
- Find the desired pair of headphones and select them from the list.