
If you’ve ever wondered how to take apart a Microsoft wireless mouse, you’ve come to the right place! Microsoft wireless mice are popular for their sleek design, ergonomic comfort, and reliable performance. However, there may be times when you need to disassemble your mouse for cleaning, repairing, or replacing certain components.
In this comprehensive guide, we will walk you through the step-by-step process of disassembling a Microsoft wireless mouse. Whether you’re a tech enthusiast, a DIYer, or simply curious about the inner workings of your mouse, this article will provide you with valuable insights and practical tips. So, grab your tools and get ready to dive into the fascinating world of Microsoft wireless mouse disassembly!
Inside This Article
- Tools Needed
- Step 1: Removing the Battery
- Step 2: Unscrewing the Bottom Cover
- Step 3: Disconnecting the Circuit Board
- Step 4: Removing the Buttons and Scroll Wheel
- Step 5: Disassembling the Mouse Shell
- Step 6: Cleaning and Maintenance
- Step 7: Reassembling the Mouse
- Conclusion
- FAQs
Tools Needed
When it comes to taking apart a Microsoft wireless mouse, having the right tools at your disposal can make the process much easier. Here’s a list of tools you’ll need to successfully disassemble your mouse:
- Small Phillips screwdriver: This will be used to unscrew the bottom cover of the mouse.
- Plastic prying tool: A plastic prying tool will be handy for safely disconnecting the circuit board and removing the mouse shell.
- Tweezers: Tweezers can be useful for delicately maneuvering small components and wires.
- Cleaning cloth or cotton swabs: These will help you clean the various components of the mouse.
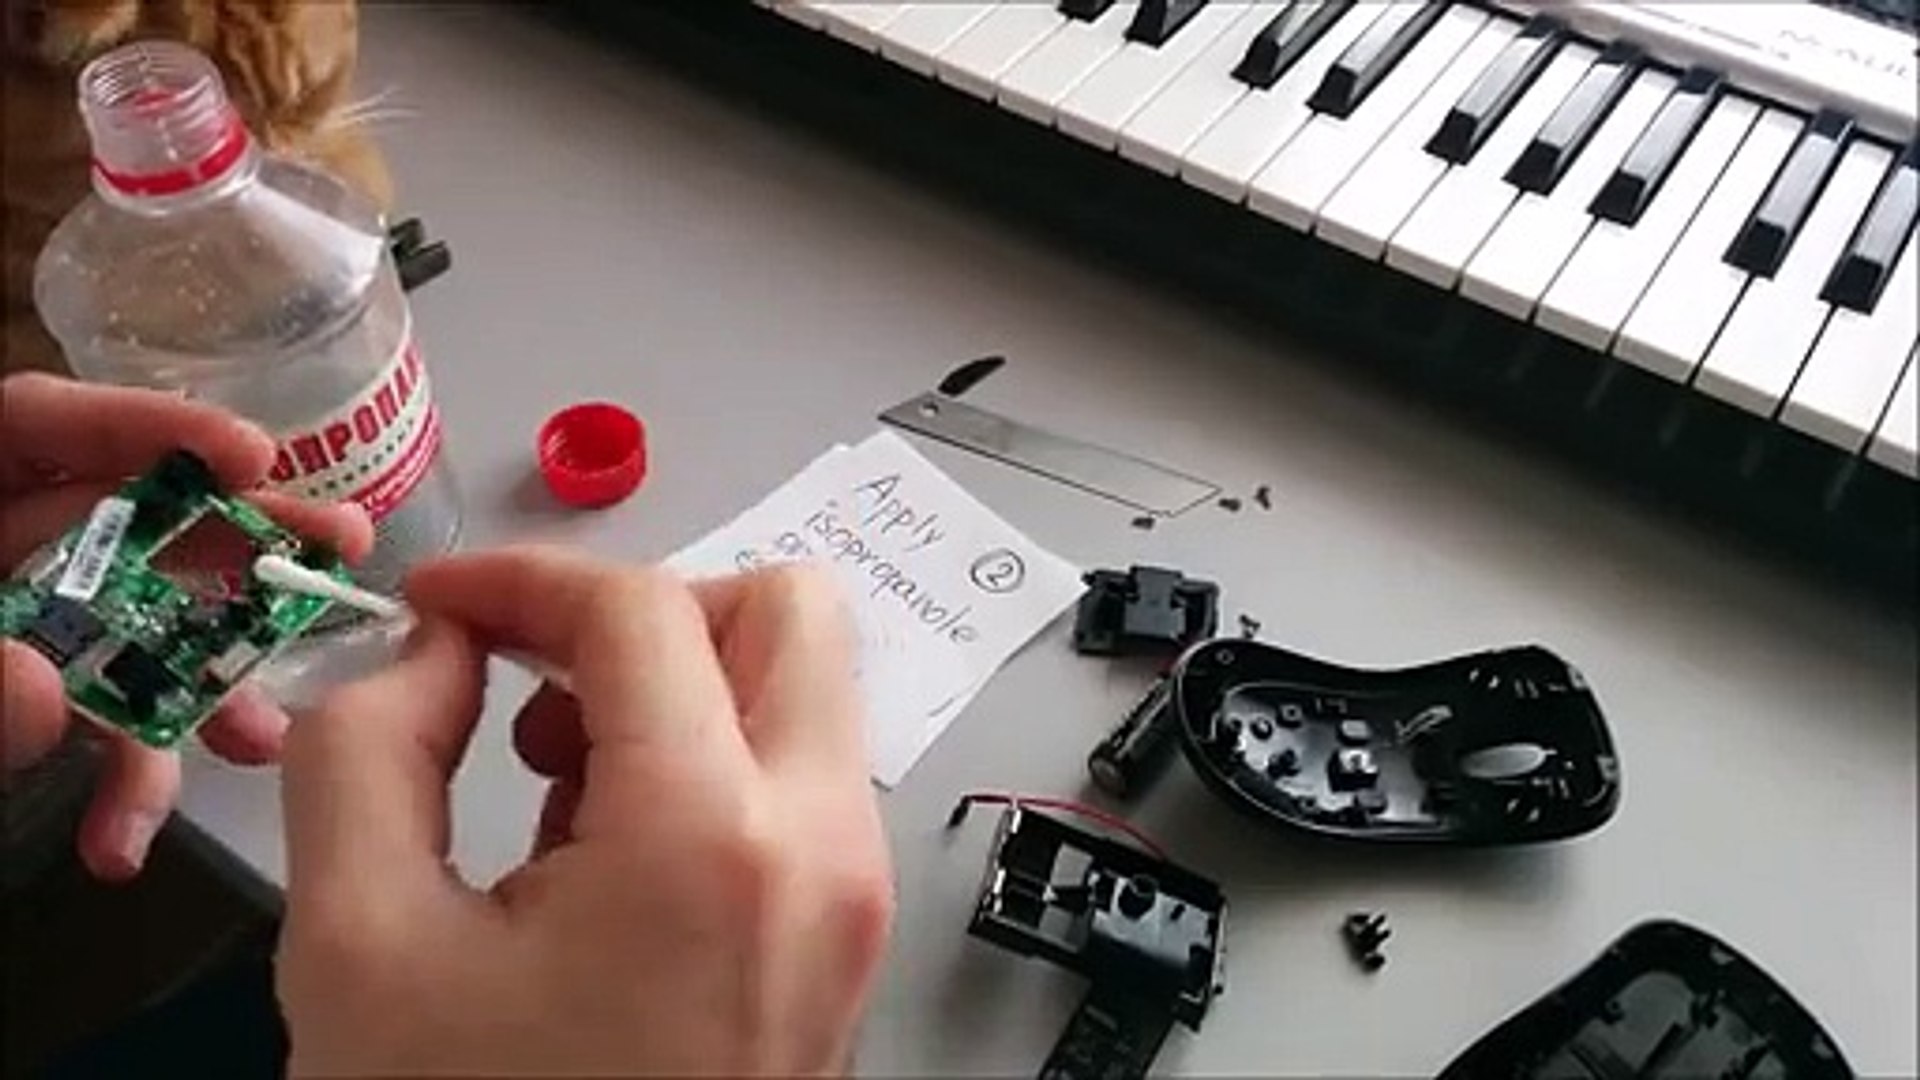
- Isopropyl alcohol: Isopropyl alcohol is an effective cleaning agent that can be used to remove any dirt or grime.
- Container or tray: Having a container or tray to hold the tiny screws and components as you disassemble the mouse will prevent them from getting lost.
Make sure you have all these tools ready before you begin the disassembly process. It’s always best to work in a well-lit and clutter-free area to ensure you don’t lose any small parts.
Step 1: Removing the Battery
If you’re looking to take apart your Microsoft wireless mouse, the first step is to remove the battery. This is a crucial step as it will prevent any damage to the internals of the mouse and ensure your safety.
To remove the battery, turn the mouse upside down and locate the battery compartment. Most Microsoft wireless mice have a small latch or button that releases the compartment. Press or slide this latch to open the battery compartment.
Once the battery compartment is open, carefully remove the battery. It’s important to handle the battery with care and not to force it out, as this can lead to damage. If you’re unsure about how to remove the battery, consult the user manual for your specific model of Microsoft wireless mouse.
After you have successfully removed the battery, you can proceed to the next step of disassembling your Microsoft wireless mouse. Remember to keep the battery in a safe place, as you will need it later when you reassemble the mouse.
Step 2: Unscrewing the Bottom Cover
Once you have removed the battery, you can proceed to unscrew the bottom cover of your Microsoft wireless mouse. This step is crucial as it will grant you access to the inner components of the mouse.
Now, you will need a small screwdriver, preferably a Phillips-head screwdriver, to remove the screws securing the bottom cover. Take a close look at the bottom of your mouse and identify the screws. They are usually small and may be hidden beneath rubber pads or labels.
Gently apply pressure to the screwdriver and rotate it counterclockwise to loosen and remove each screw. Be careful not to use excessive force, as it may damage the screws or the mouse casing. Keep the screws in a secure place to avoid misplacing them.
Once you have successfully removed all the screws, the bottom cover should be loose and easily detachable. Slowly pry open the bottom cover using your fingers or a small flat-head screwdriver, being mindful not to damage any internal components.
As you remove the bottom cover, you may notice that some mice have additional clips or latches securing the cover. If you encounter these, carefully unclip or unlatch them to detach the cover completely.
Now that the bottom cover is removed, you can set it aside and proceed with the next steps of disassembling your Microsoft wireless mouse.
Step 3: Disconnecting the Circuit Board
Disconnecting the circuit board is an important step in taking apart a Microsoft wireless mouse. The circuit board controls the function of the mouse and is connected to various components. To disconnect it, follow these steps:
1. Begin by locating the circuit board inside the mouse. It is typically found near the buttons and scroll wheel, housed on a small platform or attached to the bottom shell.
2. Take note of the connections between the circuit board and other components, such as the buttons and scroll wheel. These connections may be in the form of cables or ribbon connectors.
3. Carefully detach the cables or ribbon connectors from the circuit board. This can be done by gently pulling them away from the connectors. Take your time to avoid damaging any wires or connectors.
4. If the connectors are secured with locks or tabs, use a small, flat-head screwdriver or a pair of tweezers to release them. Be cautious not to apply too much force to prevent any breakage.
5. Once the connections are disconnected, you can now remove the circuit board from the mouse. Lift it carefully, ensuring that no other components are still attached to it.
6. Set the circuit board aside in a safe and clean location. It is essential to handle it with care as it is a delicate electronic component.
Disconnecting the circuit board allows you to access other parts of the mouse for cleaning, repair, or replacement. Remember to keep track of the screws and components you remove during the disassembly process to ease reassembly later on.
Continue to the next step to learn how to remove the buttons and scroll wheel from the mouse.
Step 4: Removing the Buttons and Scroll Wheel
Now that you have successfully removed the bottom cover and disconnected the circuit board, it’s time to tackle the buttons and scroll wheel. These components are responsible for the mouse’s primary functions and may require cleaning or replacement if they are not working properly.
Before you begin, make sure you have a small Phillips-head screwdriver and a pair of tweezers or a plastic prying tool. These tools will help you safely remove the buttons and scroll wheel without causing any damage.
Start by carefully examining the area around the buttons and scroll wheel. You may notice small screws or clips that hold them in place. Use your screwdriver to remove any screws, and gently pry off any clips using the tweezers or prying tool.
Once the buttons and scroll wheel are loose, you can safely lift them out of the mouse’s body. Take note of their position and orientation, as you will need to reassemble them correctly later on.
Inspect the buttons and scroll wheel for any dirt, debris, or signs of wear and tear. If necessary, clean them with a soft cloth dipped in isopropyl alcohol to remove any buildup that may be affecting their functionality.
If you notice any damage or non-functioning buttons or scroll wheel, it’s best to replace them with genuine Microsoft replacement parts. You can usually find these parts online or at electronics stores.
Once you have cleaned or replaced the buttons and scroll wheel, you can proceed to the next step of disassembling the mouse shell.
Step 5: Disassembling the Mouse Shell
Disassembling the mouse shell is a crucial step in taking apart a Microsoft wireless mouse. The mouse shell is the outer casing of the mouse that houses all the internal components. By carefully removing the mouse shell, you can access the inner parts of the mouse for cleaning or repair.
To begin, turn the mouse upside down and locate the screws that secure the shell. These screws are usually located on the bottom of the mouse and may require a small Phillips screwdriver to remove. Keep track of the screws, as you will need to put them back in the right places during reassembly.
Once the screws are removed, gently pry apart the mouse shell using a plastic pry tool or a thin, flat object like a credit card. Start at one corner and work your way around the edges, slowly separating the two halves of the mouse shell. Be careful not to use excessive force, as this can damage the plastic or the internal components.
As you separate the shell, you may encounter small clips or tabs that secure the two halves together. Use the pry tool or credit card to carefully release these clips, ensuring they do not break in the process. Take your time and be patient, as disassembling the mouse shell requires precision.
Once the shell is fully disassembled, you will have access to the internal components, such as the circuit board, buttons, and scroll wheel. Take note of their positions and connections before proceeding with any cleaning or repairs. Also, be mindful of any ribbons or cables that may be connecting the components, as you will need to detach them carefully.
Remember to take pictures or make notes of the disassembly process to aid in reassembly later. This will help ensure that you put all the components back in their correct places and orientations. It’s also a good practice to clean the mouse shell and all the internal components while they are disassembled, removing any dust or debris that may affect the mouse’s performance.
Disassembling the mouse shell can be a delicate process, but with the right tools and caution, you can do it successfully. Just remember to take your time, keep track of the screws and parts, and document the disassembly process. This way, you can confidently proceed with the cleaning or repair, knowing that you can reassemble the mouse correctly when you finish.
Step 6: Cleaning and Maintenance
Keeping your Microsoft wireless mouse clean and well-maintained is crucial for its optimal performance. Over time, dirt, dust, and grime can accumulate on the surface, affecting the smooth movement of the mouse and the responsiveness of the buttons. Follow these steps to effectively clean and maintain your wireless mouse:
1. Start by wiping the external surfaces of the mouse with a soft, lint-free cloth. This will help remove any loose dirt or dust particles that may have settled on the mouse body.
2. For more stubborn stains or dirt buildup, dampen a cloth or cotton swab with isopropyl alcohol or a mild cleaning agent. Gently scrub the affected areas, taking care not to apply excessive pressure that may damage the mouse’s components.
3. Pay special attention to the gaps and crevices around the buttons, as these are common areas where dirt and debris can accumulate. Use a toothpick or a soft brush to carefully dislodge any particles that may be trapped in these areas.
4. If the mouse has removable buttons or a scroll wheel, detach them to clean them separately. Soak them in warm soapy water and scrub them gently with a soft brush. Rinse them thoroughly and allow them to dry completely before reattaching them to the mouse.
5. Do not submerge the entire mouse in water, as this can damage the internal components. Instead, use a slightly damp cloth or cotton swab to clean the sensor and any other hard-to-reach areas.
6. Once you have cleaned all the components, ensure they are completely dry before reassembling the mouse. Moisture can cause damage to the internal circuitry, so it’s essential to wait until everything is thoroughly dried.
7. Finally, after reassembling the mouse, test its functionality to ensure that all buttons and the scroll wheel are working correctly. If you notice any issues, double-check the connections and repeat the cleaning process if necessary.
By regularly cleaning and maintaining your Microsoft wireless mouse, you can extend its lifespan and enjoy a smooth and accurate cursor movement. This simple maintenance routine helps prevent unnecessary wear and tear and ensures that your mouse continues to perform at its best.
Step 7: Reassembling the Mouse
Now that you’ve cleaned and maintained the individual components of your Microsoft wireless mouse, it’s time to put everything back together. Follow these steps to reassemble the mouse:
1. Begin by taking the mouse shell and aligning it with the circuit board. Make sure the buttons and scroll wheel are properly positioned before proceeding.
2. Gently press the shell onto the circuit board, ensuring that all the screw holes on the shell line up with the corresponding holes on the board. Take care not to force anything or apply too much pressure.
3. Once the shell is in place, you can start securing it by replacing the screws you removed earlier. Use the appropriate screwdriver to tighten them, but remember not to overtighten as it could damage the components.
4. After the shell is securely attached, it’s time to reconnect the circuit board. Locate the connector on the board and carefully plug it back into its socket on the main circuit board. Ensure a snug fit, but avoid bending or misaligning the connector pins.
5. Now that the circuit board is reconnected, it’s time to reattach the buttons and scroll wheel. Slide them back into their designated slots and ensure they are properly seated. Give them a gentle press to check for any looseness or wobbling.
6. Lastly, insert the battery back into its compartment. Make sure the battery is inserted correctly, observing the positive and negative markings on the battery as well as the compartment. Close the battery cover securely to keep the battery in place.
7. It’s time to test your reassembled mouse. Turn it on and check if all the buttons, scroll wheel, and the tracking function are working correctly. Move the cursor around to verify smooth tracking and responsiveness.
And there you have it! Your Microsoft wireless mouse is now reassembled and ready to be used. Remember, if you encounter any issues or problems during reassembly or testing, you can always refer back to the previous steps or seek assistance from Microsoft support.
Conclusion
In conclusion, taking apart a Microsoft Wireless Mouse can be a useful skill to have when troubleshooting or repairing the device. By following the steps outlined in this article, you can safely disassemble the mouse and gain access to its internal components.
Remember to approach the task with caution and care, as any mishandling can result in permanent damage to the device. It is also important to note that disassembling the mouse may void any warranty that may be in place, so proceed at your own risk.
However, with the right tools and a gentle touch, you can successfully dismantle the Microsoft Wireless Mouse and potentially resolve any issues you may be experiencing. Just be sure to take note of the steps and follow them in reverse order when reassembling the mouse.
By mastering the process of disassembling and reassembling a Microsoft Wireless Mouse, you can gain a deeper understanding of its inner workings and have the confidence to troubleshoot and repair it yourself when needed.
FAQs
1. How do I take apart a Microsoft wireless mouse?
To take apart a Microsoft wireless mouse, carefully remove the battery cover by sliding it off. Next, remove the battery to access the screws holding the mouse together. Use a small Phillips screwdriver to unscrew the screws and gently separate the top and bottom halves of the mouse casing. Be cautious while working with delicate internal components, and remember to exercise patience and precision.
2. Can I clean the internal components of a wireless mouse?
While it is not recommended to clean the internal components of a wireless mouse unless absolutely necessary, you can clean the external surfaces and buttons using a soft, lint-free cloth lightly dampened with a mild cleaning solution. Avoid getting any liquid inside the mouse to prevent damage to the electronics.
3. What should I do if my Microsoft wireless mouse stops working?
If your Microsoft wireless mouse stops working, try the following solutions:
– Make sure the batteries are inserted correctly and have enough charge.
– Verify that the wireless receiver is properly connected to your computer.
– Check if there is any physical obstruction between the mouse and the receiver.
– Try reconnecting the mouse to the receiver by pressing the connect button on both devices.
– If all else fails, try replacing the batteries or connecting the mouse to another computer to determine if the issue is with the mouse or the computer.
4. How do I replace the batteries in a Microsoft wireless mouse?
To replace the batteries in a Microsoft wireless mouse, locate the battery compartment typically located on the underside of the mouse. Slide or press the battery cover to open it and remove the old batteries. Insert fresh batteries, making sure to align them according to the polarity markings. Close the battery cover and the mouse should be ready to use.
5. Can I use a Microsoft wireless mouse with a different brand of receiver?
Microsoft wireless mice are designed to work specifically with their compatible receivers. However, some Microsoft wireless mice may have universal compatibility with other brand receivers that support the same wireless technology. It is recommended to use the original receiver that came with the mouse for optimal performance. If you need to replace the receiver, contact Microsoft support for assistance.