
In today’s digital world, we accumulate vast amounts of data on our devices, from photos and videos to documents and files. As our data storage needs grow, it becomes essential to find a reliable and convenient way to transfer and backup our data. This is where an external hard drive comes into play. An external hard drive is a portable storage device that allows you to store and access your data outside of your computer or smartphone. In this article, we will explore the step-by-step process of transferring data to an external hard drive, ensuring that your valuable information is safely stored and easily accessible whenever you need it. Whether you want to free up space on your device, create a backup of your data, or simply have a portable option for accessing your files, learning how to transfer data to an external hard drive is a valuable skill that can simplify your digital life.
Inside This Article
- Choosing the Right External Hard Drive
- Connecting the External Hard Drive
- Transferring Data from Computer to External Hard Drive
- Safely Ejecting the External Hard Drive
- Conclusion
- FAQs
Choosing the Right External Hard Drive
When it comes to selecting an external hard drive, there are a few key factors to consider. Taking the time to choose the right one will ensure that you have ample storage space and reliable performance for your data transfer needs. Here are some important points to keep in mind:
Storage Capacity: The first thing to think about is how much storage space you require. Consider the types of files you will be transferring and determine the appropriate capacity. Whether you need a few hundred gigabytes or multiple terabytes, there are external hard drives available to meet your needs.
Connectivity Options: Another crucial consideration is the connectivity options offered by the external hard drive. USB 3.0 and USB-C are the most common options available today, offering fast transfer speeds and compatibility with various devices. Make sure the drive you choose has the appropriate connection ports for your computer or device.
Drive Type: External hard drives come in different types, including HDD (hard disk drive) and SSD (solid-state drive). HDDs provide more storage space at a lower cost, while SSDs offer faster performance and better durability. Consider your budget and performance requirements when deciding between the two.
Portability: If you need to transfer data on the go or frequently move your external hard drive between different locations, portability is a vital factor. Look for compact and lightweight drives that are easy to carry and come with protective features like shock resistance or rugged casing.
Brand Reputation and Reviews: It’s always wise to consider the reputation of the brand and read reviews from other users before making a purchase. Look for reliable and reputable brands that have a track record of producing quality external hard drives.
Taking the time to evaluate these factors and choose the right external hard drive will ensure that your data transfer process is smooth and efficient. Now, let’s move on to the next step – connecting the external hard drive.
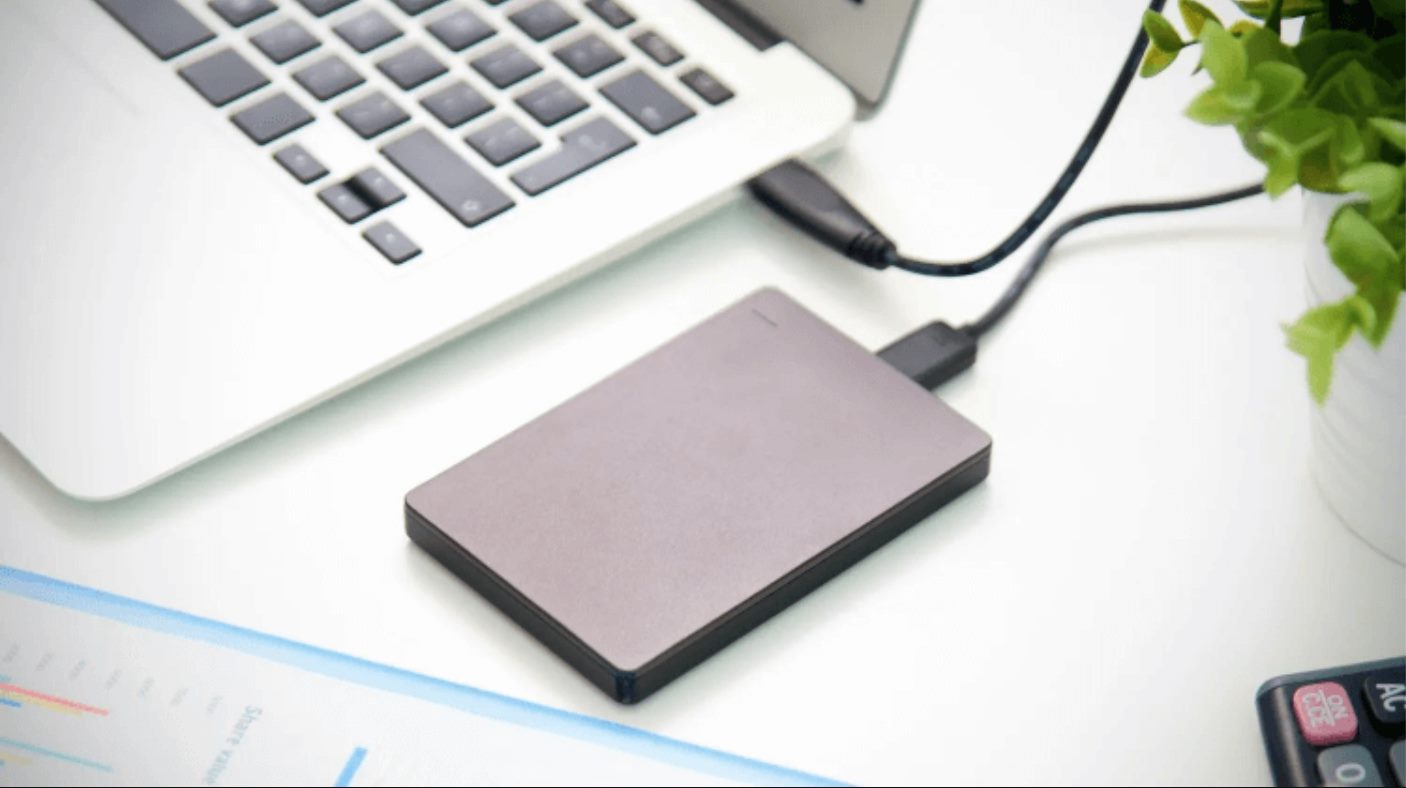
Connecting the External Hard Drive
Once you have chosen the right external hard drive for your needs, it’s time to connect it to your computer. Follow these simple steps to ensure a seamless connection:
1. Check the compatibility: Before connecting the external hard drive, make sure that it is compatible with your computer. Most external hard drives are compatible with both Windows and Mac operating systems, but double-check the specifications to avoid any compatibility issues.
2. Choose the appropriate cable: External hard drives usually come with a USB cable for connection. Depending on the generation of USB your computer supports, you may need to choose between a USB-A, USB-B, USB-C, or Thunderbolt cable. Refer to the documentation of your external hard drive and computer to determine the cable you need.
3. Connect the cable: Connect one end of the cable to the external hard drive and the other end to an available USB port on your computer. Ensure that the connection is secure to avoid any data transfer interruptions.
4. Power on the external hard drive: Some external hard drives require an additional power source, while others draw power directly from the USB port of the computer. If your external hard drive needs a power source, connect it to a power outlet using the provided power cord.
5. Wait for the computer to recognize the hard drive: Once the external hard drive is connected and powered on, your computer should automatically detect it. Depending on your operating system, you may receive a notification or see the external hard drive listed in the file explorer or finder window.
6. Check the drive status: Open the file explorer or finder window and look for the external hard drive. It should be listed as a separate drive with a unique name. Ensure that it is recognized and appears as a functional drive without any error messages.
7. Set up the external hard drive (if required): Some external hard drives may require initial setup or formatting before they can be used. Follow the instructions provided by the manufacturer to set up the drive according to your preferences.
Once you have successfully connected the external hard drive to your computer, you are ready to transfer data from your computer to the external storage device. Keep in mind that it’s essential to safely eject the external hard drive after data transfer to prevent any potential data corruption.
Transferring Data from Computer to External Hard Drive
Once you’ve connected your external hard drive to your computer, it’s time to transfer your data. The process is quite straightforward and can be done in a few simple steps. Follow the guide below to transfer data from your computer to an external hard drive:
Step 1: Open the File Explorer (Windows) or Finder (Mac)
First, open the file management system on your computer. On Windows, this is called the File Explorer, while on Mac, it’s called the Finder. You can usually find the File Explorer or Finder icon in your taskbar or dock.
Step 2: Locate the Files or Folders You Want to Transfer
Navigate to the files or folders that you want to transfer to your external hard drive. You can do this by browsing through the different directories on your computer. You can also use the search function to find specific files or folders quickly.
Step 3: Select and Copy the Files or Folders
Once you’ve located the files or folders you want to transfer, select them by clicking on them. If you want to select multiple files or folders, you can hold down the Ctrl key (Windows) or Command key (Mac) while clicking on the items. Then, right-click on the selected items and choose “Copy” from the context menu that appears.
Step 4: Paste the Files or Folders to the External Hard Drive
Now, navigate to the external hard drive in the File Explorer or Finder. It should be listed as a separate drive or volume. Once you’ve reached the external hard drive, right-click on an empty space and choose “Paste” from the context menu. Alternatively, you can use the keyboard shortcut Ctrl+V (Windows) or Command+V (Mac) to paste the files or folders.
Step 5: Monitor the Transfer Progress
Depending on the size of the files or folders you’re transferring, it may take some time to complete the transfer. Keep an eye on the progress bar or transfer status indicator to monitor the transfer process. It’s important to avoid disconnecting the external hard drive or shutting down the computer while the transfer is in progress.
Step 6: Verify the Data Transfer
After the transfer is complete, double-check the external hard drive to ensure that the files or folders have been successfully transferred. Open the external hard drive in the File Explorer or Finder and locate the transferred data. You can open and preview the files to confirm their integrity.
Step 7: Safely Eject the External Hard Drive
Once you’ve finished transferring the data and confirmed its integrity, it’s essential to safely eject the external hard drive from your computer. Right-click on the external hard drive in the File Explorer or Finder and choose the “Eject” option. This ensures that all data is written to the drive and reduces the risk of data corruption.
Following these steps will allow you to transfer data from your computer to an external hard drive seamlessly. Whether you’re backing up important files or simply freeing up space on your computer, an external hard drive is a valuable tool for data storage and organization.
Safely Ejecting the External Hard Drive
After successfully transferring your data to the external hard drive, it’s important to safely eject it from your computer to avoid any potential data corruption or loss. Following the proper procedure ensures that all files are closed and the drive is disconnected safely without any damage to the data.
To safely eject the external hard drive, follow these steps:
- Close any open files or applications: Before ejecting the external hard drive, make sure that you’ve closed any files or applications that are currently accessing the drive. This prevents any data conflicts or potential errors during the ejection process.
- Save your work: Ensure that you’ve saved any pending work or changes you’ve made to your files. This ensures that you don’t lose any unsaved data when disconnecting the hard drive.
- Locate the “Safely Remove Hardware” or “Eject” icon: Look for the icon in your system tray or menu bar that represents the external hard drive. It may appear as a USB symbol or a rectangular icon with an arrow pointing upwards or a small eject symbol.
- Click on the “Safely Remove Hardware” or “Eject” icon: Once you’ve located the icon, click on it to open a menu or dialog box that lists the connected devices.
- Select the external hard drive: From the list of connected devices, locate and select the external hard drive that you want to eject.
- Confirm the ejection: After selecting the external hard drive, you’ll typically see a confirmation prompt asking if you want to safely eject the drive. Click on the “Eject,” “Safely Remove,” or “Disconnect” option to proceed.
- Wait for the confirmation message: Once you’ve clicked on the appropriate option, wait for a confirmation message that indicates it is safe to disconnect the external hard drive. This message may appear as a notification or pop-up on your screen.
- Physically disconnect the external hard drive: After receiving the confirmation message, you can now safely disconnect the external hard drive from your computer. Carefully unplug the USB or Thunderbolt cable from the computer or remove the drive from the docking station, depending on the connection method.
By following these steps, you can ensure the safe removal of your external hard drive without risking any data loss or corruption. Remember, it’s always better to take a few extra moments to eject the drive properly rather than facing potential data damage.
Conclusion
In conclusion, transferring data to an external hard drive is a simple and effective way to backup and store important files. It provides an additional layer of protection against data loss and allows for easy access to files when needed. Whether you are looking to free up space on your computer or keep your files safe from potential hardware failure, an external hard drive is a reliable solution.
Remember to follow the steps outlined in this guide to ensure a smooth and successful transfer of data. Don’t forget to properly eject the external hard drive and store it in a safe place to prevent any physical damage or loss of data.
With the convenience and affordability of external hard drives, it is a wise investment to safeguard your valuable digital assets. So, whether you are a professional who relies on large amounts of data or a casual user looking to protect your personal files, consider transferring your data to an external hard drive for added peace of mind.
FAQs
1. Can I transfer data from my computer to an external hard drive?
Yes, you can transfer data from your computer to an external hard drive. External hard drives provide additional storage space for your files, allowing you to free up space on your computer’s internal storage.
2. How do I transfer data to an external hard drive?
To transfer data to an external hard drive, you can follow these steps:
– Connect the external hard drive to your computer using a USB cable.
– Open File Explorer (Windows) or Finder (Mac) to access your files.
– Select the files or folders you want to transfer.
– Drag and drop the selected files or folders into the external hard drive’s folder.
– Wait for the transfer to complete before disconnecting the external hard drive.
3. What types of data can I transfer to an external hard drive?
You can transfer various types of data to an external hard drive, including documents, photos, videos, music, and software installations. External hard drives are versatile storage devices that can accommodate a wide range of file types.
4. Is it safe to transfer sensitive data to an external hard drive?
Yes, it is generally safe to transfer sensitive data to an external hard drive. However, it is recommended to take additional precautions to protect your data. You can use encryption tools or password-protect your files/folders before transferring them to the external hard drive.
5. Can I use an external hard drive to transfer data between different computers?
Yes, you can use an external hard drive to transfer data between different computers. Simply connect the external hard drive to one computer, transfer the files or folders onto it, and then connect it to the other computer to copy the data onto it. This method is an efficient way to transfer large amounts of data between computers.