
Are you tired of your iPhone constantly nagging you about data protection? Do you find it frustrating to have to enter your passcode every time you want to access your device? Well, you’re not alone. Many iPhone users have wondered how to turn off data protection on their devices to save time and avoid the hassle of constantly entering a passcode.
In this article, we will guide you through the steps to turn off data protection on your iPhone. Whether you want to disable it temporarily or permanently, we’ve got you covered. Say goodbye to the constant passcode prompts and regain control over your device’s security settings. So, without further ado, let’s dive into the process of turning off data protection on your iPhone!
Inside This Article
- Why Turn Off Data Protection on iPhone?
- How to Disable Data Protection on iPhone
- Step 1: Unlock your iPhone
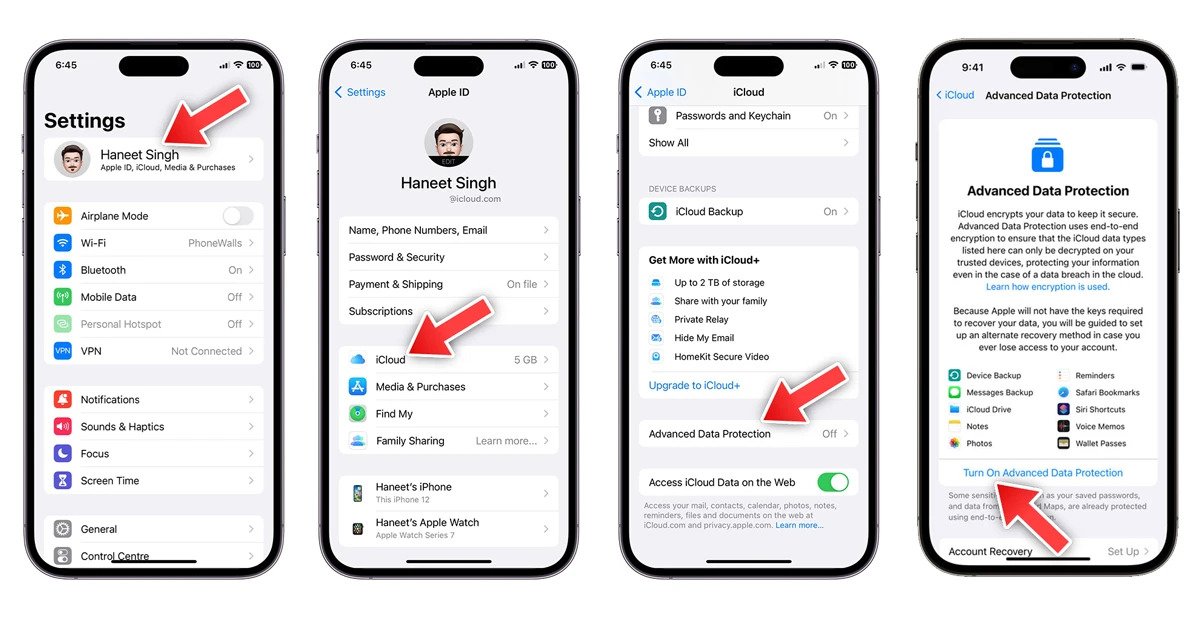
- Step 2: Go to Settings
- Step 3: Access Touch ID & Passcode (or Face ID & Passcode)
- Step 4: Enter your Passcode (or use Face ID)
- Step 5: Disable Data Protection
- Step 6: Confirm the action
- Step 7: Data Protection is turned off
- Conclusion
- FAQs
Why Turn Off Data Protection on iPhone?
Your iPhone comes with a built-in feature called “Data Protection” that adds an extra layer of security to your device by encrypting your personal data. This means that even if someone gains unauthorized access to your iPhone, they won’t be able to access your data without your passcode or biometric authentication. However, there may be situations where you might want to temporarily disable data protection on your iPhone.
Here are a few reasons why you might consider turning off data protection on your iPhone:
- Access to locked apps: Some apps on your iPhone may require data protection to be turned off in order to function properly. Disabling data protection can grant you access to these apps without the need to enter your passcode or authenticate with Touch ID or Face ID.
- Transfer large files: When you enable data protection on your iPhone, it encrypts all your data, including large files such as videos or high-resolution photos. If you need to transfer these files to another device or storage medium, disabling data protection can make the process faster and more straightforward.
- Bypass passcode requirements: In certain situations, such as when troubleshooting or performing certain software updates, you may need to bypass the passcode requirements on your iPhone temporarily. Disabling data protection allows you to do this without permanently changing your passcode settings.
- Improve performance: Encryption and decryption processes can consume a small portion of your iPhone’s processing power, which might have a minute impact on system performance. By turning off data protection, you can potentially improve the overall speed and responsiveness of your device.
- Testing purposes: If you are a developer or involved in testing new software or applications, you may need to disable data protection on your iPhone for testing purposes. This allows you to simulate scenarios and ensure the smooth functioning of your apps.
Remember, turning off data protection will remove the additional layer of security from your iPhone, so it’s important to consider the potential risks and only disable it when absolutely necessary. Make sure to enable data protection again once you have finished your tasks and no longer require it to be disabled.
How to Disable Data Protection on iPhone
If you are looking to disable data protection on your iPhone, you’ve come to the right place. Whether you want to turn off data protection temporarily or permanently, this guide will walk you through the steps to do so. Disabling data protection can have various use cases, such as sharing your device with others or troubleshooting issues. Follow these simple steps to disable data protection on your iPhone:
- Step 1: Unlock your iPhone
- Step 2: Go to Settings
- Step 3: Access Touch ID & Passcode (or Face ID & Passcode)
- Step 4: Enter your Passcode (or use Face ID)
- Step 5: Disable Data Protection
- Step 6: Confirm the action
- Step 7: Data Protection is turned off
The first step is to unlock your iPhone using your passcode or Face ID. This will allow you to access the Settings menu where you can make the necessary changes to disable data protection.
Once your iPhone is unlocked, locate and tap the Settings app on your home screen. The Settings app is represented by a gear icon.
In the Settings menu, scroll down to find the “Touch ID & Passcode” option for iPhones with Touch ID, or “Face ID & Passcode” for iPhones with Face ID. Tap on this option to proceed.
To access the Touch ID & Passcode (or Face ID & Passcode) settings, you will be prompted to enter your passcode or use Face ID to authenticate. Follow the prompts on your screen.
Once you are in the Touch ID & Passcode (or Face ID & Passcode) settings, scroll down to find the “Data Protection” option. By default, it should be enabled. Tap on the toggle switch to turn it off.
A confirmation popup will appear to ensure that you want to turn off data protection. Tap “Turn Off” to proceed.
After confirming the action, data protection will be disabled on your iPhone. You can now use your device without the added data encryption and enjoy unrestricted access to your content.
Remember, disabling data protection removes an extra layer of security from your device. Only disable it if you have a specific need and understand the potential risks involved. If you no longer require data protection to be disabled, you can simply follow the same steps outlined above, but toggle the “Data Protection” option back on.
Now that you know how to disable data protection on your iPhone, you have the flexibility to customize your device’s security settings based on your needs.
Step 1: Unlock your iPhone
To disable data protection on your iPhone, the first step is to unlock your device. If your iPhone is currently locked, you will need to enter your passcode or use Face ID to unlock it.
Unlocking your iPhone gives you access to the device’s settings and allows you to make changes to the security settings, including turning off data protection.
If you are using a passcode to unlock your iPhone, simply press the home button or power button to wake up the device. You’ll be prompted to enter your passcode on the screen. Enter the correct passcode to successfully unlock your iPhone.
If your device has Face ID enabled, gently tap the screen or raise your iPhone to wake it up. The front-facing camera will scan your face and automatically unlock the device if it recognizes you. Ensure that you are looking at the screen and that your face is well-illuminated to improve the accuracy of Face ID.
Once you have successfully unlocked your iPhone, you can proceed to the next step to disable data protection and make the necessary changes to your device’s security settings.
Step 2: Go to Settings
After unlocking your iPhone, the next step in disabling data protection is to navigate to the settings. The settings app is where you can customize various aspects of your device, including security and privacy settings.
To access the settings app, locate the app icon on your iPhone’s home screen. The settings app is represented by a gear icon and is typically found on the first page of the home screen.
Tap on the settings app icon to open the settings menu. This will give you access to a wide range of options to personalize your iPhone and manage its features.
Once you enter the settings menu, you will see a list of different categories. These categories represent different aspects of your device that you can configure. Scroll through the list to find the option that says “Touch ID & Passcode” or “Face ID & Passcode.” The exact wording may vary depending on the iPhone model and iOS version.
Tap on the “Touch ID & Passcode” or “Face ID & Passcode” option to continue.
If prompted, you may need to enter your passcode or use Face ID authentication to access the passcode settings. This is an additional security measure to ensure that only authorized users can modify the data protection settings.
Once you have successfully authenticated, you will be redirected to the passcode settings page, where you can further customize the security settings of your iPhone.
Now that you have successfully reached the passcode settings, you are ready to proceed to the next step in disabling data protection on your iPhone.
Step 3: Access Touch ID & Passcode (or Face ID & Passcode)
Once you have unlocked your iPhone, the next step is to access the settings related to your Touch ID and Passcode (or Face ID and Passcode, depending on the model of your iPhone).
To do this, navigate to the “Settings” app on your iPhone’s home screen. Look for the gear icon, which is a commonly used symbol for settings. Tap on it to open the Settings menu.
Within the Settings menu, you will find various options and categories. Scroll down or use the search bar at the top to locate the option that says “Touch ID & Passcode” (or “Face ID & Passcode” for devices with Face ID). Tap on it to proceed.
At this point, you might be prompted to enter your current Passcode (or authenticate with Face ID) to access the Touch ID & Passcode settings. This is an additional security measure to ensure that only authorized users can make changes to these settings.
Enter your Passcode or use Face ID to proceed. Once authenticated, you will be granted access to the Touch ID & Passcode (or Face ID & Passcode) settings.
In this section, you will be able to configure various options related to your device’s security, including enabling or disabling data protection. The specific options may vary depending on your iPhone model and software version.
Now that you have successfully accessed the Touch ID & Passcode (or Face ID & Passcode) settings on your iPhone, you are ready to move on to the next step and disable data protection, if desired.
Step 4: Enter your Passcode (or use Face ID)
Once you have accessed the Touch ID & Passcode (or Face ID & Passcode) settings, you will be prompted to enter your passcode. This is the numeric code you set up to secure your iPhone. Simply tap on the passcode field and begin typing in the digits of your passcode.
If your iPhone is equipped with Face ID, you can also choose to use that to authenticate yourself instead of entering the passcode manually. Face ID uses advanced facial recognition technology to securely unlock your device. If you have Face ID enabled, simply look at your iPhone and it will recognize your face, granting you access to the passcode settings.
Entering your passcode or using Face ID is an essential step to ensure that only authorized users have access to your device and its sensitive data. It adds an extra layer of security, protecting your personal information from falling into the wrong hands.
Remember to keep your passcode private and avoid using easily guessable combinations. A strong, unique passcode is crucial for maintaining the security of your iPhone and its data.
Step 5: Disable Data Protection
Once you have entered your passcode or used Face ID, you can now proceed to disable the data protection feature on your iPhone. Here’s how you can do it:
1. Scroll down the Touch ID & Passcode (or Face ID & Passcode) menu until you find the option labeled “Data Protection”.
2. Tap on the toggle switch next to the “Data Protection” option to disable it. You will be prompted to enter your passcode again to confirm your action.
3. After confirming, the data protection feature will be turned off, and your iPhone will no longer encrypt your data at rest.
It’s important to note that disabling data protection increases the risk of unauthorized access to your personal information, so it’s recommended to only do this if necessary.
Once data protection is disabled, your iPhone will no longer require a passcode to access your device or its data. This means that anyone who has physical access to your iPhone can easily access your personal information.
If you no longer need to keep your data unprotected, you can follow these steps to enable data protection again.
With data protection turned off, your device may become more vulnerable to potential security threats, such as data theft or unauthorized access. It’s advised to keep your iPhone’s data protection feature enabled for maximum security.
Step 6: Confirm the action
Once you have accessed the “Touch ID & Passcode” (or “Face ID & Passcode”) section in your iPhone’s settings and entered your passcode (or used Face ID), it’s time to confirm the action to disable data protection.
On the “Touch ID & Passcode” (or “Face ID & Passcode”) screen, you will see a toggle switch labeled “Data Protection.” It is usually located under the section where you can enable or disable features like Face ID or Siri when the device is locked.
To disable data protection, simply tap on the toggle switch. Depending on your iPhone model, it may appear gray when data protection is enabled, indicating that you need to slide it to the left to turn it off.
As an added security measure, your iPhone will prompt you to confirm the action. A pop-up message will appear, asking you to either “Disable” or “Cancel” the data protection feature.
If you are absolutely sure that you want to disable data protection, tap on the “Disable” option. However, if you have changed your mind or accidentally accessed this feature, you can tap on “Cancel” to retain the data protection functionality.
Keep in mind that disabling data protection means that your iPhone’s data will be less secure, as it will no longer be protected by encryption when the device is locked. However, it may be necessary to turn off data protection temporarily in certain situations, such as when troubleshooting a device issue or working with certain applications that don’t function well with data encryption.
It is important to make an informed decision and weigh the potential risks before proceeding with the disabling of data protection on your iPhone.
Step 7: Data Protection is turned off
Once you have followed the previous steps to disable data protection on your iPhone, you will receive confirmation that the data protection feature has been successfully turned off.
This means that your iPhone will no longer encrypt the data stored on your device, allowing for easier access and retrieval of your files. Additionally, this also means that your device will be less secure, as your data will no longer be protected by encryption.
It’s important to note that turning off data protection should only be done if you fully understand the implications and are willing to accept the potential risks to your data’s security.
With data protection turned off, you may experience faster data access speeds and improved performance on your device. However, make sure to weigh the benefits against the security trade-off before making this decision.
If you ever change your mind and want to enable data protection again, you can simply follow the same steps outlined in this guide and select the option to enable data protection in the Passcode settings of your iPhone.
Remember, the decision to disable data protection on your iPhone should not be taken lightly. Assess your needs and consider the potential consequences before making any changes to your device’s data security settings.
Conclusion
In conclusion, understanding how to turn off data protection on an iPhone is essential for both privacy and convenience. By disabling data protection, you can gain quicker access to your device and its features without the need to enter your passcode constantly. However, it is crucial to consider the potential risks that come with this action. Turning off data protection leaves your device less secure and susceptible to unauthorized access. It is recommended to only disable data protection in situations where the security risk is minimal or when you are confident in your device’s physical security. Always remember to weigh the benefits and drawbacks before making any changes to your data protection settings. As technology continues to evolve, staying informed and making informed decisions about data protection remains a vital aspect of digital well-being.
FAQs
Q: Can I turn off data protection on my iPhone?
A: Yes, you can turn off data protection on your iPhone. By disabling data protection, you can remove the encryption that safeguards your data. However, it is important to note that doing so will make your data more vulnerable to unauthorized access.
Q: Why would I want to turn off data protection on my iPhone?
A: There are a few reasons why someone might want to turn off data protection on their iPhone. One possible scenario is if you want to transfer data from your iPhone to another device that doesn’t support encrypted files. Another reason could be if you have forgotten your passcode and need to access your data urgently.
Q: How do I turn off data protection on my iPhone?
A: To turn off data protection, follow these steps:
- Go to the “Settings” app on your iPhone.
- Scroll down and tap on “Touch ID & Passcode” or “Face ID & Passcode” depending on your iPhone model.
- Enter your passcode to access the settings.
- Scroll down and find the “Data Protection” option.
- Toggle off the switch next to “Data Protection”.
- You will be prompted to enter your passcode once again to confirm the action.
Q: What are the risks of turning off data protection on my iPhone?
A: Disabling data protection on your iPhone removes the encryption layer that keeps your data secure. This means that your personal information, such as contacts, messages, and sensitive data, will be accessible to anyone who gains access to your device. It is crucial to weigh the potential risks against the need for immediate access to your data before turning off data protection.
Q: Can I turn data protection back on after disabling it?
A: Yes, you can turn data protection back on after disabling it on your iPhone. Simply follow the steps mentioned earlier to access the “Data Protection” option, and toggle on the switch to enable it again. It is recommended to keep data protection enabled to ensure the security of your personal information.