
Welcome to our guide on how to turn on the Netgear wireless adapter! If you’re looking to connect your devices to a wireless network, having a reliable wireless adapter is essential. Netgear is a well-known brand that offers a range of high-quality wireless adapters that provide fast and stable wireless connections. In this article, we will walk you through the steps to turn on your Netgear wireless adapter, so you can start enjoying hassle-free connectivity. Whether you’re a beginner or have some experience with technology, our easy-to-follow instructions will help you get your Netgear wireless adapter up and running in no time. So, let’s dive in and learn how to turn on your Netgear wireless adapter!
Inside This Article
- Step 1: Ensure proper setup
- Step 2: Connect the Netgear wireless adapter
- Step 3: Install the necessary drivers
- Step 4: Turn on the Netgear wireless adapter
- Troubleshooting Tips
- Conclusion
- FAQs
Step 1: Ensure proper setup
Before you can turn on your Netgear wireless adapter, it is essential to ensure that you have the proper setup in place. Here are a few steps to follow to ensure a smooth setup process:
1. Check compatibility: Make sure that your Netgear wireless adapter is compatible with your computer or device. Refer to the manufacturer’s specifications or user manual to confirm compatibility.
2. Gather necessary equipment: Gather all the equipment you need for the setup process. This typically includes the Netgear wireless adapter, a USB cable (if applicable), and any necessary installation discs or drivers.
3. Update your operating system: Ensure that your computer or device is running the latest operating system updates. This will help ensure compatibility with the Netgear wireless adapter and provide optimal performance.
4. Disable built-in Wi-Fi: If your computer or device has built-in Wi-Fi capabilities, it is recommended to disable them before installing the Netgear wireless adapter. This can prevent any potential conflicts or interference.
5. Prepare your network: Make sure your network is set up and functioning properly. Ensure that your modem and router are powered on, and that you have the necessary network credentials (such as the network name and password) handy.
6. Check for interference: Remove any potential sources of interference near your computer or device. This includes other electronic devices, large metal objects, or other wireless devices that may cause signal interference with the Netgear wireless adapter.
By following these steps and ensuring a proper setup, you can proceed to the next step of connecting the Netgear wireless adapter.
Step 2: Connect the Netgear wireless adapter
Now that you have properly set up your Netgear wireless adapter, it’s time to connect it to your device. Follow these simple steps to get your adapter up and running:
1. Locate the USB port on your computer or laptop where you will be connecting the adapter. Make sure it is easily accessible.
2. Take the Netgear wireless adapter and insert it into the USB port. Gently push it in until it is securely connected. You should hear a click or feel a slight resistance when the adapter is properly inserted.
3. Once the adapter is connected, your computer or laptop should automatically recognize it and start the installation process. If prompted, follow the on-screen instructions to complete the installation.
4. It is important to note that some Netgear wireless adapters come with an extension cable. If your adapter includes one, you have the option to use it for better placement and signal strength. Simply connect one end of the extension cable to the adapter and the other end to the USB port on your device.
5. After connecting the Netgear wireless adapter, make sure that your device is connected to a power source. This is especially important if you are using a laptop, as it will ensure uninterrupted power supply to the adapter.
6. Check the status of the adapter. Look for the LED indicator light on the adapter, which will indicate whether it is receiving power and if it is connected to a network.
7. Once the adapter is connected and powered on, you should be ready to enjoy wireless connectivity on your device. You can now proceed to the next step of installing the necessary drivers.
By following these simple steps, you can quickly and easily connect your Netgear wireless adapter to your device. Enjoy the freedom of wireless connectivity and explore all the possibilities it brings!
Step 3: Install the necessary drivers
Installing the necessary drivers for your Netgear wireless adapter is an essential step to ensure its proper functionality. Without the drivers, the adapter may not be recognized by your computer, and you won’t be able to connect to wireless networks.
Here’s a step-by-step guide on how to install the drivers for your Netgear wireless adapter:
- Begin by inserting the installation CD that came with your Netgear wireless adapter into your computer’s CD drive. If your computer doesn’t have a CD drive, you can download the drivers from the Netgear website.
- The installation process should begin automatically. If it doesn’t, navigate to the CD drive in File Explorer and double-click on the setup file to initiate the installation.
- Follow the on-screen instructions provided by the installation wizard. You will be asked to agree to the terms and conditions of the software license agreement. Make sure to read the agreement carefully and click “Next” or “Agree” to proceed.
- Select the destination folder where you want to install the drivers. The default location is usually fine, but you can choose a different folder if you prefer.
- Once you’ve selected the installation folder, click “Next” or “Install” to begin the installation process. The drivers will be copied to your computer.
- After the drivers are installed, you may be prompted to restart your computer. If so, save any unsaved work and click “Restart” to reboot your system.
- Once your computer has restarted, the drivers should be fully installed and ready to use. You can now proceed to the next step and turn on your Netgear wireless adapter.
It’s important to note that if you’re using a newer version of Windows that automatically updates drivers, the installation CD may not be necessary. In such cases, Windows will automatically search for and install the appropriate drivers for your Netgear wireless adapter.
If you encounter any issues during the driver installation process, it’s recommended to visit the Netgear support website or contact their customer support for further assistance.
By following these steps, you’ll be able to successfully install the necessary drivers for your Netgear wireless adapter, ensuring a smooth and hassle-free wireless connectivity experience.
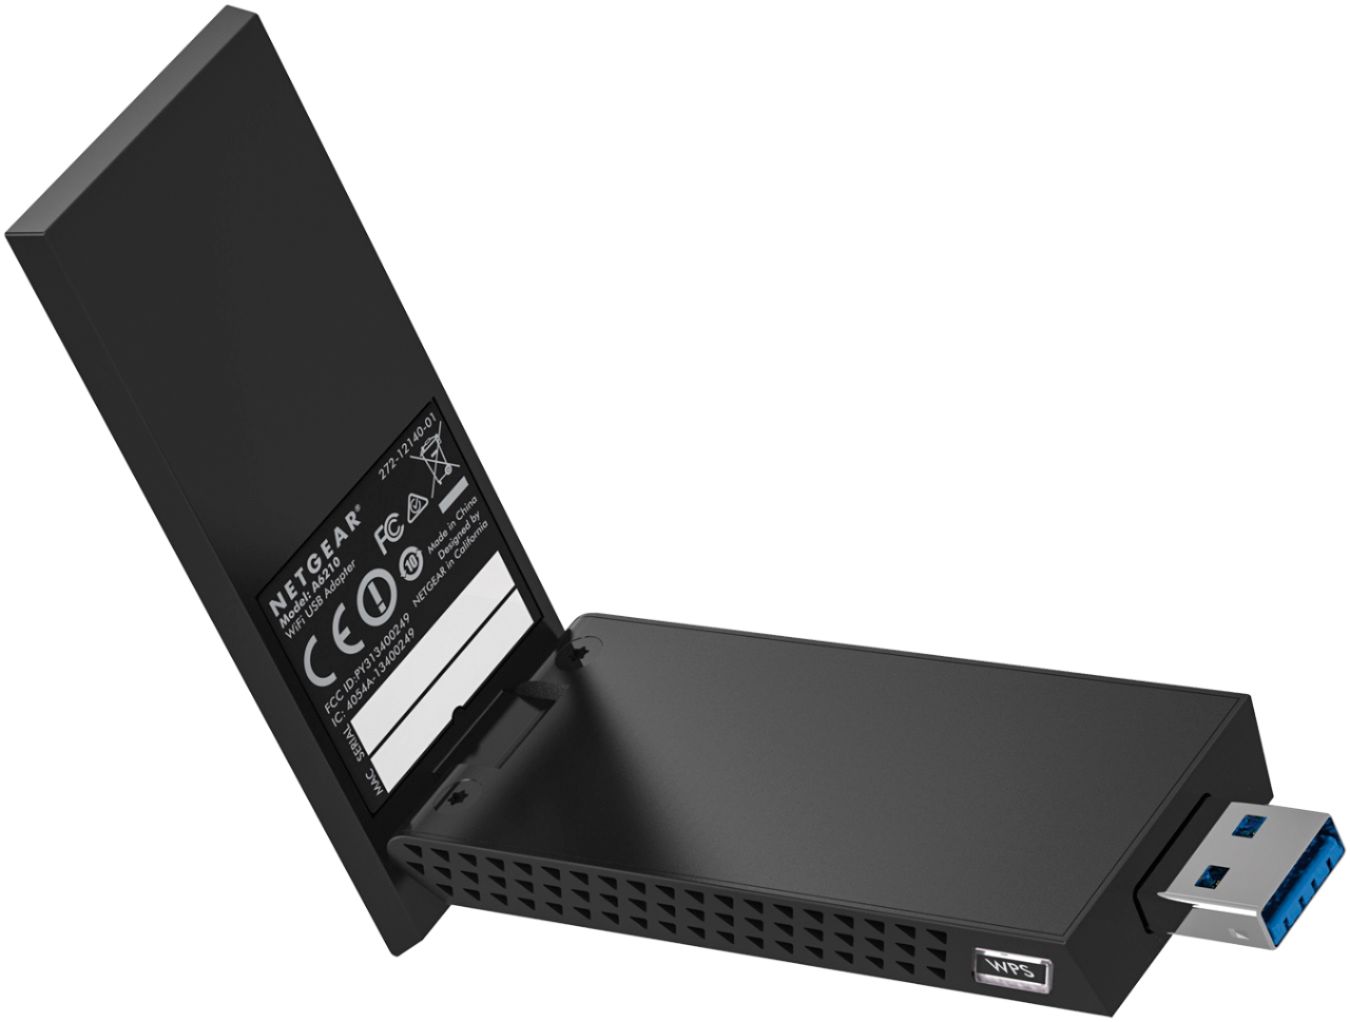
Step 4: Turn on the Netgear wireless adapter
After completing the setup and installing the required drivers, it’s time to turn on your Netgear wireless adapter. Follow the steps below to ensure a smooth and successful activation:
1. Locate the power button or switch: Most Netgear wireless adapters have a power button or switch to turn them on. It is usually located on the side or front of the adapter. Take a moment to locate it before proceeding.
2. Connect the adapter to a power source: Before turning on the adapter, make sure it is plugged into a power source. It can be connected directly to your computer via a USB port or to a power outlet using an AC adapter.
3. Press the power button or slide the switch: Once the adapter is properly connected to a power source, press the power button or slide the switch to turn it on. You should see an indicator light or LED on the adapter, indicating that it is powered on.
4. Wait for the adapter to initialize: After turning on the adapter, give it a few moments to initialize. This process may take a few seconds, and during this time, you’ll notice the adapter establishing a connection with your computer or other devices.
5. Confirm the connection: Once the adapter has finished initializing, check your computer or device to confirm that it recognizes the Netgear wireless adapter. Look for the wireless network icon in the system tray or network settings, and make sure the adapter is listed.
6. Enjoy wireless connectivity: Congratulations! You’ve successfully turned on your Netgear wireless adapter. Now, you can enjoy the benefits of wireless connectivity, whether it’s browsing the internet, streaming videos, or engaging in online gaming.
Remember, if you encounter any issues during this process, refer to the troubleshooting tips provided in this guide or consult the Netgear support resources for further assistance.
Troubleshooting Tips
Despite following the steps to turn on your Netgear wireless adapter, you may encounter some issues along the way. Don’t worry – we’ve got you covered with these troubleshooting tips:
- Check your connections: Ensure that your Netgear wireless adapter is properly connected to your computer or device. Double-check all cables and make sure they are securely plugged in.
- Restart your computer: Sometimes, a simple restart can resolve connectivity issues. Try restarting your computer and see if that helps establish a connection.
- Update drivers: Outdated or incompatible drivers can cause problems with your Netgear wireless adapter. Visit the Netgear website and download the latest drivers for your adapter. Install them and restart your computer.
- Reset your adapter: If all else fails, you can try resetting your Netgear wireless adapter. Look for a small reset button on the adapter and press it for a few seconds. This will restore the adapter’s settings to default.
- Check for interference: Wireless signals can be affected by interference from other devices or obstacles. Ensure that your wireless adapter is placed in an open area away from sources of interference like cordless phones, microwave ovens, and thick walls.
- Verify your network settings: Make sure that your adapter is set to the correct network name (SSID) and password. You can verify these settings by accessing the Netgear adapter’s control panel or using the Netgear Genie software (if available).
- Disable other network connections: If you have other network connections active on your computer, such as Ethernet or Bluetooth, try disabling them temporarily. This can help avoid conflicts and ensure that the wireless adapter is prioritized.
- Check for firmware updates: Netgear regularly releases firmware updates for their wireless adapters. Check the Netgear website for any available updates and install them to ensure optimal performance and compatibility.
- Contact Netgear support: If you’ve exhausted all troubleshooting options and still can’t get your Netgear wireless adapter to turn on, it may be time to reach out to Netgear support. They have specialized technicians who can assist you in resolving any lingering issues.
With these troubleshooting tips, you’ll be well-equipped to tackle any potential problems that may arise while turning on your Netgear wireless adapter. Remember to remain patient and persistent, as connectivity issues can sometimes be resolved with a little bit of troubleshooting. Good luck, and enjoy your wireless browsing experience!
After following the steps in this guide, you should now be able to successfully turn on your Netgear wireless adapter. By turning on your wireless adapter, you will be able to connect to a wireless network and enjoy the benefits of wireless internet access.
Remember, it is important to ensure that you have the necessary drivers installed for your Netgear wireless adapter to work properly. If you encounter any issues during the process, refer to the troubleshooting section in this guide or reach out to Netgear customer support for further assistance.
With your Netgear wireless adapter turned on, you can now enjoy seamless internet connectivity on your device, whether it’s a laptop, desktop, or any other compatible device. Stay connected and make the most out of your wireless network with ease!
FAQs
Q: How do I turn on my Netgear wireless adapter?
A: To turn on your Netgear wireless adapter, follow these steps:
- Locate the power button on the adapter.
- Press and hold the power button for a few seconds.
- Once the adapter powers on, the LED lights will indicate that it is ready for use.
Q: Can I connect multiple devices to my Netgear wireless adapter?
A: Yes, you can connect multiple devices to your Netgear wireless adapter. The adapter acts as a wireless access point, allowing multiple devices to connect to the internet simultaneously. To connect additional devices, simply follow the instructions for connecting a device to a Wi-Fi network and select your Netgear wireless adapter as the network to connect to.
Q: Do I need a special driver to use my Netgear wireless adapter?
A: Yes, you will need to install the appropriate driver for your Netgear wireless adapter to ensure proper functionality. Most Netgear wireless adapters come with a driver installation CD or include instructions on how to download the driver from the Netgear website. Follow the instructions provided with your adapter to install the driver on your computer.
Q: Can I use my Netgear wireless adapter with a Mac computer?
A: Yes, Netgear offers wireless adapters that are compatible with Mac computers. When choosing a Netgear wireless adapter for your Mac, make sure to check the product specifications to ensure compatibility. The installation process for a Netgear wireless adapter on a Mac is similar to that of a Windows computer, but you may need to download the Mac-specific driver from the Netgear website.
Q: How do I troubleshoot connectivity issues with my Netgear wireless adapter?
A: If you are experiencing connectivity issues with your Netgear wireless adapter, try the following troubleshooting steps:
- Ensure that the adapter is properly connected to your computer or device.
- Check that the adapter’s power and Wi-Fi indicators are on and functioning correctly.
- Verify that your computer or device is within range of the wireless adapter’s signal.
- Try restarting your computer or device and the wireless adapter.
- If the issue persists, consult the user manual or visit the Netgear support website for further assistance.