Posting content is now made more comprehensive and convenient than ever with Instagram Creator Studio. With this app, business owners, influencers, and just about anyone can monetize their content, gain insights into their posts’ reach and engagement, manage and schedule posts, and a whole lot more.
Although there are many third-party applications for scheduling posts, Instagram Creator Studio offers an unparalleled experience. And since Instagram is now acquired by Facebook, it’s easier to transition between these two platforms, especially if you’re using them for your social media presence.
In this guide, we teach you how to get started and schedule posts using the Instagram Creator Studio.
What You Need to Connect Your Instagram Account to Creator Studio
Before you start with all of it necessary configurations make sure you already have the following prerequisites:
- A verified Instagram account and a Facebook Page with your role set as an Administrator.
- Through Instagram’s Settings menu, switch your Instagram account to a Creator Account or a Business Profile, depending on the nature of your business or project.
- Your Facebook Page must be connected/synced with your Instagram account. With the associated Facebook Page, users can either set the settings to unpublished & invisible to the public or published and public mode.
Ways to Connect Instagram Accounts to Creator Studio
Given that you already completed the prerequisites, you’re good to go with using Instagram Creator Studio to schedule your posts. The first step is to access Creator Studio using a desktop or laptop. To access it, click on the Instagram icon on the top menu. The succeeding steps will depend on the relationship between your Facebook Pages and Instagram accounts.
Here are the possible ways to connect your Instagram account to the Creator Studio:
Connect to a Page
If you already have an Instagram account and Facebook Page synced with one another, click on the “Connect to a Page” to get started.
Connect to Instagram
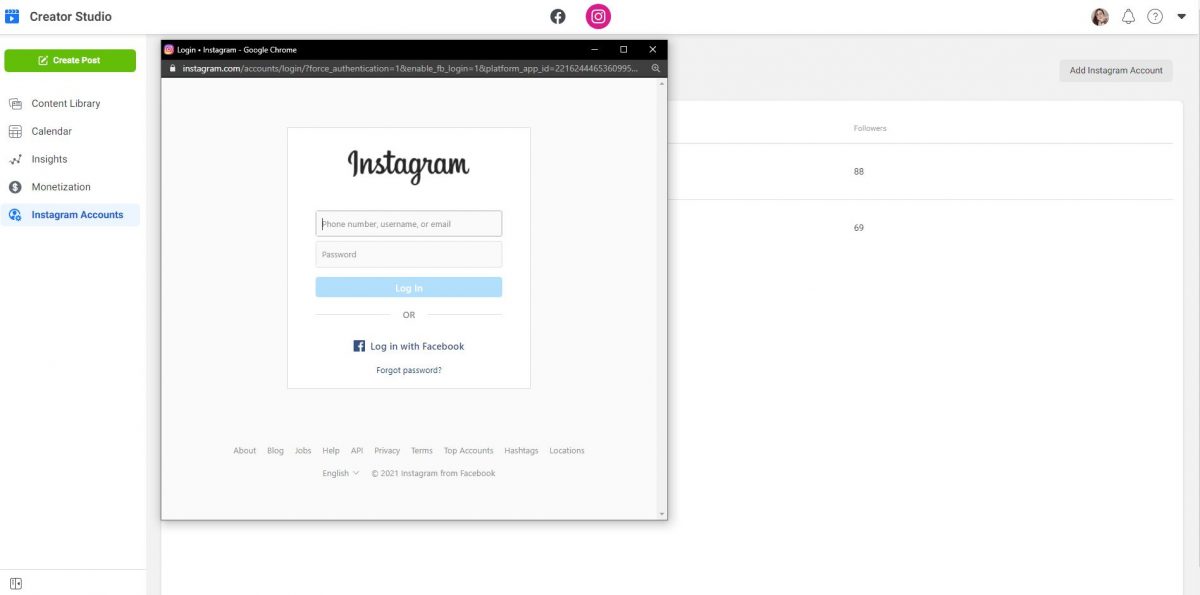
If you’re not managing a Facebook Page that is associated with an Instagram account, click on “Connect to Instagram.” Once connected, follow the on-screen instructions to sign in to the Instagram account that you want to connect.
Connect Another Instagram Account
If you’re managing a Facebook Page that is synced with an Instagram account but you want to connect to an Instagram account that isn’t listed on the menu, click on “Connect Another Instagram Account” and complete the on-screen instructions.
Continue With Connected Accounts
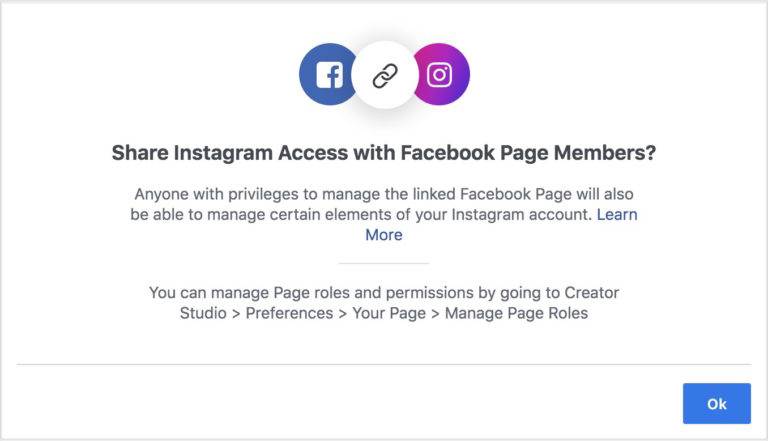
If you have several Instagram accounts that are already synced with your Facebook Page/s and want to migrate them on the Creator Studio, click on the “Continue With Connected Accounts” button.
Congratulations! You’ve connected your Instagram account to the Creator Studio for Instagram.
From a business perspective, it is a productive tool for managing Instagram accounts that are shared by many administrators or social media managers for an organization or business. That said, anyone with an assigned role on the Facebook Page they’ve managed and connected to the associated Instagram account will have automatic access to it.
Getting to Know the Instagram Content Library
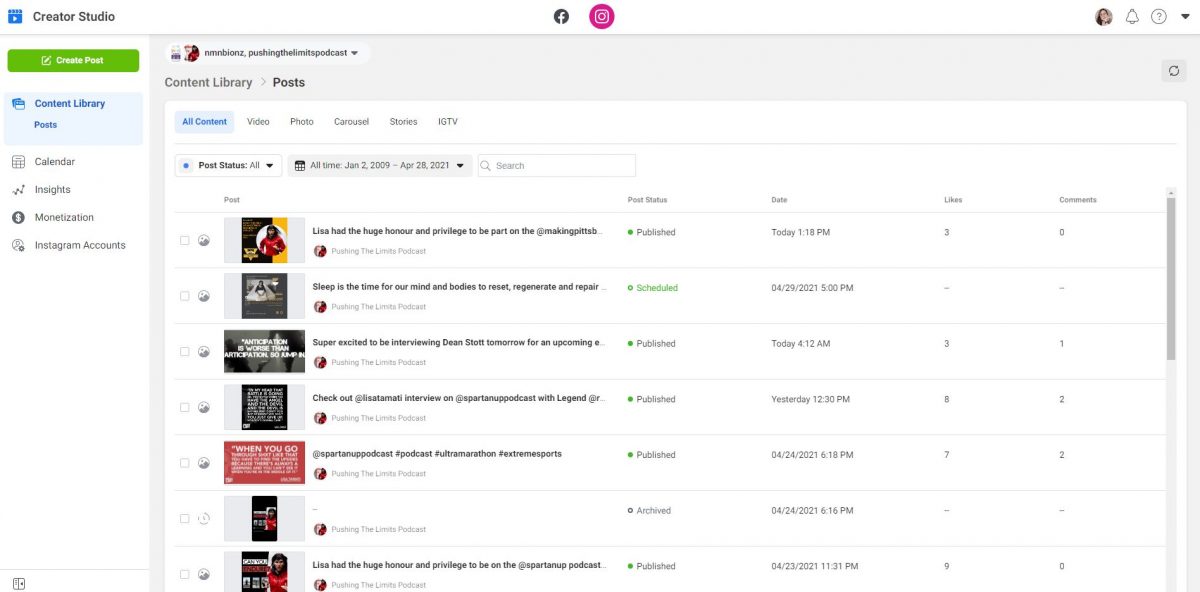
Once you’re signed in, you will be redirected to the Content Library section. With the Content Library, users can access a comprehensive overview of IGTV posts, carousels, IG stories, photos, and videos posted on their Instagram accounts.
The Instagram Content Library provides you with the option to use filters for organizing content according to the date and status of the post. Aside from that, the search bar also lets you find content easily and more conveniently. It’s also possible to click any of your content on the list so you can have a more detailed overview of the posts and their performance.
The insights provided by the Instagram Content Library will display the statistics of how many users have seen your content and how they engage with it. When it comes to engagement details, users can see what actions they have done related to the post.
In general, Instagram’s mobile app and the Instagram Creator Studio will provide you with the same individual analytics for each post. The sole difference is that it offers minimal experience when evaluating your post as a whole.
The details you’ll see when clicking on an item from the Content Library will depend on the type of content you’ll access. For instance, an IG story has different pieces of information compared to the video you’ve posted on Instagram.
 How to Use Instagram Creator Studio to Schedule Your Posts
One of the noteworthy features of it is the publishing tools for both IGTV and Instagram feed posts. That said, content creators will have a unified platform for managing their content across Facebook and Instagram.
To manage your content, the first step is to click on Create Post located in the upper-left corner of the panel. Under the Create Post dropdown menu, you can see the Instagram Feed and IGTV options.
IGTV Posts
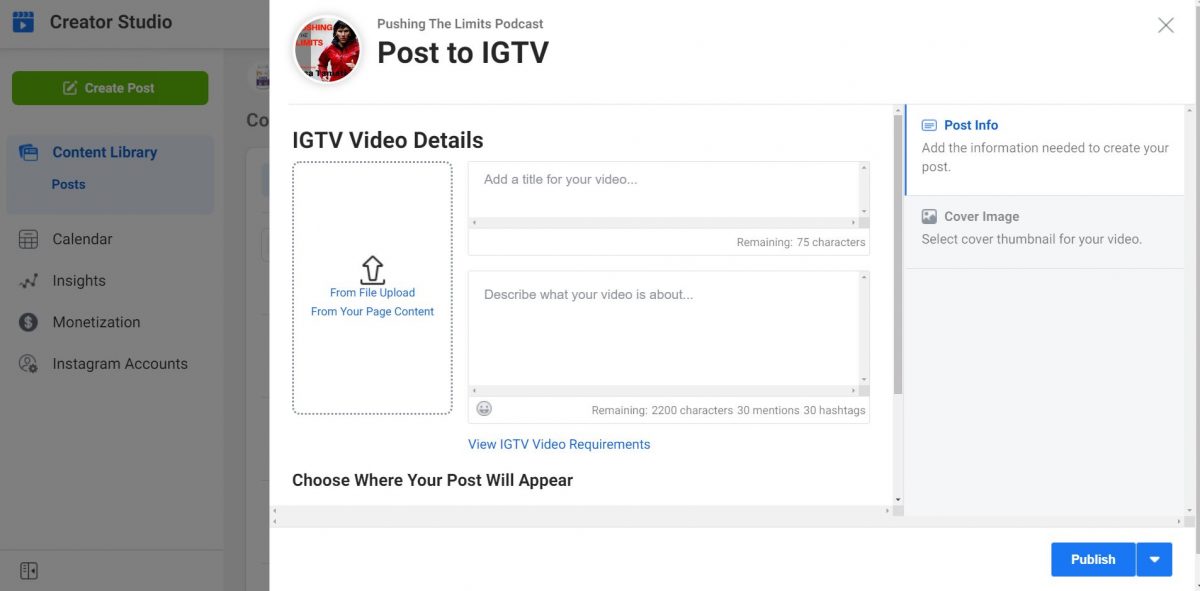
The thing about IGTV posts is that content creators can only schedule or publish them through the Instagram Creator Studio. It is because Instagram APIs don’t feature IGTV videos; hence, third-party services aren’t compatible at the moment.
To schedule or publish IGTV posts through Instagram Creator Studio, follow these steps:
- On your PC, go to the Creator Studio website.
- Click on the Instagram icon for your Instagram account credentials.
- Sign in to your Instagram account.
- Click on Create Post > IGTV.
- Under IGTV Video Details, click on the upload icon to choose a video for your IGTV post. The IGTV content can either be uploaded from your PC or existing content on your IG profile.
- Input the Title, and Description of your IGTV post.
- Under Cover Images, click on Upload Custom Image to add a photo as a thumbnail for your IGTV post.
- Under the Choose Where Your Post Will Appear section, you have the option to select the following:
- Share Preview to Feed (Instagram)
- Your Page (Facebook Page)
- Once you have selected an option from Step #8, click on the dropdown icon beside the Publish button.
- Click on Schedule.
- Choose the date when you want the IGVT to appear on your Instagram account.
- Click on Schedule.
If you want more details regarding Instagram’s IGTV features, you can visit the Help Center.
Instagram Feed
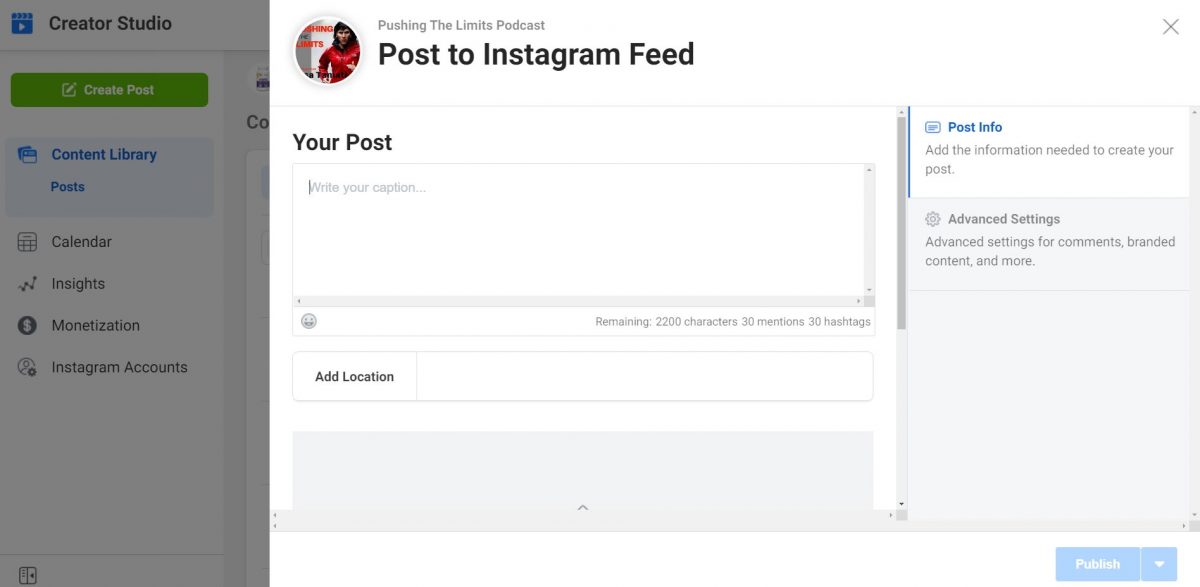
The initial steps for scheduling a post for your Instagram feed are similar to scheduling IGTV content. Instead of selecting IGTV from the dropdown menu, you select Instagram Feed.
To schedule or publish IG posts through Instagram Creator Studio, follow these steps:
- On your PC, go to the Creator Studio website.
- Click onthe Instagram icon for your Instagram account credentials.
- Sign in to your Instagram account.
- Click on Create Post > Instagram Feed.
- Upload photos for your IG content. If you’re creating a carousel post, you can upload a maximum of ten images.
- Write a related caption of your post. You can write a caption of up to 2,200 characters.
- If applicable, mention 30 IG accounts and 30 hashtags for wider reach.
- Click on Add Location to set a specific location of the related images.
- Once you have completed the necessary details, click on the dropdown icon beside the Publish button.
- If you want to post the content immediately, click on Publish. Otherwise, you can also click on Save As Draft from the dropdown menu to save your initial draft and edit it for later use.
How to Manage Insights With the Instagram Creator Studio
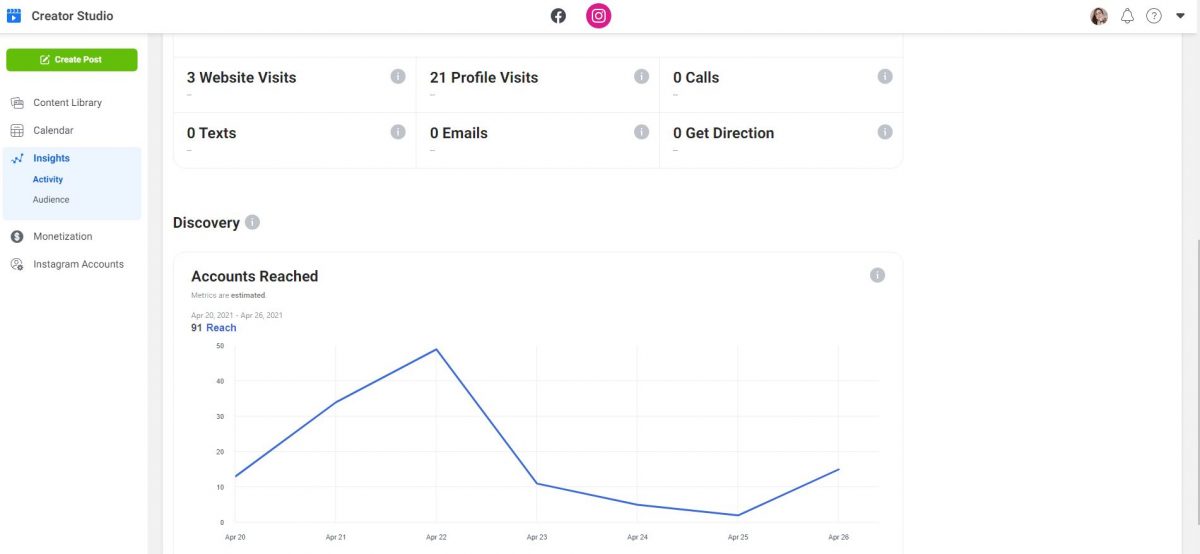
Once you have already configured and posted everything, the last step you shouldn’t neglect is tracking insights of each scheduled post. With this step, you can evaluate your target market and how they engage with your content. Instagram Creator Studio provides you with insights for a maximum of seven days only at the account level. However, if you prefer a longer coverage, there are Instagram analytics programs that offer up to 90 days’ worth of insights.
With this app, you can see how published content is performing at a glance. Aside from that, you will gain insights regarding your followers, such as gender, location, and age groups.
Manage Your Instagram Account With Instagram Creator Studio
Now that you’ve learned how to use Instagram Creator Studio, it’s time to set it up and manage your Instagram account better with it. If you want to learn more ways to take advantage of Instagram’s full potential, check out our guides on the best Instagram downloaders and how to create Instagram filters.
