
Creating GIFs on Android is a fun and creative way to express yourself and share animated moments with others. Whether you want to capture a funny reaction, a mesmerizing scenery, or a memorable event, Android provides you with a wide range of options to easily create GIFs right from your smartphone. With the abundance of GIF-making apps and built-in features, you can unleash your imagination and bring still images to life. In this article, we will explore various methods and tools to help you create your own GIFs on Android. From capturing videos and converting them to GIFs to using specialized apps with editing features, we will guide you step by step on how to make eye-catching and entertaining animations. So, without further ado, let’s dive into the wonderful world of Android GIF creation!
Inside This Article
- Requirements
- Step 1: Install a GIF Creator App
- Step 2: Select or Capture a Video or Images
- Step 3: Edit the GIF
- Step 4: Adjust GIF Settings
- Step 5: Save and Share the GIF
- Conclusion
- FAQs
Requirements
Creating GIFs on your Android device is an exciting and creative way to express yourself. To get started, here are a few basic requirements:
1. Android Smartphone or Tablet: Ensure that you have an Android device with a modern operating system. This will provide you with the necessary features and capabilities to create and edit GIFs.
2. Stable Internet Connection: While it is possible to create GIFs offline, having a stable internet connection can enhance the process. This will enable you to search for GIF creator apps and download them effortlessly.
3. Sufficient Storage Space: GIF files can take up a significant amount of storage space, especially if they are longer or contain numerous frames. Make sure that your device has enough available storage to store the GIFs you create.
4. GIF Creator App: To create GIFs, you’ll need to install a dedicated GIF creator app from the Google Play Store. There are several options available, each with its own set of features and functionalities.
5. Optional: Camera or Image Library Access: Depending on the GIF creator app you choose, you may need to grant access to your device’s camera or image library. This will allow you to capture videos or select images to convert into GIFs.
By meeting these requirements, you’ll be well-prepared to start creating your own unique and captivating GIFs on your Android device. So, let’s dive in and explore how to create GIFs step by step!
Step 1: Install a GIF Creator App
Creating GIFs on your Android device is a fun and creative way to express yourself. To get started, you’ll need to install a GIF creator app from the Google Play Store. These apps are specifically designed to help you easily create and customize GIFs, providing a variety of tools and features to make your creations standout.
When selecting a GIF creator app, it’s important to choose one that is user-friendly and offers the functionality you desire. Some popular GIF creator apps for Android include GIPHY, GIF Maker, and ImgPlay. These apps can be downloaded and installed from the Google Play Store onto your device.
To install a GIF creator app, follow these steps:
- Open the Google Play Store on your Android device.
- Search for your desired GIF creator app using the search bar at the top of the screen.
- Select the app from the search results.
- Tap the “Install” button to begin the installation process.
- Wait for the app to download and install on your device.
- Once the installation is complete, tap the “Open” button to launch the GIF creator app.
By following these simple steps, you can easily install a GIF creator app on your Android device. Once you have the app installed, you’ll be ready to move on to the next step and start creating your own unique GIFs.
Step 2: Select or Capture a Video or Images
Once you have installed a GIF creator app on your Android device, it’s time to select or capture the video or images that you want to turn into a GIF. This step is crucial as it determines the content of your GIF and how it will be perceived by viewers.
If you already have a video or images saved on your device, the GIF creator app will provide options to select them from your gallery. Simply browse through your gallery and choose the video or images that you want to convert into a GIF.
On the other hand, if you want to capture a new video or images specifically for your GIF, most GIF creator apps have a built-in camera feature. You can access the camera within the app and record a video or take multiple photos in sequence.
When selecting or capturing content for your GIF, make sure it is visually appealing and captures the desired moment or message. Consider the length of the video or the number of images you want to use, as it will affect the overall duration and file size of the resulting GIF.
Remember, the key to creating a captivating GIF is to choose or capture content that is engaging, interesting, and aligns with your intended message or theme.
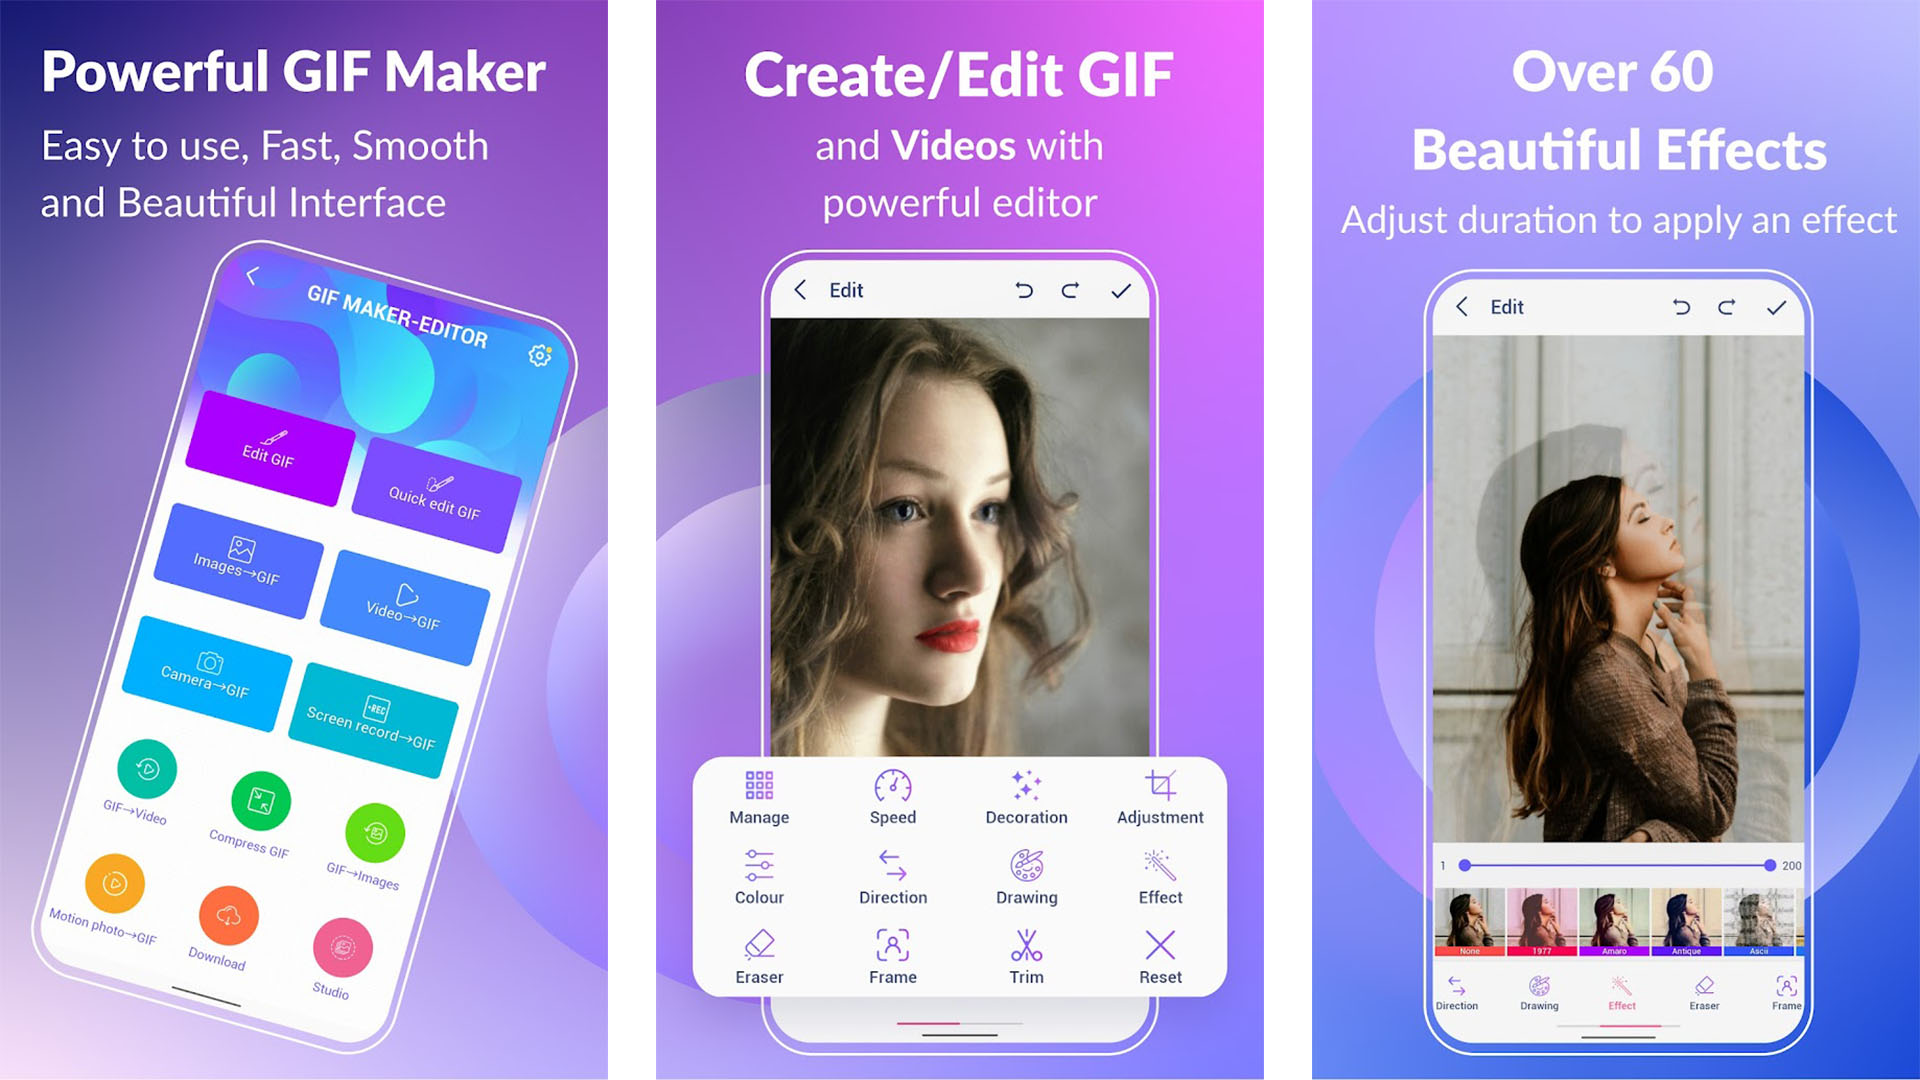
Step 3: Edit the GIF
Once you have selected or captured the video or images for your GIF, it’s time to unleash the creative artist within you and edit the GIF to make it truly unique. Editing the GIF gives you the opportunity to add your personal touch, make adjustments, and enhance its overall appearance.
Here are some popular editing options that you can explore:
- Trimming: If the GIF includes unnecessary footage at the beginning or end, you can easily trim it down to focus on the desired content. This allows you to create a GIF that captures the essence of the moment or highlights specific scenes.
- Cropping: Sometimes, a GIF may have unwanted elements or extra blank space around the edges. Cropping allows you to remove those parts and focus on the main subject, making your GIF more visually appealing and engaging.
- Add Text: Adding text to a GIF can provide context, convey a message, or simply add a touch of creativity. You can choose from a variety of fonts, colors, and styles to customize the text and make it blend seamlessly with the GIF.
- Apply Filters: Just like with photos and videos, applying filters can dramatically change the mood and aesthetics of a GIF. Whether you want to make it more vibrant, vintage, or monochrome, there are various filter options available to suit your preference.
- Overlay Stickers or Emojis: To add a fun and playful element to your GIF, consider overlaying stickers or emojis. From smiley faces to cute animals, there are endless options to express your emotions and bring your GIF to life.
When editing your GIF, it’s important to strike a balance between enhancing its visual appeal and maintaining its originality. Remember that the purpose of the GIF is to capture a moment and convey a message, so make sure your edits align with your intentions.
Once you are satisfied with the edits, proceed to the next step to adjust the GIF settings for optimal performance and sharing.
Step 4: Adjust GIF Settings
After selecting or capturing the video or images for your GIF, you’ll need to adjust the settings to customize the final result. Here’s how you can do it:
1. Frame Rate: The frame rate determines how fast the GIF plays. You can adjust the speed by increasing or decreasing the number of frames per second. A higher frame rate will result in a faster playback, while a lower frame rate will make the GIF slower. Experiment with different frame rates to find the one that suits your desired effect.
2. Duration: The duration of the GIF refers to the length of time the animation will run. You can set the duration to a specific time or let it play continuously. Keep in mind that longer GIFs may have a larger file size, so consider the platform or medium where you plan to share the GIF.
3. Size: Adjusting the size of the GIF is crucial to ensure it displays properly on different devices and platforms. You may need to resize the GIF to fit within certain image dimension restrictions, such as those imposed by social media platforms. Be mindful of the resolution and aspect ratio to avoid any distortion or loss of quality in the final output.
4. Effects and Filters: Many GIF creator apps offer various effects and filters to enhance your GIF’s appearance. You can experiment with options like sepia, black and white, or color saturation to add a unique touch to your creation. Remember to use these features sparingly to maintain the clarity and visual appeal of the GIF.
5. Looping: Looping determines whether the GIF will play once or repeat in a continuous loop. Most GIF creators default to looping the animation indefinitely. However, you may also have the option to set a specific number of loops or make it play only once. Consider the intended purpose of your GIF to determine the appropriate looping setting.
6. File Size: The size of the GIF directly affects its usability and shareability. A smaller file size will load faster and be easier to share, especially on platforms with size restrictions. Some GIF creator apps provide compression options to reduce the file size without significantly affecting the visual quality. Pay attention to the file size to ensure smooth playback and hassle-free sharing.
Adjusting these settings allows you to fine-tune your GIF and bring your creative vision to life. Experiment with different combinations until you achieve the desired effect. Remember to save your changes and proceed to the final step: saving and sharing your GIF.
Step 5: Save and Share the GIF
Once you have created a stunning GIF on your Android device, the final step is to save and share it with others. Here’s how you can do it:
- Save the GIF: Most GIF creator apps provide an option to save the GIF to your device’s gallery. After editing and fine-tuning your GIF, look for the save button or the download icon within the app. Tap on it, and the GIF will be saved to your phone’s storage.
- Choose the save location: Some apps allow you to choose the destination folder for your GIF. You can select a specific folder or simply let the app save it to the default GIFs folder.
- Share the GIF: Once the GIF is saved, you can proceed to share it with your friends and family. Here are a few common ways to share GIFs:
- Social Media: Open your preferred social media platform (like Facebook, Twitter, Instagram, or WhatsApp) and create a new post or message. Look for the attach media option, usually represented by the paperclip or camera icon. Tap on it, browse to the location where you saved the GIF, and select it. Finally, hit the send or share button to upload and share the GIF on your chosen platform.
- Messaging Apps: If you want to send the GIF directly to a contact via a messaging app, you can open the app, select the contact or group chat, and tap on the attachment icon (usually represented by a paperclip or a plus sign). Locate the GIF file in your phone’s gallery or GIF folder, select it, and send it to the desired recipient.
- Email: You can also share the GIF through email. Open your email app, create a new email, and tap on the attachment icon. Browse your gallery or GIF folder to find the saved GIF, select it, and attach it to the email. Once the email is ready, add the recipient’s email address, write a message if desired, and hit send to share the GIF via email.
Keep in mind that the sharing options may vary depending on the apps installed on your Android device. Some apps may provide additional sharing options, such as sharing the GIF directly to cloud storage platforms or copying the GIF link to share it with others.
Congratulations! You have successfully created, saved, and shared a GIF on your Android device. Now you can impress your friends with your creativity and sense of humor through eye-catching animations.
Conclusion
Creating GIFs on Android has never been easier. With the help of various apps and built-in features, you can turn your favorite memories, funny moments, or creative ideas into animated masterpieces. Whether you prefer to capture a video and convert it into a GIF or use a series of photos to create a looping animation, the options are limitless.
By following the step-by-step instructions in this guide, you can unleash your creativity and share your GIFs with friends, family, and social media platforms. Android offers a wide range of GIF-making apps that provide advanced editing tools and customizable effects. Don’t hesitate to explore different apps and techniques to find the one that suits your needs best.
So, why wait? Start creating your own eye-catching GIFs and add a touch of fun and creativity to your social media posts or messages. Get ready to delight your friends and followers with mesmerizing animations that showcase your unique style and personality.
FAQs
1. Can I Create GIFs on Android devices?
Yes, you can create GIFs on Android devices. There are several apps available in the Google Play Store that allow you to easily create GIFs from photos, videos, or even screen recordings.
2. What are some popular Android apps for creating GIFs?
There are many popular apps for creating GIFs on Android devices. Some of the top-rated ones include GIPHY, GIF Maker, GIF Studio, and ImgPlay.
3. How do I create a GIF from photos on my Android?
To create a GIF from photos on your Android device, you can use an app like GIPHY or GIF Maker. Simply import the photos you want to include, arrange them in the desired order, set the animation speed, and save the final GIF.
4. Can I create a GIF from a video on my Android device?
Absolutely. Android apps like GIPHY and GIF Maker allow you to create GIFs directly from videos stored on your device. Simply select the video, choose the desired start and end time, and the app will convert it into a GIF.
5. Are there any additional features available in these GIF-making apps?
Yes, many GIF-making apps on Android offer additional features to enhance your GIFs. These can include adding text captions, stickers, filters, and even effects like reverse playback or looping.
6. Can I share the GIFs I create on social media platforms?
Yes, most GIF-making apps on Android allow you to easily share your GIFs on popular social media platforms, such as Facebook, Instagram, and Twitter. You can either directly post the GIF from the app or save it to your device and manually upload it on the respective platform.
7. Are there any limitations to creating GIFs on Android devices?
While Android devices offer a variety of apps for creating GIFs, it is important to note that the performance and capabilities may vary depending on the device specifications and app functionality. Some apps may require a higher amount of processing power or RAM, so it’s recommended to check the system requirements before downloading.
8. Can I edit existing GIFs on Android?
Yes, there are apps available on Android that allow you to edit existing GIFs. You can trim or remove frames, adjust the speed, add effects, or even overlay text or stickers to personalize the GIF.
9. Can I create GIFs from screen recordings on my Android device?
Absolutely. Many GIF-making apps on Android support creating GIFs from screen recordings. You can capture your screen activities and convert them into GIFs using apps like AZ Screen Recorder or Screen Recorder & Video Capture.
10. Is it possible to convert GIFs into other formats on Android?
While GIFs are primarily known for their compatibility and support across various platforms, you can convert them to other formats like MP4 or MOV on Android. Some apps offer this capability to convert GIFs into different file formats.