
In today’s digital age, providing kids with access to technology is almost inevitable. Whether it’s for educational purposes or to stay connected with loved ones, having an Apple ID for kids can be a great way to introduce them to the world of online content and apps.
However, creating an Apple ID for kids under 13 can sometimes be a challenging task. Apple has certain restrictions in place to ensure the safety and privacy of young users. Understanding the process and requirements is crucial to navigate through the setup successfully.
In this article, we will guide you through the steps of creating an Apple ID for kids under 13 in 2023. We’ll cover the necessary information, discuss the parental controls and restrictions that can be set, and provide answers to some frequently asked questions. So, let’s get started and help your child embark on their digital journey with an Apple ID!
Inside This Article
- Setting Up Family Sharing
- Creating an Apple ID for Kids
- Managing Account Settings for Kids
- Restrictions and Parental Controls
- Conclusion
- FAQs
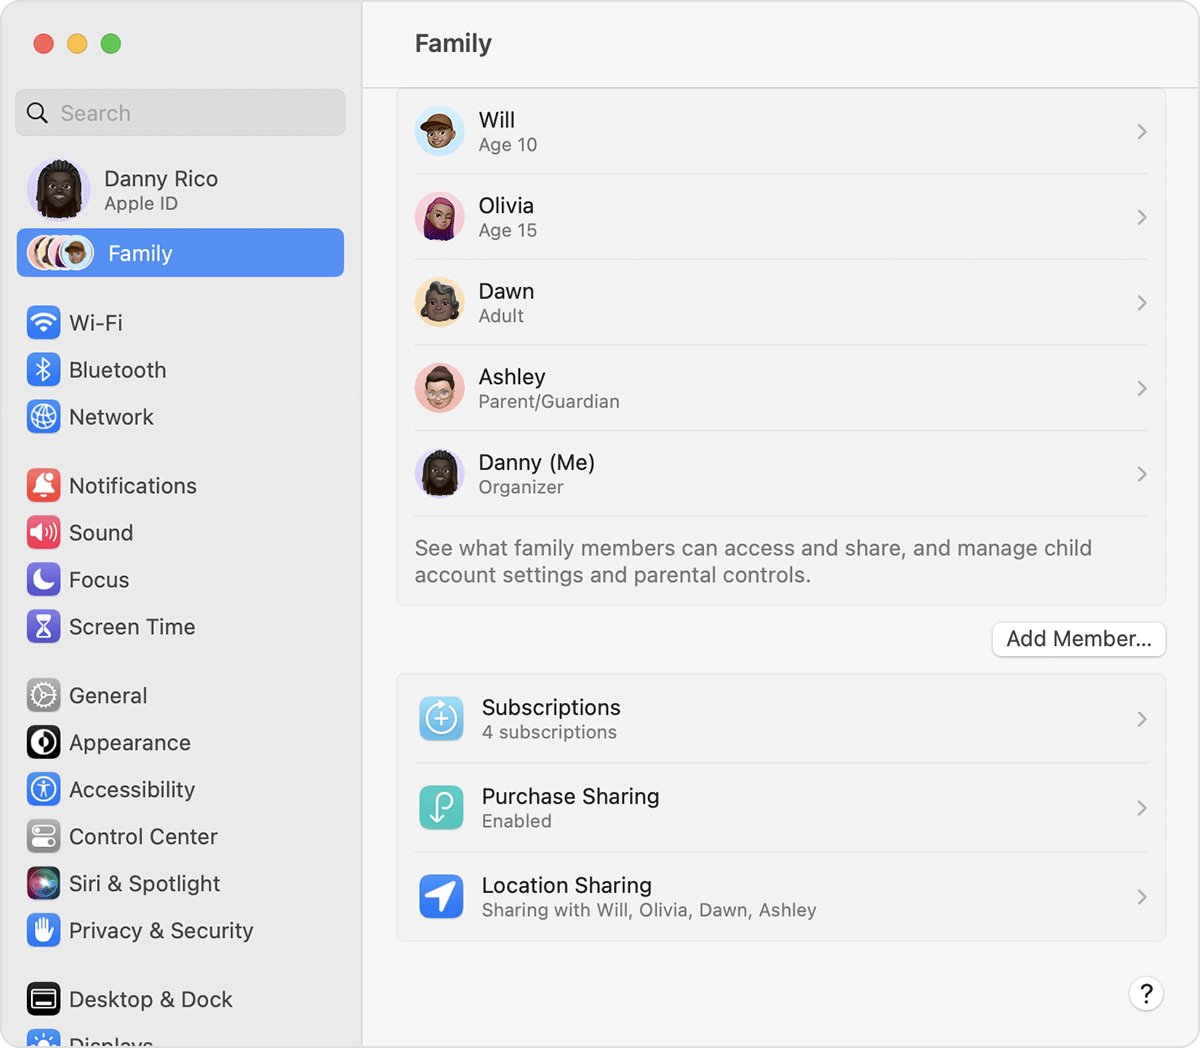
Setting Up Family Sharing
Family Sharing is a convenient feature provided by Apple that allows up to six family members to share purchases, subscriptions, and even access each other’s apps, music, movies, and more. It’s a great way to stay connected and manage your family’s digital life. So, let’s dive into the steps to set it up!
1. Start by opening the Settings app on your Apple device.
2. Tap on your Apple ID banner at the top of the screen.
3. From the menu that appears, select “Set Up Family Sharing.”
4. Next, tap “Get Started.”
5. Choose the option “Invite Family Members” to add them to your Family Sharing group.
6. Enter the email addresses of the family members you want to invite or tap on the “+” button to select them from your contacts.
7. Once you’ve added all the family members, tap “Send” to send them an invitation.
8. Each family member will receive an invitation email from Apple. They need to accept the invitation to join the Family Sharing group.
9. Once all the invitations are accepted, the setup process is complete!
Now that you have set up Family Sharing, you can enjoy a range of benefits. Here are a few key features you’ll have access to:
- Shared Purchases: Family members can access and download apps, music, movies, TV shows, books, and more that have been purchased by any other member of the group.
- Family Sharing Organizer: As the organizer, you have control over the shared purchases and can approve or decline requests from other family members.
- Apple Music Family Plan: Your entire family can enjoy Apple Music with a single subscription, saving you money in the process.
- Screen Time and Parental Controls: You can manage and set restrictions on the devices of your children, controlling their app usage and screen time limits.
- Find My: Family Sharing allows you to easily locate your family members’ devices using the “Find My” app.
Family Sharing is a fantastic feature for families that use Apple devices. It promotes sharing, convenience, and ensures that everyone gets the most out of their Apple experience. So gather your family members, follow the steps, and start enjoying the benefits of Family Sharing today!
Creating an Apple ID for Kids
Creating an Apple ID for your kids is a straightforward process that allows them to access various Apple services while still maintaining parental control and ensuring their online safety. Here are the steps to create an Apple ID for your kids:
1. Open the Settings app on your iOS device or go to appleid.apple.com on a web browser.
2. Tap on your name at the top of the Settings page or click on “Create Your Apple ID” on the web browser.
3. Select “Family Sharing” and then choose “Add Family Member” on iOS or click on “Create an Apple ID for a child” on the web browser.
4. Follow the on-screen instructions and enter your child’s name, birthday, and create an Apple ID username. It is recommended to use their first name followed by their birth year as the username. For example, John2008.
5. Create a password for your child’s Apple ID. It should be unique and something they can remember or write down safely.
6. Choose a security question and provide the answer. This will be used to secure your child’s account in case they forget their password or need to make changes.
7. Set up Parental Controls by enabling “Ask to Buy” and “Location sharing” if desired. This allows you to approve app purchases and track their location when using Family Sharing.
8. Agree to the Terms and Conditions and tap on “Agree” or “Join” to create the Apple ID for your child.
9. Once the process is complete, your child will receive an email to verify their Apple ID. Make sure to check their email and complete the verification using the link provided.
10. After verification, your child’s Apple ID is created and ready to use. You can now set up their device or configure your Family Sharing settings to include them.
Creating an Apple ID for kids allows them to access a range of features, such as downloading apps, music, and books from the App Store and iTunes Store. It also enables them to communicate with family members through iMessage and FaceTime. Remember to regularly monitor and adjust the parental control settings to ensure a safe online experience for your child.
Managing Account Settings for Kids
Once you have created an Apple ID for your child, it’s important to manage their account settings to ensure a safe and appropriate digital experience. Here are some important account settings that you should be aware of:
1. App and Content Restrictions: With the help of Screen Time, you can set limits on the types of apps, websites, and content that your child can access. This allows you to control their browsing experience and prevent them from accessing inappropriate content.
2. Privacy Settings: It’s crucial to review and adjust the privacy settings for your child’s Apple ID. You can choose whether to allow location sharing, control access to the camera and microphone, and manage their app permissions. This ensures that your child’s personal information remains protected.
3. Parental Controls: Apple devices provide robust parental control features that allow you to set limits on screen time, establish downtime schedules, and control access to certain apps and features during specific hours. You can configure these controls to suit your child’s needs and promote healthy device usage.
4. Communication Limits: Apple provides the option to manage who your child can communicate with through messages, FaceTime, and phone calls. You can limit communication to only trusted contacts and prevent them from receiving messages or calls from unknown sources.
5. Purchases and Downloads: By enabling “Ask to Buy” for your child’s Apple ID, you can have control over their purchases and downloads. Whenever they want to download an app or make an in-app purchase, you will receive a notification and can decide whether to approve or decline the request.
6. Siri and Search: It’s essential to manage Siri and Search settings for your child’s account. You can limit explicit content, prevent web searches, and control access to specific websites. This helps create a safe and age-appropriate browsing environment for your child.
7. Location Sharing: Apple devices have location-sharing capabilities, and you can determine whether your child’s location can be shared or not. By managing location settings, you can ensure their safety and protect their privacy.
It’s important to regularly review and update these account settings as your child grows and their needs change. By proactively managing their account settings, you can provide a safe and secure digital experience for your child.
Restrictions and Parental Controls
When it comes to technology, it’s important to ensure that children are protected from accessing inappropriate content or spending excessive time on their devices. With Apple devices, parents have the option to set up restrictions and parental controls to create a safe and secure environment for their kids.
By enabling restrictions on your child’s device, you can control what apps, features, and content they can access. This allows you to block or limit specific apps, restrict explicit content, and prevent your child from making in-app purchases without your approval. You can even set time limits to manage the amount of screen time your child has each day.
Parental controls also give you the ability to monitor and manage your child’s online activities. With features like Screen Time, you can see how much time your child spends on different apps and websites, as well as track their device usage. This gives you valuable insights into their digital habits and allows you to guide them towards a healthier online experience.
In addition, Apple devices offer a variety of built-in communication restrictions to ensure that children are protected from unwanted contact. For example, you can restrict who your child can communicate with via phone calls, texts, and FaceTime. This feature gives parents peace of mind, knowing that their child is interacting only with trusted contacts.
Furthermore, Apple provides a range of content filtering options to prevent children from accessing inappropriate websites and materials. You can customize the web content restrictions to match your child’s age and maturity level, ensuring they are shielded from harmful content that’s not suitable for their age group.
It’s worth mentioning that these restrictions and parental controls can be managed and customized through the Screen Time settings in the parent’s device or by using Family Sharing. This makes it easy for parents to make necessary adjustments and adapt the restrictions as their child grows and develops.
By implementing restrictions and parental controls on Apple devices, parents have the power to create a safe and nurturing digital environment for their children. It not only protects them from potential dangers but also instills responsible digital habits from an early age.
So, take advantage of these powerful features and ensure that your child’s Apple device is fully equipped with the necessary safeguards to provide a secure and educational experience.
Creating an Apple ID for kids under 13 can seem daunting, but with the right approach, it becomes a simple process. By following the steps outlined in this article and using the Family Sharing feature, parents can ensure their children have a safe and supervised online experience. Apple ID for Kids provides access to a wide range of age-appropriate content, educational apps, and interactive features. With parental controls in place, parents can effectively manage their child’s device usage and monitor their activities. It’s crucial to strike a balance between empowering your child with digital tools and maintaining a secure and controlled environment. By taking these precautions, families can fully enjoy the benefits of Apple devices while giving kids a safe and enjoyable online experience.
FAQs
1. Can kids under 13 have an Apple ID?
Absolutely! Apple offers the Family Sharing feature, which allows parents or guardians to create an Apple ID for their child under 13 years of age. This enables kids to have their own Apple ID while still being under the supervision of their parents.
2. What is the benefit of creating an Apple ID for kids?
Creating an Apple ID for kids offers several benefits. It allows them to have their own personalized experience while using Apple devices, including the ability to download apps, games, and educational content curated for their age group. It also enables parents to keep track of their child’s activities and set appropriate restrictions and permissions.
3. How can I create an Apple ID for my child?
To create an Apple ID for your child, you need to have your own Apple ID and enable the Family Sharing feature. Open the “Settings” app on your Apple device, tap on your name, then select “Family Sharing.” From there, follow the prompts to add your child’s Apple ID. You will need to provide consent as the parent or guardian.
4. What age restrictions are in place for Apple IDs for kids?
Apple sets a minimum age requirement of 13 years for creating an Apple ID. However, with Family Sharing, parents or guardians can create an Apple ID for their child under 13, allowing them to have their own personalized experience while still under parental supervision.
5. Are there any limitations to an Apple ID for kids under 13?
Yes, there are some limitations to an Apple ID for kids under 13. These restrictions are in place to ensure the child’s safety and privacy. For example, they won’t be able to make purchases without parental consent, access explicit content, or communicate with strangers through Apple services. Parents have control over these restrictions and can manage their child’s Apple ID settings accordingly.