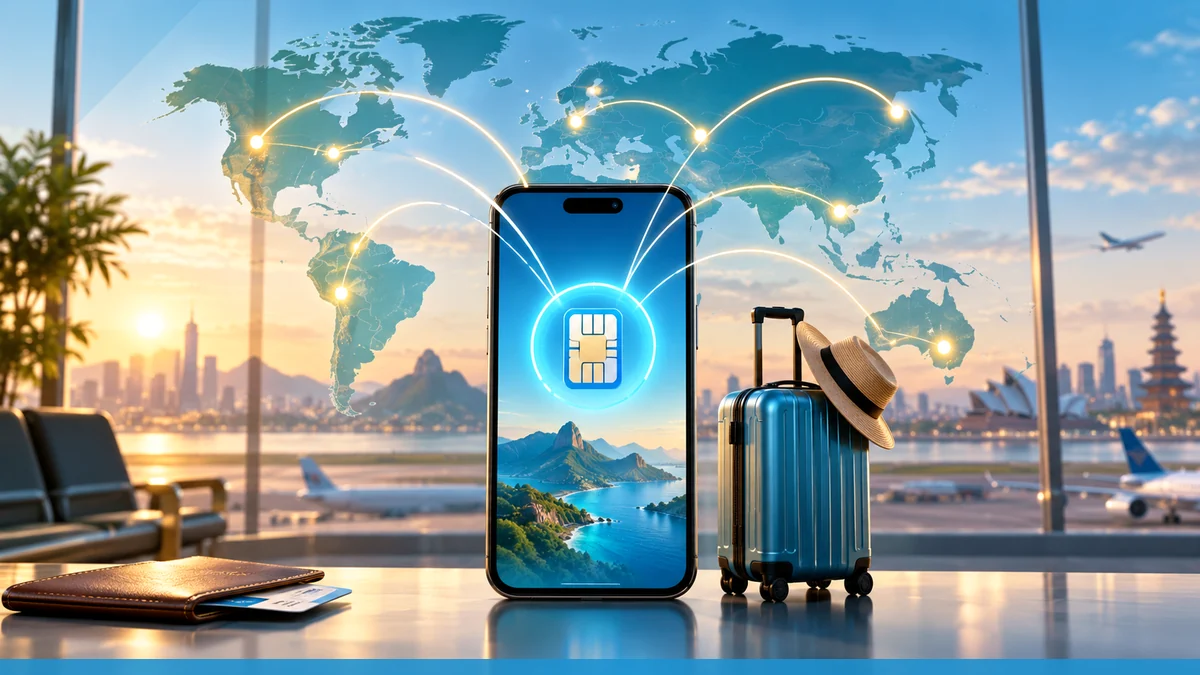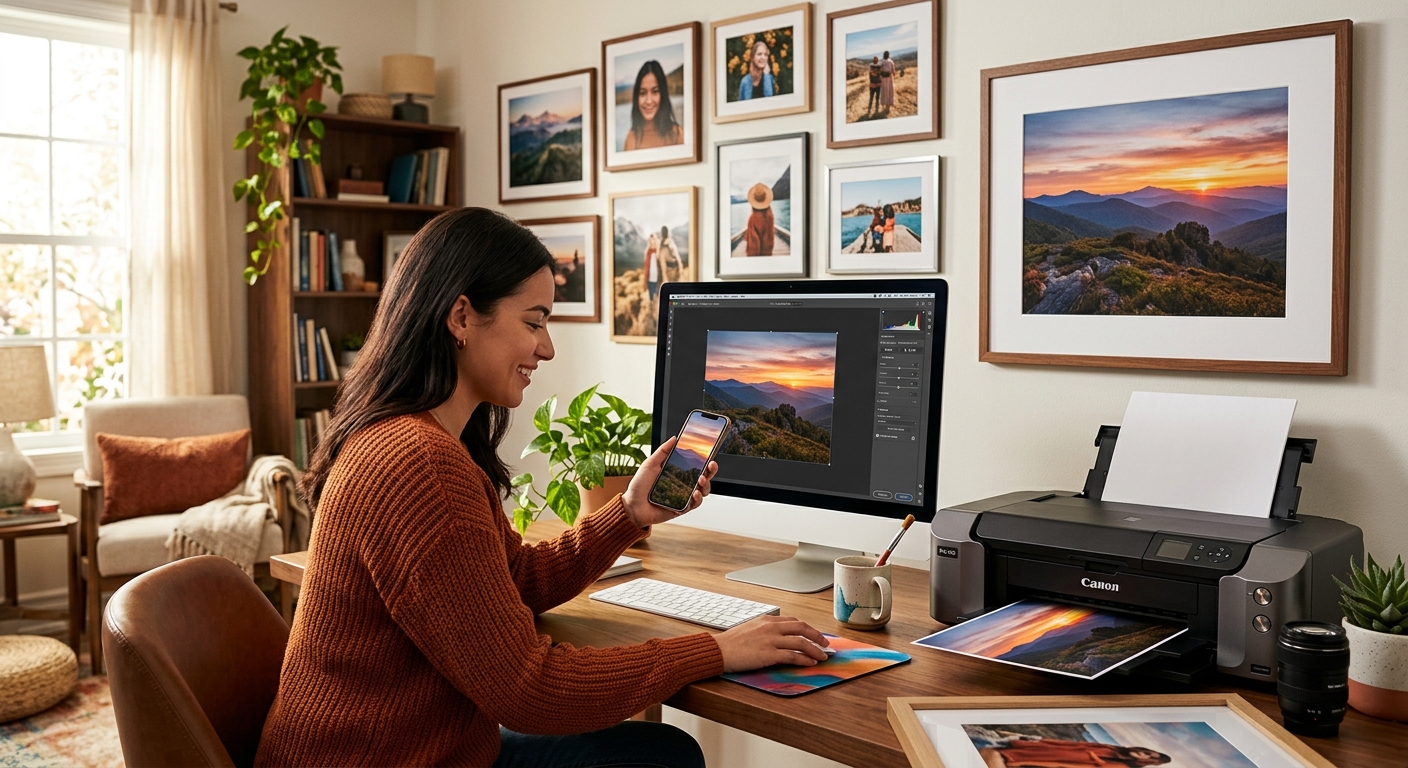
Your favorite phone photo deserves more than a place between grocery screenshots and blurry receipts. That beach sunset, family portrait, or quiet street scene can make your phone feel personal. It can also become a print you enjoy every time you walk into a room. The trick is preparing separate versions for each destination. A photo that looks great behind your lock screen clock may need a different crop before it belongs above your sofa.
Your Photo Plan
- Start with the sharpest original photo you have.
- Make separate crops for your wallpaper and chosen print size.
- Check screen controls and print previews before finishing.
Choose a Photo That Has Room to Work
Begin with a handful of favorites instead of editing the first image you find. Look for a clear subject, pleasing light, and some space around the edges. A portrait with breathing room above someone’s head is easier to fit around a clock. A landscape with extra sky gives you room to adjust a tall wallpaper crop.
Open each candidate and zoom in on the part that matters most. For a portrait, check the eyes. For a building, check windows and straight edges. If those details already look smeared, a larger print will make the problem easier to see. Mild grain may still suit the image. Missed focus is harder to rescue.
Use the original camera file whenever possible. A screenshot of a photo contains only the detail captured on your display. Images saved from messaging apps or social feeds may also have been reduced or compressed. If someone sent the picture, ask for the original file rather than saving another copy of the chat preview.
Before you begin, confirm that any cloud-stored original has downloaded. On iPhone, the Photos information panel can show image dimensions. In Google Photos and many Android gallery apps, look for Details or Info. Menu names vary, but you want the width and height in pixels.
Make Small Edits Before You Make Your Crops
Keep an untouched original and work on a copy. Built-in photo editors often let you reverse changes, but separate copies make wallpaper and print versions easier to manage. Give exported files clear names if your editor allows it.
Straighten a tilted horizon first. Rotation usually trims the edges, which affects how much room remains for cropping. Then adjust brightness, highlights, shadows, and color gently. If a face looks too dark, raise the shadows a little. If clouds have lost their texture, try lowering the highlights.
Avoid pushing sharpening until every edge has a bright outline. Heavy noise reduction can also smooth away hair, leaves, and skin texture. View the photo close up after editing, then return to its normal size. Both views should feel natural.
Crop Your Wallpaper Around the Screen Controls
A wallpaper must share space with a clock, notifications, widgets, app icons, and bottom controls. These overlays are part of the composition. Place the main subject where it remains visible during ordinary use, not just in an empty preview.
Most phone screens are taller and narrower than standard camera photos. Your wallpaper picker may enlarge the picture to fill the display, cutting away both sides. A landscape photo can lose much of its scene. Try a vertical image first, or choose a landscape whose main subject occupies a narrow part of the frame.
You rarely need to resize a full-resolution phone photo to exact display dimensions before setting it. The wallpaper picker usually handles scaling. If you want a precise custom crop, use your model’s screen aspect ratio as a starting point. Screen resolution describes pixel dimensions; aspect ratio describes the shape.
- Leave uncluttered space near the top for the clock and status information.
- Keep faces and meaningful details away from bottom shortcuts and gesture controls.
- Choose quieter areas behind app labels so text stays readable.
- Test the image with notifications visible before accepting the crop.
There is no universal safe margin that works on every phone. Clock layouts, widgets, and display cutouts differ. A face positioned perfectly on one device may sit behind text on another. Your own screen preview is the most useful guide.
Set Your Photo on iPhone
Open Settings, choose Wallpaper, and tap Add New Wallpaper. Select Photos and choose your image. In the preview, pinch to adjust the crop and drag to reposition the picture. Available controls can vary with your iOS version and the photo you select.
Check where the clock and widgets land before saving. If an optional depth or motion effect makes the subject harder to see, disable it or choose a simpler arrangement. Official wallpaper controls also allow separate Home Screen customization, including a blur option that helps app icons stand out.
You can use the photo on both screens or give the Home Screen a calmer treatment. A detailed family portrait may work beautifully on the Lock Screen while a blurred version feels easier to use behind apps.
Set Your Photo on Android
On many Android phones, touch and hold an empty area of the Home Screen, then open Wallpaper & style or Wallpapers. Choose your photo and adjust the preview. Another route is to open the image in your gallery app and look for Set as wallpaper in its menu.
Android menus differ by manufacturer and launcher. Follow the available prompts to apply the image to the Home Screen, Lock Screen, or both. Preview each destination if your phone offers separate controls.
Some launchers move the wallpaper as you swipe between Home Screen pages. Check neighboring pages after applying it. If the subject drifts beneath icons or leaves the screen, adjust the crop or turn off wallpaper scrolling when that setting is available.
Give Your Favorite Photo a Different Crop for the Wall
Once a photo feels right on your phone, you may want to enjoy it at a larger scale. Ordering a custom poster gives that favorite image a place in your home. Start this version from the original file, because the narrow wallpaper crop may have removed details you want in the print.
Print cropping follows the shape of the paper or frame. There is no clock to work around, but there may be trimming, borders, or a mat covering the edges. You can let the subject occupy more of the image while still leaving enough breathing room for the finished presentation.
A common phone photo has a 4:3 aspect ratio. An 8 by 10-inch print has a 4:5 shape, while a 12 by 18-inch print has a 2:3 shape. These proportions do not match, which means filling the paper requires cropping. Simply stretching the image to fit would distort faces and objects.
Choose the print size before finalizing the crop. In your editor, select the matching aspect ratio and move the crop window until the composition feels balanced. Watch hands, feet, and objects near the edges. A small trim can look intentional. Cutting through a meaningful detail usually feels accidental.
If the full scene matters more than filling the paper, look for a fit or border option. That preserves the image’s proportions and leaves unused space around it. Read the order preview carefully, since fit and fill produce different results.
Match Print Size to the Pixels You Have
Print quality depends partly on how many image pixels cover each inch of paper. This is measured in pixels per inch, or PPI. Official print resolution guidance identifies 300 PPI as a standard target for high-quality prints. Treat it as a useful planning figure, then check the printer’s requirements.
To estimate print dimensions at 300 PPI, divide each pixel dimension by 300. A 3000 by 2400-pixel image supports a 10 by 8-inch print at that density. Use the dimensions after cropping, since removing part of the photo reduces the available pixels.
Pixel Targets for Common Print Sizes
| Print Size | Pixels at 300 PPI | Crop Ratio |
|---|---|---|
| 4 by 6 inches | 1200 by 1800 | 2:3 |
| 8 by 10 inches | 2400 by 3000 | 4:5 |
| 12 by 18 inches | 3600 by 5400 | 2:3 |
For landscape orientation, swap the width and height. A larger wall print viewed from across a room may look pleasing at a lower pixel density than a small print examined closely. There is no single acceptable minimum for every photo, paper, and viewing distance.
Changing a file’s PPI label does not create detail. Increasing its pixel dimensions through resampling can help meet a file requirement, but it cannot reliably restore missed focus or lost texture. If the upload tool flags low resolution, consider a smaller print, a less aggressive crop, or a border around the image.
Check the File and Finish Before Ordering
Export the print version at its full edited dimensions. A high-quality JPEG is widely accepted, but confirm the service’s supported formats. If your original is HEIC and the upload tool rejects it, export a JPEG from your photo editor. Avoid sending the finished image through an app that may compress it before upload.
Use the printer’s color instructions when available. If no specific profile is requested, sRGB is a common choice for consumer photo uploads. Check whether automatic color correction is applied, especially if you have already made deliberate edits.
Your phone emits light, while paper reflects it. A photo edited on a very bright display can produce a print that feels darker than expected. Review the image at a moderate screen brightness. For a meaningful or expensive order, a small test print can help you judge color and shadow detail.
Review any bleed and safe-area guides in the order preview. Bleed is extra image area that can be trimmed away during production. Keep faces, text, and other important details inside the marked safe area. Ask about mat overlap if you plan to frame the print.
Finish affects how the photo feels in the room. Glossy surfaces can show reflections near windows or lamps. Matte surfaces generally reduce glare. Consider the light where the print will hang, along with the appearance you prefer.
Keep a Version for Your Pocket and Your Room
The best result starts with one good original and two thoughtful crops. Your wallpaper needs room for everyday screen controls. Your print needs the right proportions, enough pixels, and space for its final framing.
Save both finished versions alongside the original. You can revisit the wallpaper when your layout changes and prepare another print without starting over. A photo you already love can become part of your daily routine, first in your hand and then on your wall.