
Call forwarding is a valuable feature that allows you to redirect incoming calls from one phone number to another. Whether you're busy, traveling, or simply want to ensure you never miss an important call, call forwarding provides flexibility and convenience. In the realm of cell phones, call forwarding empowers users to stay connected while on the go. This article will guide you through the process of call forwarding a cell phone number, providing step-by-step instructions and valuable insights to help you make the most of this feature. Whether you're a busy professional, a frequent traveler, or someone who values seamless communication, mastering call forwarding for your cell phone can greatly enhance your connectivity and productivity. Let's delve into the world of call forwarding and unlock the potential it holds for keeping you connected in today's fast-paced world.
Inside This Article
- Setting up call forwarding on iPhone
- Setting up call forwarding on Android
- Setting up call forwarding on Windows Phone
- Setting up call forwarding on Blackberry
- Conclusion
- FAQs
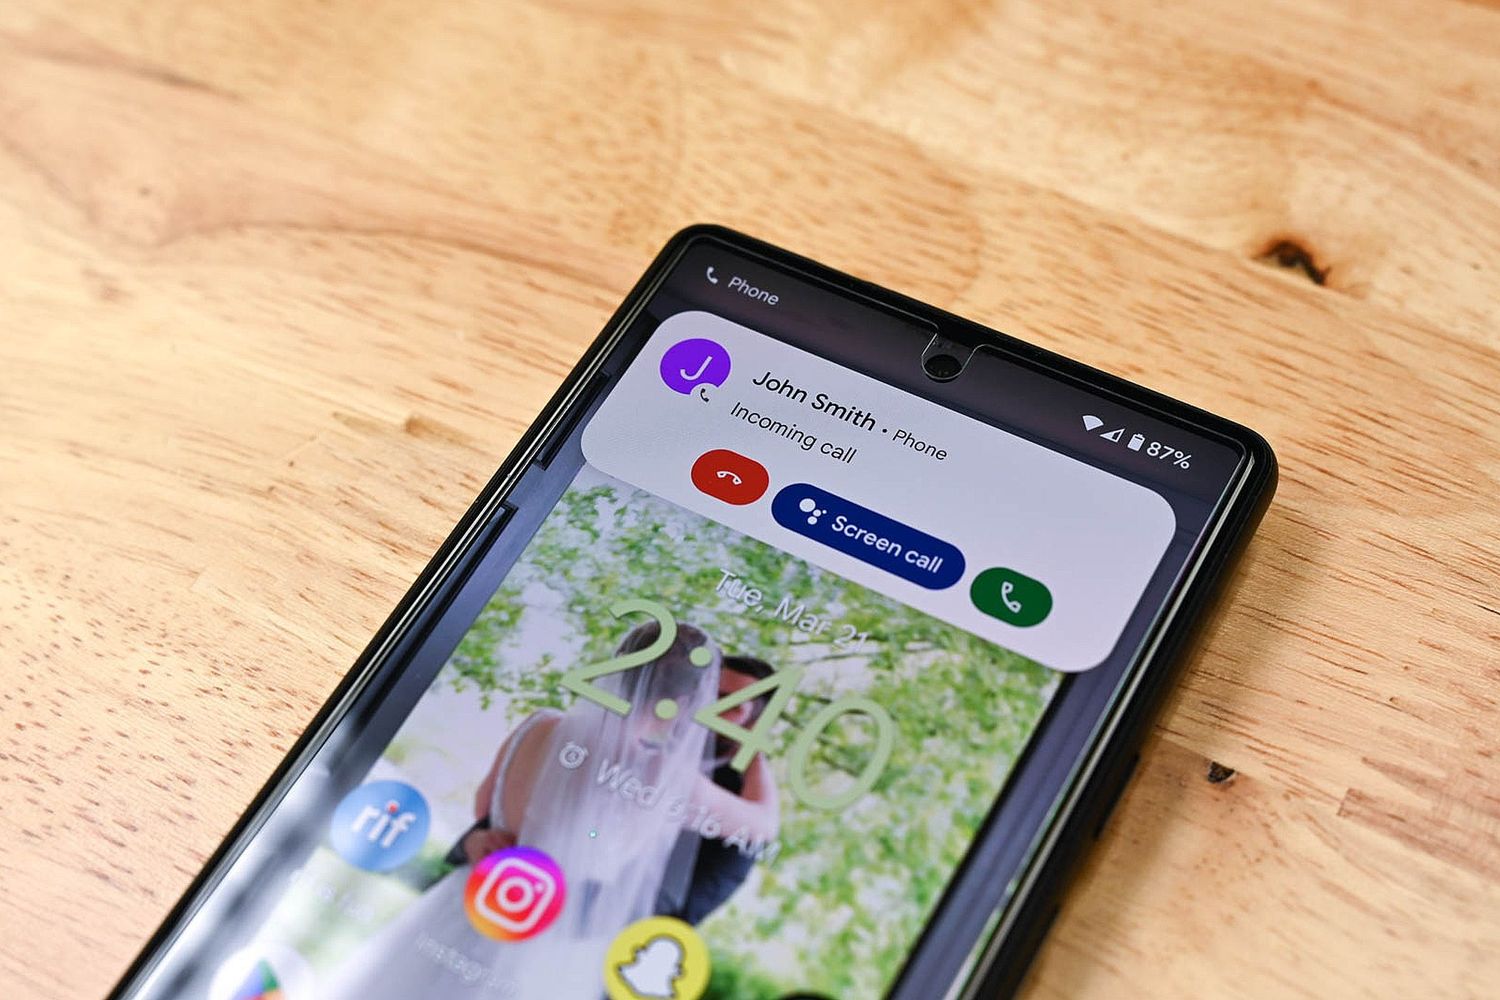
Setting up call forwarding on iPhone
Call forwarding is a convenient feature that allows you to redirect incoming calls to another number. Whether you're busy, traveling, or simply prefer to receive calls on a different device, setting up call forwarding on your iPhone is a straightforward process. Here's a step-by-step guide to help you get started:
-
Open the Settings App: Begin by locating and tapping the "Settings" app on your iPhone's home screen. The Settings app is represented by a gear icon and is typically found on the first page of apps.
-
Select "Phone": Within the Settings menu, scroll down and tap on "Phone" to access the phone settings.
-
Tap "Call Forwarding": Under the "Phone" settings, you will find the "Call Forwarding" option. Tap on it to proceed to the call forwarding configuration.
-
Enable Call Forwarding: Toggle the switch next to "Call Forwarding" to enable the feature. Once enabled, you will be prompted to enter the phone number to which you want your calls forwarded.
-
Enter the Forwarding Number: After enabling call forwarding, enter the phone number to which you want your incoming calls forwarded. Ensure that you input the number accurately, including the country code if applicable.
-
Verify Call Forwarding: Once you've entered the forwarding number, your iPhone will display a confirmation message indicating that call forwarding has been successfully set up.
-
Testing Call Forwarding: To ensure that call forwarding is functioning as intended, have someone call your iPhone number while it's set to forward calls. If everything is configured correctly, the call should be redirected to the designated forwarding number.
-
Disabling Call Forwarding: If you wish to disable call forwarding at any time, simply revisit the "Call Forwarding" option in the phone settings and toggle the switch to turn it off.
By following these simple steps, you can easily set up call forwarding on your iPhone, ensuring that you never miss important calls, even when you're unable to answer on your primary device. Whether you're in a meeting, experiencing poor signal reception, or using an alternate phone temporarily, call forwarding provides the flexibility to stay connected wherever you are.
Setting up call forwarding on Android
Call forwarding is a valuable feature that allows you to redirect incoming calls to another number, ensuring that you never miss important communication. Setting up call forwarding on your Android device is a straightforward process that can be customized to suit your specific needs. Whether you're in a meeting, traveling, or simply prefer to receive calls on a different device, configuring call forwarding on your Android phone empowers you to stay connected seamlessly. Here's a comprehensive guide to help you set up call forwarding on your Android device:
-
Access the Phone App: Begin by locating and opening the "Phone" app on your Android device. The Phone app is typically represented by a handset icon and is commonly found on the home screen or in the app drawer.
-
Open the Menu: Once the Phone app is open, look for the menu icon, often depicted as three vertical dots or lines, and tap on it to access the additional options.
-
Navigate to Settings: Within the menu, locate and select the "Settings" or "Call Settings" option. This will direct you to a range of phone settings, including call forwarding.
-
Select Call Forwarding: Under the "Settings" or "Call Settings" menu, you should find the "Call Forwarding" option. Tap on it to proceed to the call forwarding configuration.
-
Choose Call Forwarding Settings: Depending on your Android device and the version of the operating system, you may encounter different call forwarding options, such as "Always Forward," "Forward When Busy," "Forward When Unanswered," and "Forward When Unreachable." Select the appropriate option based on your preferences.
-
Enter the Forwarding Number: After choosing the call forwarding settings, you will be prompted to enter the phone number to which you want your calls forwarded. Ensure that you input the number accurately, including the country code if applicable.
-
Save the Forwarding Number: Once you've entered the forwarding number, save the settings to activate call forwarding on your Android device.
-
Verify Call Forwarding: To confirm that call forwarding has been successfully set up, test the feature by having someone call your Android phone number while it's set to forward calls. The call should be redirected to the designated forwarding number if the configuration is correct.
-
Adjust Call Forwarding Settings: If needed, you can revisit the call forwarding settings to make adjustments or disable call forwarding altogether.
By following these steps, you can easily configure call forwarding on your Android device, ensuring that you remain accessible even when you're unable to answer calls on your primary phone. Whether you're engaged in an activity that requires your undivided attention or using an alternate device temporarily, call forwarding provides the flexibility to manage your incoming calls effectively.
Setting up call forwarding on Windows Phone
Call forwarding is a practical feature that empowers Windows Phone users to redirect incoming calls to another number, ensuring seamless accessibility and connectivity. Whether you're occupied with tasks, traveling, or using an alternative device, setting up call forwarding on your Windows Phone is a straightforward process that enhances your communication flexibility. Here's a comprehensive guide to help you configure call forwarding on your Windows Phone:
-
Access the Phone Settings: To initiate the call forwarding setup, navigate to the home screen of your Windows Phone and tap on the "Settings" app. The Settings app is represented by a gear icon and serves as the gateway to various device configurations.
-
Select "Phone" Settings: Within the Settings menu, locate and tap on the "Phone" option. This will grant you access to a range of phone-related settings, including call forwarding.
-
Navigate to "Call Forwarding": Under the "Phone" settings, scroll down to find the "Call Forwarding" option. Tap on it to proceed to the call forwarding configuration.
-
Enable Call Forwarding: Toggle the switch next to "Call Forwarding" to activate the feature. Once enabled, you will be prompted to enter the phone number to which you want your calls forwarded.
-
Enter the Forwarding Number: After enabling call forwarding, input the phone number to which you wish to redirect your incoming calls. It's essential to ensure the accuracy of the entered number, including the country code if applicable.
-
Save the Forwarding Number: Once you've entered the forwarding number, save the settings to activate call forwarding on your Windows Phone.
-
Verify Call Forwarding: To confirm the successful setup of call forwarding, test the feature by having someone call your Windows Phone number while it's set to forward calls. If the configuration is correct, the call should be redirected to the designated forwarding number.
-
Adjust Call Forwarding Settings: If necessary, revisit the call forwarding settings to make adjustments or disable call forwarding based on your current requirements.
By following these steps, you can effortlessly configure call forwarding on your Windows Phone, ensuring that you remain accessible and responsive even when you're unable to answer calls on your primary device. Whether you're in a meeting, experiencing network limitations, or utilizing an alternative phone temporarily, call forwarding provides the adaptability to manage your incoming calls effectively.
Setting up call forwarding on your Windows Phone empowers you to stay connected seamlessly, enhancing your communication experience and ensuring that you never miss important calls, regardless of your current circumstances.
Setting up call forwarding on Blackberry
Call forwarding is a valuable feature that allows Blackberry users to seamlessly redirect incoming calls to another number, ensuring uninterrupted connectivity and accessibility. Whether you're engaged in important tasks, traveling, or using an alternative device, setting up call forwarding on your Blackberry empowers you to manage your incoming calls effectively. Here's a comprehensive guide to help you configure call forwarding on your Blackberry device:
-
Access the Phone Settings: To initiate the call forwarding setup, navigate to the home screen of your Blackberry device and locate the "Phone" app. This app serves as the gateway to various phone-related settings, including call forwarding.
-
Open Call Forwarding Options: Within the "Phone" app, look for the menu or settings icon that provides access to additional phone configurations. Tap on it to reveal the call forwarding options.
-
Select Call Forwarding: Once you've accessed the call forwarding options, choose the "Call Forwarding" feature to proceed with the configuration.
-
Enable Call Forwarding: Toggle the switch to enable call forwarding on your Blackberry device. Upon activation, you will be prompted to enter the phone number to which you want your calls forwarded.
-
Enter the Forwarding Number: After enabling call forwarding, input the phone number to which you wish to redirect your incoming calls. It's crucial to ensure the accuracy of the entered number, including the country code if applicable.
-
Save the Forwarding Number: Once you've entered the forwarding number, save the settings to activate call forwarding on your Blackberry device.
-
Verify Call Forwarding: To confirm the successful setup of call forwarding, test the feature by having someone call your Blackberry number while it's set to forward calls. If the configuration is correct, the call should be redirected to the designated forwarding number.
-
Adjust Call Forwarding Settings: If necessary, revisit the call forwarding settings to make adjustments or disable call forwarding based on your current requirements.
By following these steps, you can effortlessly configure call forwarding on your Blackberry, ensuring that you remain accessible and responsive even when you're unable to answer calls on your primary device. Whether you're in a meeting, experiencing network limitations, or utilizing an alternative phone temporarily, call forwarding provides the adaptability to manage your incoming calls effectively.
Setting up call forwarding on your Blackberry empowers you to stay connected seamlessly, enhancing your communication experience and ensuring that you never miss important calls, regardless of your current circumstances.
In conclusion, call forwarding is a valuable feature that empowers users to stay connected and accessible, even when they are unable to answer their cell phone. By understanding the process of call forwarding and the various options available, individuals can optimize their communication strategies and ensure they never miss important calls. Whether it's redirecting calls to another number or setting up conditional call forwarding, the flexibility of this feature offers convenience and peace of mind. With the right knowledge and settings in place, call forwarding becomes a seamless tool for managing communication effectively. Embracing the potential of call forwarding can significantly enhance productivity and accessibility in both personal and professional contexts.
FAQs
-
What is call forwarding for a cell phone number?
Call forwarding for a cell phone number is a feature that allows you to redirect incoming calls to another number of your choice. This can be particularly useful when you are unable to answer your phone and want to ensure that important calls are not missed. -
How do I activate call forwarding on my cell phone?
To activate call forwarding on your cell phone, you typically need to access your phone's settings or dial a specific code provided by your service provider. Once activated, you can then input the number to which you want your calls forwarded. -
Can I forward calls to an international number?
Depending on your service provider and the specific terms of your plan, you may be able to forward calls to an international number. However, it's important to check with your provider regarding any potential additional charges or limitations associated with international call forwarding. -
Is call forwarding a standard feature on all cell phone plans?
Call forwarding may not be included in all cell phone plans as a standard feature. It's advisable to review your plan details or contact your service provider to confirm whether call forwarding is available and if there are any associated costs. -
Can I customize call forwarding based on specific criteria, such as time of day?
Some advanced call forwarding options allow for customization based on specific criteria, such as time of day or caller identity. This can be beneficial for managing calls during different periods or from particular contacts. It's recommended to explore the capabilities offered by your service provider in this regard.