
Are you looking for a way to safeguard your personal photos on your iPhone 12? With the ever-increasing importance of privacy and security, it's crucial to protect your sensitive images from prying eyes. Fortunately, the iPhone 12 offers a feature that allows you to lock and hide your photos, providing an extra layer of security and peace of mind. In this article, we will delve into the step-by-step process of locking hidden photos on your iPhone 12, ensuring that your private moments remain truly private. Let's explore how to utilize this valuable feature to keep your cherished memories secure. So, let's get started on safeguarding your photos on your iPhone 12!
Inside This Article
- Setting Up a Hidden Album
- Adding Photos to the Hidden Album
- Viewing and Managing Hidden Photos
- Conclusion
- FAQs
Setting Up a Hidden Album
Setting up a hidden album on your iPhone 12 is a clever way to safeguard sensitive or private photos from prying eyes. This feature allows you to tuck away selected images, keeping them out of plain sight within the Photos app. It’s a simple and effective way to maintain your privacy and security.
To create a hidden album, start by opening the Photos app on your iPhone 12. Next, navigate to the Albums tab at the bottom of the screen. Scroll down until you find the “Hidden” folder. If it’s not there, you can enable it by going to Settings, selecting Photos, and toggling on the “Hidden Album” option.
Once the “Hidden” folder is visible, you can begin adding photos to it. This process ensures that the selected images are moved to a secure location within the Photos app, away from the main camera roll and other albums.
Adding Photos to the Hidden Album
Once you’ve set up your hidden album, adding photos to it is a breeze. Simply open the Photos app and navigate to the photo you want to hide. Tap the share icon, which looks like a box with an arrow pointing upward, and select “Hide” from the options. This will move the photo to your hidden album, keeping it away from your main photo feed.
If you want to add multiple photos to the hidden album at once, you can do so by selecting multiple photos in the Photos app, tapping the share icon, and choosing “Hide” as the destination. This allows you to quickly and efficiently move several photos to the hidden album in one go.
Remember, photos in the hidden album are still visible in your main album under the “Hidden” folder. To truly keep them private, you may want to consider using a third-party app or a more secure method of storing sensitive images.
Viewing and Managing Hidden Photos
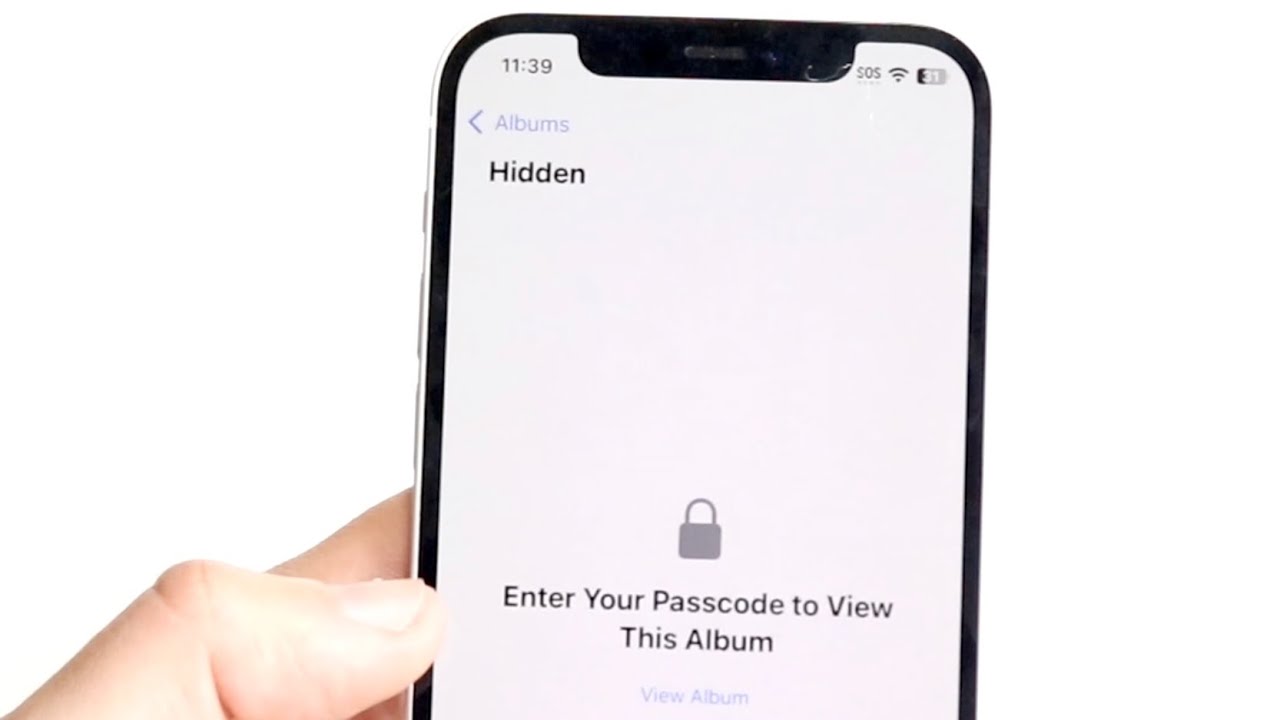
Once you’ve hidden photos in your iPhone 12, you may want to access and manage them. To view your hidden photos, open the Photos app and navigate to the “Albums” tab. Scroll down to find the “Hidden” album. Tap on it to access your hidden photos.
Managing your hidden photos is simple. You can unhide them by selecting the photos you want to reveal, tapping the “Share” icon, and choosing “Unhide.” This will move the photos back to your main photo library.
If you want to re-hide photos, simply select the photos from your main library, tap the “Share” icon, and choose “Hide.” This will move the selected photos to the “Hidden” album.
It’s important to note that while the “Hidden” album provides a layer of privacy, it’s not a foolproof security measure. If someone has access to your device, they can still view your hidden photos. For added security, consider using additional security measures such as a passcode or Face ID to protect your sensitive images.
Conclusion
Protecting your privacy and securing your personal data is of utmost importance. With the advanced features of the iPhone 12, such as the ability to lock hidden photos, you can rest assured that your sensitive images are safe from prying eyes. By utilizing the built-in security measures and leveraging the power of the Photos app, you can easily safeguard your private photos without the need for third-party apps. The convenience and peace of mind that come with this feature make it a valuable addition to the iPhone 12’s arsenal. Embrace the enhanced privacy controls offered by your iPhone 12, and take full advantage of its capabilities to keep your cherished memories and confidential images secure.
FAQs
Q: How do I hide and lock photos on my iPhone 12?
A: To hide and lock photos on your iPhone 12, you can utilize the built-in “Hidden” album feature in the Photos app. Simply select the photos you want to hide, tap the share icon, and choose “Hide” from the options. This will move the selected photos to the “Hidden” album, which is password-protected.
Q: Can I use Face ID or Touch ID to secure my hidden photos on iPhone 12?
A: Yes, you can use Face ID or Touch ID to secure your hidden photos on iPhone 12. Once you have hidden your photos in the “Hidden” album, you can enable Face ID or Touch ID authentication for accessing the hidden photos in the Photos app settings.
Q: Is there a way to recover hidden photos on iPhone 12?
A: Yes, you can recover hidden photos on iPhone 12 by accessing the “Hidden” album in the Photos app and selecting the photos you want to unhide. After selecting the photos, tap the share icon and choose “Unhide” to restore them to the main photo library.
Q: Can I transfer hidden photos from one iPhone to another?
A: Yes, you can transfer hidden photos from one iPhone to another using iCloud Photo Library or AirDrop. Ensure that the “Hidden” album is included in your iCloud Photo Library and then use AirDrop or iCloud Photo Library to transfer the hidden photos to another iPhone.
Q: Are the hidden photos backed up to iCloud?
A: Yes, the hidden photos are backed up to iCloud if you have iCloud Photo Library enabled. The “Hidden” album and its contents will be included in your iCloud Photo Library backup, ensuring that your hidden photos are securely backed up and accessible across your Apple devices.