
Are you wondering how to capture a screenshot on your new iPhone 13 simply by tapping? Look no further! In this article, we will guide you through the quick and easy process of taking screenshots on the iPhone 13 using just a tap of your finger. Whether you want to capture a funny meme, save important information, or capture a memorable moment in a game, mastering the art of capturing screenshots is a must. The iPhone 13 has introduced some exciting features, and the ability to take screenshots with a simple tap is one of them. So, let’s dive in and discover the simple steps to screenshot on your iPhone 13, ensuring that you never miss a moment worth capturing!
Inside This Article
- Enable AssistiveTouch
- Open the screen you want to capture
- Locate the AssistiveTouch button
- Tap on the AssistiveTouch button to capture the screenshot
- Conclusion
- FAQs
Enable AssistiveTouch
If you want to take screenshots on your iPhone 13 by simply tapping, you’ll need to enable the AssistiveTouch feature. AssistiveTouch is a powerful accessibility feature that provides an on-screen button that allows you to perform various functions with just a tap.
To enable AssistiveTouch on your iPhone 13, follow these steps:
- Open the Settings app on your iPhone 13.
- Scroll down and tap on “Accessibility.”
- Next, tap on “Touch.”
- Under the “Physical and Motor” section, tap on “AssistiveTouch.”
- Toggle the switch to enable AssistiveTouch. You will see a small floating button appear on your screen.
Now that you have enabled AssistiveTouch, you can customize the button to include the screenshot function for quick access.
Note: This is just one method of taking screenshots on your iPhone 13. You can still use the traditional method of pressing the volume up button and the side button simultaneously to capture a screenshot.
Open the screen you want to capture
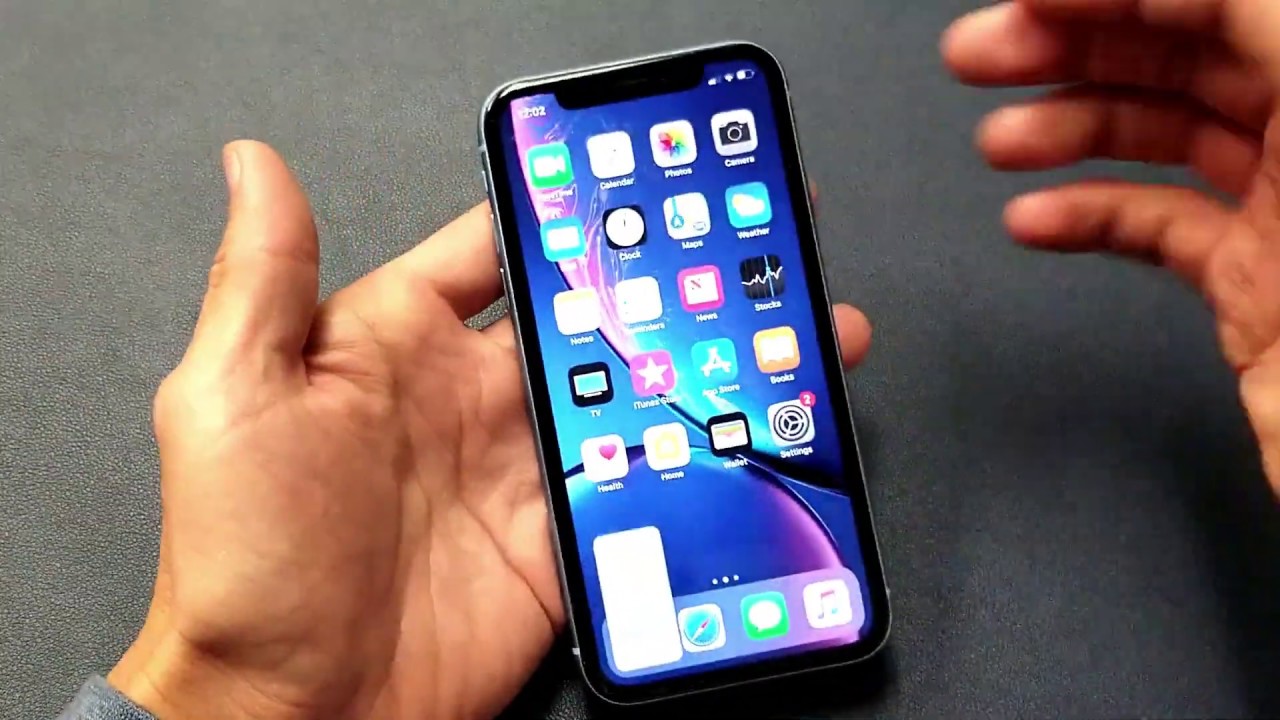
To begin the process of taking a screenshot on your iPhone 13, you need to first open the screen that you want to capture. This could be a specific app, a webpage, a photo, or anything else that you want to save as an image.
Whether you want to capture a funny conversation, save a memorable moment from a video, or even share an interesting article with your friends, taking a screenshot allows you to quickly and easily capture the content on your iPhone 13’s screen.
Simply navigate to the screen you want to capture and ensure that it is fully visible on your device’s display. Make sure that any important details or elements you want to include in the screenshot are visible and positioned correctly within the frame.
Once you have the desired screen open and ready, you can proceed to the next step of taking a screenshot on your iPhone 13.
Locate the AssistiveTouch button
If you’re looking to take a screenshot on your iPhone 13 by tapping a button, you’ll need to enable the AssistiveTouch feature. This functionality allows you to access a virtual button on your screen, which can be customized to perform various actions, including taking screenshots.
To locate the AssistiveTouch button on your iPhone 13, follow these steps:
1. Open the Settings app on your device.
2. Scroll down and tap on “Accessibility”.
3. In the Accessibility menu, select “Touch.
4. Look for the “AssistiveTouch” option and tap on it.
5. Toggle the switch to enable AssistiveTouch. You’ll notice a small white circle icon appear on your screen, usually in a corner.
Once you’ve located the AssistiveTouch button, you’re ready to customize it and use it to take screenshots with a simple tap.
Tap on the AssistiveTouch button to capture the screenshot
One of the most convenient ways to take a screenshot on your iPhone 13 is by using the AssistiveTouch feature. With AssistiveTouch, you can easily access various functions of your device with just a tap. To capture a screenshot, follow these simple steps:
1. Ensure that the AssistiveTouch feature is enabled on your iPhone 13. To do this, go to “Settings” and tap on “Accessibility.”
2. In the Accessibility menu, tap on “Touch” and then select “AssistiveTouch.”
3. Toggle the switch to enable AssistiveTouch. You will see a semi-transparent button appear on your screen.
4. Tap on the AssistiveTouch button to bring up the menu of available options.
5. In the AssistiveTouch menu, tap on “Device.”
6. This will open a sub-menu, where you can find the “More” option. Tap on it.
7. Scroll down and select “Screenshot.” You will notice that the AssistiveTouch button will now have a screenshot icon.
8. To capture a screenshot, simply tap on the AssistiveTouch button, and your iPhone 13 will instantly capture the contents of your screen.
9. A thumbnail of the screenshot will appear in the bottom left corner of your screen. You can tap on it to quickly access and edit the screenshot, or swipe it away to dismiss it.
10. Your screenshots will be saved in the Photos app in the “Screenshots” album, making it easy to find and share them later.
With the AssistiveTouch feature, capturing screenshots on your iPhone 13 has never been easier. Whether you need to save important information, share funny moments, or document something on your screen, tapping on the AssistiveTouch button is all it takes to capture the perfect screenshot.
Conclusion
In conclusion, being able to capture screenshots on your iPhone 13 by simply tapping the back of the device is a game-changer. This latest feature offers a convenient and intuitive way to capture and save important information, memorable moments, and anything else you want to keep for future reference.
With just a few taps on the back of your iPhone 13, you can easily capture screenshots without having to rely on the traditional button combination. Whether you’re sharing information with friends, saving receipts for your records, or capturing a funny meme you stumble upon, this easy and efficient method will quickly become your go-to way to take screenshots on your iPhone 13.
So go ahead and give it a try! Tap twice or thrice on the back of your iPhone 13 and experience the magic of capturing screenshots in an instant. Enjoy the convenience and simplicity that Apple has brought to the world of screenshotting with their innovative features.
Get ready to tap your way to capturing screenshots effortlessly on your iPhone 13!
FAQs
1. How do I take a screenshot on iPhone 13 by tapping?
To capture a screenshot on the iPhone 13, simply follow these steps:
- First, locate the screen or content you want to capture.
- Ensure that all the elements you want to include in the screenshot are visible on the screen.
- Next, simultaneously press the side button (also known as the power button) and the volume up button.
- Release the buttons immediately after pressing them.
- You will see a preview of the screenshot in the bottom left corner of the screen.
- Tap on the preview to access editing tools or simply let it disappear after a few seconds if you don’t want to edit it.
The screenshot will be saved in your Photos app and can be accessed from the Screenshots album.
2. Can I take screenshots on older iPhone models using the same method?
Yes, you can use the same method to take a screenshot on older iPhone models that have a side button and a volume up button. This method is supported on iPhone models starting from iPhone X and later, including the iPhone 13.
3. Is there an alternative method to take screenshots on iPhone 13?
Yes, apart from using the side button and volume up button, you can also take a screenshot on the iPhone 13 using AssistiveTouch. Here’s how:
- Open the Settings app on your iPhone 13.
- Go to “Accessibility” and then tap on “Touch”.
- Select “AssistiveTouch” and toggle the switch to turn it on.
- A floating menu button will appear on the screen.
- Tap on the AssistiveTouch button and go to “Device” > “More” > “Screenshot”.
- The screenshot will be captured and saved in the same way as the regular method.
Using AssistiveTouch can be helpful if you have difficulty pressing the side button and volume up button simultaneously.
4. Can I edit the screenshot after taking it?
Yes, you can edit the screenshot immediately after capturing it. When the preview of the screenshot appears in the bottom left corner of the screen, tap on it to access editing tools. From there, you can crop, annotate, add text, draw, or make other adjustments to the screenshot before saving it to your Photos app.
5. Where can I find the screenshots I’ve taken on my iPhone 13?
All the screenshots you capture on your iPhone 13 are automatically saved to the Photos app. To access your screenshots, open the Photos app and tap on the “Albums” tab at the bottom. Scroll down and look for the “Screenshots” album. Tapping on it will show you all the screenshots you have taken.