
Moving servers on Discord mobile is a common task for users who want to stay connected with their communities while on the go. Whether you're switching to a new server or simply reorganizing your list, knowing how to navigate this process efficiently can greatly enhance your mobile Discord experience. In this article, we'll explore the step-by-step process of moving servers on Discord mobile, providing you with clear and concise instructions to ensure a seamless transition. From rearranging your server list to joining new communities, we've got you covered. So, grab your mobile device, open up Discord, and let's dive into the world of server management on the go. Whether you're a seasoned Discord user or just getting started, mastering this essential skill will empower you to stay connected with your favorite communities wherever you are. Let's embark on this journey together and make the most of Discord's mobile capabilities.
Inside This Article
- Step 1: Open Discord Mobile App
- Step 2: Select the Server
- Step 3: Tap on the Server Name
- Step 4: Tap on "Move Server"
- Step 5: Choose the Destination Category
- Step 6: Confirm the Move
- Conclusion
- FAQs
Step 1: Open Discord Mobile App
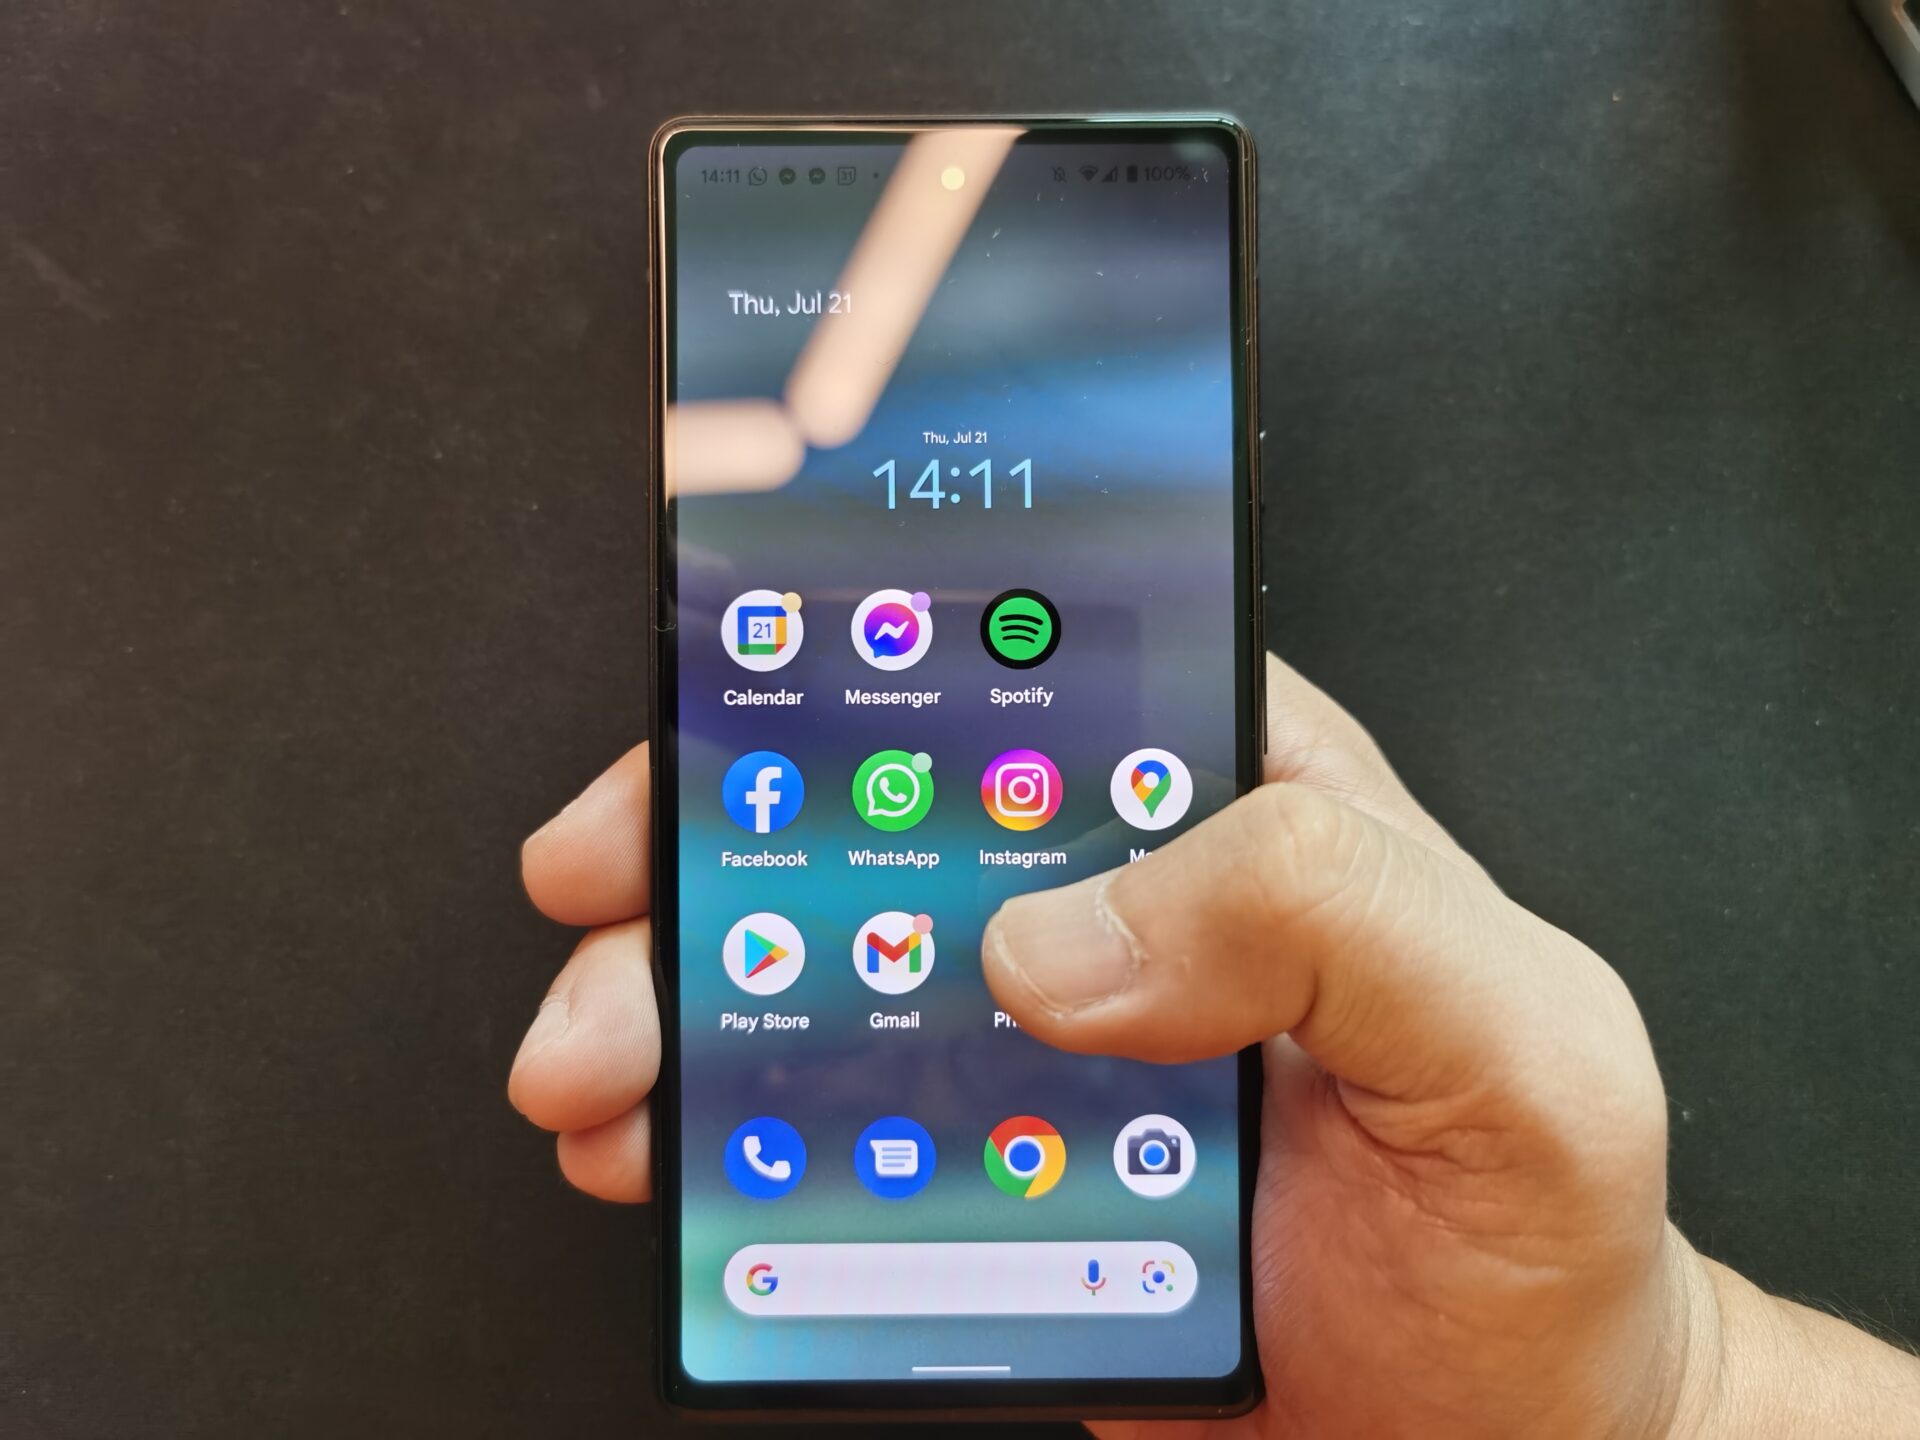
To begin the process of moving servers on Discord using your mobile device, the first step is to open the Discord mobile app. This can be done by locating the Discord app icon on your smartphone's home screen or app drawer and tapping on it to launch the application.
Upon opening the Discord mobile app, you will be prompted to log in if you haven't done so already. Enter your credentials, such as your username and password, to access your Discord account. If you have enabled two-factor authentication for added security, you may need to provide the additional verification code.
Once logged in, you will be greeted by the familiar Discord interface, featuring the server icons, direct message conversations, and various channels. Take a moment to familiarize yourself with the layout and navigation options within the app. The server icon for the server you wish to move will be displayed among the list of servers you are a member of.
If you are not already a member of the server you intend to move, you can join the server by clicking the plus icon (+) at the top of the server list and entering the server's invitation link or code. After joining the server, it will appear in your server list, and you can proceed with the server-moving process.
It's important to ensure that you have a stable internet connection while performing this action to prevent any disruptions during the server-moving process. A reliable internet connection will help ensure a smooth and seamless experience as you navigate through the Discord mobile app to complete the server transfer.
By following these initial steps and ensuring that you are logged into the Discord mobile app with a stable internet connection, you are ready to proceed to the next step of selecting the server you wish to move.
Step 2: Select the Server
Once you have successfully logged into the Discord mobile app and ensured a stable internet connection, the next step is to select the server that you want to move. Discord provides a user-friendly interface that allows you to easily navigate through your list of servers and choose the specific server you wish to relocate.
To select the server, start by locating the server icon within the Discord mobile app. The server icons are typically displayed on the left-hand side of the app's interface, and each icon represents a different server that you are a member of. These icons are accompanied by the server names, making it easy to identify and select the desired server.
Upon identifying the server you intend to move, tap on the server icon to access the server's home screen. This action will direct you to the server's main interface, where you can view the server's channels, members, and various other features specific to that server.
Once you have accessed the server's home screen, take a moment to familiarize yourself with the server's layout and content. This can include exploring the different channels available within the server, engaging in conversations with other members, or accessing any specific features or settings unique to that server.
It's important to ensure that you have selected the correct server before proceeding to the next step. Double-checking the server name and content can help prevent any accidental actions or confusion during the server-moving process. This attention to detail ensures that you are accurately targeting the server for relocation, minimizing the risk of errors or unintended transfers.
By following these steps to select the server within the Discord mobile app, you are now prepared to proceed with the next stage of the server-moving process. With the server successfully identified and accessed, you are ready to advance to the subsequent steps, ultimately leading to the seamless transfer of the server to its new destination.
Step 3: Tap on the Server Name
After selecting the Discord server you intend to move, the next crucial step in the server-moving process is to tap on the server name. This action allows you to access the server's settings and initiate the procedure for relocating the server to a different category within your Discord account.
Upon tapping on the server name, you will be directed to the server's main interface, where you can view a range of options and settings specific to that server. This includes access to the server's channels, member list, roles, and various administrative features. Tapping on the server name serves as the gateway to managing the server's configuration and making adjustments as needed.
Once you have accessed the server's main interface, take a moment to review the current settings and configurations associated with the server. This can involve reviewing the existing channels, roles assigned to members, and any specific permissions or restrictions in place within the server. By familiarizing yourself with the server's current state, you can make informed decisions regarding the server's relocation and ensure that the process aligns with your intended goals.
In addition to reviewing the server's settings, tapping on the server name also provides access to the server's general information and details. This can include the server's description, member list, and any announcements or pinned messages relevant to the server's community. By exploring this information, you can gain valuable insights into the server's purpose and community dynamics, further informing your decision to move the server to a new category.
It's important to approach this step with attentiveness and care, ensuring that you are accurately navigating to the server's settings and information. By tapping on the server name and immersing yourself in the server's details, you are actively engaging with the server's content and context, setting the stage for a well-informed and deliberate server-moving process.
By tapping on the server name within the Discord mobile app, you are taking a pivotal step towards initiating the server's relocation. This action serves as the bridge to accessing the server's settings and details, providing the foundation for the subsequent steps in the server-moving process. With the server's interface at your fingertips, you are poised to progress to the next stages, ultimately leading to a successful and seamless transfer of the server to its new category.
Step 4: Tap on "Move Server"
Once you have accessed the server's main interface and familiarized yourself with its settings and details, the next crucial step in the server-moving process is to tap on "Move Server." This action serves as the pivotal entry point to initiate the relocation of the server to a different category within your Discord account.
Upon tapping on "Move Server," you will be presented with a set of options and categories within your Discord account. These categories typically include the list of servers you are a member of, as well as any custom categories you have created to organize and manage your servers efficiently. The "Move Server" feature empowers you to seamlessly transition the selected server from its current category to a new, designated category, streamlining the organization of your Discord servers.
As you tap on "Move Server," a menu or prompt will appear, prompting you to select the destination category for the server. This step requires thoughtful consideration, as choosing the appropriate category is essential for maintaining a well-structured and easily navigable Discord server environment. Whether you are moving the server to an existing category or creating a new category for it, this decision plays a significant role in optimizing the accessibility and management of your servers.
When selecting the destination category, take into account the server's purpose, community dynamics, and the overall organization of your Discord account. Consider factors such as the server's thematic focus, its relationship to other servers in your account, and the potential impact of the relocation on the server's members and administrators. By carefully evaluating these aspects, you can make an informed decision regarding the server's new category, ensuring that it aligns with your overarching organizational strategy.
It's important to approach this step with a strategic mindset, leveraging the "Move Server" feature to enhance the coherence and efficiency of your Discord server management. By tapping on "Move Server" and navigating through the category selection process, you are actively shaping the server's placement within your Discord account, optimizing its visibility and accessibility for both you and your server members.
By tapping on "Move Server" and engaging with the category selection process, you are taking a significant stride towards refining the organization and accessibility of your Discord servers. This action sets the stage for the server's seamless transition to its new category, marking a pivotal moment in the server-moving process and paving the way for the subsequent steps that culminate in a successful and well-executed server relocation.
Step 5: Choose the Destination Category
After tapping on "Move Server" and initiating the server-moving process, the next critical step is to choose the destination category for the server within your Discord account. This pivotal decision directly impacts the organization and accessibility of the server, influencing how it aligns with other servers and categories in your Discord environment.
When presented with the option to choose the destination category, it's essential to approach this step with careful consideration and strategic foresight. Discord offers a range of categories, including existing categories where your servers are currently housed, as well as the flexibility to create new categories tailored to specific themes or purposes.
To make an informed decision, take into account the nature and focus of the server you are relocating. Consider its thematic relevance, community dynamics, and the intended audience or members who engage with the server's content. By aligning the server with a category that reflects its purpose and resonates with its community, you can enhance the overall user experience and streamline navigation within your Discord account.
Furthermore, assess the existing categories within your Discord account to identify the most suitable placement for the server. Evaluate the cohesion and organization of your categories, ensuring that the destination category complements the broader structure of your Discord server management. This strategic approach fosters a well-organized and intuitive environment, facilitating seamless access to the server for both administrators and members.
In some instances, you may opt to create a new category specifically tailored to accommodate the relocated server. This approach allows for precise categorization and can be particularly beneficial when establishing distinct thematic groupings or organizing servers based on specific interests or activities. By creating a new category, you have the flexibility to curate a cohesive environment that optimally showcases the server's content and purpose.
As you deliberate on the destination category, consider the potential impact of the relocation on the server's members and administrators. Communication and transparency can be valuable during this process, especially if the server's relocation may affect existing channels, roles, or access permissions. Keeping the server's community informed and involved can foster a smooth transition and mitigate any potential disruptions.
By choosing the destination category thoughtfully and strategically, you are actively shaping the server's positioning within your Discord account, optimizing its visibility and accessibility. This decision serves as a pivotal moment in the server-moving process, setting the stage for a seamless transition to its new category and contributing to the overall coherence and efficiency of your Discord server management.
Step 6: Confirm the Move
After selecting the destination category for the server, the final step in the server-moving process is to confirm the move. This critical action serves as the definitive moment where you validate the server's relocation, ensuring that it seamlessly transitions to its new category within your Discord account.
Upon confirming the move, Discord prompts you to review and verify the relocation details, providing a final opportunity to ensure the accuracy and intentionality of the server's transfer. This confirmation step is designed to prevent inadvertent actions and promote a deliberate approach to managing your Discord servers.
As you proceed to confirm the move, take a moment to review the selected destination category and validate its alignment with the server's purpose and community dynamics. Verify that the chosen category effectively encapsulates the server's thematic focus and resonates with its members, fostering a cohesive and intuitive organizational structure within your Discord account.
Additionally, consider the potential implications of the server's relocation on its members and administrators. Confirming the move presents an opportunity to communicate any pertinent details or changes resulting from the server's transfer, ensuring transparency and minimizing any potential confusion or disruption within the server's community.
Discord may also provide a summary of the server's content and settings as part of the confirmation process, allowing you to reaffirm the server's configurations and ensure that its channels, roles, and permissions are accurately preserved during the move. This comprehensive overview empowers you to maintain the integrity of the server's content and community framework throughout the relocation.
Once you have thoroughly reviewed the relocation details and confirmed the move, Discord seamlessly executes the transfer, relocating the server to the designated category within your Discord account. This finalization of the move marks the culmination of the server-moving process, signifying the successful transition of the server to its new category and the optimization of your Discord server management.
By confirming the move with attentiveness and intentionality, you actively contribute to the seamless and coherent organization of your Discord servers, fostering an environment that prioritizes accessibility, clarity, and user experience. This deliberate approach to managing server relocations underscores the significance of thoughtful decision-making and proactive communication, ultimately enhancing the overall functionality and user engagement within your Discord account.
In conclusion, moving servers on Discord mobile is a straightforward process that allows users to seamlessly transition between different communities. By following the simple steps outlined in this guide, users can effortlessly navigate their way through the platform, ensuring a smooth and enjoyable experience. Whether it's joining a new server or managing existing ones, the mobile version of Discord offers convenience and flexibility. With the ability to stay connected on the go, users can engage with their favorite communities anytime, anywhere. Embracing the mobile capabilities of Discord empowers users to stay connected and engaged within their communities, fostering a sense of belonging and camaraderie.
FAQs
-
How do I move servers on Discord mobile?
To move servers on Discord mobile, simply tap the three horizontal lines in the top-left corner of the screen to open the server list. Then, tap on the server you want to switch to. -
Can I switch between servers without leaving the current server on Discord mobile?
Yes, you can easily switch between servers without leaving the current server on Discord mobile. Just tap the server icon at the top of the screen to access the server list and select the server you want to switch to. -
Is it possible to receive notifications from multiple servers on Discord mobile?
Absolutely! Discord mobile allows you to receive notifications from multiple servers. You can customize your notification settings for each server to ensure you stay informed without feeling overwhelmed. -
What should I do if I can't find a specific server on Discord mobile?
If you can't find a specific server on Discord mobile, try using the search feature at the top of the server list. Simply enter the server name or relevant keywords, and Discord will display matching results to help you locate the desired server. -
Are there any shortcuts for quickly switching between servers on Discord mobile?
Yes, Discord mobile offers shortcuts for swift server switching. By long-pressing the server icon at the bottom of the screen, you can access a list of your servers and effortlessly jump to the one you need.