
In today’s interconnected world, being able to access and manage text messages and iMessages across multiple devices is essential. One such device is Mac, Apple’s powerful and versatile computer. But how exactly can you get text messages and iMessages on your Mac? Whether you want to send and receive messages seamlessly or keep track of important conversations, we’ve got you covered. In this article, we will explore various methods and tools that allow you to sync your messages with your Mac. From using the built-in iMessage app to leveraging third-party applications, we will provide you with step-by-step instructions and tips to make the process as smooth as possible. So, grab your Mac and get ready to discover how you can stay connected across all your devices!
Inside This Article
- Setting Up iMessage on Mac
- Syncing Messages on Mac and iPhone
- Sending and Receiving Text Messages on Mac
- Conclusion
- FAQs
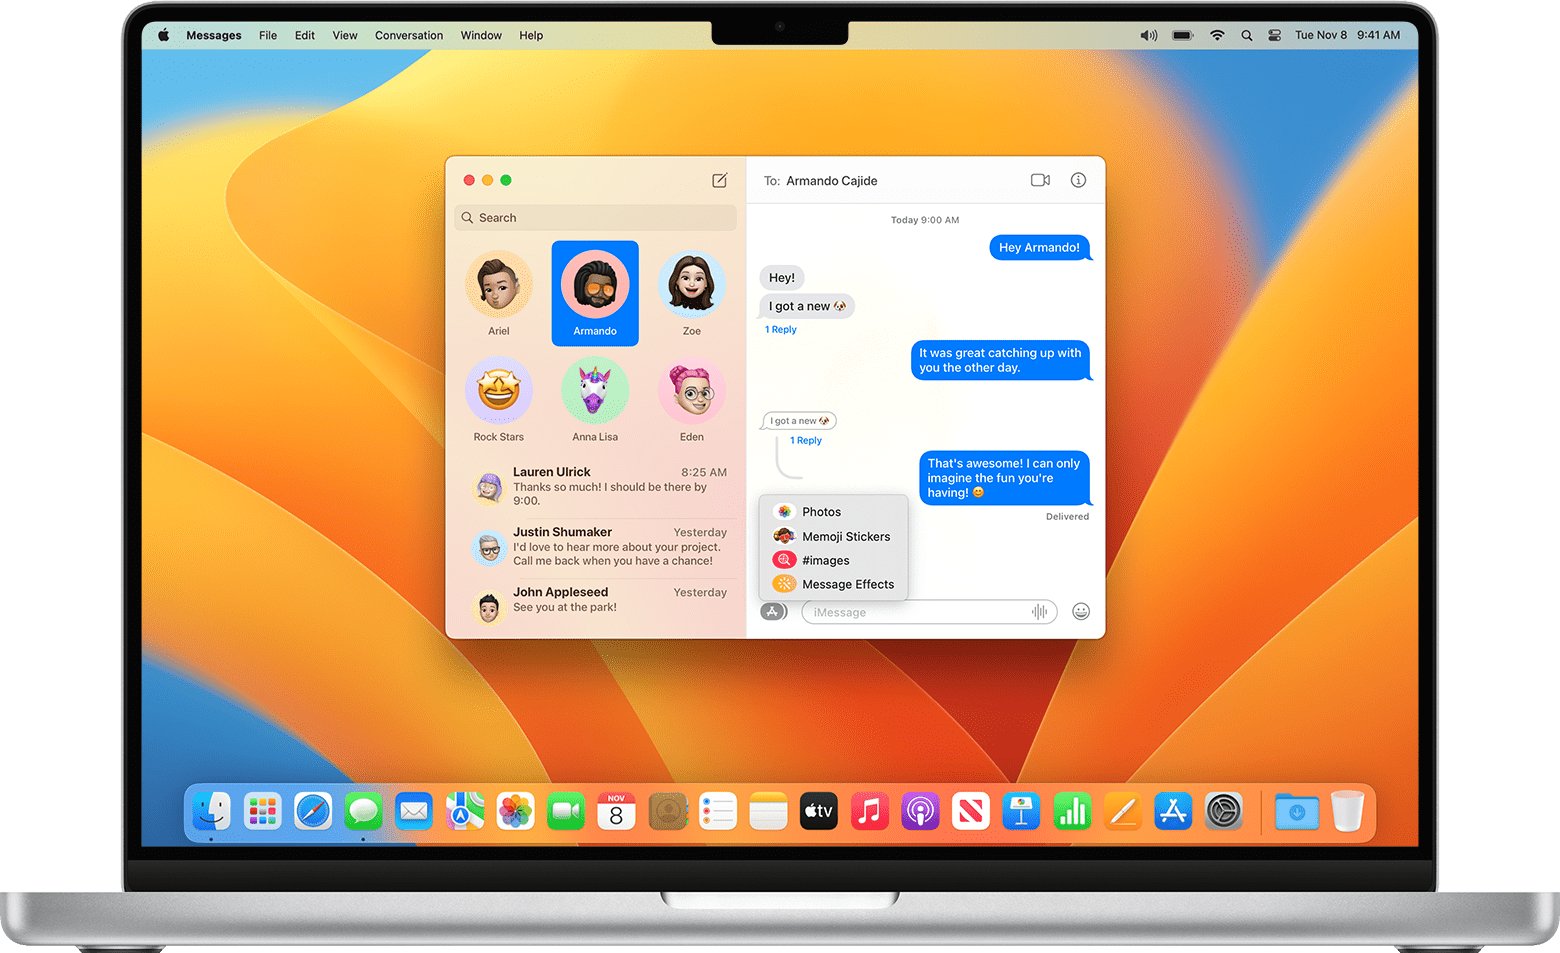
Setting Up iMessage on Mac
If you’re a Mac user and want to stay connected with your friends and family via text messages, you’ll be glad to know that you can set up iMessage on your Mac. iMessage allows you to send and receive text messages, photos, and videos seamlessly between your Mac and iOS devices. Here’s how you can set it up:
Step 1: Sign in with your Apple ID
To get started, make sure you’re signed in to your Mac using the same Apple ID that you use on your iPhone or iPad. This will ensure that your messages are synced across all your devices.
Step 2: Open the Messages app
Next, open the Messages app on your Mac. You can find it in the Applications folder or by using Spotlight search. Once the app is open, click on “Messages” in the menu bar, and then select “Preferences.”
Step 3: Enable iMessage
In the Preferences window, click on the “Accounts” tab and select your iMessage account. Make sure the “Enable this account” option is checked. If you don’t see your account listed, click on the plus (+) button to add it using your Apple ID and password.
Step 4: Sync contacts and settings
In the same Preferences window, click on the “Settings” tab. Here, you can choose whether you want to sync your contacts with iMessage on Mac. You can also configure other settings such as message sound notifications and message history retention.
Step 5: Start messaging
Once you’ve completed the setup process, you’re ready to start messaging! You can now send and receive text messages, photos, and videos using iMessage on your Mac. Simply select a contact from your list or start a new conversation by clicking on the compose button.
Setting up iMessage on your Mac is a convenient way to stay in touch with your contacts, especially when your iPhone or iPad is not within reach. Enjoy the seamless messaging experience across all your Apple devices!
Syncing Messages on Mac and iPhone
One of the great advantages of using iMessage on your Mac is the ability to sync your messages across all Apple devices, including your iPhone. This means that you can access and respond to your text messages and iMessages seamlessly from your Mac, without having to pick up your iPhone. Here’s how you can sync messages on your Mac and iPhone:
1. Sign in to iCloud: Make sure that both your Mac and iPhone are signed in to the same iCloud account. This is crucial for syncing your messages. If you’re not already signed in, go to “Settings” on your iPhone and “System Preferences” on your Mac, and sign in with the same Apple ID.
2. Enable iMessage: On both your Mac and iPhone, make sure that iMessage is enabled. On your Mac, open the Messages app, go to “Preferences,” and make sure the “iMessage” option is checked. On your iPhone, go to “Settings,” tap on your Apple ID, and toggle on the “iMessage” option.
3. Check forwarding settings: On your iPhone, go to “Settings” and tap on “Messages.” Under the “Text Message Forwarding” section, you should see your Mac listed. Toggle on the switch next to your Mac to enable message forwarding.
4. Verify phone number and email address: On both your Mac and iPhone, make sure that the phone number and email address listed under your iMessage settings are correct. This ensures that messages are synced properly between your devices.
5. Wait for messages to sync: Once you have completed the above steps, your messages should start syncing between your Mac and iPhone. It may take a few moments for the messages to appear on your Mac, so be patient. You should now be able to access and reply to your text messages and iMessages from your Mac.
6. Enable text message forwarding: If you want to be able to send and receive regular SMS text messages from your Mac, you will need to enable text message forwarding. On your iPhone, go to “Settings,” tap on “Messages,” and then tap on “Text Message Forwarding.” Toggle on the switch next to your Mac to enable text message forwarding.
By following these steps, you can ensure that your messages are synced and accessible across all your Apple devices. Whether you prefer to respond to messages from your Mac or your iPhone, you’ll have the flexibility to seamlessly switch between devices while staying connected with your contacts.
Sending and Receiving Text Messages on Mac
As an Apple user, having the ability to send and receive text messages on your Mac can be incredibly convenient. Not only does it allow you to seamlessly transition between devices, but it also ensures that you never miss an important message, even when your iPhone is not within reach.
With the Messages app on your Mac, you can send and receive both standard text messages and iMessages directly from your computer. This integration makes it easier than ever to stay connected with friends, family, and colleagues, all without having to switch back and forth between devices.
To send a text message on your Mac, simply open the Messages app and start a new conversation by clicking on the pencil icon in the top right corner. You can then begin typing your message in the text field at the bottom of the app window. Once you’re done composing your message, hit the enter key to send it off.
Receiving text messages on your Mac is just as straightforward. When a new message arrives, you will receive a notification on your desktop, allowing you to view and respond to the message without ever needing to pick up your iPhone. This is especially useful when your phone is charging in another room or when you’re focused on your computer work.
The integration between your Mac and iPhone ensures that all of your conversations, whether they are text messages or iMessages, stay in sync across devices. This means that you can seamlessly transition between devices, picking up conversations where you left off.
One important thing to note is that in order to send and receive text messages on your Mac, your iPhone must be connected to the same Wi-Fi network and signed in to the same Apple ID. This ensures that your messages are securely transmitted between devices and stays in sync.
With the ability to send and receive text messages on your Mac, you can enjoy the convenience of staying connected wherever you are. Whether you’re working on your computer, relaxing at home, or traveling, you can always stay up to date with your conversations without having to constantly switch between devices.
Conclusion
In conclusion, getting text messages and iMessages on your Mac is a convenient and efficient way to stay connected across devices. By using the Messages app, you can seamlessly sync your conversations and access them from your Mac. This feature is particularly useful for those who spend a significant amount of time working on their computers or prefer to reply to messages using a full-sized keyboard. Whether you need to reply to an important message, send a quick update, or simply stay in touch with friends and family, having your text messages and iMessages available on your Mac can greatly enhance your communication experience.
So, take advantage of the Messages app on your Mac and enjoy the convenience of accessing your text messages and iMessages without having to reach for your phone. Stay connected, stay productive, and stay in touch with ease.
FAQs
1. Can I receive text messages and iMessages on my Mac?
Yes, you can receive text messages and iMessages on your Mac if you have an iPhone and it is connected to the same iCloud account as your Mac. This feature, known as “Text Message Forwarding,” allows you to send and receive messages from your iPhone directly on your Mac.
2. How do I set up text message forwarding on my Mac?
To set up text message forwarding, follow these steps:
- Ensure that your iPhone and Mac are connected to the same Wi-Fi network and are signed in with the same Apple ID.
- On your iPhone, go to “Settings” and tap on your name at the top of the screen.
- Tap on “iCloud” and make sure that “Messages” is enabled.
- On your Mac, open the “Messages” app, go to “Preferences” in the menu bar, and click on the “Accounts” tab.
- Select your iMessage account and make sure the “Enable this account” option is checked.
- Under “You can be reached for messages at,” select your iCloud email address or phone number.
- Scroll down and check the box next to your iPhone’s name under the “Text Message Forwarding” section.
- You will receive a verification code on your iPhone. Enter the code on your Mac to complete the setup.
3. Can I reply to text messages and iMessages directly from my Mac?
Absolutely! Once you have set up text message forwarding on your Mac, you can reply to text messages and iMessages directly from the “Messages” app. Simply open the conversation and type your reply, just like you would on your iPhone. Your response will be sent from your iPhone, but it will appear both on your Mac and the recipient’s device.
4. Do I need to keep my iPhone nearby for text message forwarding to work?
Yes, your iPhone needs to be turned on and within a reasonable proximity to your Mac for text message forwarding to work. The messages you send and receive on your Mac are still using your iPhone’s cellular connection, so it needs to be in range to ensure a seamless transfer of messages between devices.
5. Can I disable text message forwarding on my Mac?
If you no longer wish to receive text messages and iMessages on your Mac, you can disable text message forwarding by following these steps:
- On your Mac, open the “Messages” app.
- Go to “Preferences” in the menu bar and click on the “Accounts” tab.
- Uncheck the box next to your iPhone’s name under the “Text Message Forwarding” section.
This will stop your Mac from receiving text messages and iMessages from your iPhone.