
If you’re looking for a convenient way to receive text messages on your Mac without using your phone, you’re in luck! In this article, we will explore how you can easily access and receive text messages on your Mac, eliminating the need to constantly switch between devices. Whether you want to stay connected while working or simply want to have all your messages in one place, we have you covered. With the advancements in technology, it is now possible to seamlessly synchronize your messaging apps across multiple devices. So, whether you use Apple’s iMessage or other texting apps, we will provide you with simple and effective methods to receive and reply to text messages directly on your Mac. Say goodbye to the hassle of juggling between devices and say hello to a more streamlined and convenient messaging experience!
Inside This Article
- Method 1: Using iMessage on Mac
- Method 2: Using third-party software
- Method 3: Using iCloud Messaging
- Conclusion
- FAQs
Method 1: Using iMessage on Mac
One of the easiest ways to get text messages on your Mac without using your phone is by using iMessage. iMessage is Apple’s messaging platform that allows you to send and receive messages across all your Apple devices. By syncing your iPhone with your Mac, you can seamlessly access your text messages without having to physically use your phone. Here’s how you can set it up:
1. Open the Messages app on your Mac. If you don’t have it already, you can download it from the App Store.
2. Sign in to your Apple ID. Make sure you use the same Apple ID that is associated with your iPhone.
3. On your iPhone, go to “Settings” and tap on your Apple ID at the top of the screen. Then, select “iCloud” and make sure that “Messages” is toggled on.
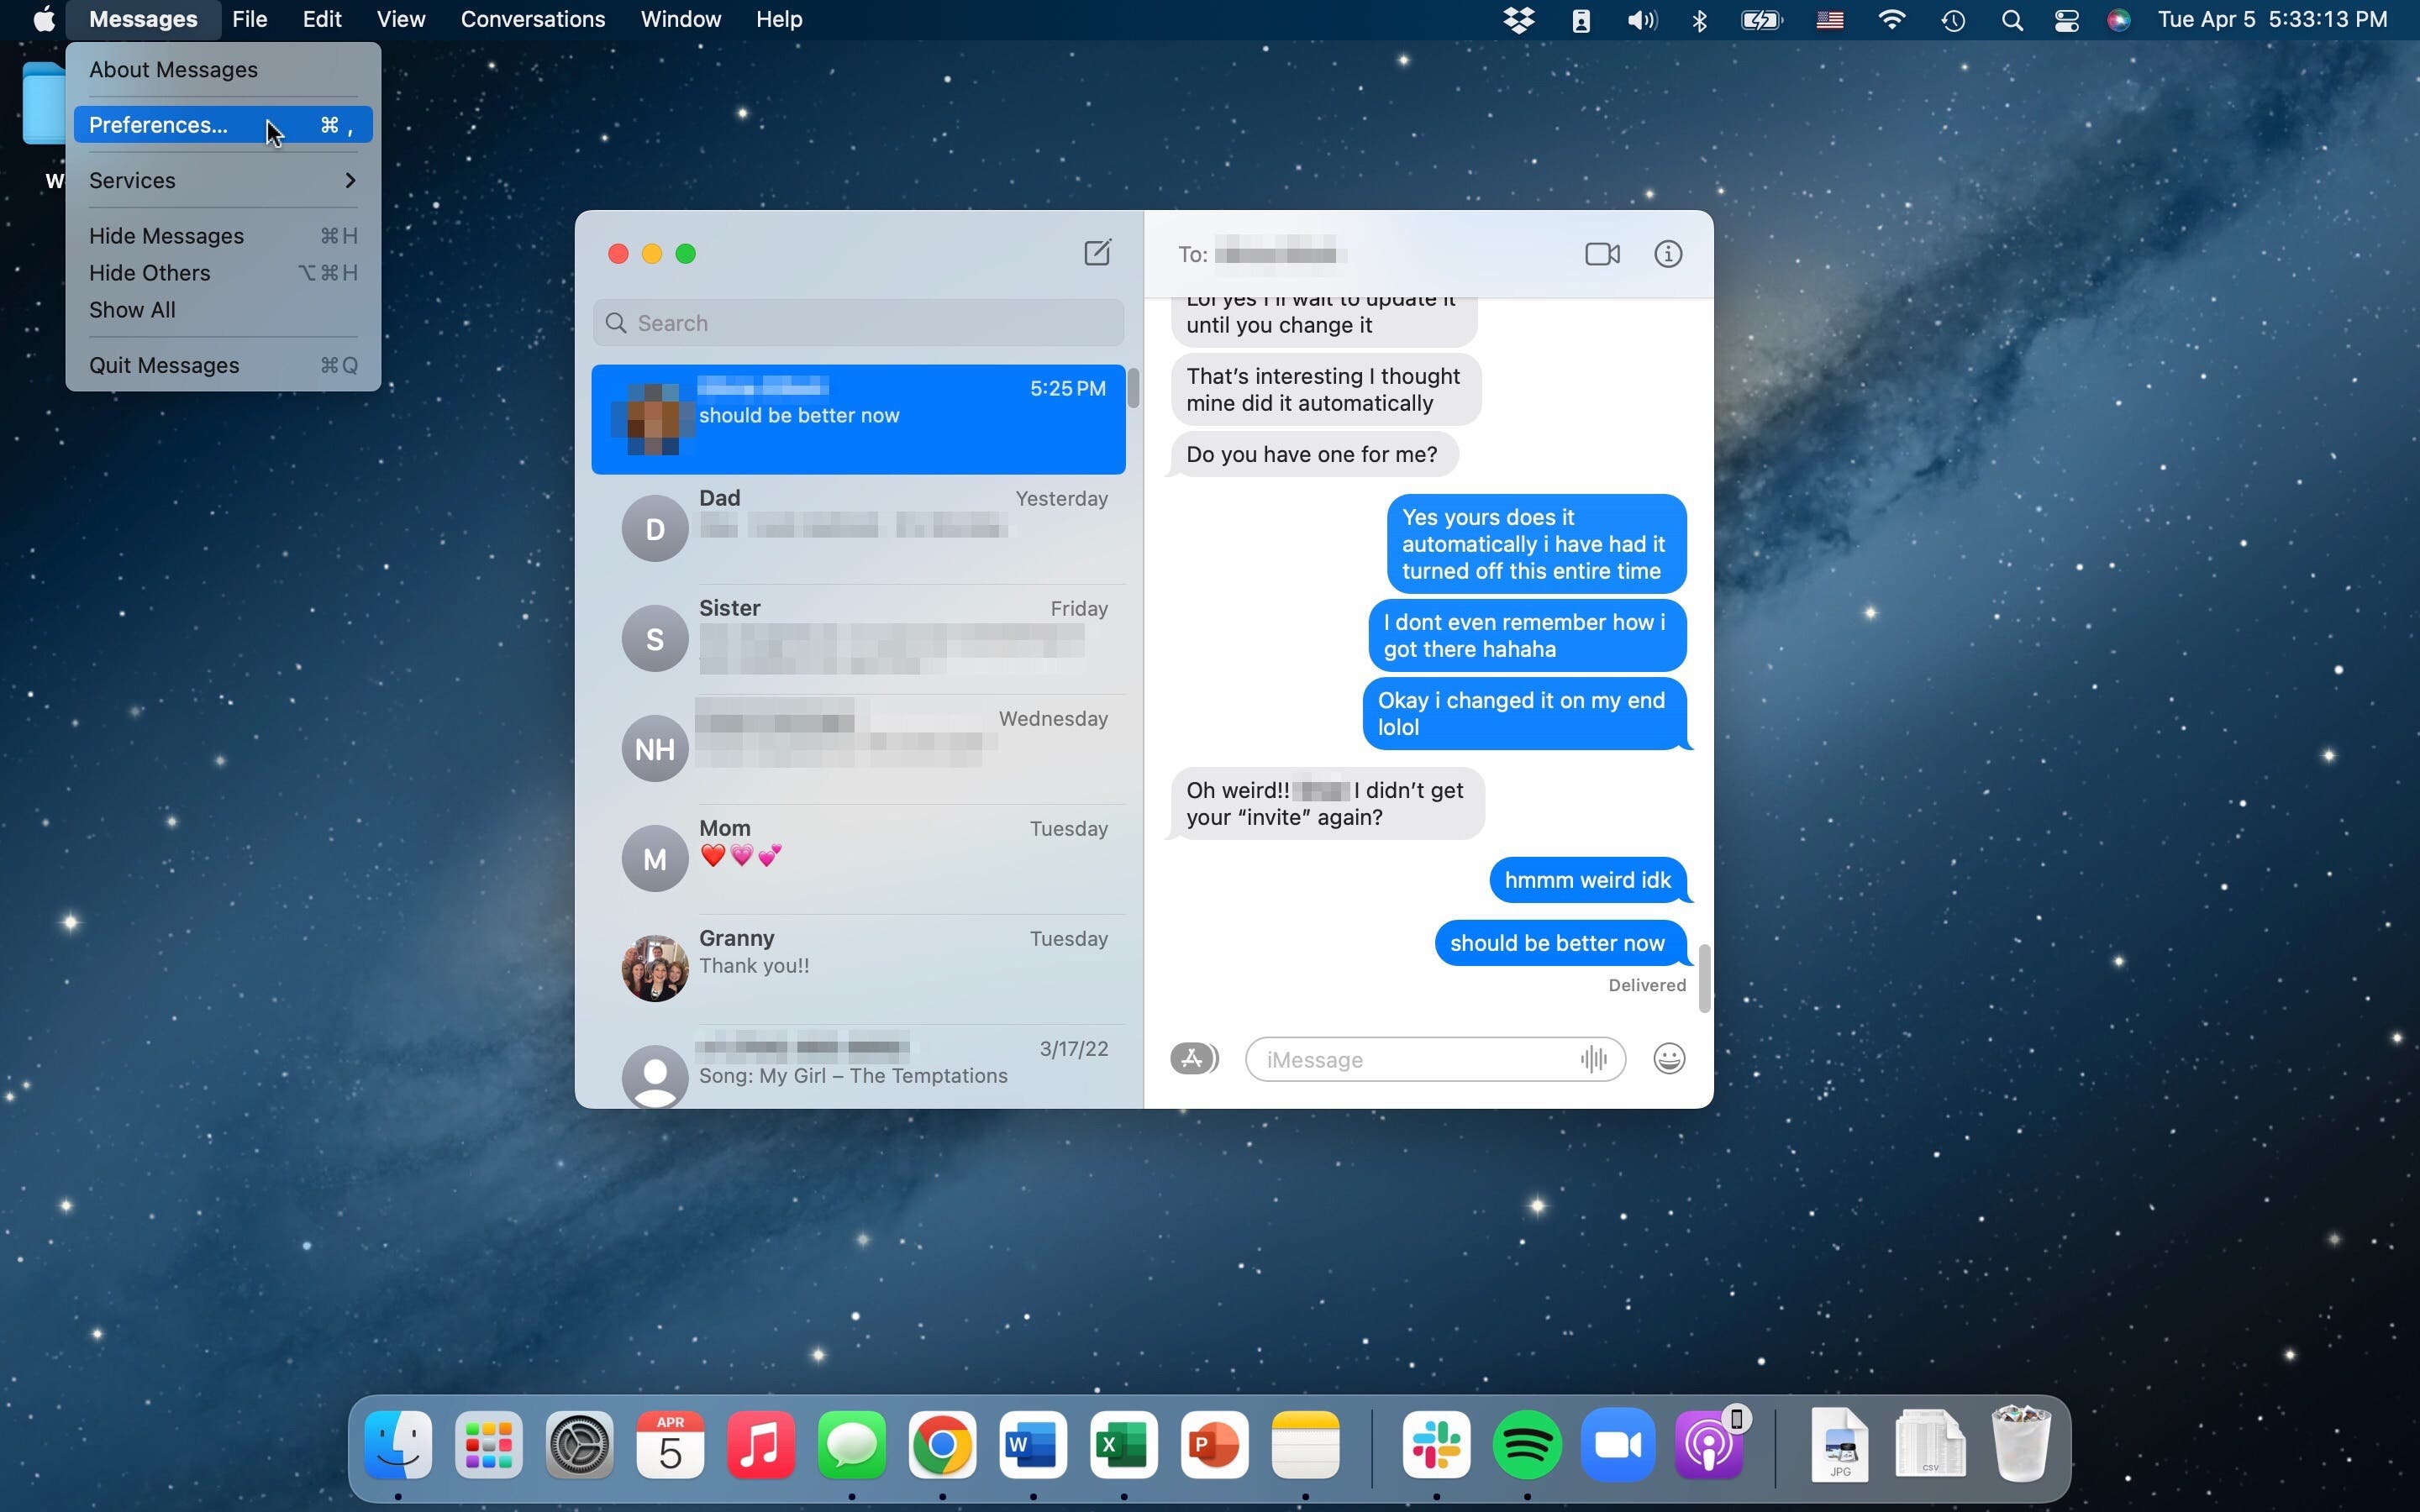
4. On your Mac, go to “Preferences” within the Messages app. Click on the “iMessage” tab and make sure your Apple ID is listed under “Accounts.”
5. Enable iMessage on your Mac by checking the box next to “Enable this account.”
6. Once the setup is complete, all your text messages will be synced between your iPhone and your Mac. You can now view and respond to your messages directly from your Mac without needing to have your phone nearby.
Using iMessage on your Mac provides a convenient way to stay connected and keep up with your conversations, even when your phone is not within reach. With just a few simple setup steps, you can enjoy the benefits of accessing your text messages on your Mac seamlessly.
Method 2: Using third-party software
If you’re looking for an alternative way to receive text messages on your Mac without needing your phone, using third-party software is an excellent option. These software solutions are specifically designed to bridge the gap between your mobile device and your Mac, allowing seamless integration and message synchronization. Here’s how you can set it up:
- Research available software: Before diving in, take some time to explore the various third-party software options available. Look for reliable and trusted applications that offer features such as message syncing, notifications, and encryption to ensure your privacy and security.
- Select and download the software: Once you’ve identified the software that best meets your needs, go ahead and download it onto your Mac. Make sure to follow the installation instructions provided by the software developer.
- Configure the software: After installing the software, launch it on your Mac and follow the on-screen prompts to set it up. You may need to grant certain permissions and allow the software to access your messages and contacts on your mobile device.
- Pair your devices: In order to establish a connection between your Mac and mobile device, you’ll need to pair them. This can usually be done by scanning a QR code displayed on your Mac screen using your phone’s camera or by entering a verification code provided by the software.
- Start receiving text messages: Once the pairing process is complete, you should start receiving notifications on your Mac whenever you receive a text message on your phone. You can also view and respond to these messages directly from your Mac, making it a convenient way to stay connected.
It’s important to note that while third-party software can offer a convenient way to receive text messages on your Mac, it’s crucial to choose a reputable application from a trusted developer. Be cautious when granting permissions and ensure that the software adheres to strict privacy and security protocols.
Additionally, keep in mind that some third-party software options may be available for a fee, while others may offer limited functionality in their free versions. Consider your specific needs and preferences before making a decision.
Method 3: Using iCloud Messaging
If you own an iPhone and a Mac, you’re in luck! Apple provides a seamless way to sync and view your text messages across multiple devices using iCloud Messaging. This allows you to conveniently access your text messages on your Mac without needing your phone by your side.
To get text messages on your Mac through iCloud Messaging, follow these simple steps:
- Make sure you have signed in to the same Apple ID on both your iPhone and Mac.
- On your iPhone, go to “Settings” and tap on your name at the top of the screen.
- Select “iCloud” and make sure that “Messages” is toggled on. This will ensure that your text messages are synced with iCloud.
- On your Mac, open the “Messages” app.
- In the top menu bar, click on “Messages” and then select “Preferences”.
- A window will pop up. Go to the “Accounts” tab.
- Make sure your Apple ID is listed in the left sidebar. If not, click on the “+” button and sign in with your Apple ID.
- Check the box next to “Enable this account” and make sure “Messages” is selected.
- Click on the “Sync Now” button to sync your text messages with your Mac.
Once you have completed these steps, your text messages from your iPhone will start appearing in the “Messages” app on your Mac. You can now view and respond to your text messages directly from your computer, without needing your phone.
Please note that you will need an active internet connection on both your iPhone and Mac for iCloud Messaging to work properly. Additionally, any changes or updates made to your text messages on one device will be reflected on the other, ensuring that your messages stay in sync across all your Apple devices.
iCloud Messaging is a convenient feature that allows you to stay connected and easily manage your text messages on your Mac. Whether you’re working on your computer or your phone is out of reach, you can continue your conversations seamlessly.
Take advantage of this hassle-free method to get your text messages on your Mac without the need for your phone beside you. Stay productive, stay connected, and simplify your digital life with iCloud Messaging.
Conclusion
In conclusion, getting text messages on your Mac without using a phone is not only possible but also convenient. Whether you prefer using Apple’s own iMessage service or third-party software like SMS Forwarder, you now have the ability to stay connected and manage your messages seamlessly across devices. By following the step-by-step instructions provided in this article, you can easily set up and enjoy the benefits of receiving text messages directly on your Mac.
With this capability, you can enjoy the convenience of typing and responding to messages on a larger screen, making it easier to keep up with conversations and stay productive. Whether you’re working, studying, or simply enjoying some downtime on your Mac, you no longer have to constantly switch between your phone and computer to stay in touch.
So, why wait? Start getting your text messages on your Mac today and experience the convenience and efficiency it brings to your digital communication. Embrace the power of synchronization and enjoy a more seamless and integrated messaging experience across all your devices.
FAQs
1. Can I get text messages on a Mac without having my phone?
Yes, you can receive text messages on your Mac without having your phone. There are several methods available, such as using iMessage, third-party messaging apps, and syncing your iPhone messages with your Mac. These options allow you to view and respond to text messages directly on your Mac, giving you convenient access to your messages without needing your phone nearby.
2. How can I receive text messages on my Mac using iMessage?
To receive text messages on your Mac using iMessage, ensure that both your iPhone and Mac are signed in to the same iCloud account. Open the Messages app on your Mac, go to Preferences, and ensure that your phone number and email address are listed under the “Accounts” tab. Once set up, you should start receiving and syncing your iMessages across your devices.
3. Are there any third-party apps that allow me to receive text messages on my Mac?
Yes, there are several third-party apps that provide the functionality to receive text messages on your Mac. Some popular options include Pushbullet, AirDroid, and mightytext. These apps allow you to sync your text messages, notifications, and other smartphone functions with your Mac for seamless communication.
4. Can I sync my iPhone messages with my Mac?
Yes, you can sync your iPhone messages with your Mac using the built-in Continuity feature. Ensure that both devices are logged in to the same iCloud account and have Bluetooth turned on. On your iPhone, go to Settings > Messages > Text Message Forwarding, and enable the option to allow your Mac to receive and send messages from your iPhone.
5. Is it possible to receive texts on my Mac even if my iPhone is not nearby?
No, in order to receive text messages on your Mac, your iPhone needs to be powered on and connected to the same Wi-Fi network as your Mac. This is necessary for the syncing and communication between your iPhone and Mac. However, once your devices are connected, you can continue to send and receive text messages on your Mac even if your iPhone is not physically nearby.