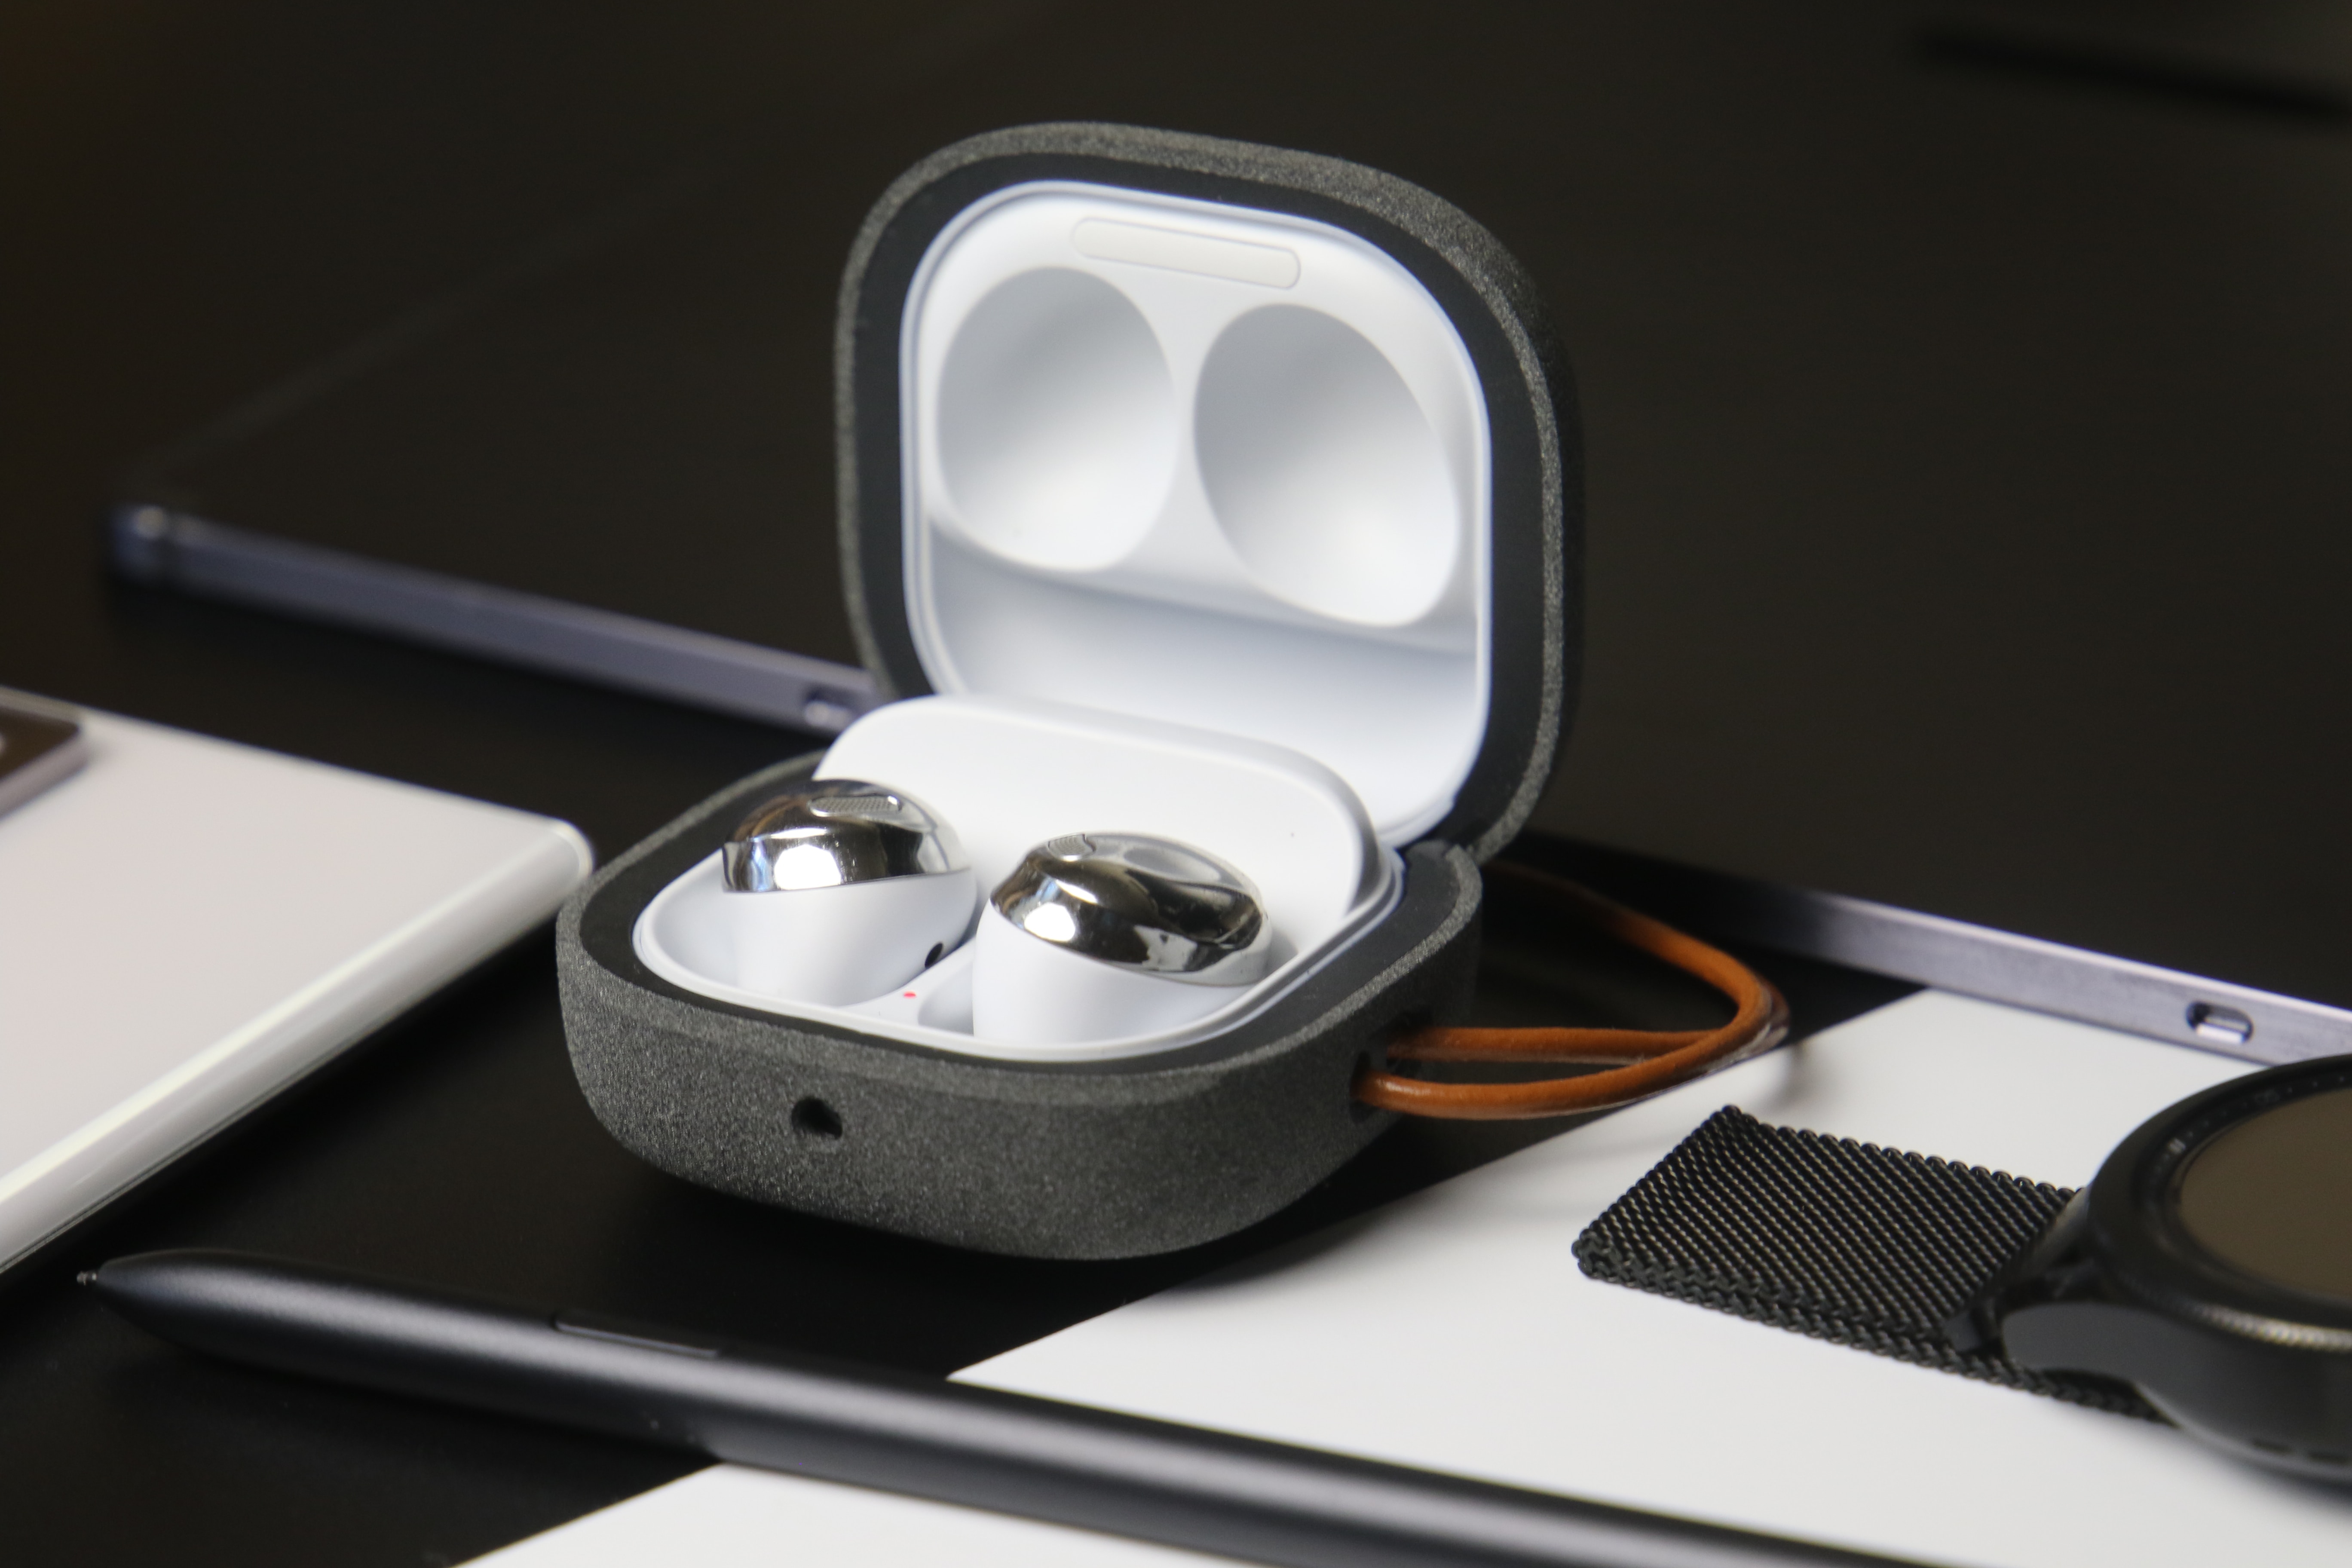
To pair Skullcandy Indy Evo earbuds, first forget them on any previously connected device, then power off and reset each bud before placing them back in the case to sync. Once the left bud flashes red and blue, open your phone's Bluetooth settings and select "Indy Evo" to complete the connection.
Before you pair skullcandy indy evo: forget and reset
Most pairing failures happen because the earbuds are still linked to an old phone or tablet. Open the Bluetooth settings on the device the Indy Evo was last connected to and tap "Forget" or "Unpair" to remove it. Next, remove both earbuds from the charging case. Touch and hold each bud for 6 seconds to power them off, then touch and hold each bud for 10 seconds to perform a full reset. This clears any stored connection data and prepares the earbuds for a fresh sync.
How to sync the earbuds and enter pairing mode
After the reset, place both earbuds back in the charging case. Wait until the LED on each bud shows solid red, then remove them again. Both buds will power on automatically and flash blue while they sync to each other. Skullcandy says both buds will power on, flash blue while syncing to each other, and then only the left bud will flash red/blue when pairing mode is ready. When the left earbud begins flashing red and blue, the Indy Evo is in pairing mode and ready to connect to your phone. A tone will play to confirm the sync between the two buds is successful.
Connect Indy Evo to iPhone
- Open Settings and tap Bluetooth.
- Turn Bluetooth on if it is not already enabled.
- Wait for "Indy Evo" to appear under the devices list, then tap it.
The earbuds will connect and appear in the paired devices list. This is the standard method for how to connect true wireless earbuds to any iPhone.
Connect Indy Evo to Android
- Swipe down from the top of the screen and touch and hold the Bluetooth icon.
- Tap Pair new device. Google says if Pair new device is not shown, check under Available devices or tap More > Refresh.
- Select Indy Evo from the list and accept any Pair or OK prompts that appear.
During the initial connection, the earbuds should appear only once in the available devices list. This process covers how to turn on true wireless earbuds and connect them to an Android phone.
Fix one earbud not connecting
If only one earbud connects, the documented fix is straightforward. First, forget the Indy Evo on your phone's Bluetooth settings. Power both buds off by touching and holding each for 6 seconds, then reset each bud with a 10-second touch and hold. Place both buds back in the case until the LEDs show red, then remove them to let them re-sync. A tone will confirm the sync is successful, and the left bud will flash red and blue. Finally, pair again from your phone's Bluetooth menu. Skullcandy says a successful sync is indicated by a tone, and after pairing the earbuds should appear twice in the paired devices list.
Frequently Asked Questions
Do the earbuds support a special app pairing flow?
No app pairing flow is documented for the Skullcandy Indy Evo. All pairing is done directly through your phone's Bluetooth settings.
What devices are supported?
The Indy Evo pairs with any Bluetooth device that can discover and select the earbuds from its available devices list. This includes iPhones, Android phones, tablets, and computers with Bluetooth.
What exact button labels appear on Android during pairing?
Android devices show a Pair new device button to start scanning. When the Indy Evo appears, you will need to accept Pair or OK prompts to complete the connection.
Are there documented pairing limits?
The only documented limit is that the earbuds should appear only once in the available devices list during the initial connection. After successful pairing, they will appear twice in the paired devices list.
For the wider topic, see pairing true wireless earbuds.