
Are you tired of having a dull and uninspiring FaceTime call? Want to add a touch of fun and creativity to your video chats? Well, look no further! In this article, we will show you how to use a filter on a FaceTime call to bring your conversations to life. Whether you want to transform yourself into a funny animal, add a touch of glamour with a makeup filter, or create a surreal and artistic effect, filters can help you express yourself in new and exciting ways. So, let’s dive into the world of FaceTime filters and discover how you can take your video calls to the next level!
Inside This Article
- Overview
- Step 1: Open FaceTime
- Step 2: Start a Call
- Step 3: Enable the Filter
- Step 4: Adjust the Filter Settings
- Step 5: Enjoy the Filtered FaceTime Call
- Troubleshooting Tips
- Additional Resources
- Conclusion
- FAQs
Overview
Using filters on FaceTime calls adds a fun and creative touch to your video conversations. With filters, you can transform your appearance, overlay colorful effects, or add playful animations to enhance the visual experience. This article will guide you on how to access and apply filters during a FaceTime call, as well as provide tips for optimal usage.
Filters on FaceTime can be used for various purposes, including personalizing your virtual interactions, expressing your mood, or simply bringing some entertainment to the conversation. Whether you want to look like a cute bunny, add some sparkles to your background, or even mimic famous filters from popular social media platforms, FaceTime filters offer a wide array of options to suit your preferences.
Accessing filters on FaceTime is quite simple, as they are built-in features within the app. When starting or joining a FaceTime call, you’ll find the filters icon on the bottom left corner of the screen. By tapping on it, you’ll be presented with a variety of filter options to choose from.
During a FaceTime call, applying filters is as easy as a single tap. Simply swipe left or right on the filter carousel to preview different filters, and tap on the one you want to apply. The filter will instantly be applied to your video feed, transforming your appearance or adding visual effects based on the selected filter.
If you want to customize the intensity or adjust specific settings of a filter, FaceTime allows you to do so. Once you’ve chosen a filter, tap on the “…” icon located on the bottom right corner of the screen. This will open up additional options, such as adjusting the intensity of the filter or exploring other related filters.
When using filters on FaceTime, it’s essential to keep a few best practices in mind. Firstly, make sure to choose filters that are appropriate for the conversation and the setting you’re in. Some filters might be more suitable for casual chats with friends, while others might work well for professional or formal meetings.
Additionally, remember that filters can be subjective, and what may seem amusing to you might not be as enjoyable to others. Always consider the preferences of the person or people you are talking to before applying a filter. It’s a good practice to ask if they’re comfortable with using filters and, if so, find filters that everyone can enjoy.
If you encounter any issues with filters during a FaceTime call, there are a few troubleshooting steps you can try. Firstly, make sure you have the latest version of the FaceTime app installed on your device. If the filter options are not appearing, try restarting the app or your device to refresh the settings. If the issue persists, check your internet connection, as filters may require a stable and reliable connection to function properly.
Step 1: Open FaceTime
Before you can start using filters on FaceTime calls, you’ll need to make sure that FaceTime is open and ready for you. Here’s how to open FaceTime:
1. On your iPhone or iPad, locate the FaceTime app. It usually comes pre-installed on your device, so you can easily find it on your home screen.
2. Tap on the FaceTime app to open it. The app icon looks like a white video camera on a green background.
3. Once the app is open, you’ll be prompted to sign in with your Apple ID. Enter your Apple ID credentials and tap “Sign In” to continue.
4. After signing in, you’ll be taken to the main FaceTime screen, where you can see your recent calls and access various FaceTime features.
With FaceTime open and ready to use, you’re now set to explore the world of filters during your FaceTime calls. Let’s move on to the next step.
html
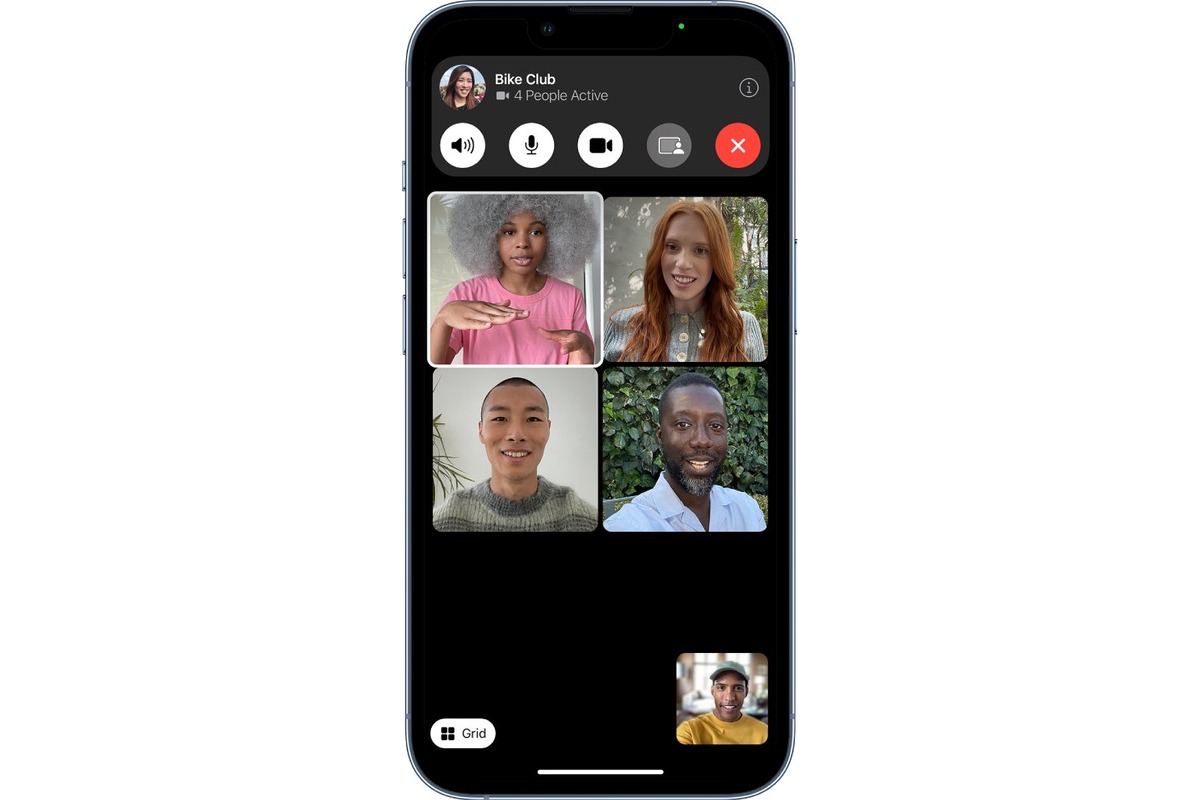
Step 2: Start a Call
Once you have selected a filter to use during your FaceTime call, it’s time to start the call itself. Follow these steps to initiate a FaceTime call:
1. Open the FaceTime app on your iPhone or iPad.
2. Tap on the “+” icon at the top right corner of the screen.
3. Enter the name, phone number, or email address of the person you want to call in the search bar.
4. Tap on the contact’s name when it appears in the search results.
5. Finally, tap on the FaceTime icon to initiate the call.
After the call has connected, you will see your camera feed in a small window at the bottom of the screen. You can move this window around by dragging it to a different location on your screen.
Now, you and the person you are calling can both enjoy the selected filter during your FaceTime call.
Step 3: Enable the Filter
Once you have selected the desired filter, it’s time to enable it and add a touch of creativity to your FaceTime call. Follow these simple steps:
- First, make sure you are still on a FaceTime call with the other person.
- Locate the filter options on your screen. Depending on your device, this may be located at the bottom or the top of the screen.
- Tap on the filter icon to access the filter gallery.
- Browse through the available filters to find the one you want to use.
- Once you’ve found the filter, tap on it to enable it.
Once the filter is enabled, both you and the other person on the call will see the filter effect in real-time. It adds a fun and engaging element to your conversation, allowing you to express your personality and creativity even when you’re not physically together.
Experiment with different filters to find the one that suits your mood or the theme of your conversation. Whether you want to appear as a cute animal, a humorous character, or add a touch of elegance, filters offer endless possibilities to spice up your FaceTime calls.
Step 4: Adjust the Filter Settings
Once you have applied a filter to your FaceTime call, you may want to adjust the settings to enhance or customize the filter effect. Here’s how you can do it:
1. While on a FaceTime call, tap on the screen to reveal the control panel.
2. Look for the three overlapping circles icon at the bottom left corner of the screen and tap on it. This will open the filter settings.
3. You will see a list of available filters. Scroll through the options and find the filter you want to adjust.
4. Tap on the filter that you want to modify. This will open a settings menu specific to that filter.
5. Within the filter settings menu, you may have various adjustment options such as intensity, color balance, or pattern selection, depending on the specific filter you have chosen.
6. Use the sliders, buttons, or toggles within the settings menu to customize the filter to your liking. Experiment with different settings to find the perfect balance for your FaceTime call.
7. Once you are satisfied with the adjustments, tap “Apply” or “Save” to confirm the changes.
8. The updated filter settings will be applied to your ongoing FaceTime call, and you can enjoy the personalized filter effect.
Remember, the process of adjusting filter settings may vary slightly depending on the device and FaceTime version you are using. However, the general steps should remain similar across different platforms.
Now that you know how to adjust the filter settings on FaceTime, you can take your video calls to the next level with personalized and customized visual effects.
Step 5: Enjoy the Filtered FaceTime Call
Once you have successfully applied a filter to your FaceTime call, you can now enjoy the fun and excitement it brings to your conversation. Filters not only add a creative element to your call but also help create a more entertaining and engaging experience for both you and the person you are chatting with.
As you engage in your filtered FaceTime call, you’ll notice how the filter enhances your appearance, adds visual effects, or overlays animations to make the call more enjoyable. Whether you’re using a filter to add a touch of glamour, transform into a funny character, or create a whimsical atmosphere, it’s all about embracing the enhanced experience that filters bring.
Try experimenting with different filters during the call to add variety and keep the conversation lively. You can switch between filters seamlessly by accessing the filter options in the FaceTime interface. This allows you to tailor the vibe of the call to your preferences or the mood of the conversation.
Remember to have fun and be yourself during the filtered FaceTime call. Let the filters bring out your playful side and spark laughter and joy in the conversation. It’s a great way to connect with friends and loved ones, especially when physical distance separates you.
Also, be attentive to your conversation partner’s reaction to the filters. If they seem to enjoy a particular filter or find it amusing, you can keep using it to keep the conversation light and enjoyable. On the other hand, if they don’t seem to resonate with a specific filter, feel free to switch to a different one or even remove the filter altogether.
Remember, the primary goal of a filtered FaceTime call is to have a memorable and enjoyable experience connecting with others. So, make the most out of the filters available and create fun and entertaining moments during your video calls.
Troubleshooting Tips
Even though using filters on FaceTime calls can bring fun and creativity to your conversations, there may be instances when you encounter issues or experience difficulties while using them. Don’t worry, though! We have compiled a list of troubleshooting tips to help you overcome common filter-related problems and enhance your FaceTime experience.
1. Check your device compatibility: Make sure that your device is compatible with the latest version of FaceTime and supports the use of filters. Some older models may not have this feature available.
2. Restart FaceTime: If you’re facing issues with filters, try restarting the FaceTime app. Close the app completely and then relaunch it to see if the problem resolves.
3. Update your device and FaceTime: Ensure that your device’s operating system and FaceTime app are up to date. Outdated software versions can sometimes cause compatibility issues with filters.
4. Check your internet connection: Poor or unstable internet connection can lead to filter-related problems. Make sure you are connected to a stable and high-speed internet network before using filters on FaceTime.
5. Disable low power mode: If your device is in low power mode, it may restrict certain features, including filters. Disable low power mode and try using filters again.
6. Clear cache: Sometimes, accumulated cache data can interfere with the smooth functioning of filters. Clearing the cache of the FaceTime app can help resolve filter-related issues.
7. Disable restrictions: Check if there are any restrictions enabled on your device that may prevent the use of filters. Access the settings of your device and ensure that there are no restrictions set on FaceTime.
8. Reset FaceTime settings: If all else fails, you can try resetting the FaceTime settings on your device. This process will restore the default settings, which may help resolve any filter-related issues.
If these troubleshooting tips don’t fix the problem, it’s possible that there may be a bug or technical glitch. In such cases, it’s recommended to reach out to Apple support or the manufacturer of your device for further assistance.
Remember, using filters on FaceTime is meant to be a fun and enjoyable experience. Don’t let minor issues dampen your excitement. With these troubleshooting tips, you’ll be able to overcome any obstacles and have a blast using filters during your FaceTime calls!
Additional Resources
Here are some additional resources to help you learn more about using filters on FaceTime:
1. Apple Support Website: Visit the official Apple Support website for detailed guides, tutorials, and troubleshooting tips for FaceTime. You can find in-depth articles that cover various features, including filters.
2. YouTube Tutorials: YouTube is a treasure trove of video tutorials. Search for FaceTime filter tutorials to see step-by-step demonstrations on using different filters and making the most of your experience.
3. Technology Blogs and Websites: Check out renowned technology blogs and websites that often have articles and reviews on FaceTime features. They may provide insights, tips, and recommendations for using filters and other accessories.
4. Social Media Groups and Pages: Join FaceTime-related groups or follow affiliated pages on social media platforms like Facebook and Reddit. These communities are great for connecting with other users, sharing experiences, and learning new tricks.
5. User Forums: Explore dedicated user forums like Apple’s official community forums or forums hosted by third-party websites. These platforms allow you to ask questions, seek advice, and interact with fellow FaceTime users who have experience using filters.
6. Apple Retail Stores: Visit your nearest Apple retail store and schedule a free appointment at the Genius Bar. Friendly Apple experts can provide hands-on assistance, answer your questions, and offer personalized guidance on using filters and other FaceTime features.
Remember, experimenting with different filters on FaceTime can be fun and creative. So don’t hesitate to explore and discover your favorite filters to enhance your FaceTime calls!
Conclusion
In conclusion, using a filter on a FaceTime call is a fun and creative way to add a touch of excitement and entertainment to your video conversations. Filters allow you to transform your appearance, enhance your surroundings, and express your personality in unique ways. Whether you want to appear as a funny character, add a virtual background, or apply artistic effects, FaceTime filters offer a range of options to choose from.
By following the simple steps outlined in this article, you can easily activate and use filters during your FaceTime calls. Remember to have the latest version of iOS or macOS installed, explore the available filter options, and apply them before or during your call. Don’t forget to keep in mind any potential performance issues or limitations with certain devices.
So, go ahead and have fun experimenting with different filters to make your next FaceTime call even more enjoyable and memorable. Whether it’s adding a touch of whimsy, creating a festive atmosphere, or simply expressing yourself in a unique way, filters can enhance your overall FaceTime experience. Start exploring, get creative, and transform your video calls with the power of filters!
FAQs
Q: Can I use a filter on a FaceTime call?
A: Yes, you can use filters on FaceTime calls. Filters provide a fun and creative way to enhance your video calls by adding various effects to your face. Whether you want to put on a silly face, disguise your appearance, or simply add a touch of flair, filters can add a whole new level of excitement to your conversations.
Q: How do I enable filters on FaceTime?
A: First, make sure you have the latest version of iOS or macOS installed on your device. Then, during a FaceTime call, tap on the screen to bring up the controls. Look for the “Effects” button and click on it. From there, you can choose from a variety of filters to apply to your video feed. Simply select one and it will be applied in real time.
Q: Can I customize the filters on FaceTime?
A: Unfortunately, the filters available on FaceTime are pre-set and cannot be customized. However, Apple continually adds new filters through software updates, so keep an eye out for new options to spice up your FaceTime calls.
Q: Can I remove a filter during a FaceTime call?
A: Yes, you can remove a filter during a FaceTime call. To do this, follow the same steps to access the filters menu and simply select the “No Filter” option. This will revert your video feed back to its original appearance.
Q: Are filters available on all devices for FaceTime calls?
A: Filters are available on devices running iOS 12 or later and Mac computers with macOS Mojave 10.14 or later. However, not all devices have the same set of filters. Older devices may have a limited selection compared to newer ones. It’s always a good idea to check for software updates to ensure you have access to the latest features.